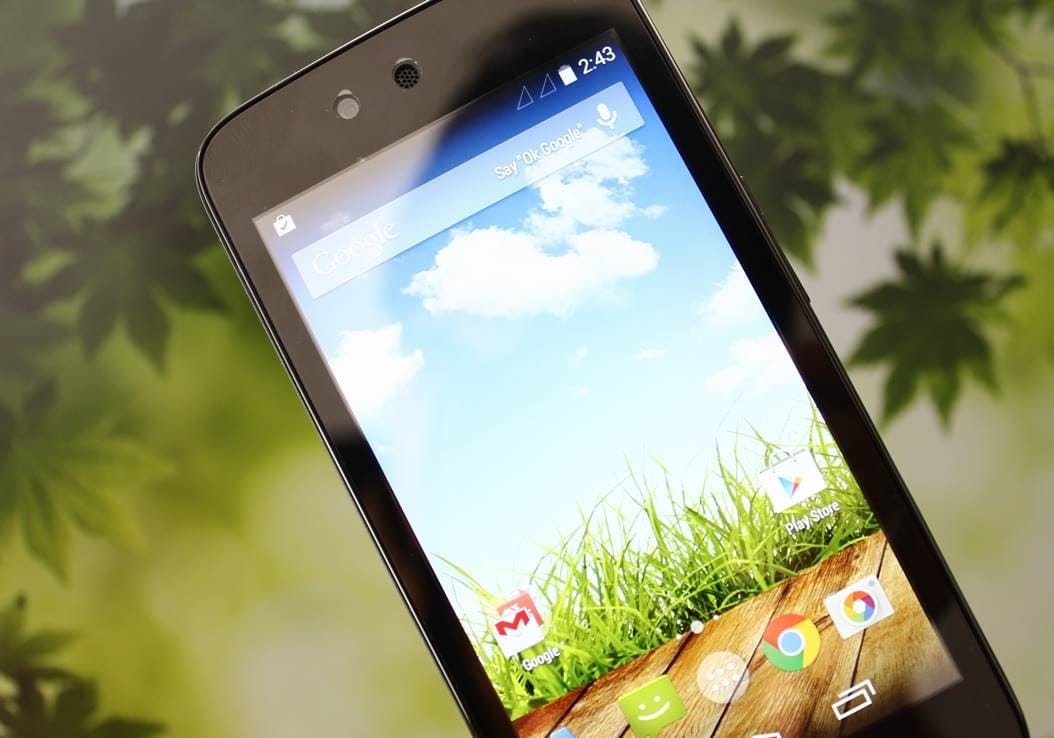
Google’s Android One program is about to get a year older now. These Android One devices were capable of shaking the low-end budget smartphone industry, which they did, but the competition easily took over what Google started with Android One phones.
Since Android One phones are nothing but low-end Android devices with Nexus experience software, Google’s prime target for these devices were developing countries like India, where they first launched Android One phones and it was then carried over to Indonesia and a few more countries.
But now with a number of manufacturers, both local and Chinese, selling low-end smartphones with even better specsheets than Android One devices sport, there popularity is only seeing a downward trend.
Anyway, with Nexus experience software in hand on Android One phones, users are naturally more comfortable with rooting these devices and play around with a few custom ROMs like CyanogenMod and other AOSP based popular ROMs.
Android One phones come with unlocked bootloaders, so installing a custom recovery from PC and then rooting with SuperSU zip is one method. But what if we told you there’s a way to root your Android One phone without using a PC at all.
Yes, that’s exactly what you can achieve with the Kingroot app. Just download and install the KingRoot apk on your phone from the link below, open the app and hit the circular “Root” button. And then install SuperSU app to manage root permissions.
→ Download AIO Android One Device Root Package
- Download the AIO Root package (.zip) on your phone and extract it with the help of a file manager, like ES File Explorer.
- Open KingRoot folder from the extracted .zip file and install the Kingroot_4.0.0.apk file from there.
- Once installed open the KingRoot app on your phone and press the green circular Root button on the screen, this will root your device.Now we need an app to securely manage root permissions on your phone. For that, we’ll install SuperSU app with the help of a custom recovery so you get all the binaries and other stuff it requires to setup properly. But we won’t use PC for installing the recovery, instead we’ll use the Flashify app to install the recovery.
- Download and install Flashify app from Play Store (link →)
- Open the Flashify app and flash the phillz recovery.img file from the Recovery folder that we obtained from the AIO package in Step 1.
- Now reboot to recovery mode. For this, we’ll use another app called QuickBoot (link →)
- Once in recovery mode, flash the SuperSU zip file from the SuperSU folder obtained in Step 1.
- Now reboot your phone, you will see SuperSU app in the app drawer.
That’s all you’ve successfully rooted your Android One phone without using a PC at all. To verify root access, download and install the Root Validator app (link →).
Also, you might want to uninstall the KingRoot app now as it’s not useful anymore and also the other Chinese stuff it might have installed on your phone. We’re saying this because there are good chances of KingRoot doing suspicious activities on your phone.
Thanks musfiqus for the AIO file!


Discussion