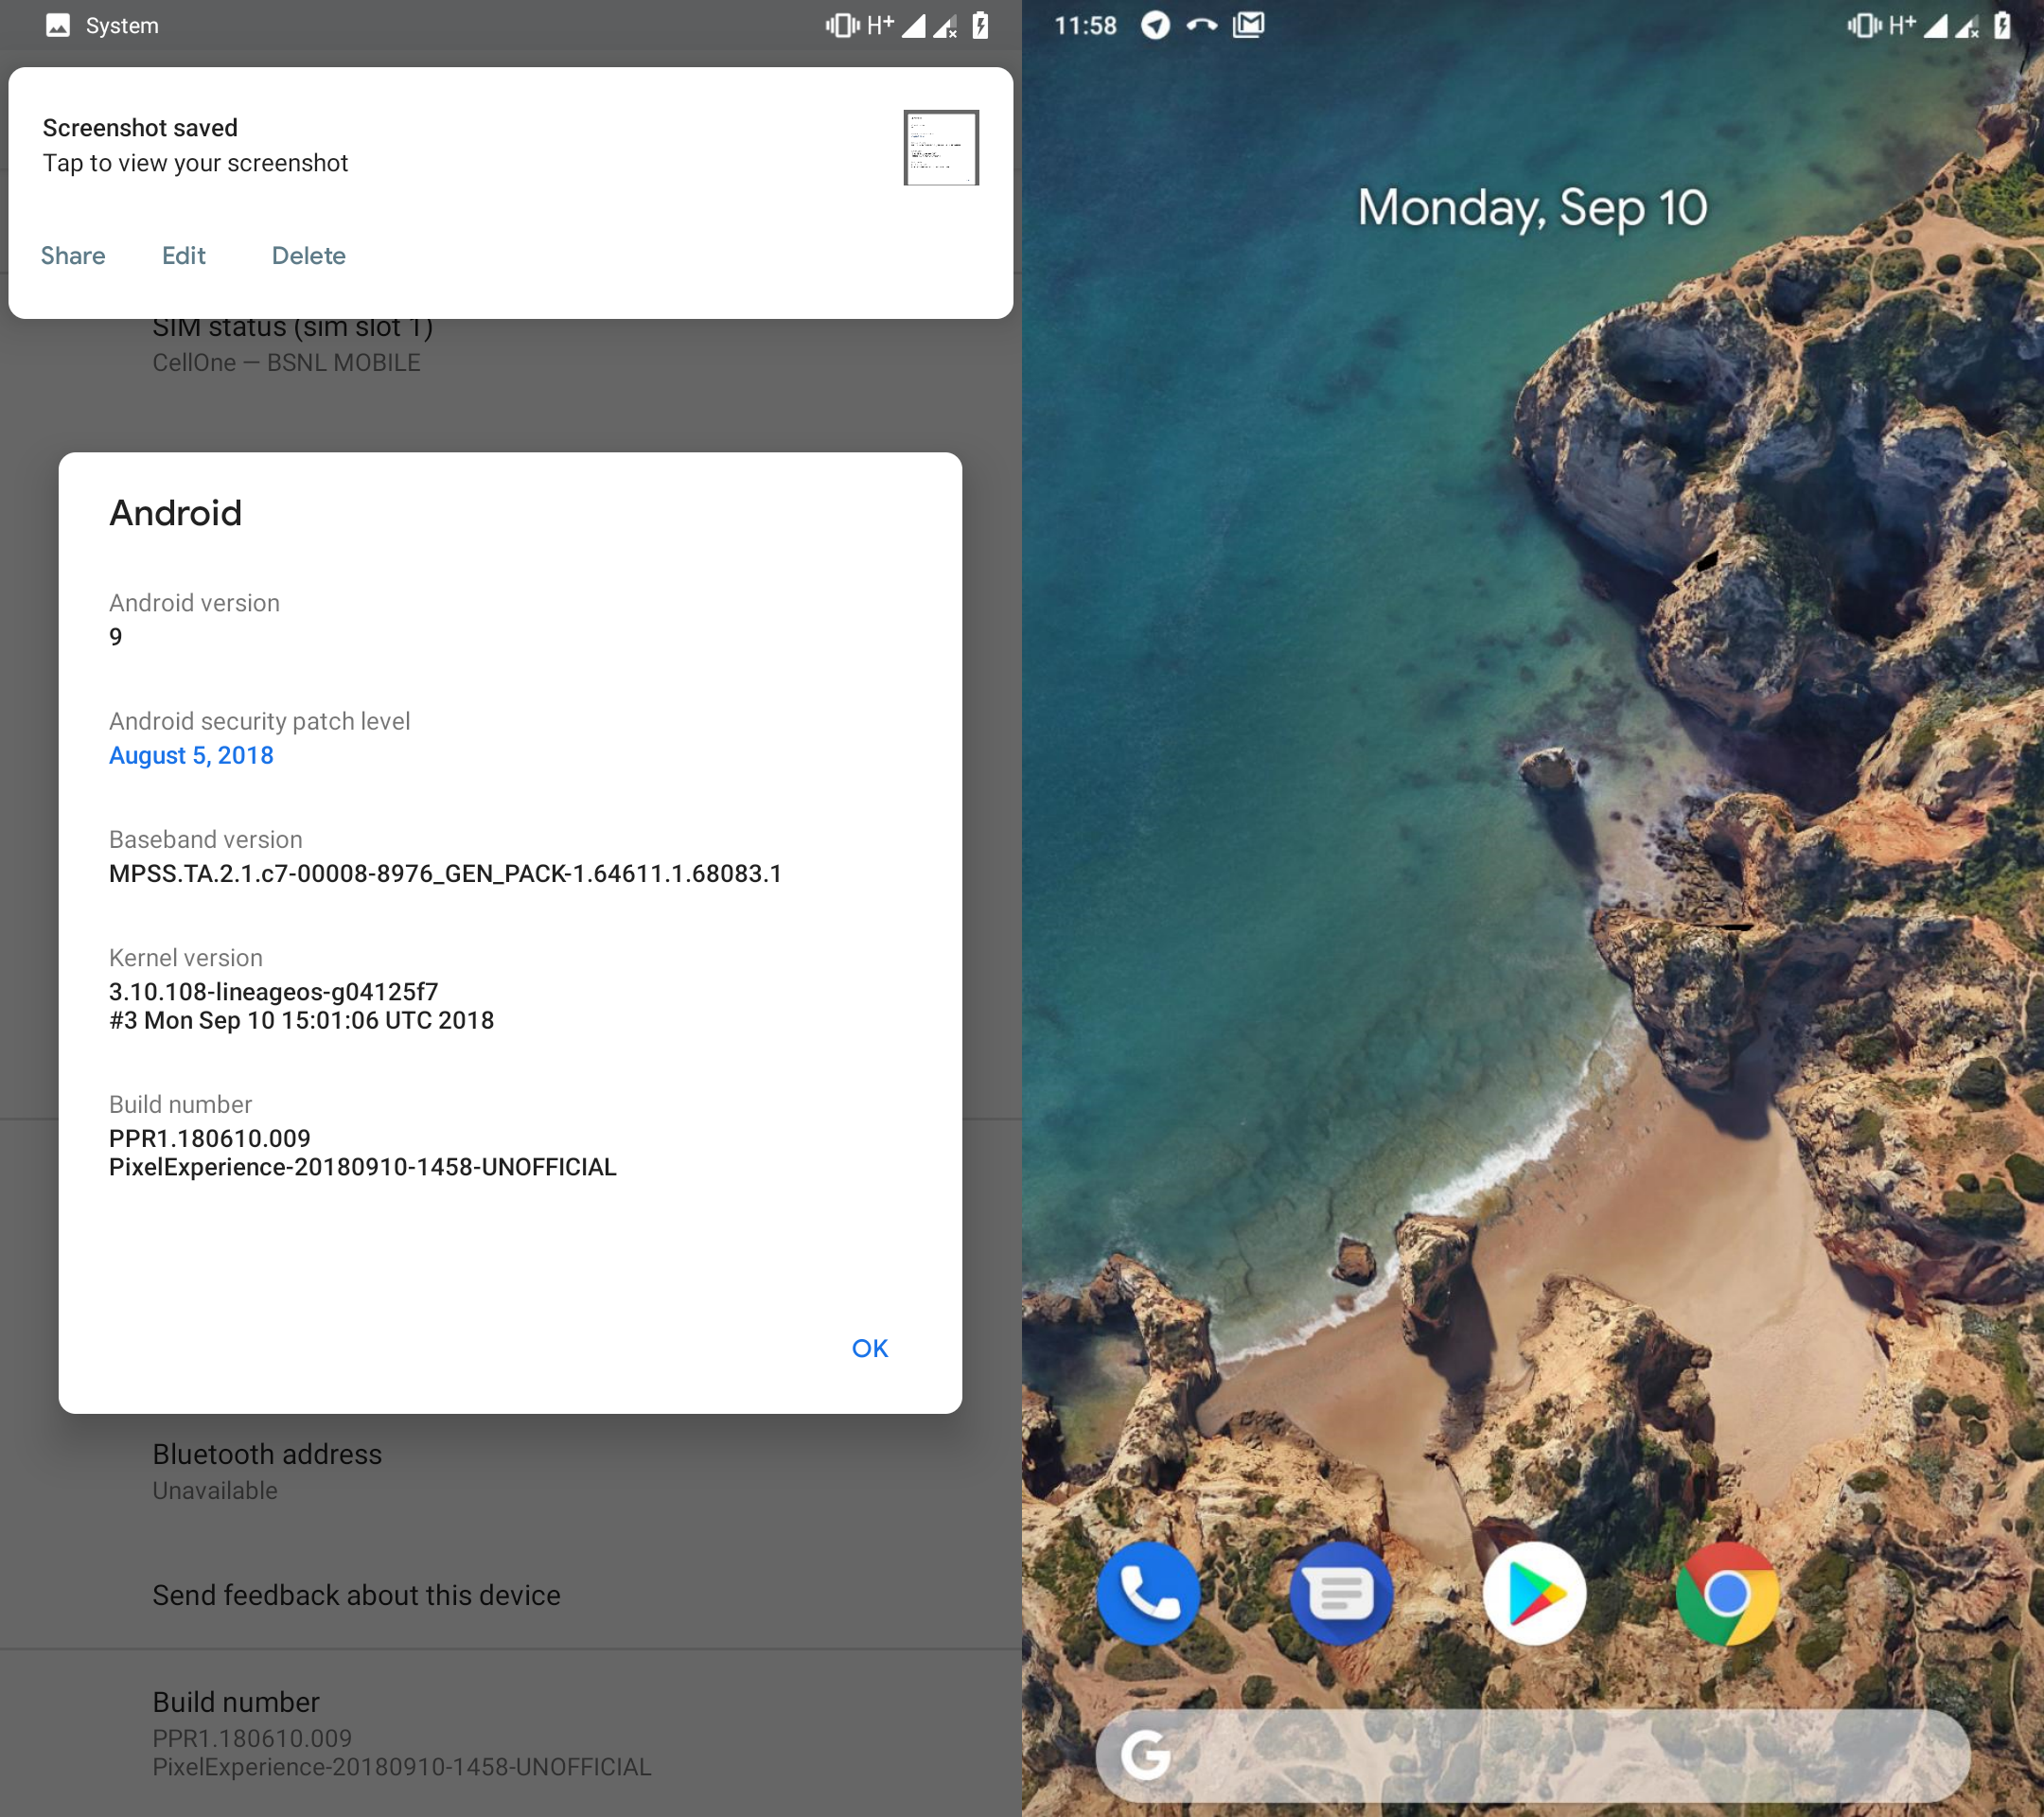
The Pixel Experience ROM is one of the latest custom ROMs for Android fans and as the name suggests, it is a ROM fashioned in the style of the Google Pixels, meaning you are getting AOSP Android on your device.
The ROM is based on Android 9 Pie and once installed; you’ll be able to enjoy a software experience that mimics the Pixel phones while at the same time getting rid of the many unnecessary apps (bloatware) that other custom ROMs come with on top of stock Android.
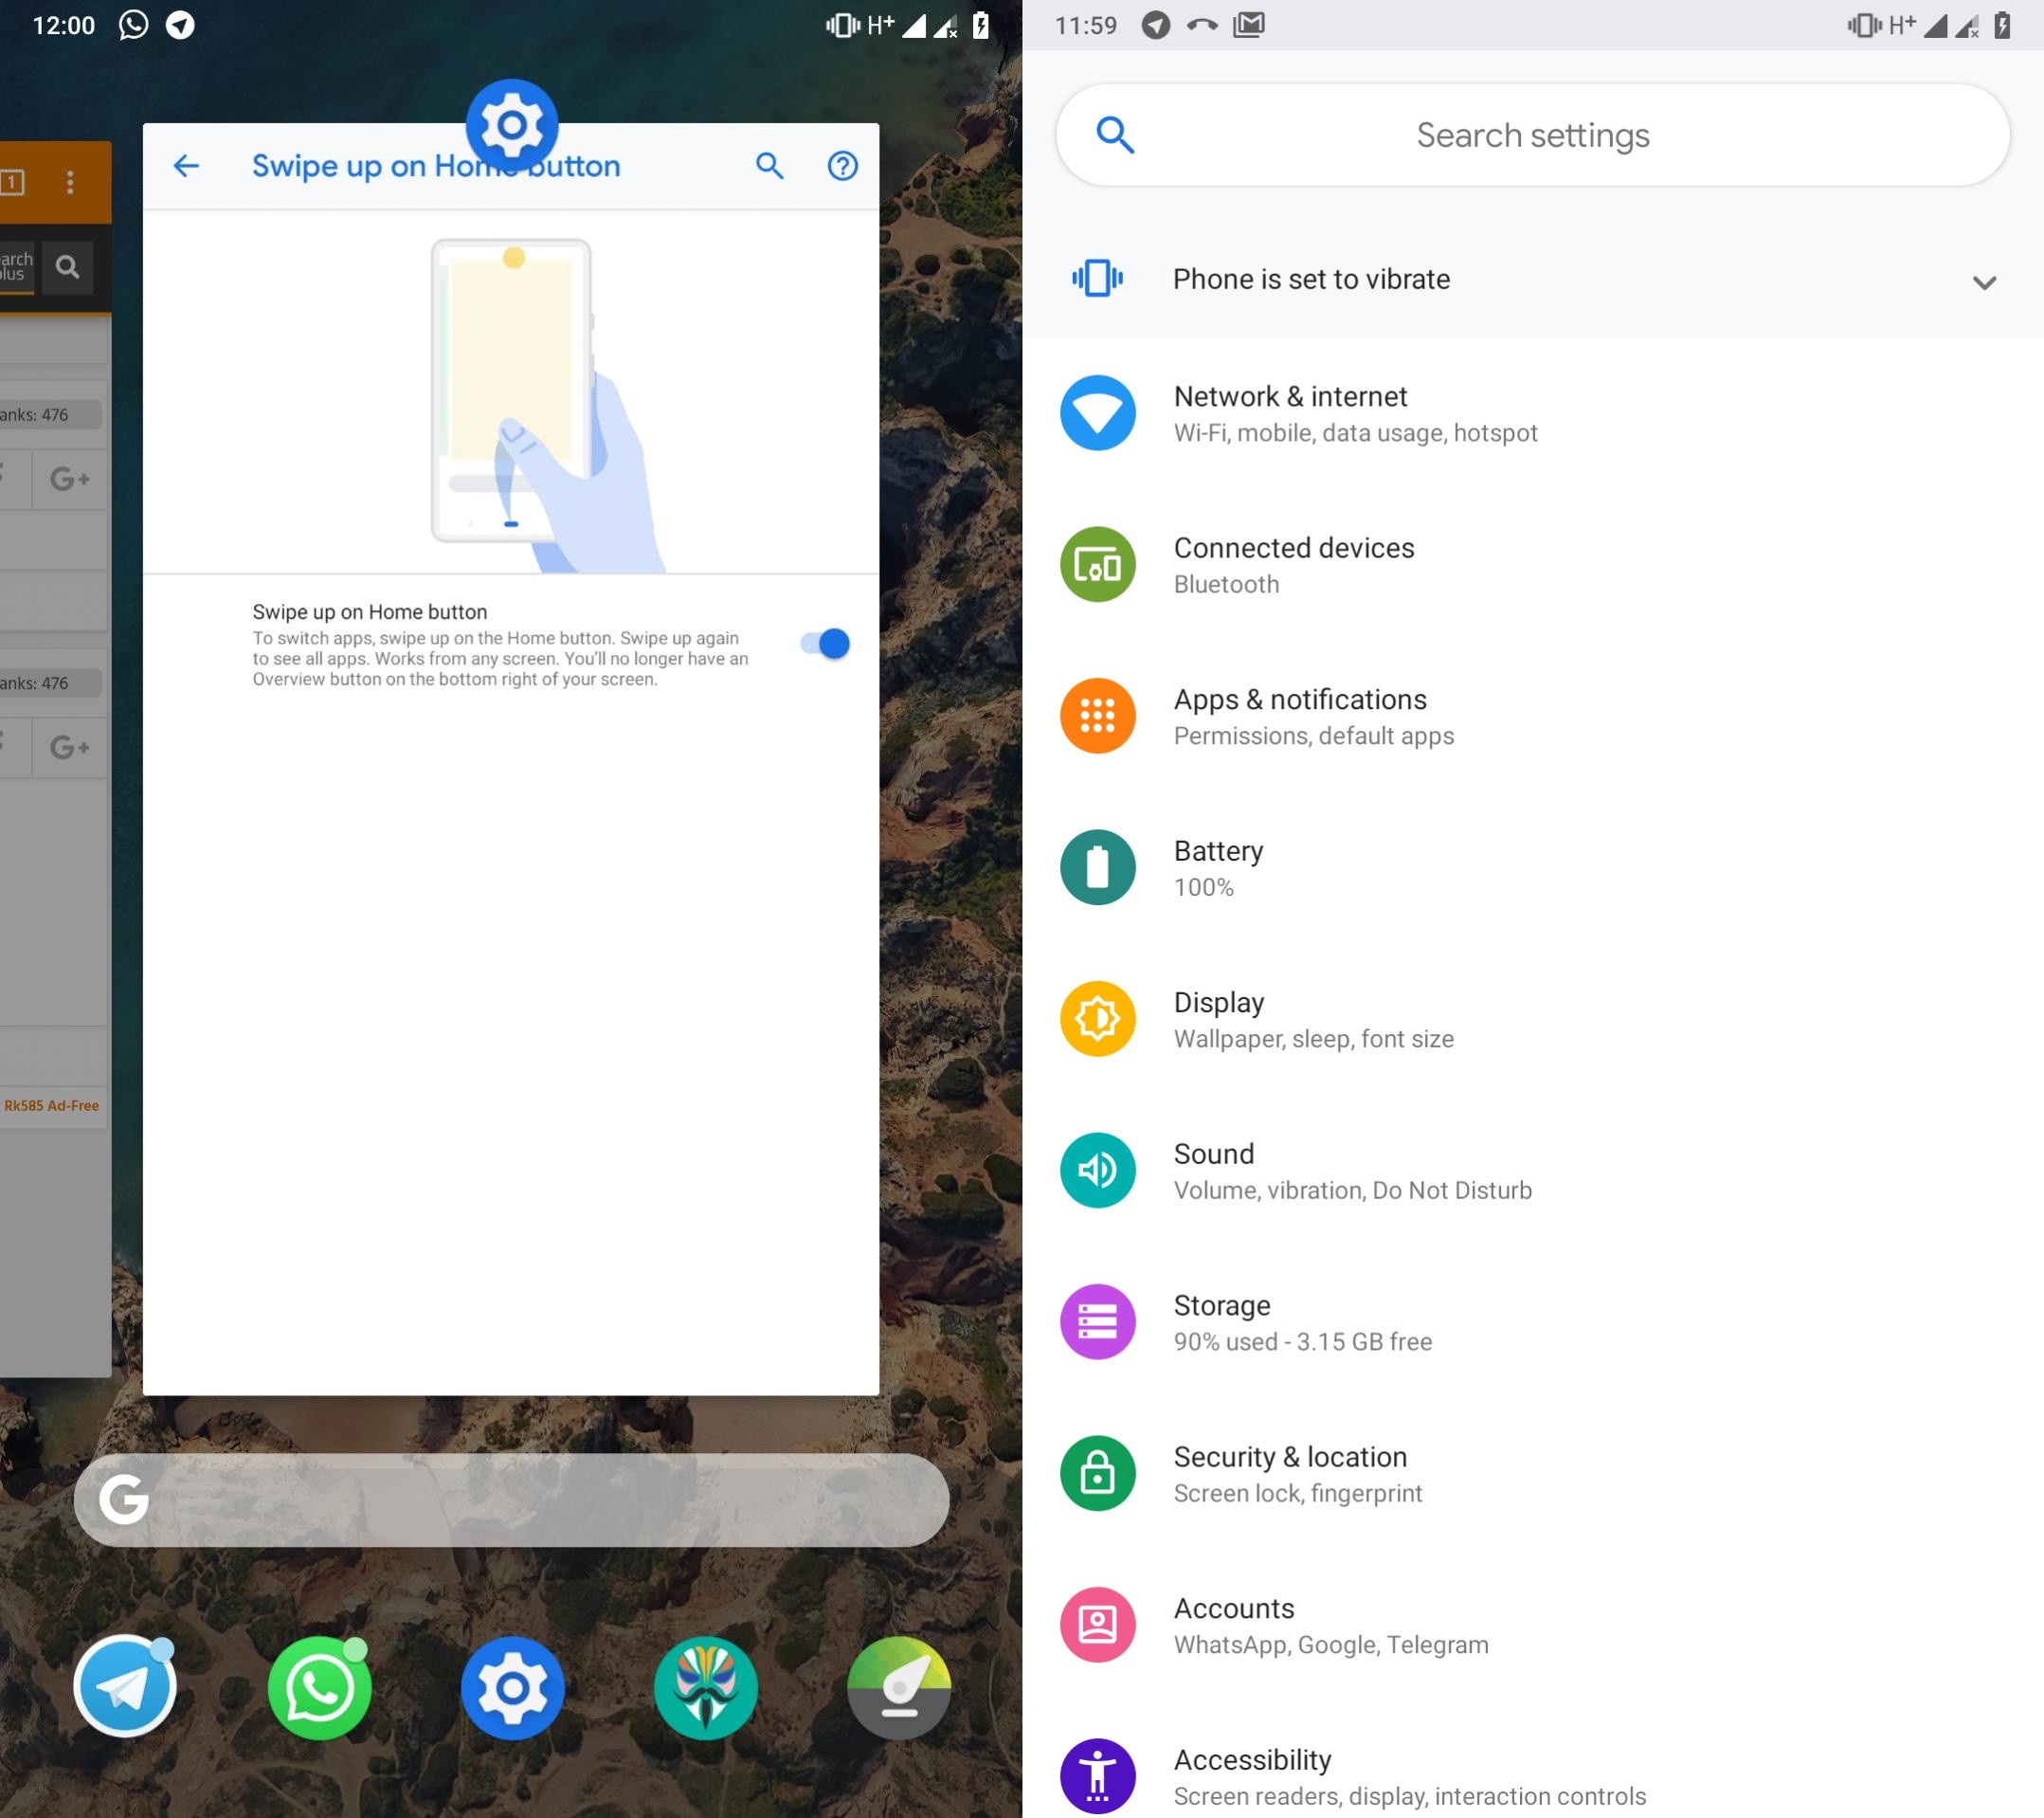
Features such as the Pixel Launcher with rounded icons, boot animation, Live Wallpapers, Pixel Sounds, the Pixel’s blue accent and so on will be at your disposal, but of course, your device must be supported by the ROM in order to jump on board.
Related: LineageOS 16 release date and device list
So far, a good number of devices are already able to install the Pixel Experience AOSP ROM, but one of the most interesting additions on the list is LeEco’s Le 2. The device has been around since 2016 and back then, it came with Marshmallow preinstalled.
With the Pixel Experience ROM, the team is giving you the chance to install the latest and greatest from Google – Android 9 Pie – but of course, there are a few hooks you’ll have to jump to realize this.
On the brighter side, everything you need to know about where to download the latest Pixel Experience ROM for your LeEco Le 2 and even how to go about installing the ROM on your device has been detailed fully in this XDA developers link.
Downloads
- Android 9 Pie ROM – Pixel Experience
→ Find the latest version of the ROM at the source page here. Moreover, there ar emore ROMs based on Android 9 available for the LeEco Le 2, which you can find here. Installation guide remains same. - DM verity disabler file: lazyflasher
- Root package: Magisk
How to install
- Make sure you have the TWRP recovery installed.
- Download all the files from the downloads section above.
- Transfer all the downloaded files to your device.
- Reboot to recovery mode to access TWRP recovery.
- Select ‘Wipe‘ from the TWRP main menu and do a ‘wipe to Factory Reset’ on the bottom of the screen.
└ Note: This will factory reset your device. Skip this step if you don’t want to factory reset your device, that is, if you are already on MIUI 10 update. - Tap on the Wipe button again, and now tab on Format data button. Type yes on the next screen and then hit the enter key to confirm and format the data partition.
- Create a backup using TWRP of all the partitions on your device. On the TWRP’s home screen, tap on backup and select all the aprtitions. Confirm to backup.
- On the TWRP main menu, tap on ‘Install‘ and select the Pixel Experience ROM file that you transferred to your device above. After selecting the .zip file, do ‘Swipe to Confirm Flash’ on the bottom of the screen to begin the custom ROM installation process. This may take some time.
- Once your ROM is successfully flashed, you’ll see ‘Wipe cache/dalvik‘ option, select it and then do ‘Swipe to wipe’ on the bottom of the screen.
- Install the Magisk file the same way. This will also get you root access. But if you don’t want root, be sure to install the lazyflasher file in place of magisk file.
- Tap on the ‘Reboot System’ button to restart the device. Done!
That’s it.


