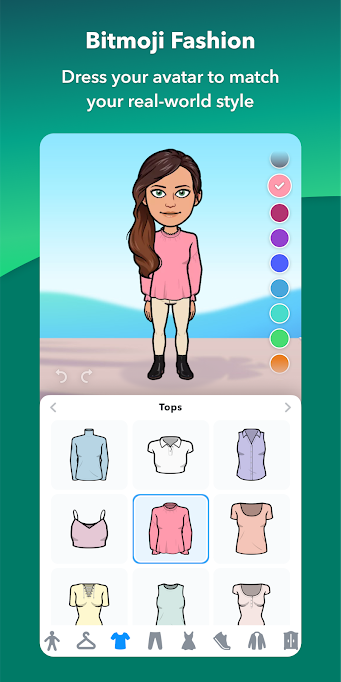
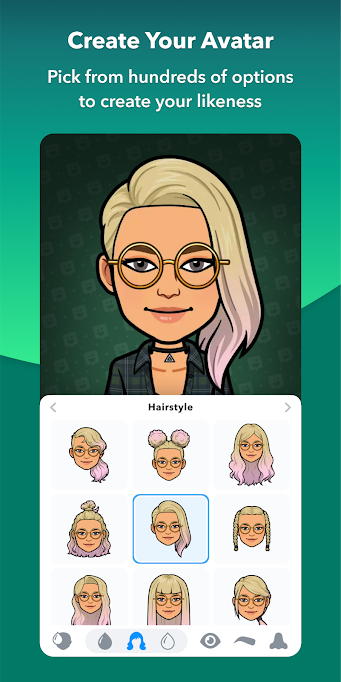
Bitmojis are a fun way to express yourself online. The app creates an avatar of you, which you can then dress up in different styles. Over the years it has evolved to allow users to modify even small details of their appearances like hair highlights, and eye shape.
Originally Bitstrips, Bitmoji was bought over by Snapchat, and for a long time remained extensively within the app. In the past few years, however, Bitmoji has seen a huge upswing in users sharing their avatars into third-party apps. Some of these users are teachers who want to make their Google Classrooms more fun.
With virtual classes becoming more mainstream, having a Bitmoji avatar of yourself in your classroom does make sense, and also brings a personal touch to the class. In this article, we will be covering how to add a Bitmoji avatar of yourself into your Google Classroom using Google Chrome.
How to make a Bitmoji Avatar
While originally available only within the Snapchat app, Bitmoji avatars are now accessible through the dedicated Bitmoji app. To create your own personalized Bitmoji avatar you will need to download and install the app on your phone. If you have a Snapchat ID, you can use that to sign in to the app; if not, you can sign up using your email ID.
Once in the app, use the ‘Avatar’ tab at the bottom to create and decorate your Bitmoji avatar as much as you would like. You can always go back and add more bling to your avatar at any point. Don’t forget to hit ‘Save’ after completing your customization, so that the changes sync throughout your account.

Download Bitmoji: Android | iOS
Add Bitmoji to Google Chrome

Since there is no web client for the Bitmoji app, your avatar lives primarily on your phone. However, thanks to a Google Chrome extension, you can bring your avatar, customization and all, right into your web browser. This gives you the ability to add your Bitmoji avatar to emails and messages alike.
To use Bitmoji on Chrome, you need to install its extension from the Chrome Web Store first. Click this link to open the Bitmoji extension’s page, and then click the Add to Chrome button to install it on Chrome.

You will now get redirected to the Bitmoji site where you can sign in using your Snapchat ID or email ID. If not, just click the extension’s icon. Once you log in, click the little Bitmoji icon that appears next to the address bar.

You should see the avatar you created. If you want to change any aspect of your avatar, you’ll have to head over to the mobile app and customize it.
Add a Bitmoji avatar to a Google Slide
To give you Google Classroom a bit of a personal touch, you can add your customized Bitmoji avatar to your Google slides. Go ahead and decorate the slide as you would, by adding a background and images.
Don’t forget that the avatar must fit into the background. For example, if you are going to make your avatar sit, you should probably add a couch to your slide background.
Once your slide is ready, click the Bitmoji Chrome extension in the top right corner of the browser. You will be greeted by hundreds of Bitmoji scenarios. Use the search bar at the top to narrow down your search. For example, try typing ‘Sitting’, to search for your avatar in a sitting position.
![]()
Click and drag the avatar that you have selected right on to your Google Slide. You can now resize the avatar to better fit your background. To edit your avatar at any point, simply click on the avatar. You will see little arrows appear which you can use to move and resize it.

How to add Bitmoji to your Google Classroom header
Your Google Classroom Header sets the tone of your class. You probably already know that you can customize it to add an image of your choice; but did you know you could add a Bitmoji to your header for a little extra personal touch?
Since Bitmoji is accessible through Google Docs, we will create a header using Google Slides. Just like above, create a Google Slide and click the Bitmoji extension next to the address bar. Select the Bitmojis you would like to add to your header, and drag them onto the slide.
The Google Classroom header has dimensions of 1000×250 pixels. This means that your Bitmoji should not exceed a height of 2.6 inches. Once you have added your Bitmojis to the slide, click on each one to resize them. In the right-side panel click the ‘Size & Rotation’ tab and tick the ‘Lock aspect ratio’ box. Now reduce the height down to 2.6 in.

Note: Make sure the Bitmojis are in the same line so that you can get them all into the header.
Once you are satisfied with the image, click the ‘File’ tab from the top left corner, and under ‘Download’ select the ‘PNG image’ option. The slide will now be downloaded to your device.

Head to your Google Classroom webpage, and click ‘Upload photo’ on your Classroom header.

Select the downloaded image file with your BitMoji now. This will set it as your Google Classroom Header.

You now know how to add a Bitmoji avatar to you Google Classroom. Bitmojis are a fun way of adding a little personalization to your teaching. Since you can’t be there in person, this is a nice way of showing your students that you’re still there with them. You can use the Bitmoji mobile app to keep changing your outfits regularly!
Have you created your Bitmoji avatar yet? What are your favorite customizations? Let us know in the comments below.


