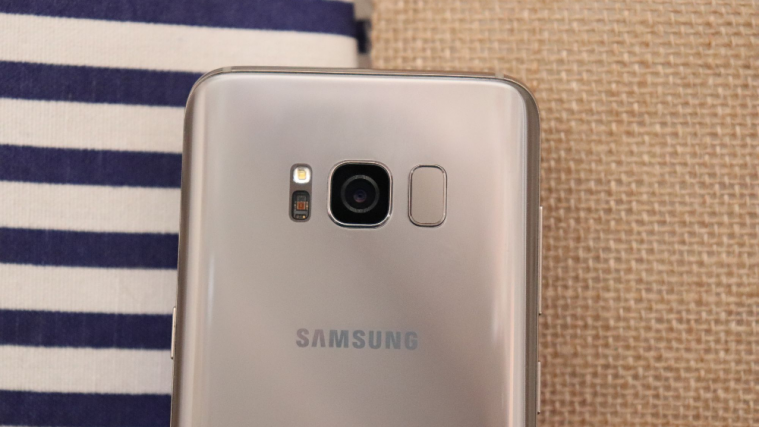
The device itself may not be even a month old yet, but the Galaxy S9 flagship from Samsung is already breaking waves in the Android market. The sheer popularity of the smartphone is the reason that TWRP has already released an officially supported TWRP custom recovery for the Galaxy S9.
Although the TWRP recovery is currently out only for the Exynos variant, we expect the Snapdragon models to catch up soon, just like they did with the Galaxy S8 and Galaxy Note 8. However, the latest Android 8.0 update for the flagship devices of last year is also causing data mount problems in TWRP custom recovery. While TRWP developers work on fixing the issue, you can take the matters into your own hands and apply this hotfix right now.
Related: How to root Galaxy S9
Step 1: Data mount fix for Galaxy S8 with Magisk
The ability to fix the data mount problem on the Galaxy S8 is currently limited to devices running Magisk. If you have a Galaxy S8 rooted using Magisk, you can use the following steps to fix data mount issues in TWRP right now.
- Download the zip file and save it to the root directory of your Galaxy S8.
- Turn off the Galaxy S8 and reboot into TWRP custom recovery by holding down the Power, Bixby and Volume Down buttons simultaneously until the device boots up.
- Using the Install button, head over to the downloaded file and Swipe to Install and wait for the process to complete.
- Press the Reboot to System button and wait while the Galaxy S8 turns back on.
Once the device reboots, you can head back to the TWRP custom recovery menu to check and confirm that the Data Mount feature is working.
Related: How to get Root Android with Magisk
Step 2: Data mount fix for Galaxy Note 8 with Magisk and SuperSU
Unlike the Galaxy S8, the fix for the data mount problem in TWRP on the Galaxy Note 8 can be resolved with Magisk, as well as SuperSU enabled devices.
- If you have a Magisk root installed on your device, download this file and save it to your internal storage.
- If you have a SuperSU root installed on your device, download this file and save it to your internal storage.
- Turn off the Galaxy Note 8 and reboot into TWRP custom recovery by holding down the Power, Bixby and Volume Down buttons simultaneously until the device boots up.
- Using the Install button, head over to the downloaded file and Swipe to Install and wait for the process to complete.
- Press the Reboot to System button and wait while the Galaxy Note 8 turns back on.
Remember, both of these fixes for the data mount problems in TWRP for the Galaxy S8 and Galaxy Note 8 are just temporary fixes. You will need to repeat the above process every time you flash a new ROM, a kernel, the Magisk tool, or SuperSU on the system.


