
Buy the Standard Boss Lure for $280 on Island 3, cast it to summon the Blue Shark, kill it with a ranged weapon while strafing, then carry the body to the Grill Master and light the grill to unlock it.
Island 3 hides an optional detour that pays off for the rest of your run: the Blue Shark. Beating it hands you the grill, which cooks your catches for a fatter sell price, and the whole thing comes down to one lure, one boss fight, and one delivery. Here’s the full route from the shop to the lit grill.
What you need for the Blue Shark on Island 3
| Detail | Value |
|---|---|
| Location | Island 3 |
| Lure | Standard Boss Lure ($280) |
| Recommended weapon | Upgraded shotgun (SMG also works) |
| Boss | Blue Shark |
| Reward | Grill unlocked + Grillmaster achievement |
| Cooking sweet spot | 1.5x sell value |
Everything for this objective lives in one spot on Island 3 — the Grill Master stands beside the unlit grill, and the shop that sells the lure is a few steps away on the same beach. Sort the lure and a decent gun before you cast, and the rest is a single fight.
At the Island 3 shop, buy the Standard Boss Lure — not the cheaper pink Standard Lure, which only catches regular fish and won’t summon the shark.
How to unlock the Grill in How to Fish
This runs straight through the objective, from the shop board to lighting the grill, using the boss lure to pull the shark on demand.
STEP 1/7
Meet the Grill Master
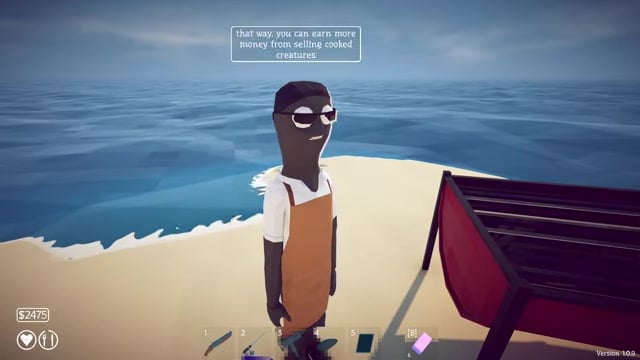
He stands beside the unlit grill on Island 3 and asks you to bring him a shark for the evening.
STEP 2/7
Buy the Standard Boss Lure
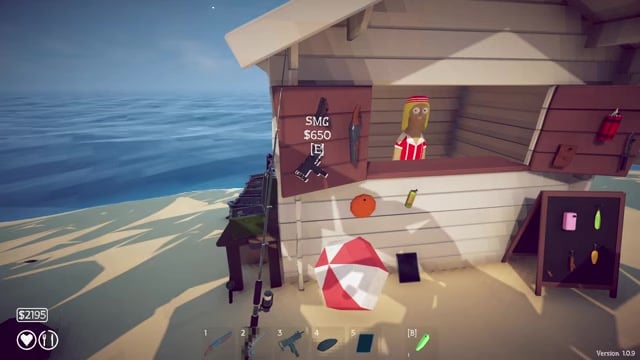
Grab it from the beach shop for $280; it’s consumed the moment you use it.
STEP 3/7
Cast for the Blue Shark
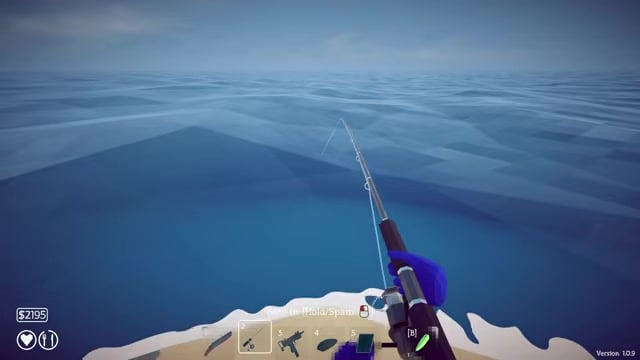
Equip the lure on your rod and cast into the deep water to summon the boss straight away.
STEP 4/7
Keep moving and open fire
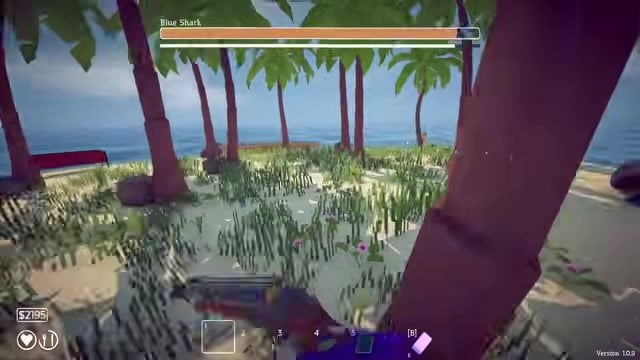
The shark lunges ashore fast, so strafe left or right and fire between its charges rather than standing still.
STEP 5/7
Break contact when cornered
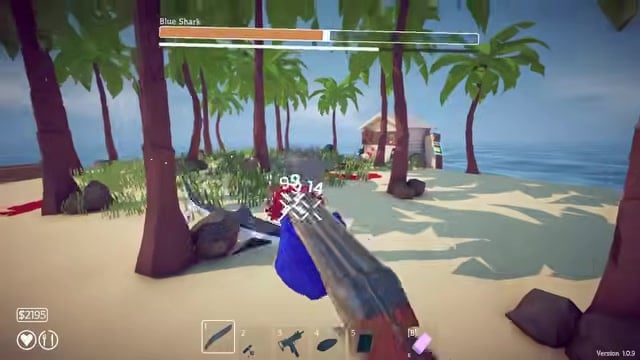
Press Shift to dash clear whenever the shark boxes you in against the scenery.
STEP 6/7
Finish the shark off
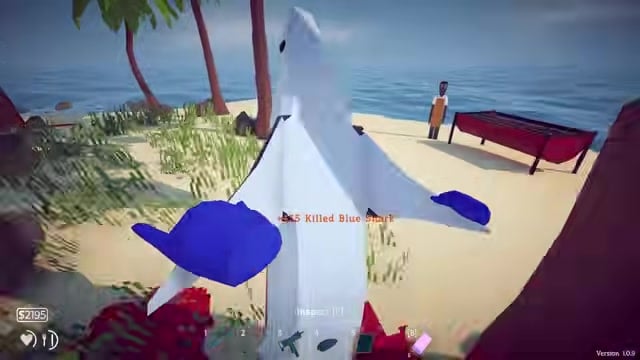
Land your last hits and the Blue Shark drops on the sand.
STEP 7/7
Light the grill
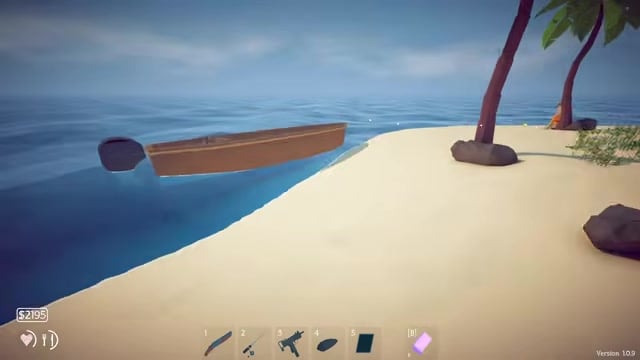
Carry the body to the Grill Master, take the lighter he hands you, and start the grill to unlock it.
Video help
Beating the Blue Shark: weapon and healing
The Blue Shark is one of the fastest things you’ll fight, and it barely stops — it spirals toward you and lunges with little warning, so the moment you plant your feet is the moment it rips through your health. The fight is won on footwork first: circle the palm trees to buy yourself a beat to reload and reposition, but don’t count on the shark snagging on the scenery, because it rarely stays stuck for long.
Key Your weapon is genuinely down to preference. A fully upgraded shotgun with a compensator is forgiving — you can clip the shark slightly off-center and still connect, and a full point-blank hit tears a huge chunk off its health bar. The upgraded SMG works too, but it asks for cleaner aim, since you have to land most of your shots to match that damage. Bring whichever you shoot better with rather than chasing a single best pick.
Health is easy to top up if you plan ahead. Catch a couple of ordinary fish before you spend the lure, then drop them on the sand with Q; when the shark chips you down, grab one off the ground to eat and recover before you get back to kiting.
Cooking on the Grill for the 1.5x value
Once the grill is lit it’s yours for good, and it turns your catches into extra cash. Hold a fish over the flames or set it down on the grill and it starts to cook, shifting toward a golden-brown as it heats. Inspect it with F to watch the cooking multiplier climb, and pull it the instant it reads 1.5x — that’s the sweet spot for sell value.
Leave it on too long and it chars: the value drops back down and you’re left with a burnt husk. Cooking also makes fish more nourishing, so a properly grilled catch restores more health and hunger than a raw one. Stick to fish and other sellable catches on the grill, though — not everything that fits on it should go on it.
After the Grill: the Tourist and Pufferfish

With the grill running, the island’s actual story boss is still ahead of you. Talk to the Tourist sheltering under the tree, who’s frightened of something in the water and wants the endangered catches — inspect your fish to identify them and hand them over for Carrot Bait. That bait summons the Pufferfish, the boss that carries Island 3’s progression forward when you’re ready for it.
Related How to Fish guides
Frequently Asked Questions
Is the Blue Shark the final boss of Island 3?
No. The Blue Shark is an optional mini-boss whose only job is to gate the grill — you can skip it and still push through the island. The real story boss is the Pufferfish, summoned later with the Carrot Bait you earn from the Tourist.
Can you uncook a weapon or fishing rod if you drop it on the Grill by mistake?
No. There’s no way to reverse cooking, so anything you put on the grill is changed permanently — including a weapon or fishing rod. Only ever cook fish and items you plan to sell or eat.






Leave a Reply