What to know
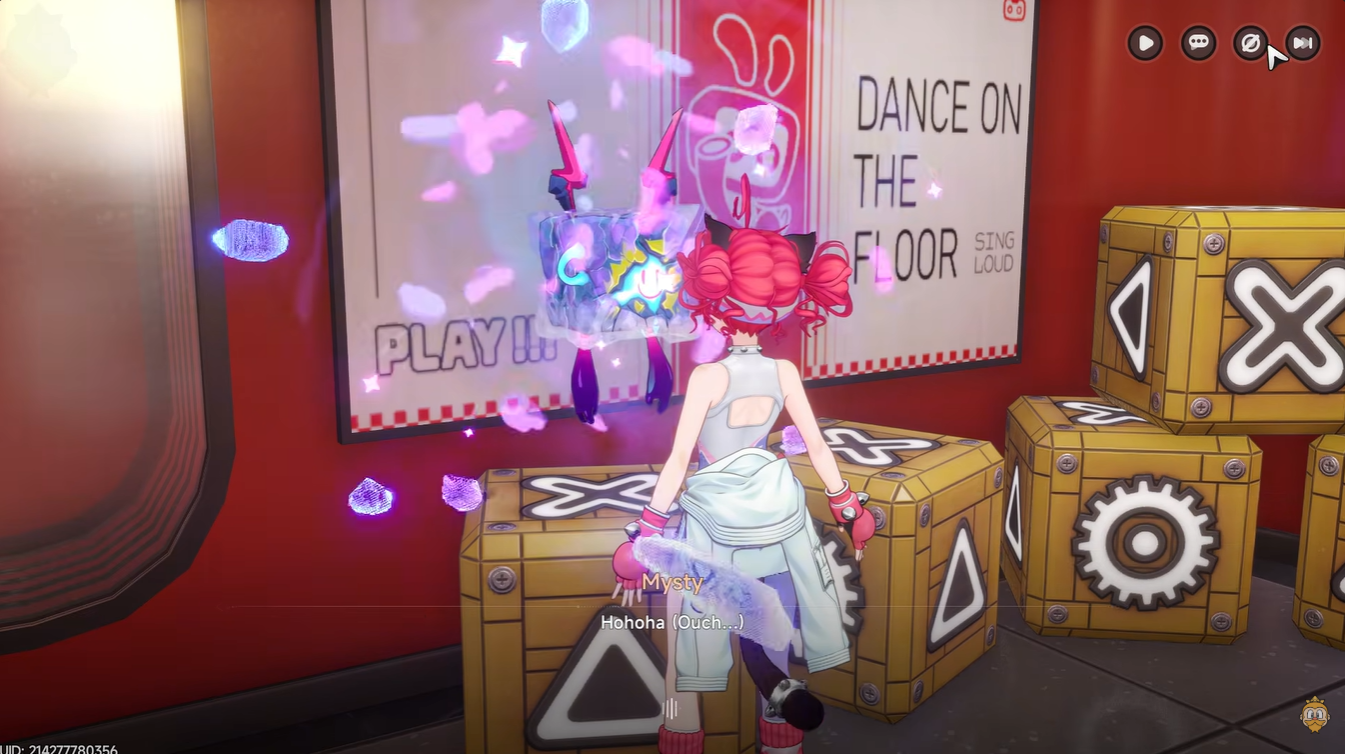
- The quest “Flipped Phone Booth?” becomes “Transform! Huhehaha!” after starting.
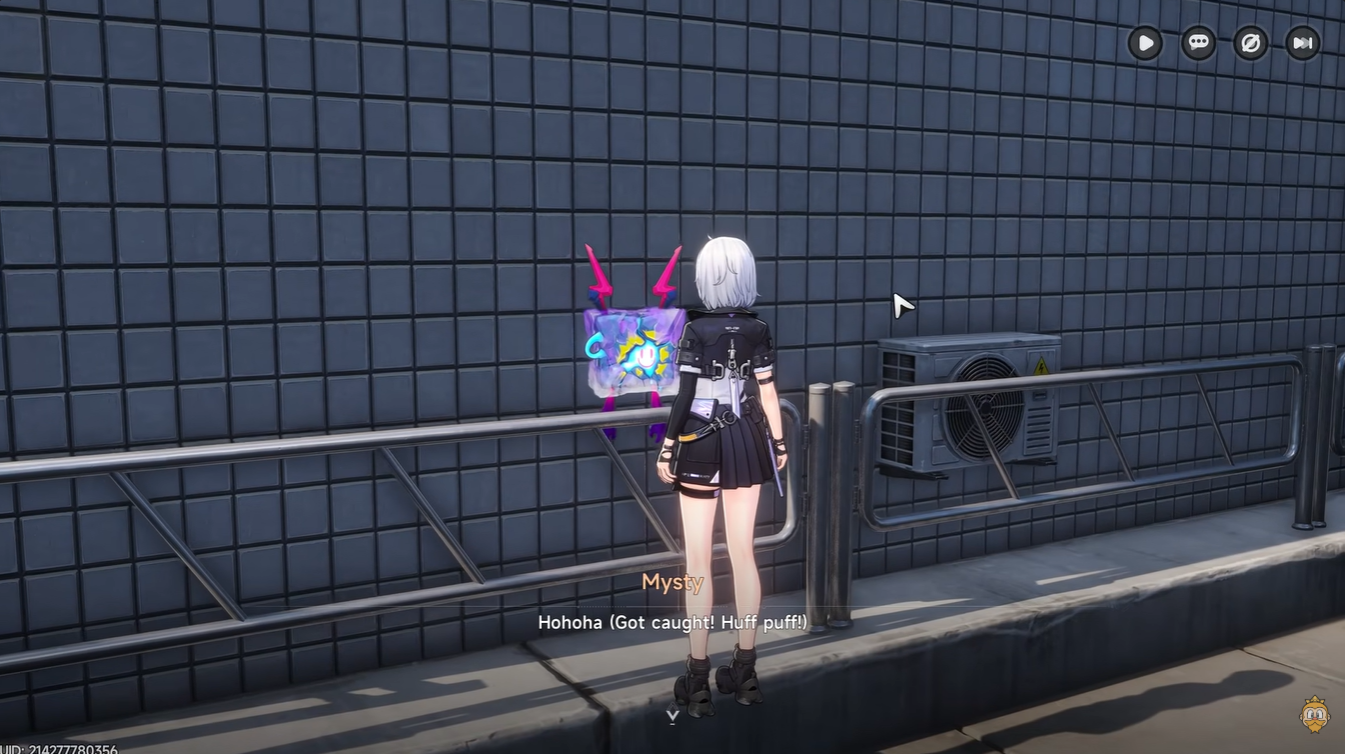
- You’ll repeatedly reveal Mysty by interacting with suspicious objects.
- Each clue (Waka, disguise, Crunch Crunch) points to a specific environmental object.
- Completion rewards include EXP, currency, and upgrade materials.
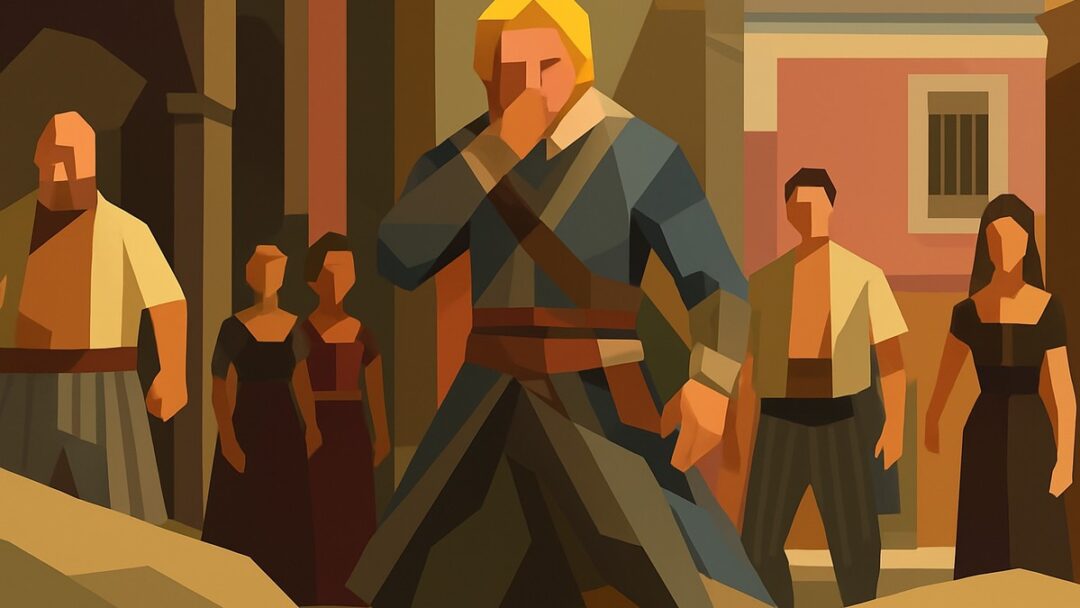
The “Flipped Phone Booth?” quest in Neverness to Everness is a playful hide-and-seek-style mission where you track a mysterious character named Mysty. As you progress, you’ll need to interpret clues tied to strange objects in the environment. The steps for Waka, Mysty’s disguise, and Crunch Crunch clues are very specific, so missing small details can slow you down.
NTE Flipped Phone Booth? quest details
| Aspect | Details |
|---|---|
| Quest Name | Flipped Phone Booth? / Transform! Huhehaha! |
| Starting Point | Upside-down phone booth near Moomin Street |
| Objective Type | Clue-based exploration |
| Key Character | Mysty |
| Core Mechanic | Interact or attack suspicious objects |
| Rewards | EXP, Fons, Annulith, upgrade materials |
How the clue system works during the quest
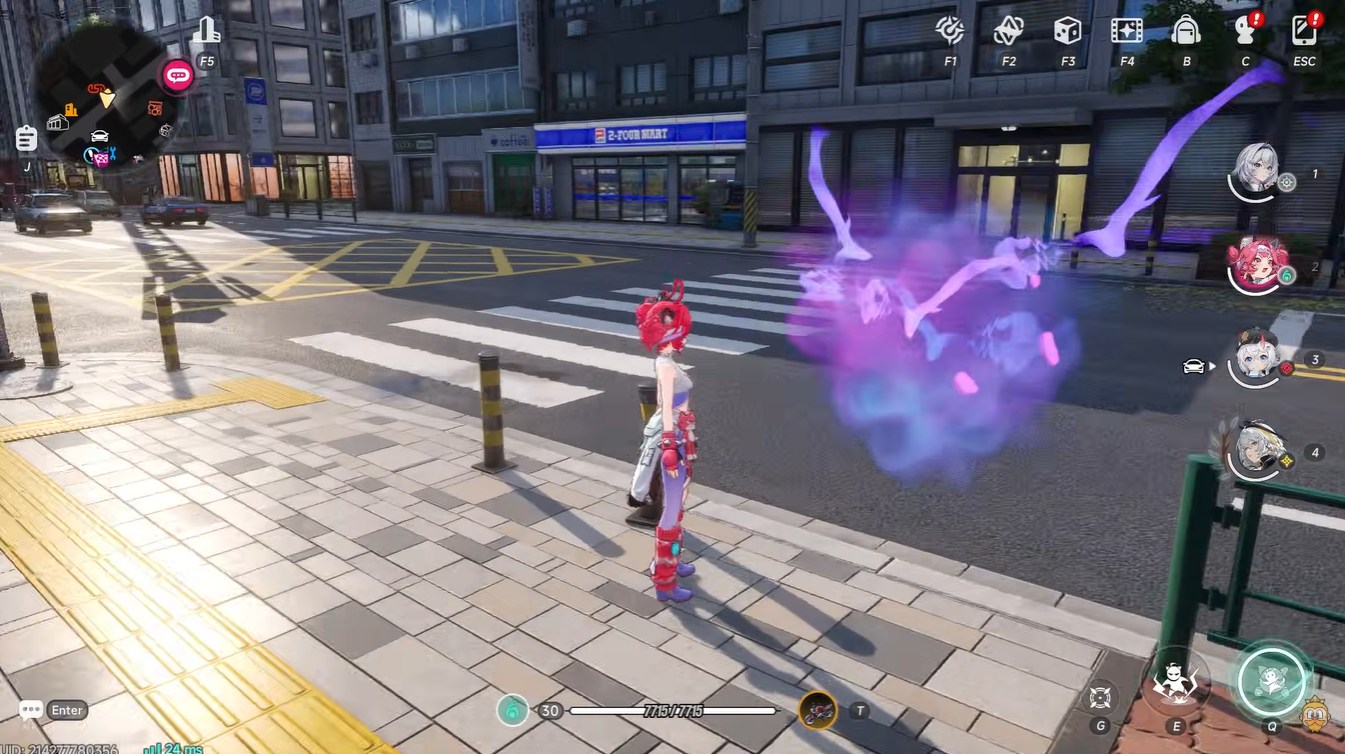
You are essentially playing hide-and-seek with Mysty, who disguises itself as everyday objects. Each clue pushes you toward an object that looks slightly “off.” The key is to observe inconsistencies—size, markings, or placement.
The three parts you asked about—Waka, Mysty’s disguise, and Crunch Crunch—are mid-to-late quest steps where players often get stuck.
Search for clues about Waka
Enter the marked shop area after Mysty disappears. You’ll notice multiple decorative items inside. Look carefully for a dark figurine inside the shop. This object stands out slightly compared to others due to its tone and placement.
Interact with or hit the dark figurine. This reveals Mysty again and progresses the “Waka” clue objective.
The important detail here is that not everything in the shop is interactive—only the suspicious figurine triggers the event.
See through Mysty’s disguise
Exit the shop and scan the immediate outdoor area. Focus on roadside objects. Locate a group of black and yellow poles. These are small posts placed along the sidewalk.
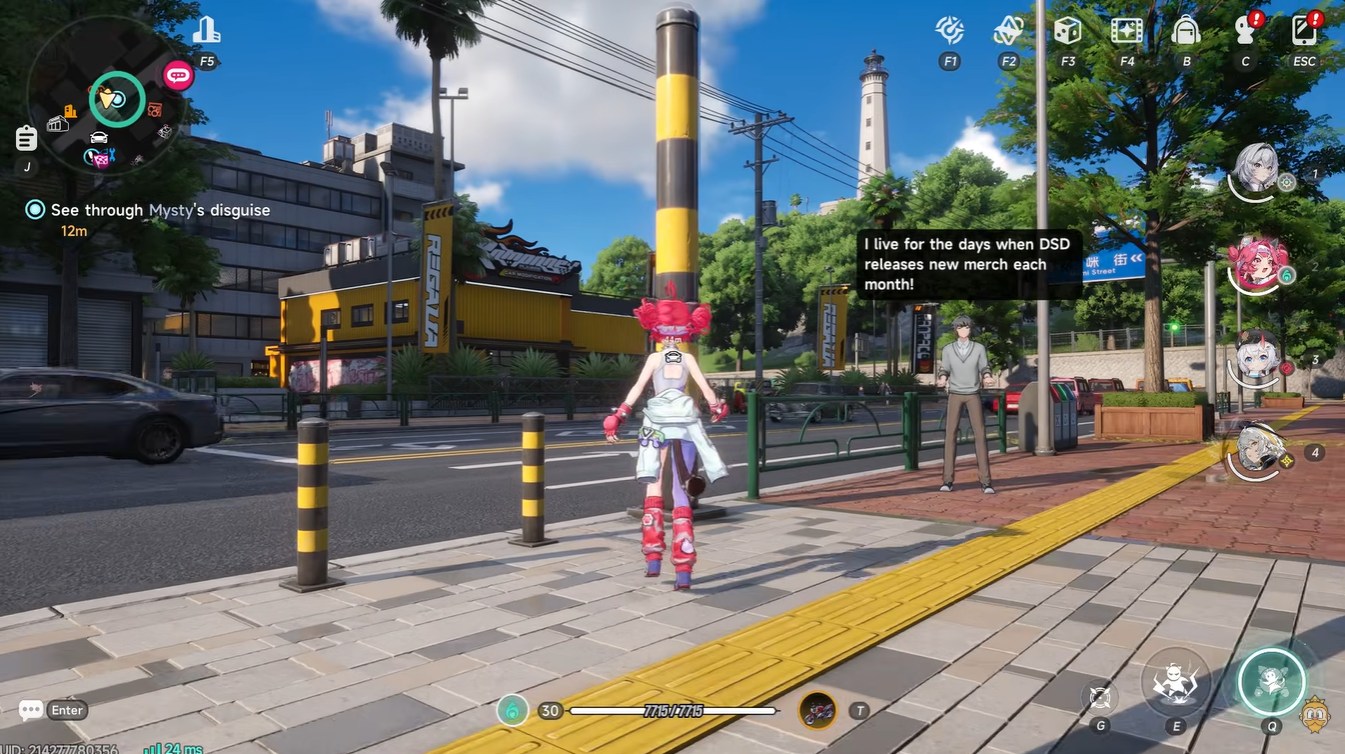
Identify the one that looks slightly larger than the others. That size difference is the clue. Attack or interact with the oversized bollard. Mysty will pop out, completing the disguise objective.
This step tests your attention to subtle visual differences rather than obvious markers.
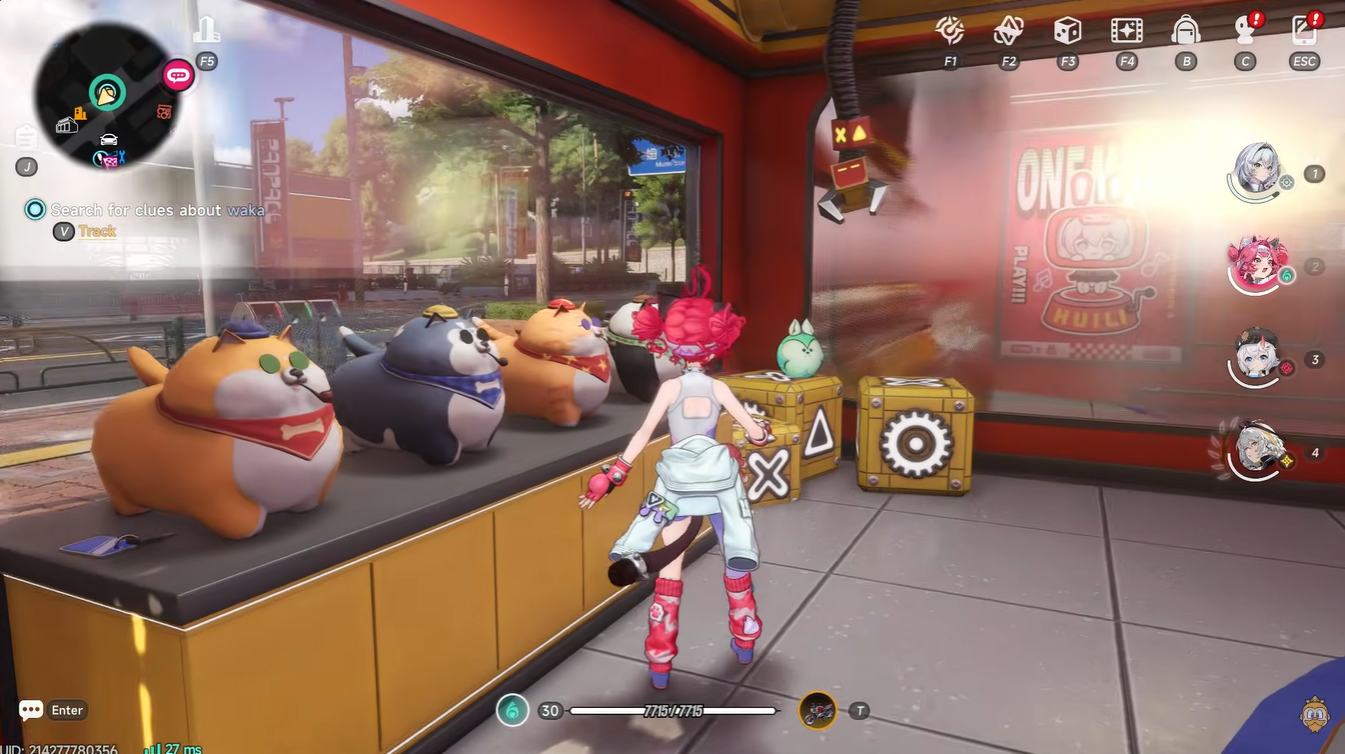
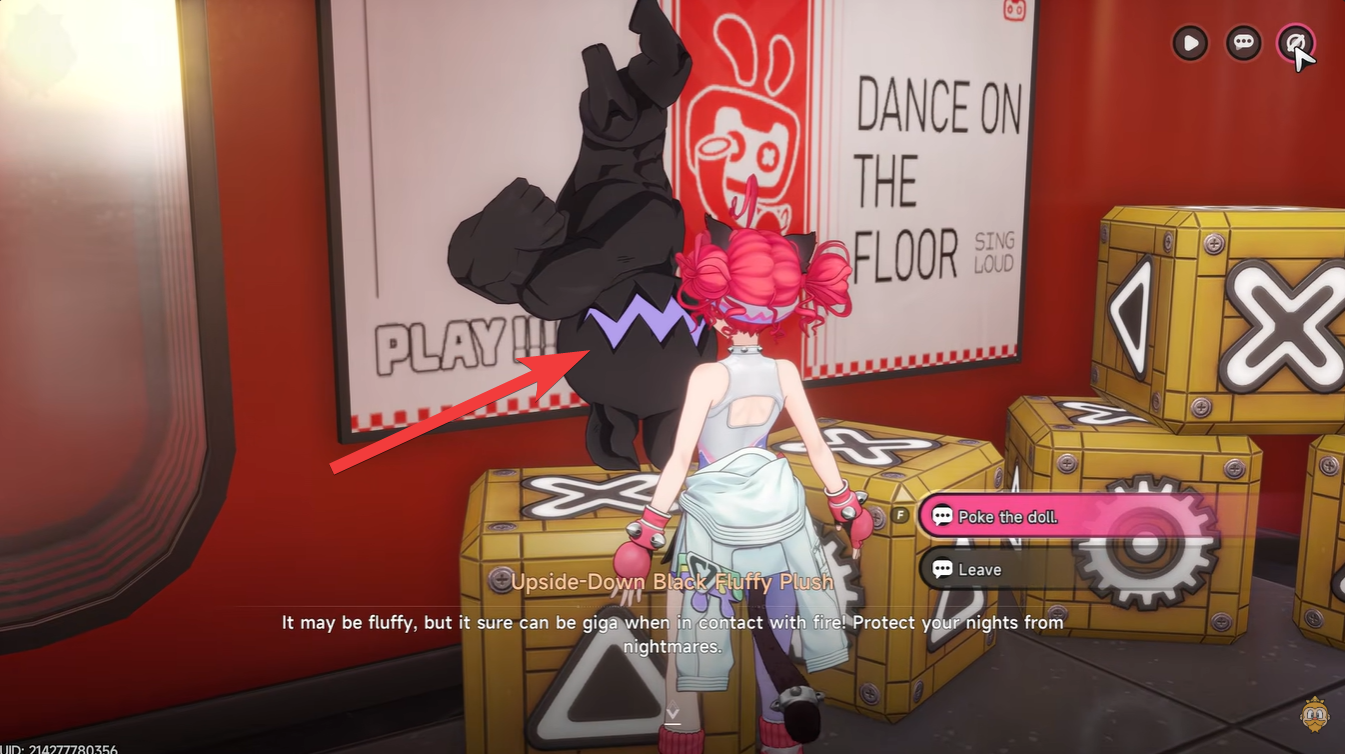
Search for clues that go “Crunch Crunch”
Move to the final highlighted search area nearby. Look for a green poster and a red poster on a wall. This poster blends into the environment unless you actively scan for it.
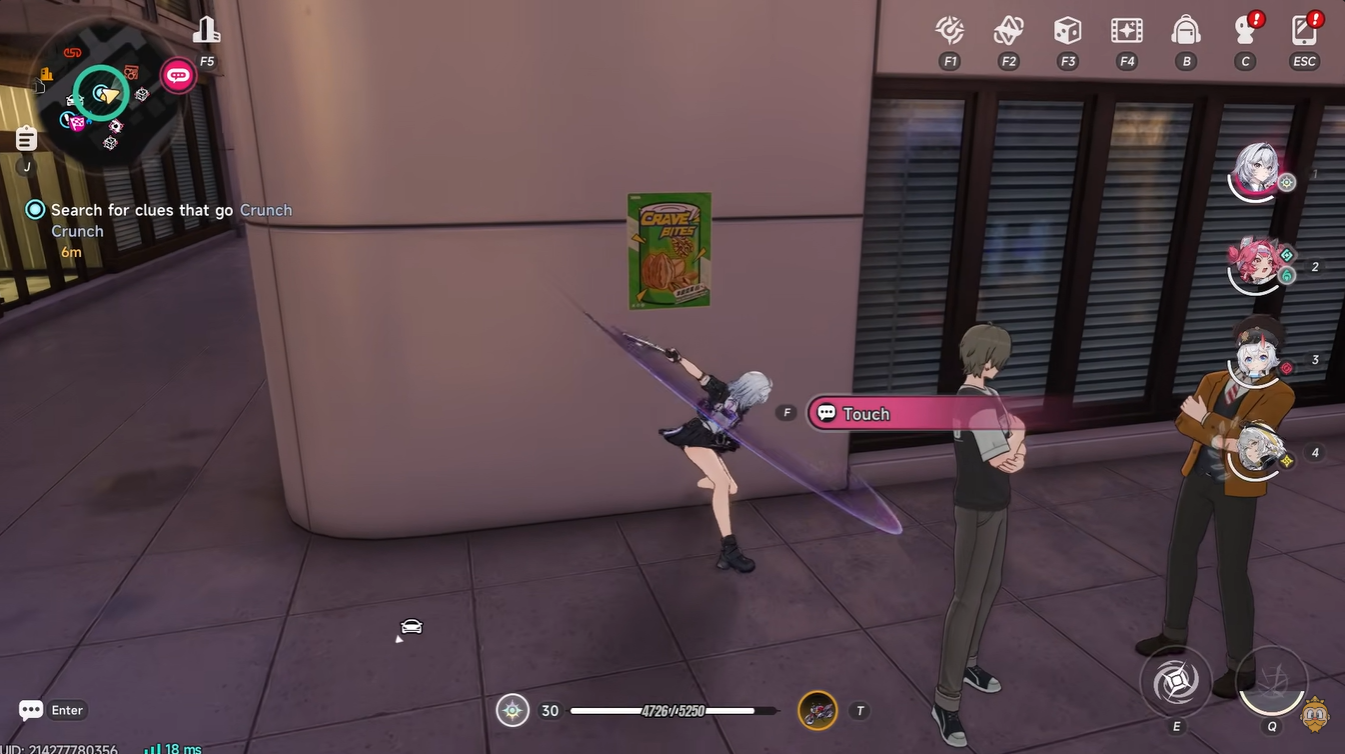
Interact with or strike the red poster first, and then the green poster. Mysty is revealed for the final time, completing the clue chain.
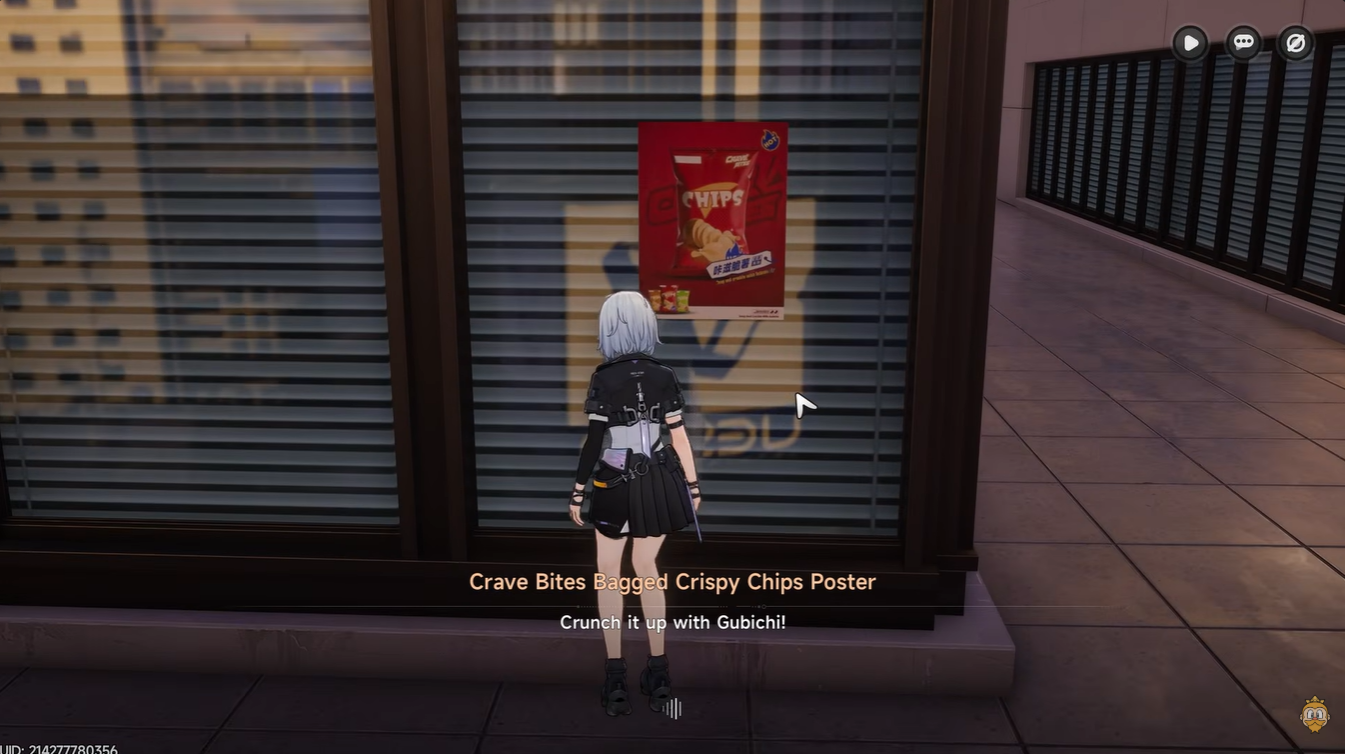
The “Crunch Crunch” clue hints at something flat or paper-like, which is why the poster is the correct object.
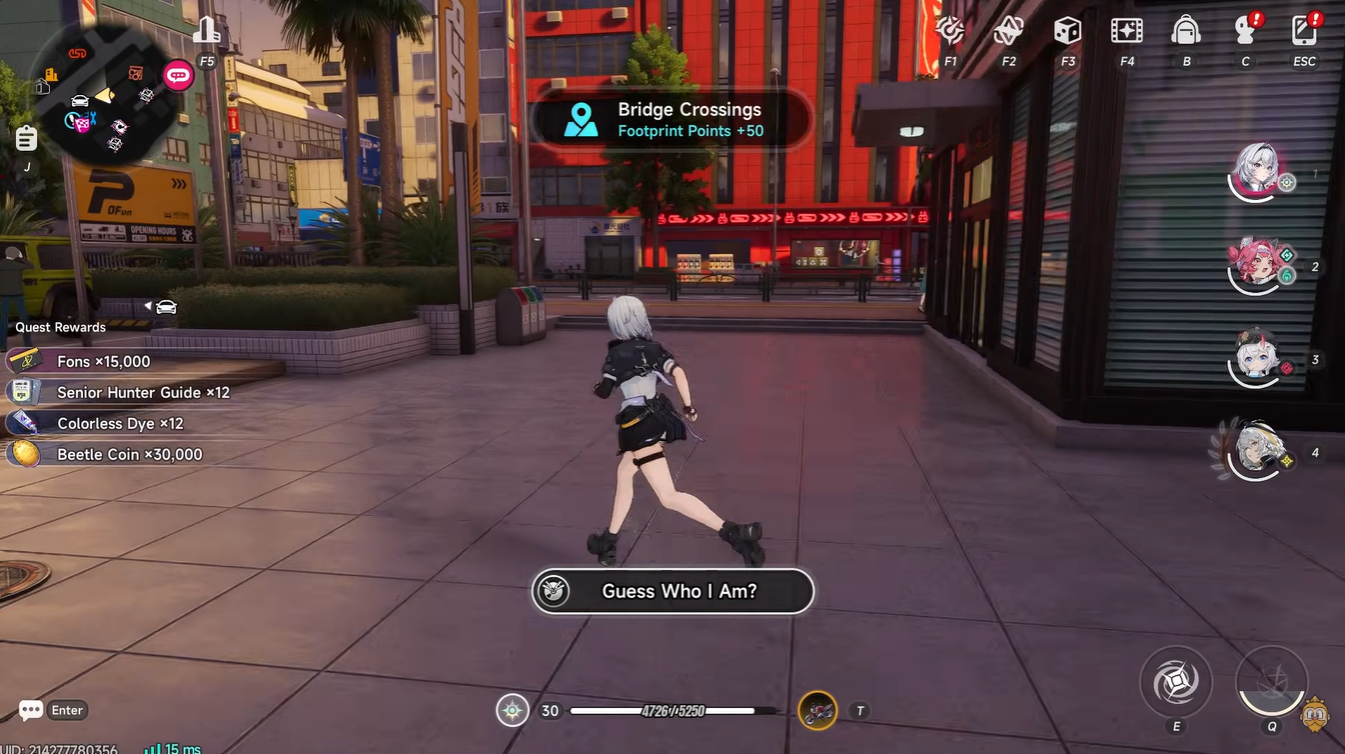
Rewards for completing the quest
| Reward Type | Amount |
|---|---|
| Hunter EXP | 400 |
| Annulith | 60 |
| Fons | 150,000 |
| Senior Hunter Guide | 12 |
| Colorless Dye | 12 |
| Beetle Coins | 30,000 |
Why players get stuck on these steps
The quest deliberately avoids obvious markers, forcing you to rely on environmental storytelling. Unlike standard objectives, you are not guided directly to the object—you must interpret the clue wording.
Waka is tricky because the shop contains multiple interactable-looking props.
The disguise step is subtle due to minimal size differences.
Crunch crucnh confuses players since the clue is abstract rather than literal.
Once you understand the pattern—“find the odd object out”—the entire quest becomes much easier.
Completing the Flipped Phone Booth quest is less about combat and more about observation. If you stay patient and carefully inspect your surroundings, each clue becomes intuitive rather than frustrating. By following the correct interactions for Waka, Mysty’s disguise, and Crunch Crunch, you’ll finish the mission smoothly and collect valuable rewards.


Leave a Reply