What to know
- Registry Preview is a new tool in PowerToys that can help you visualize and edit registry files on your PC. You can view a text preview of the file, a hierarchical view of all the keys as well as the values contained in a key.
- You can edit the registry file, write it to your PC’s registry or save the changes made to the file.
PowerToys is a collection of advanced tools that help you perform complicated tasks with a few simple clicks. PowerToys has seen a lot of improvements over the past year with the addition of tons of new tools that aim to help improve your workflow. Among these new additions is the Registry Preview tool.
This tool can help you manage registry files and edit them on the fly. If you’re an IT admin or someone who has to edit registry values regularly, then you might want to check out the Registry Preview tool in PowerToys. Here’s all you need to know about it.
How to use Registry Preview in PowerToys
Now that you’re familiar with Registry Preview, here’s how you can use it on your PC. Follow the steps below to help you along with the process.
Step 1: Install PowerToys and enable Registry Preview
We will first need to install PowerToys and enable Registry Preview before we can use it on your PC. Let’s get started.
- Visit this link and click and download the PowerToys setup relevant to your PC.

- Once downloaded, double-click and launch the setup file.

- Next, check the box for I agree to the license terms and agreement.

- Now click Options.

- Click Browse to choose where PowerToys is installed on your PC.

- Choose the preferred location and click OK.

- Click OK again.

- Now click Install.

- PowerToys will now be installed on your PC.

- Click on Close once it has been installed on your PC.

- Now launch the Start menu and search for PowerToys. Click on the app once it shows up in the search results.

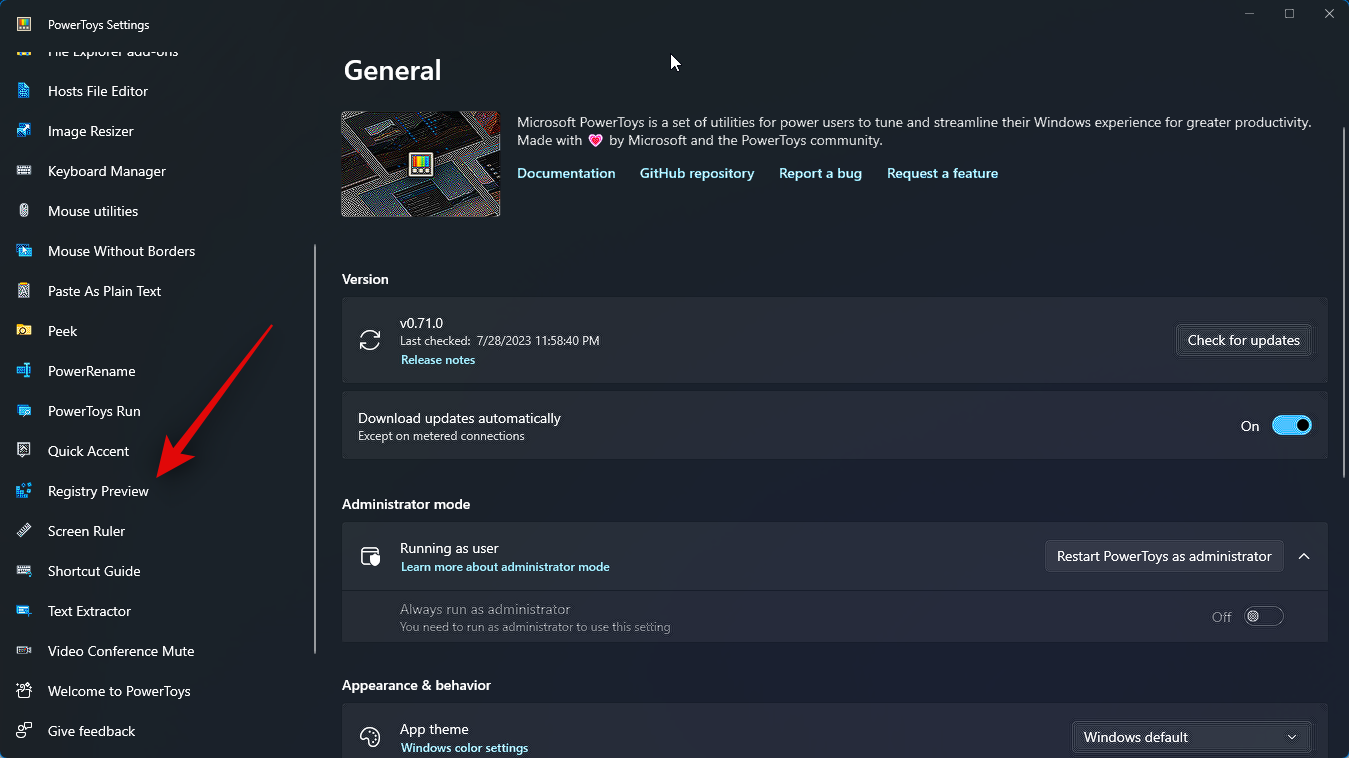
- Once the app has been launched, click on Registry Preview in the left sidebar.
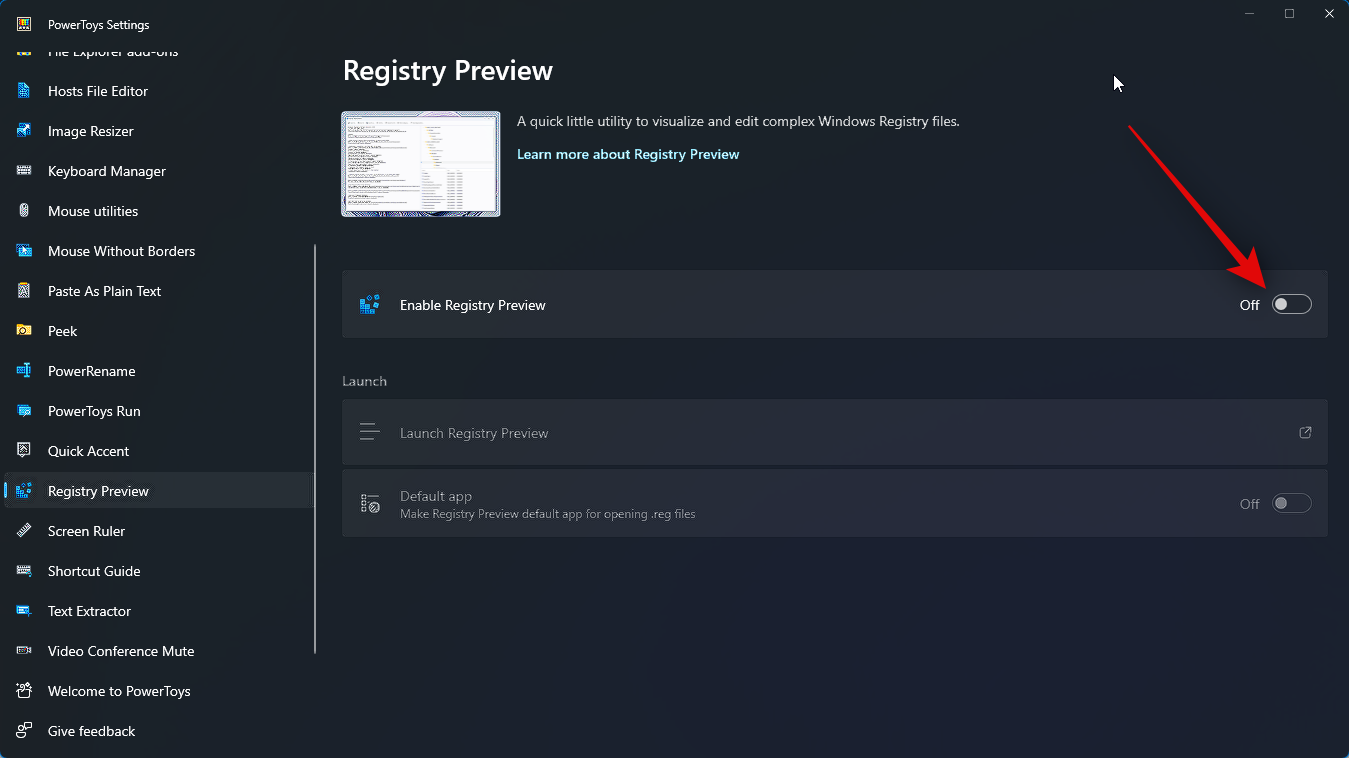
- Click and enable the toggle for Enable Registry Preview at the top.
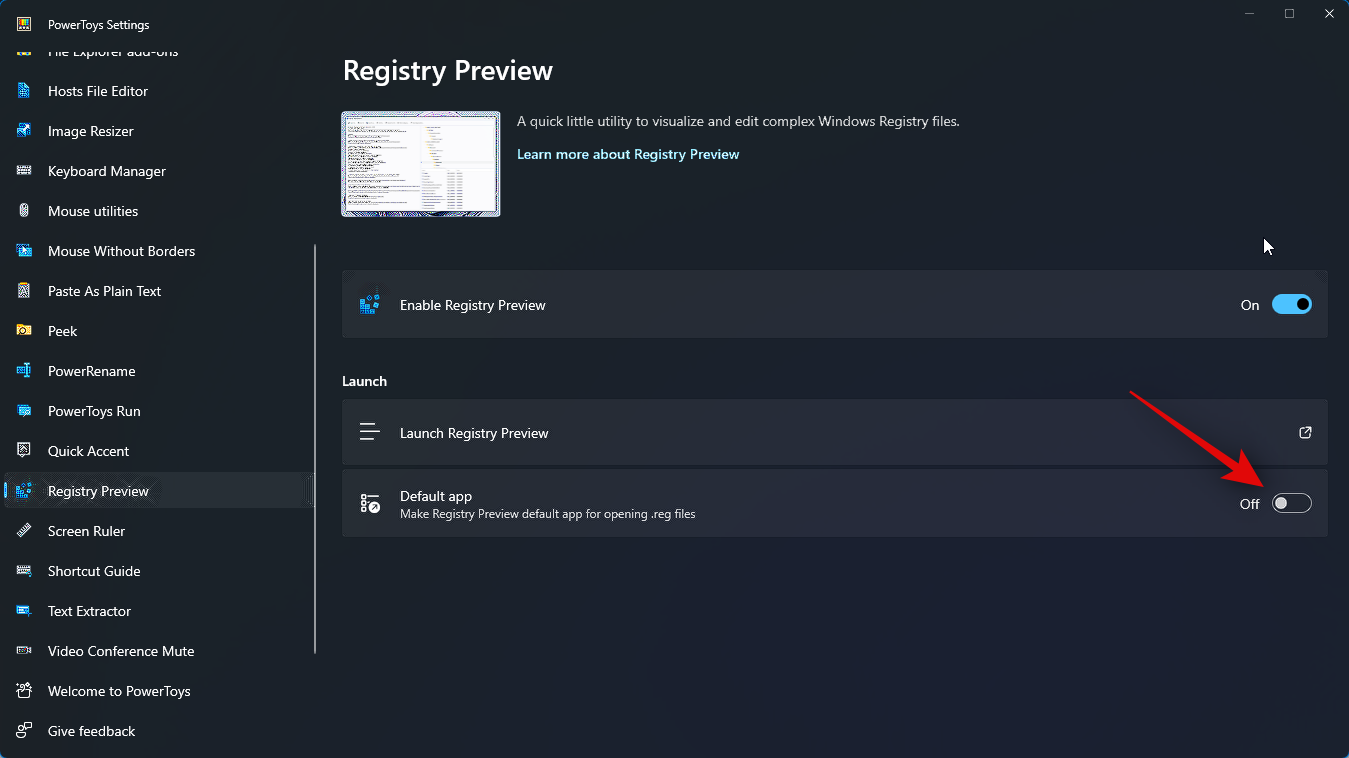
- Now click and enable the toggle for Default app if you wish to make Registry Preview the default app you wish to use to open registry files on your PC.
And that’s it! Registry Preview has now been enabled on your PC. We can now use it to visualize and edit Registry files on your PC.
Step 2: View and edit Registry files using Registry Preview
Here’s how you can use Registry Preview to visualize and edit Registry files on your PC. There are two ways to use Registry Preview. You can either launch it and open the desired registry file or right-click and open a registry file in the Registry Preview. Let’s first take a look at how you can launch the Registry Preview, and then edit the desired registry files as needed.
- Start by launching the Start menu and searching for PowerToys. Click and launch the app once it shows up in your search results.

- Now click Registry Preview in the left sidebar.

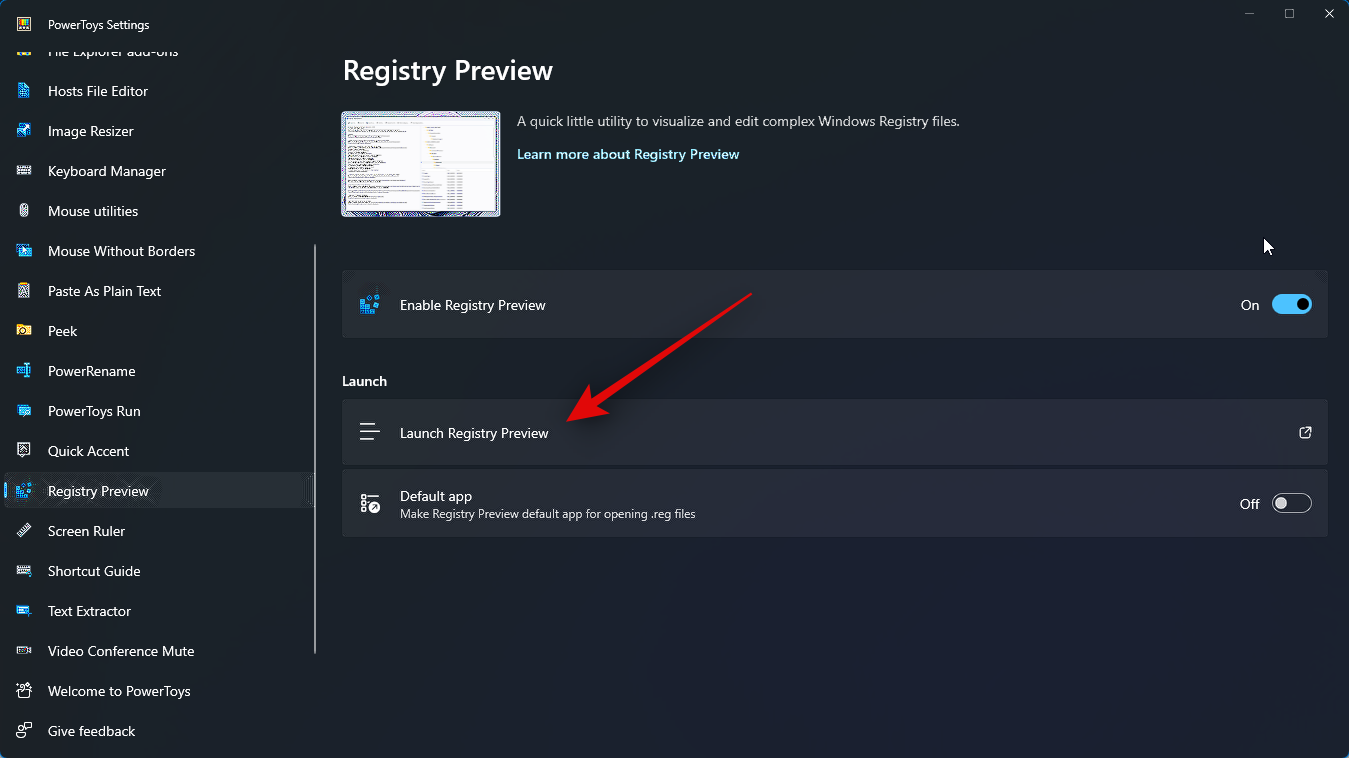
- Next, click on Launch Registry Preview.
- You can also enable the toggle for Default app if you wish to use Registry Preview each time when opening a registry file.

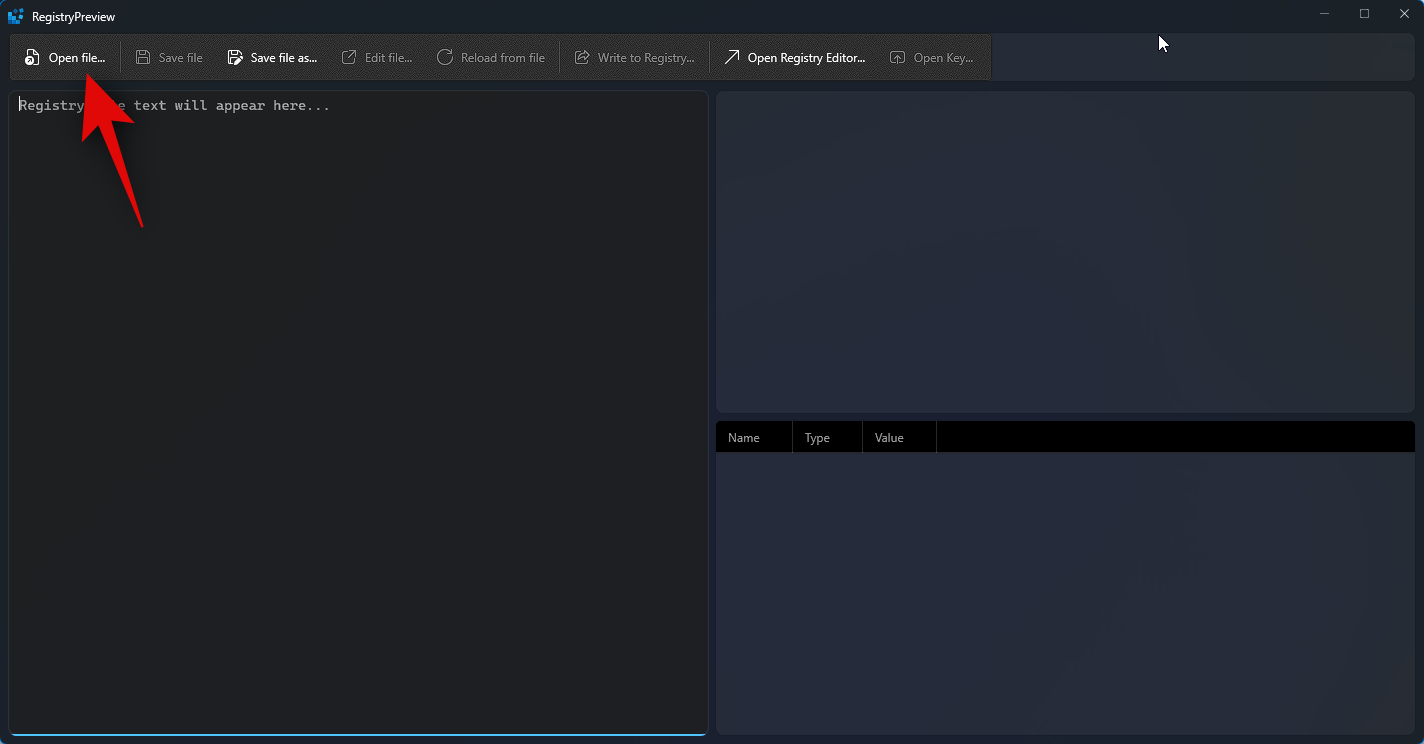
- Registry Preview will now be launched on your PC. Click Open file… in the top left corner. You can also press Ctrl + O on your keyboard to open the desired registry file.
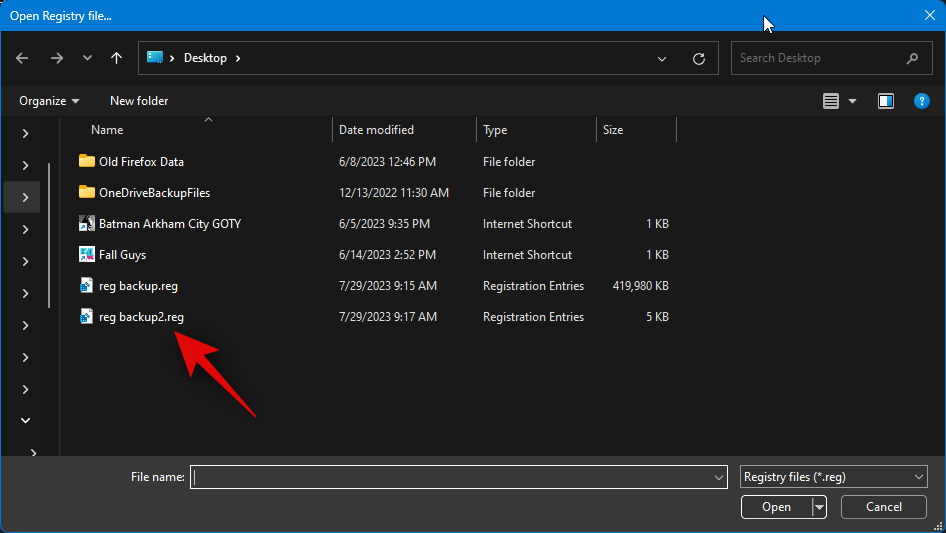
- Navigate to the file you wish to edit and click and select the same.
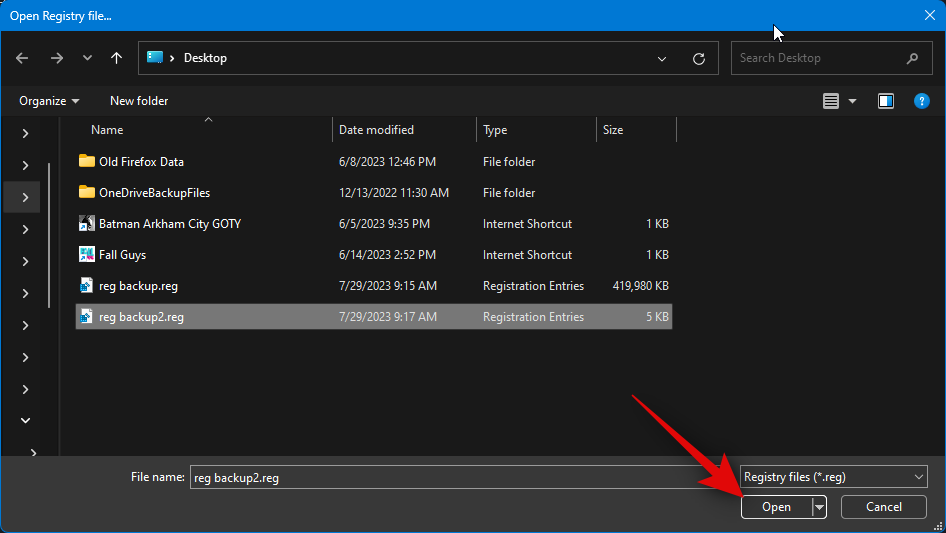
- Click Open once you’ve selected the file.
- The file will now be opened in Registry Preview. You can now view a text preview for the file on your left.
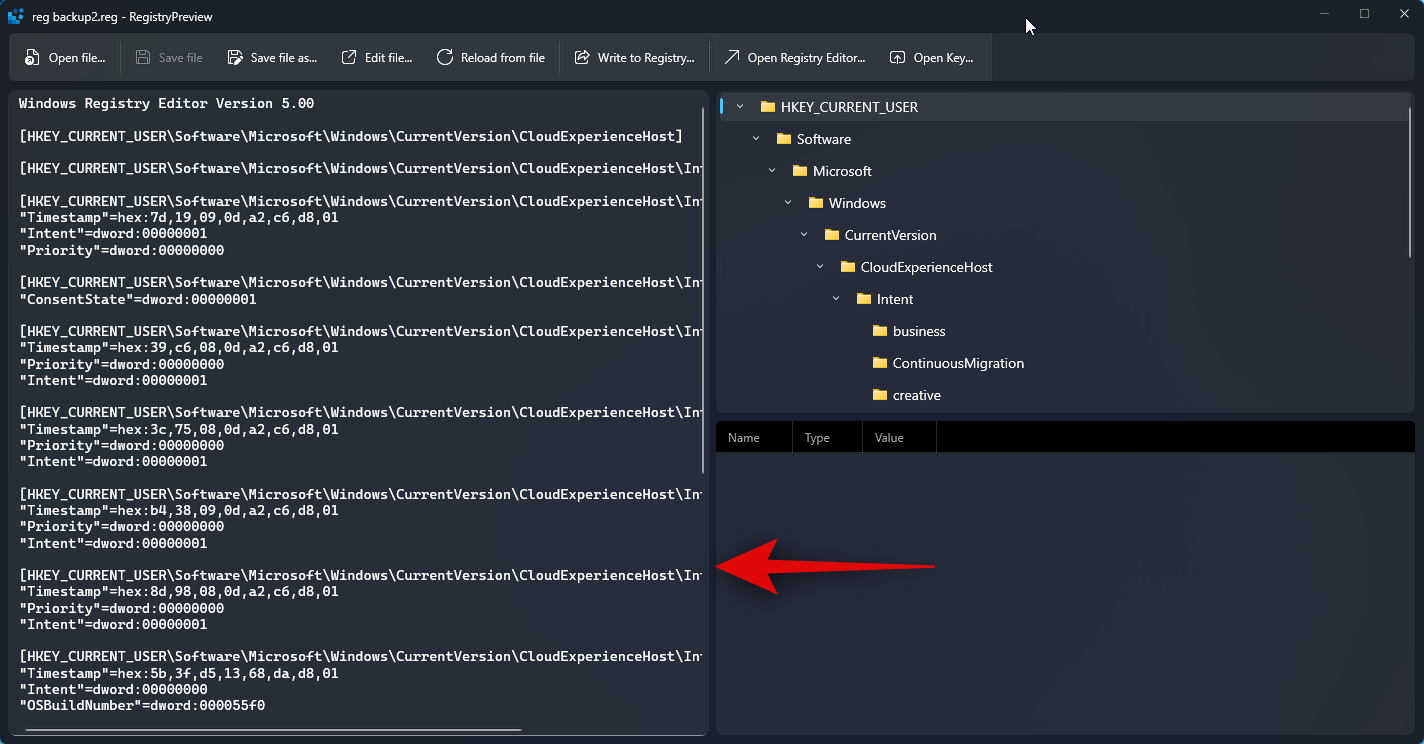
- A visualized preview of the file will also be available on your right.
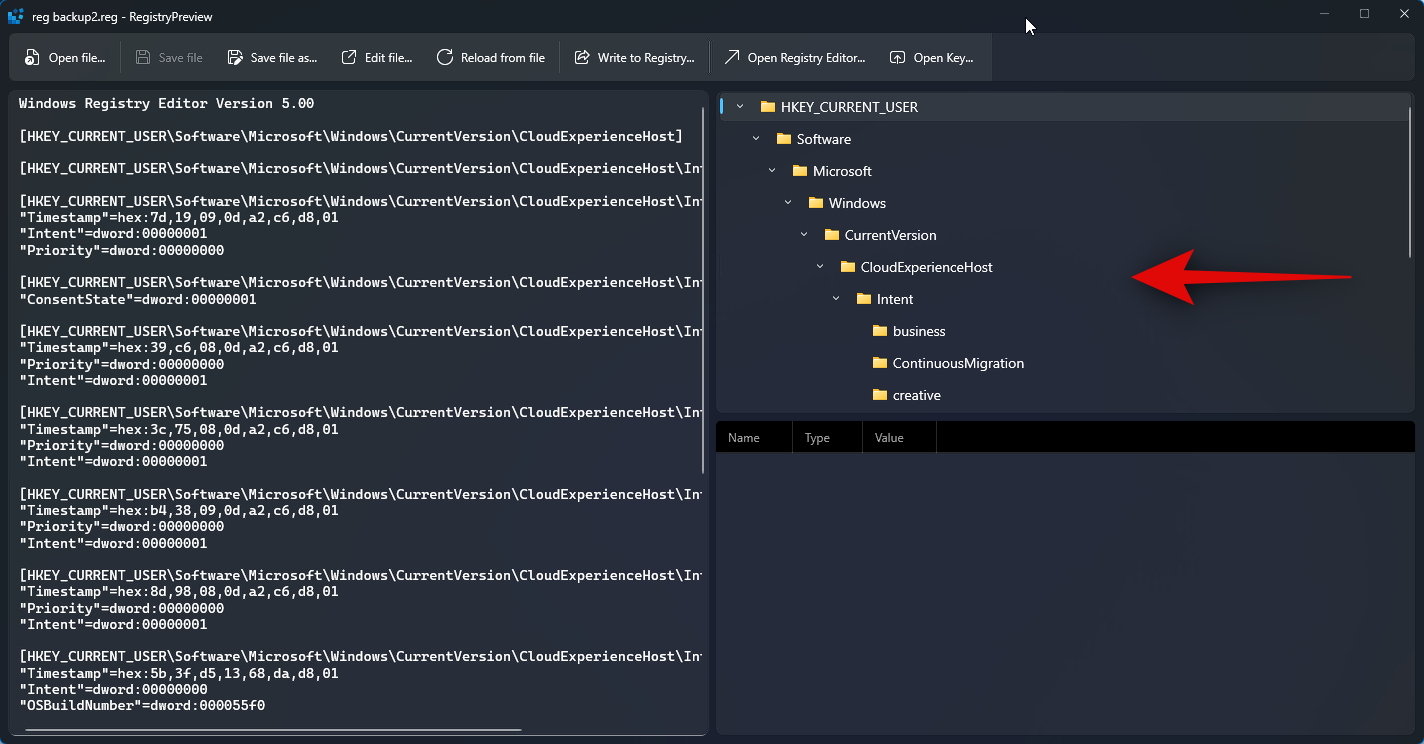
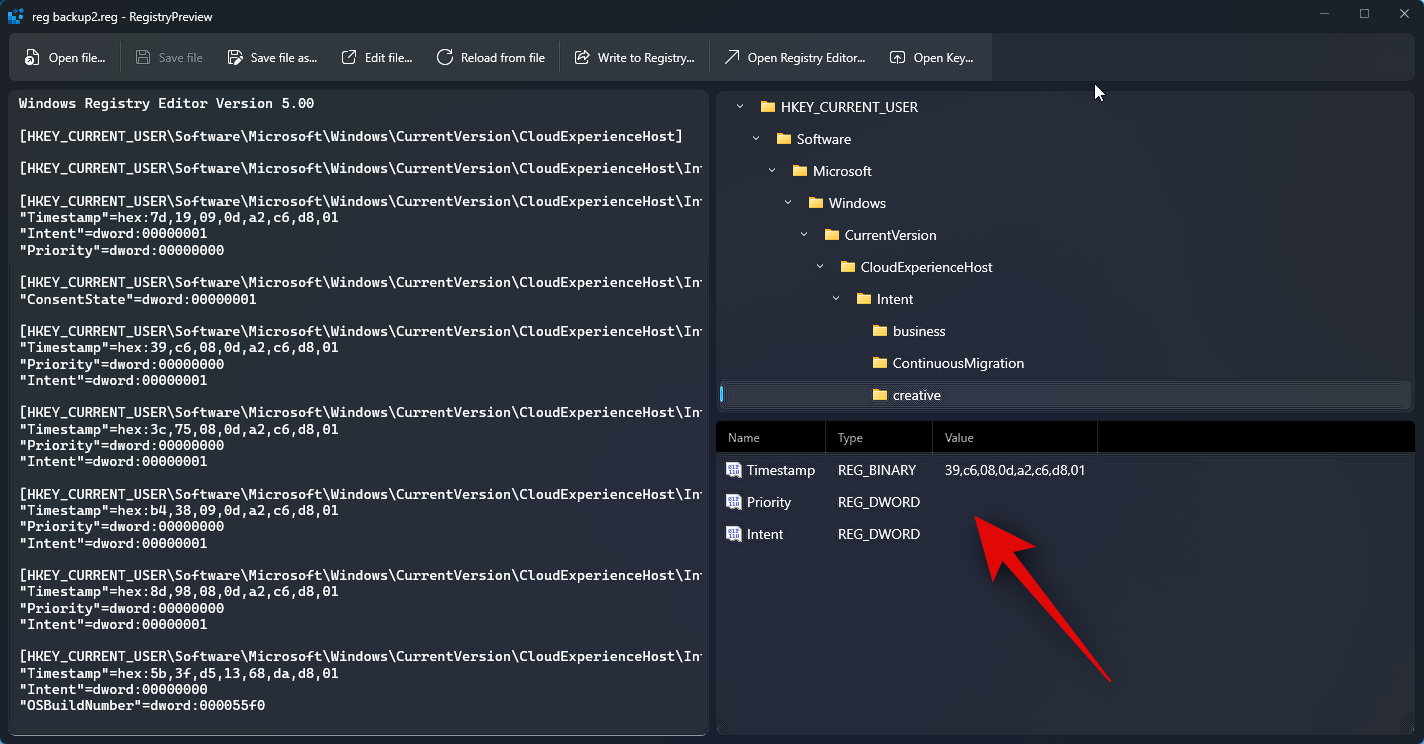
- You can now click and select a key to view contained values within.
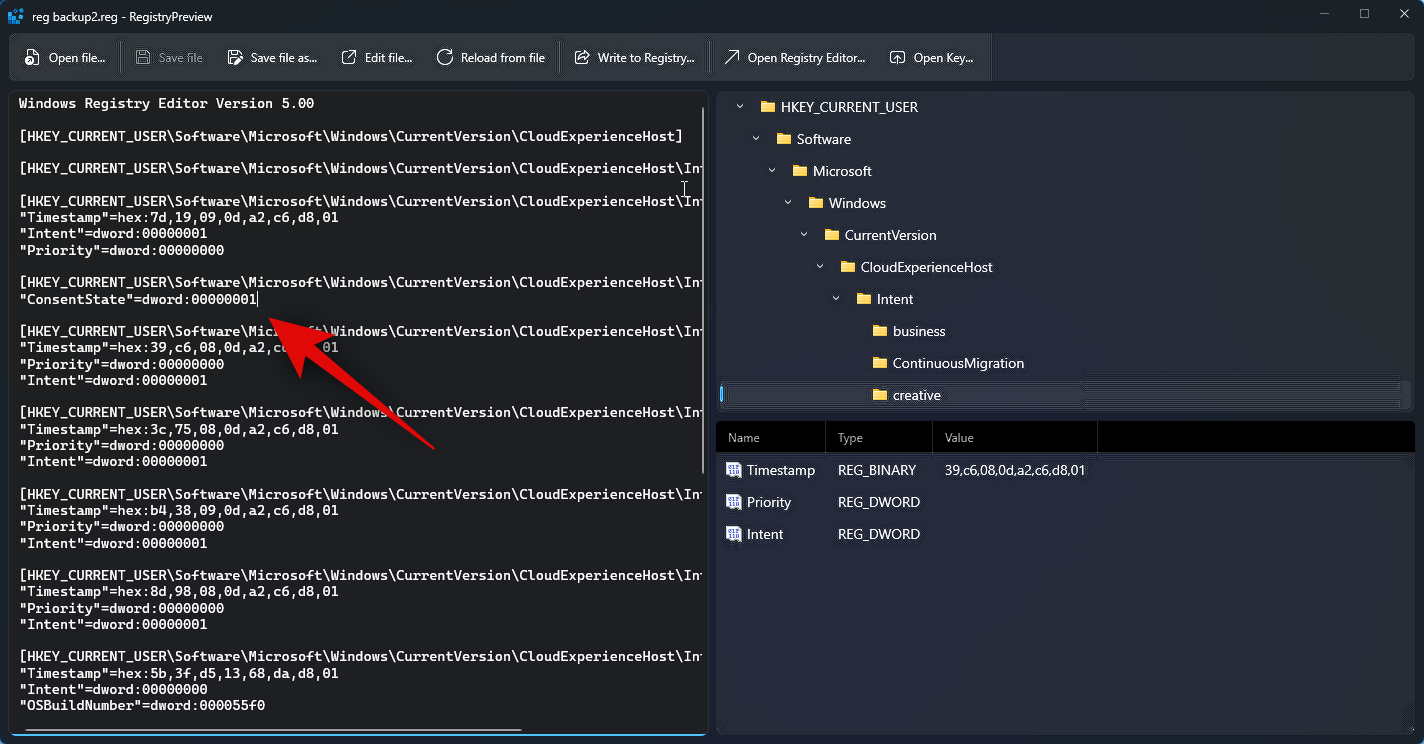
- To edit the values, you can use the text preview on your left. You can click and place the cursor where you like and edit the necessary values as needed.
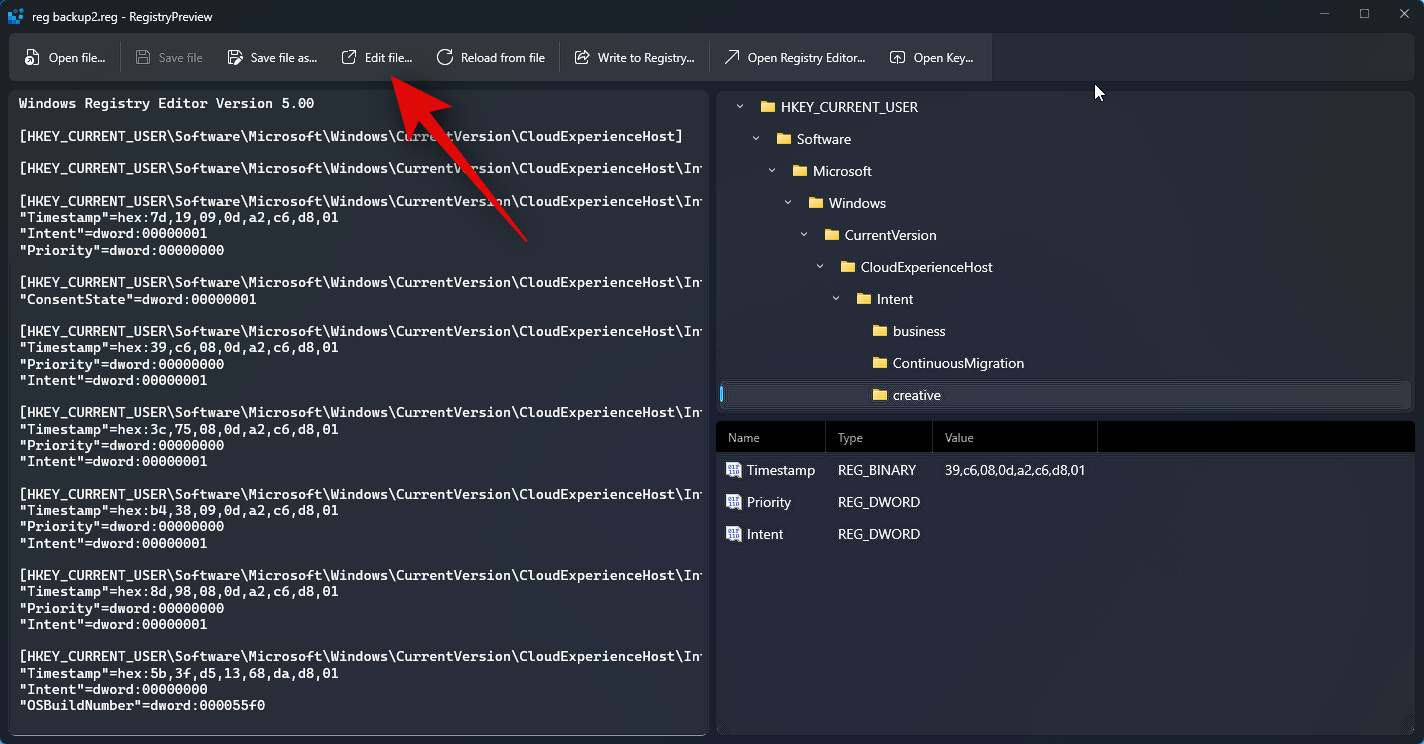
- You can also edit the file in Notepad by clicking Edit file… at the top. You can also use the Ctrl + E keyboard shortcut to edit the file.
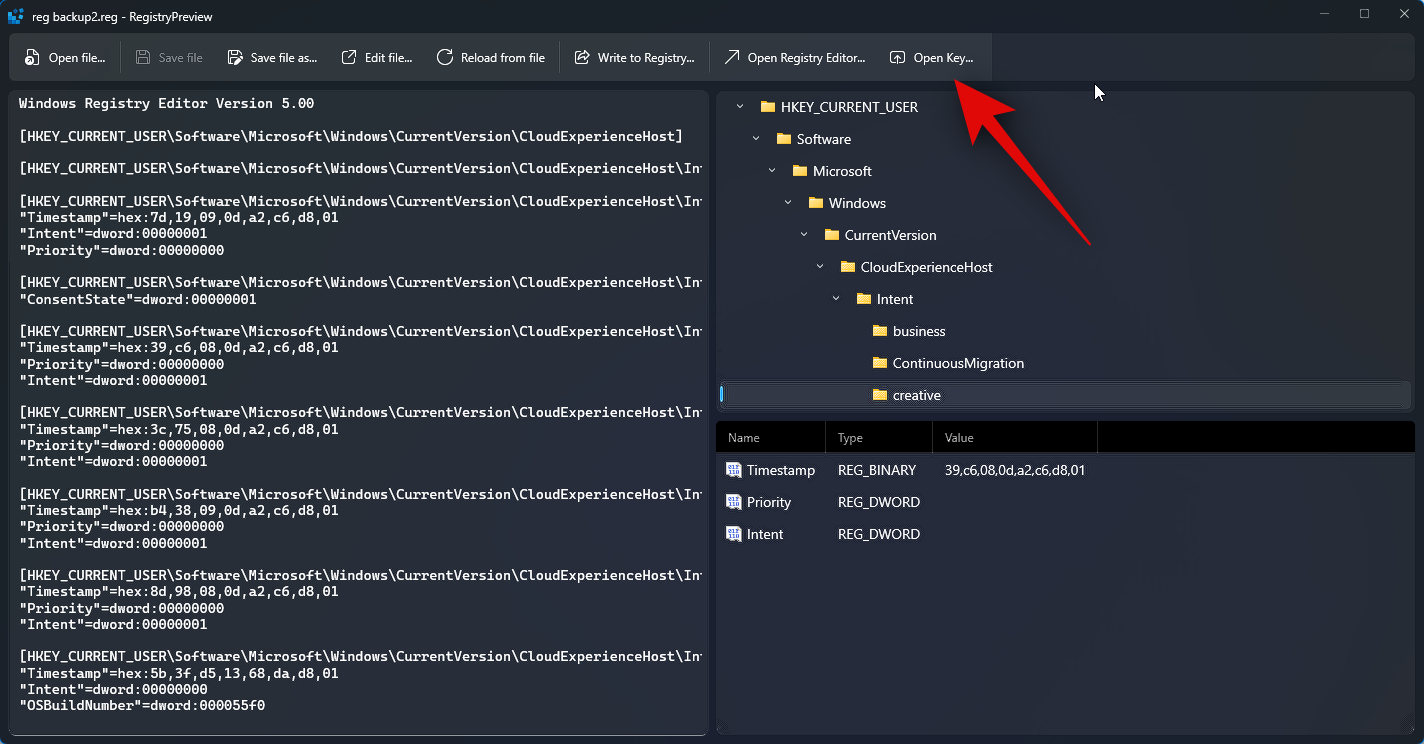
- If the registry values exist in your PC’s registry, you can click Open Key… to view it in the Registry Editor. You can also use the Ctrl + Shift + R keyboard shortcut to do the same.
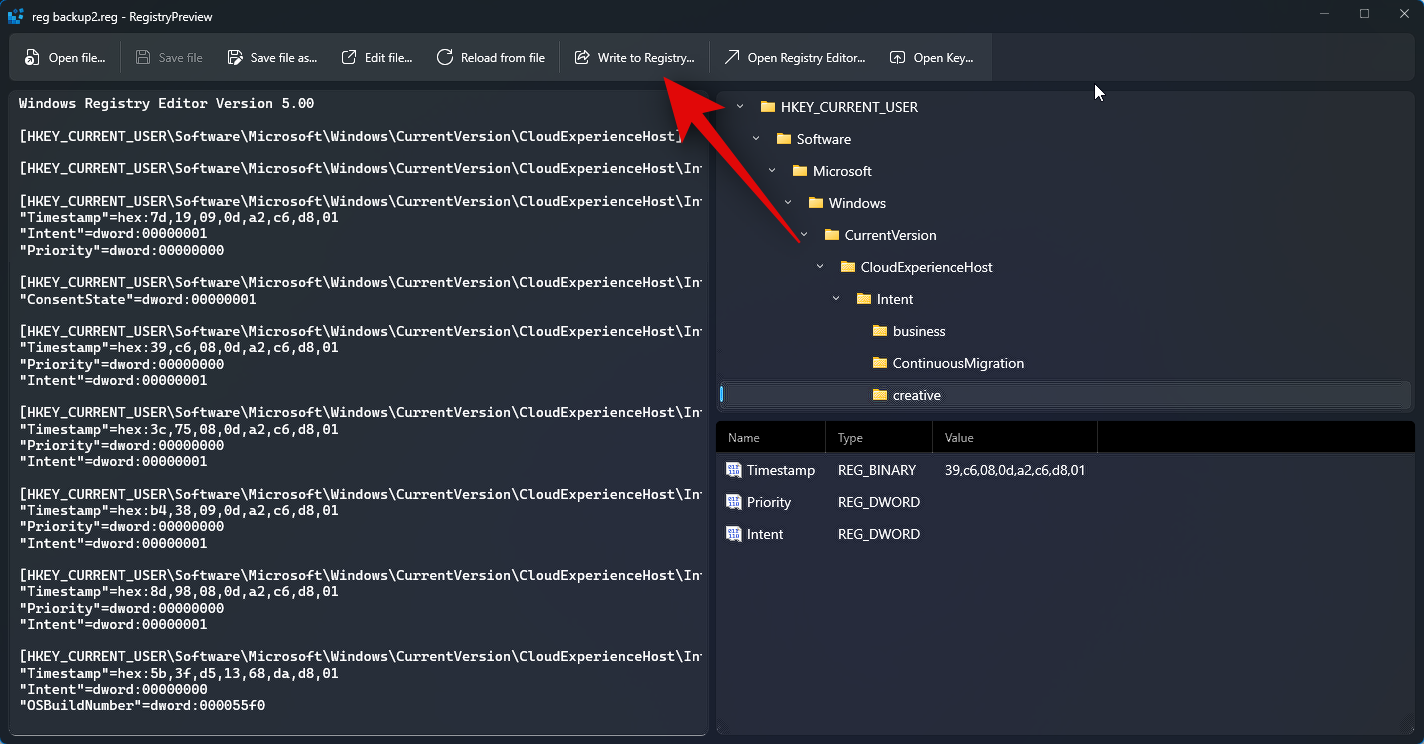
- Additionally, once you’ve edited the file as needed, you can click Write to Registry… to add the values to your PC’s registry. You can also use the Ctrl + W keyboard shortcut to do the same.
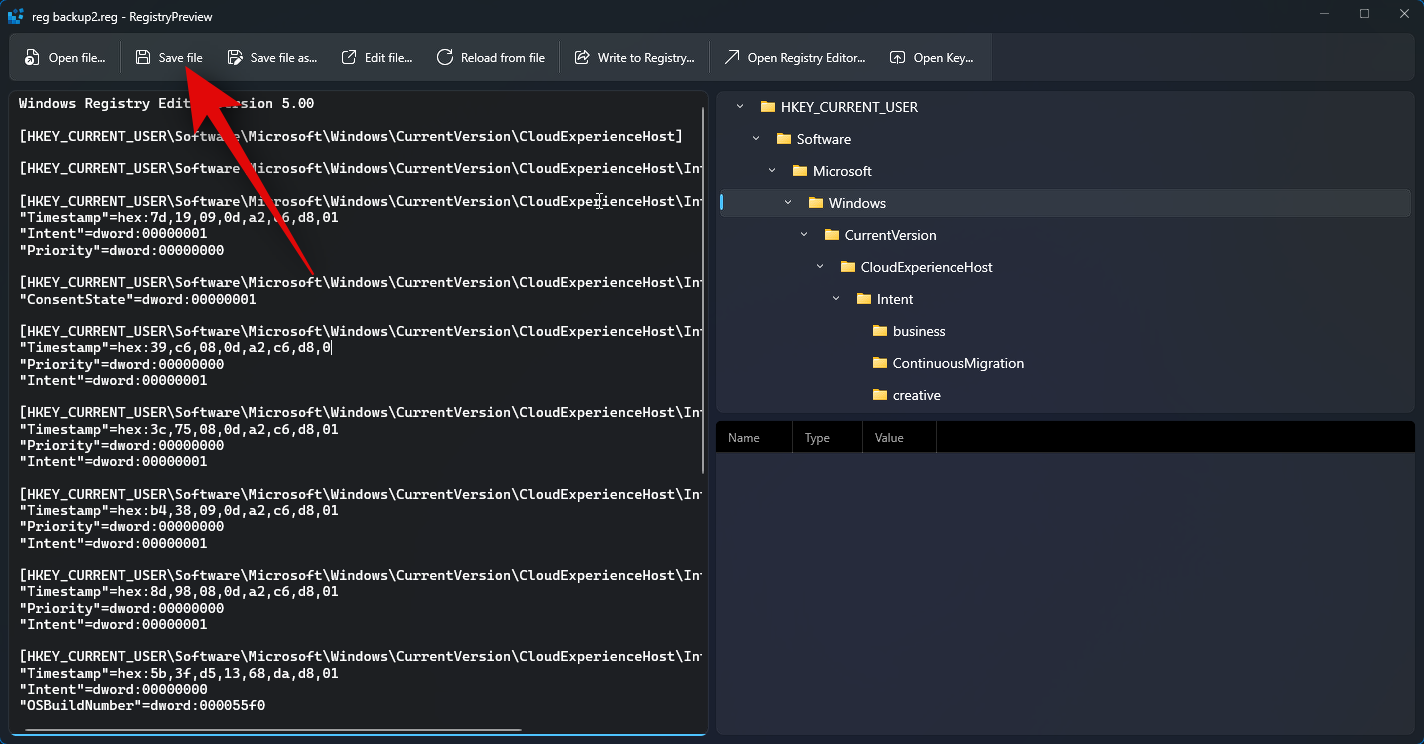
- Moreover, you can click Save file… to save the changes you’ve made to the registry file. The same also has a keyboard shortcut Ctrl + S that you can use to save the changes made to the file.
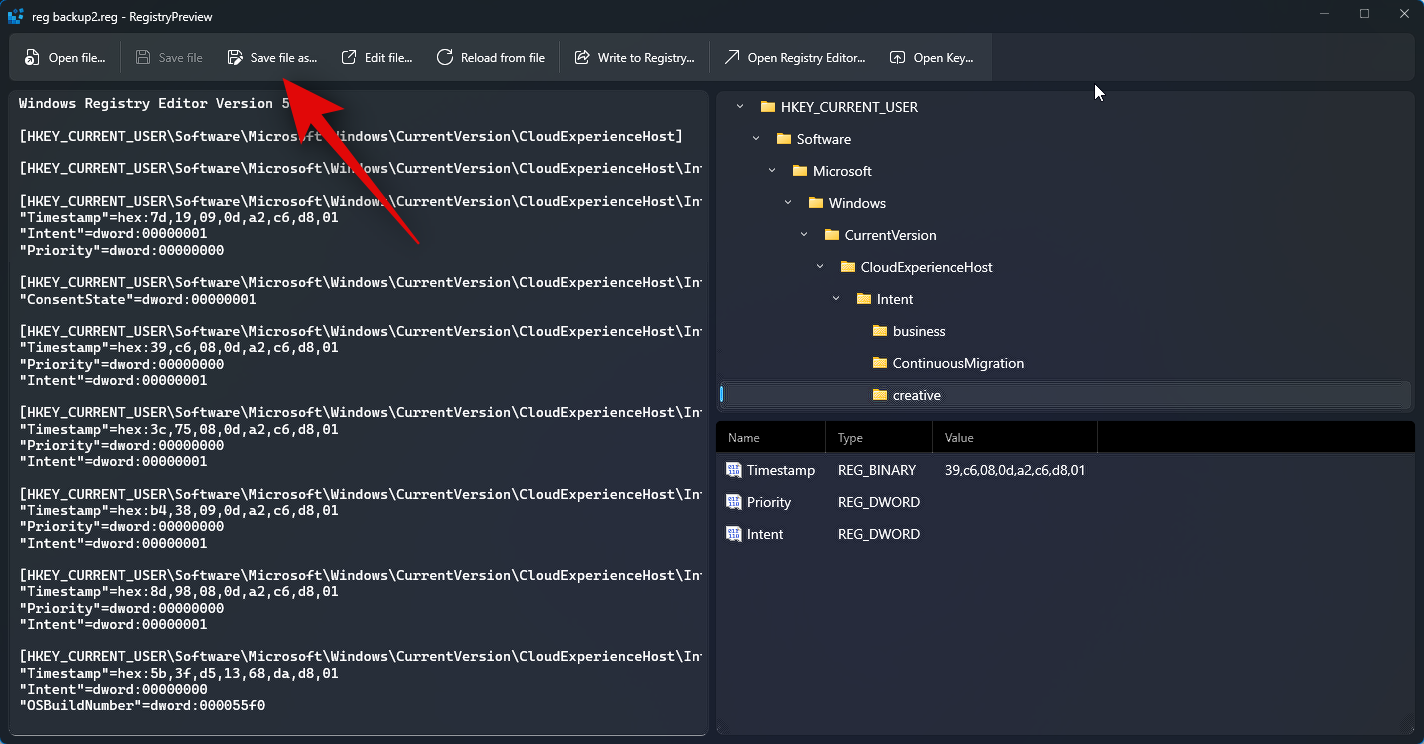
- You can also use the Save file as… option to save the registry file as a new file with the changes you made. You can also use the Ctrl + Shift + S keyboard shortcut to do the same.
And that’s how you can use Registry Preview to view and edit registry files on your PC.
We hope this post helped you get familiar with Registry Preview and how you can use it on your PC. If you face any issues or have any questions, feel free to reach out to us using the comments section below.


