You could be clicking some amazing selfies but there are moments when your picture looks amazing but the background left a little bit to be desired. You might have perfected all the necessary parameters for a good photo including focus, white balance, tone and brightness and then you realise that a dirty pair of jeans is left sitting on a chair in the back.
But you don’t need to worry! We’ve got you covered. There is still a way or two to save the picture.
How to crop yourself from a picture
Cropping yourself or replacing the background from a picture you’re in can only be done through third-party apps on Android. In this guide we’re using two different apps to crop yourself or an object and past it onto a different background.
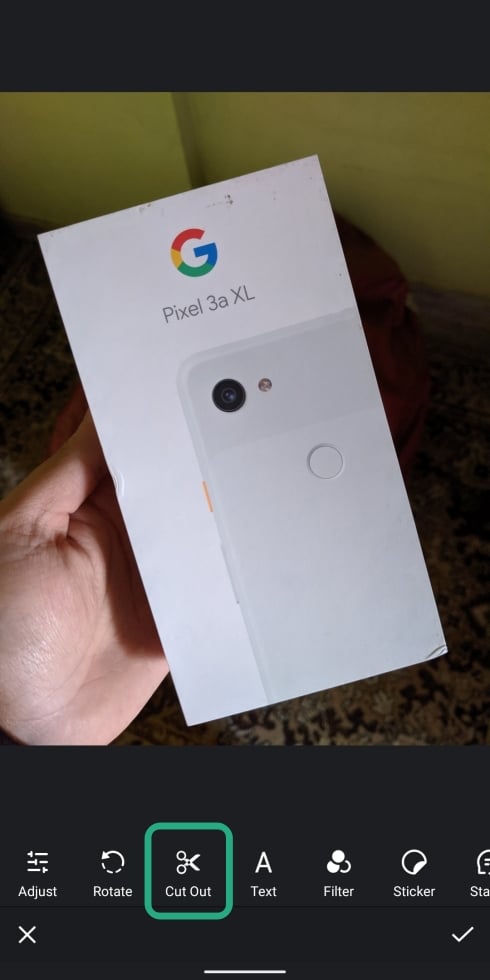
Using Cut Cut app
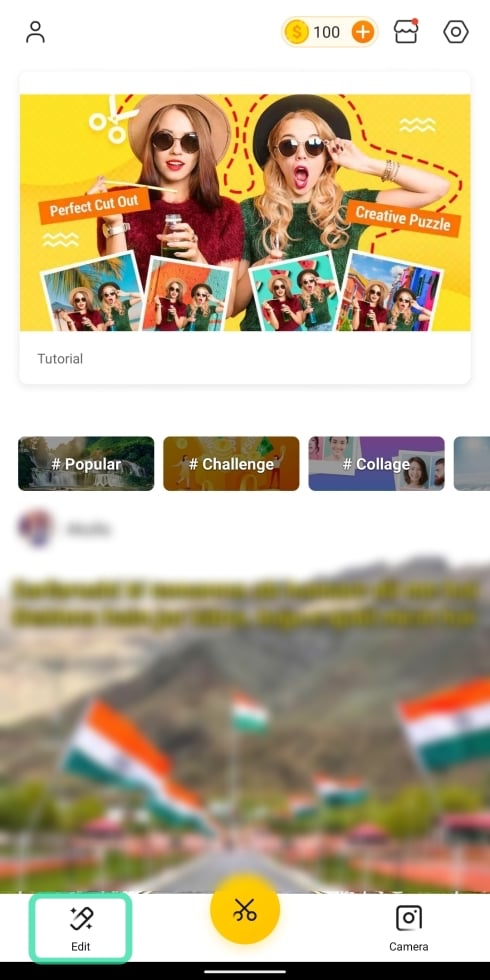
You will now be taken to a new window where you’d be shown pictures from your gallery. In order for the app to show pictures, make sure you grant storage permissions.
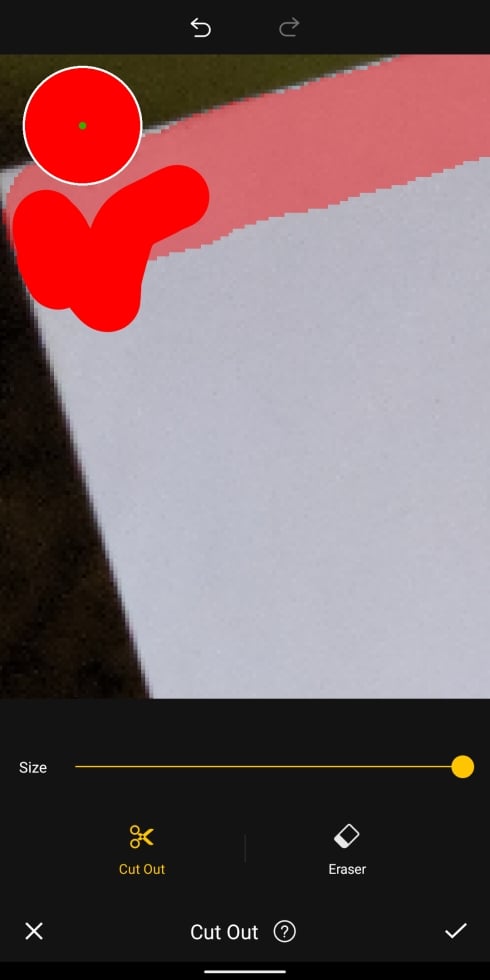
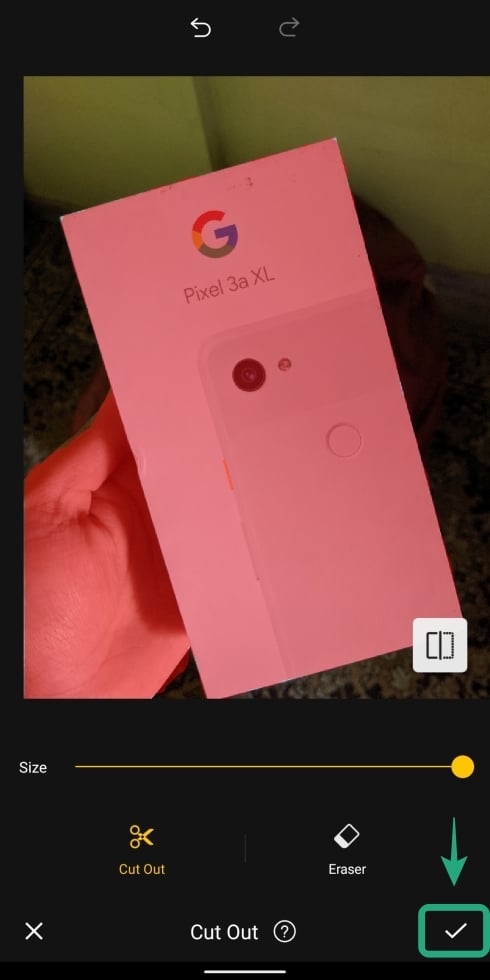
When you do so, the brushed-over portion of the picture is colored in red (with opaqued background).
- You can change the brush size by sliding through the yellow slider.
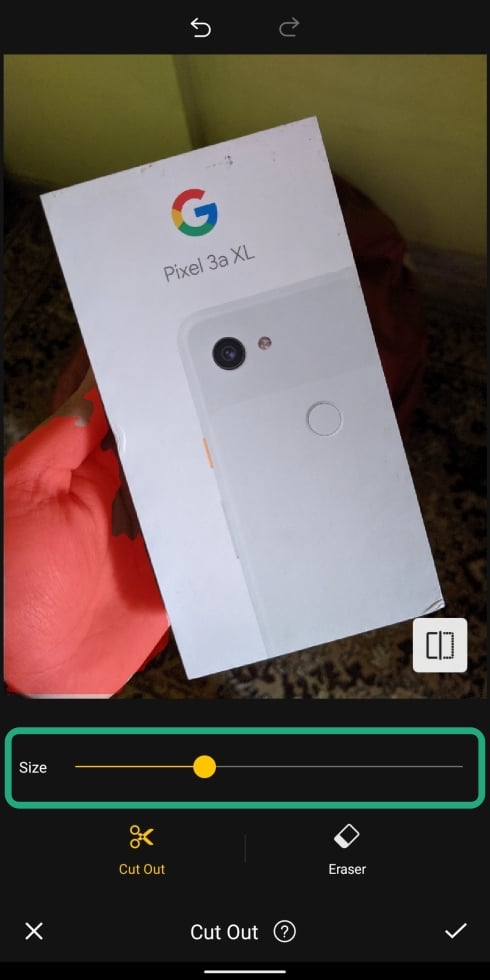
- You can zoom in into the picture to brush the subject with precision.
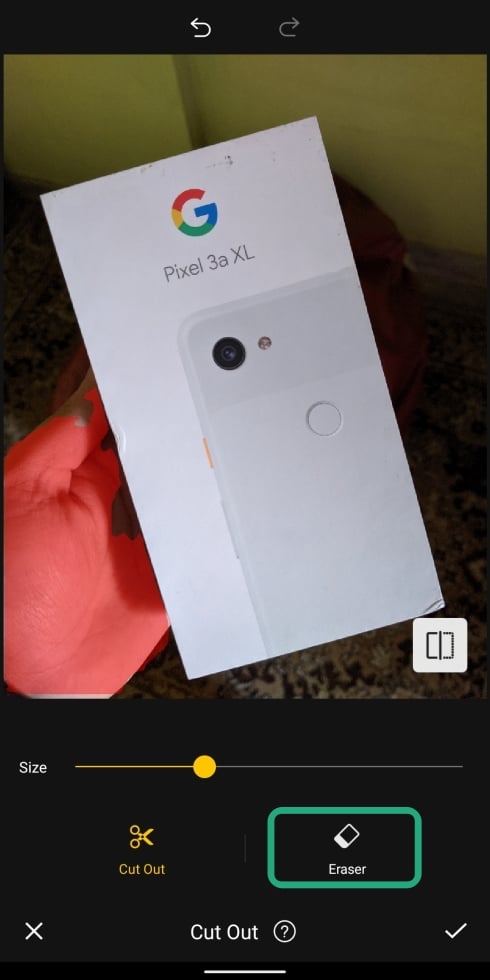
- If you mistakingly brushed over a portion that need no be cropped, you can tap on the Eraser icon and brush again to undo the mistake.
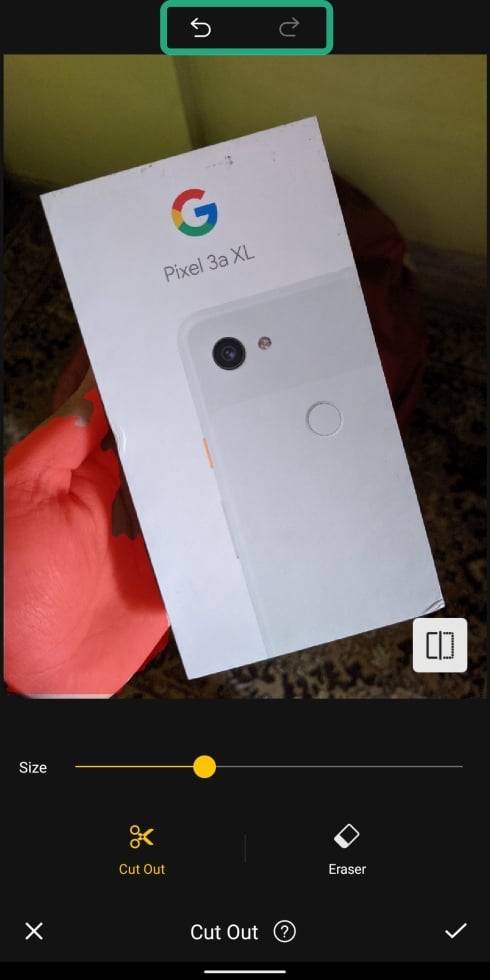
- You can undo or redo last moves by tapping on the reverse and forward arrows at the top.
The fully brushed picture will look something like this.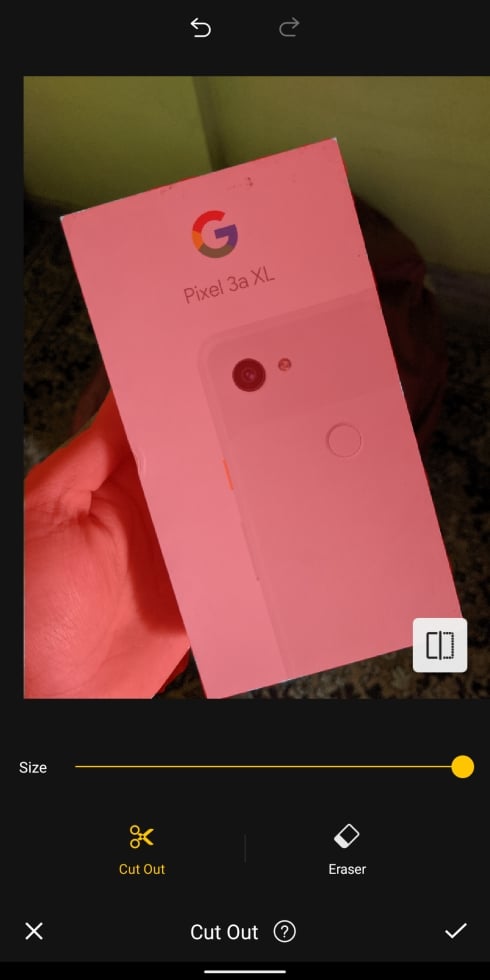
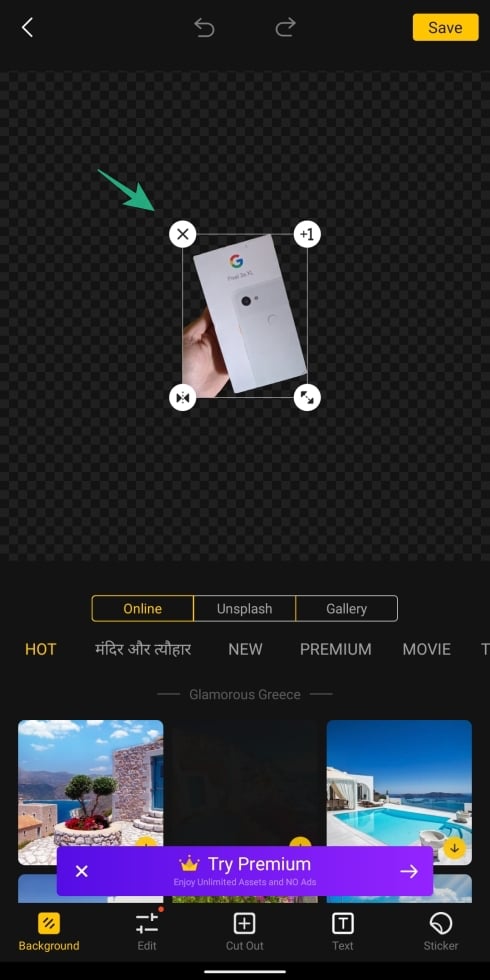
You will now see the cropped object without a background.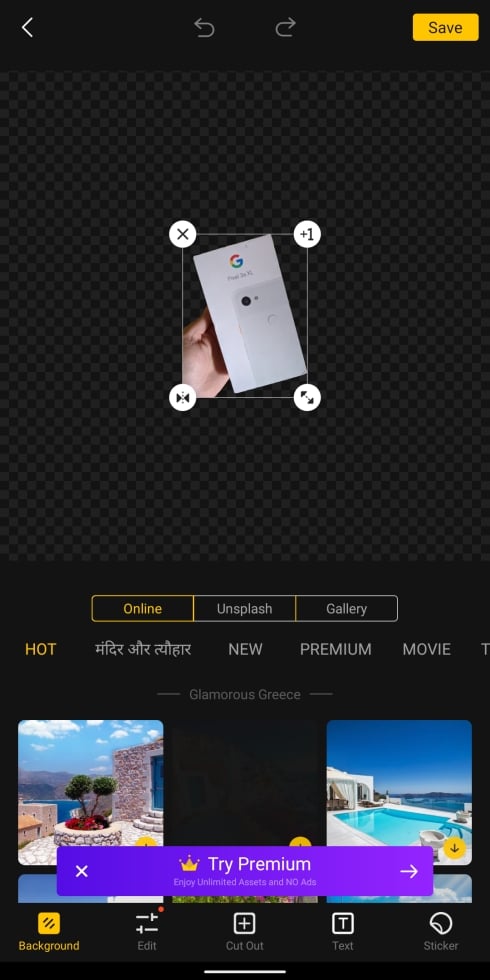
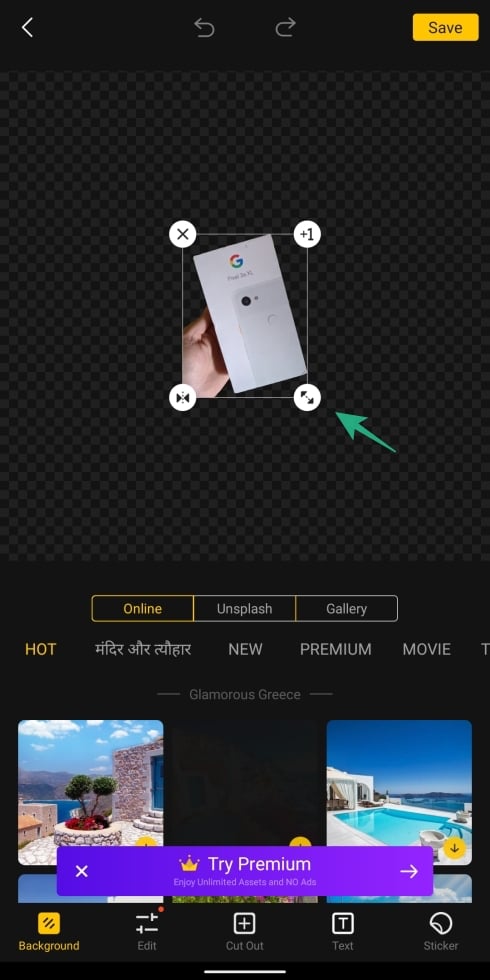
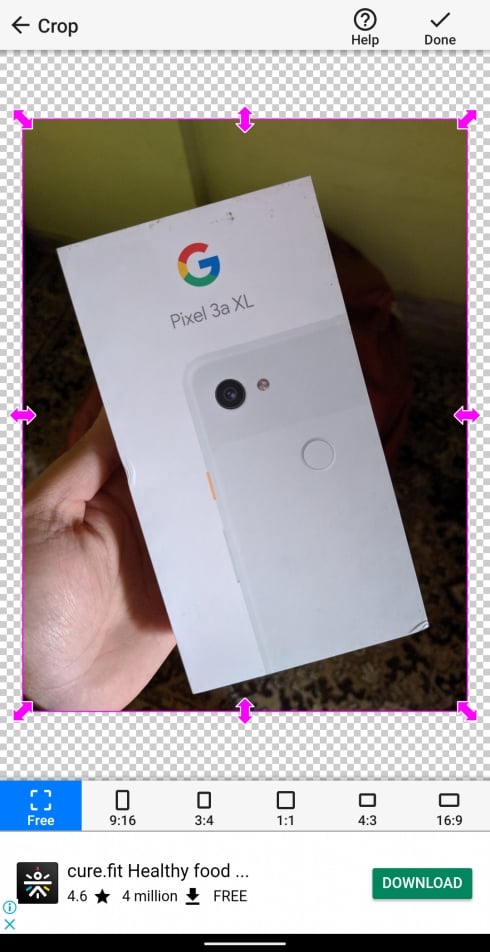
- Resize: By pressing and dragging the double-headed arrow, you can enlarge or minimize the subject.
- Duplicate: You can make an extra copy of the cropped subject by tapping on the +1 icon.

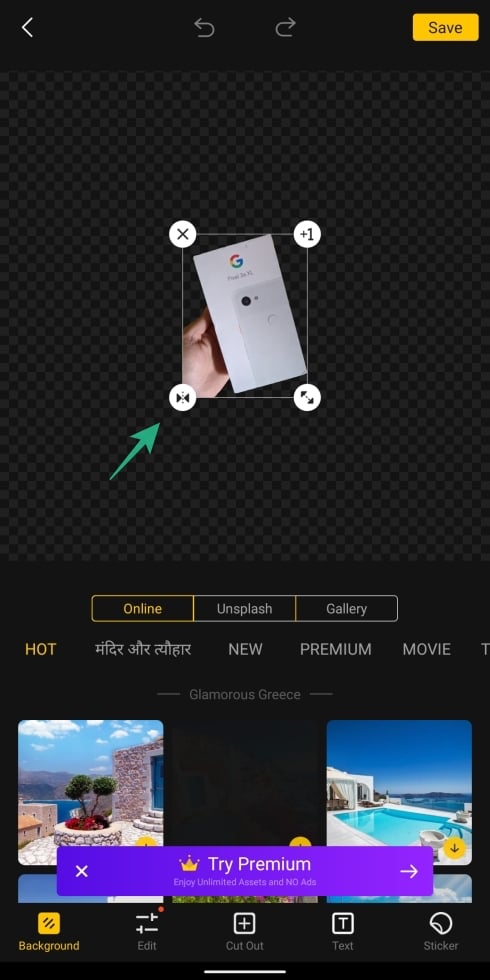
- Mirror: The cropped picture can be reversed with mirror effect by tapping on inverted arrow icon.
- Remove: Tapping the x icon will delete the cropped picture from the background.
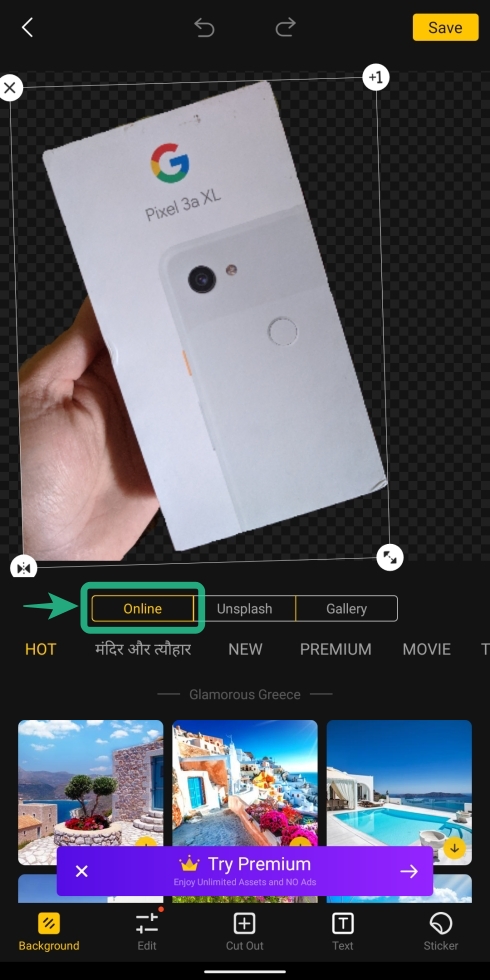
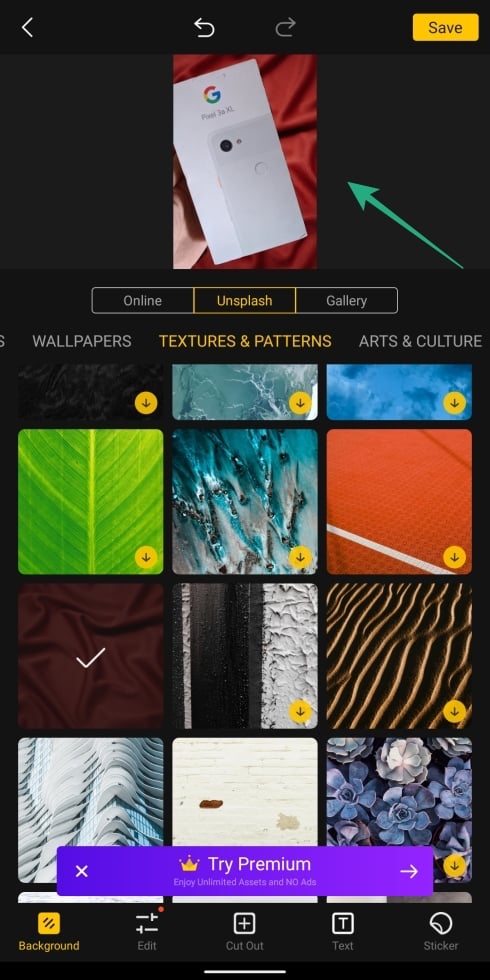
- Online: Tapping on the Online tab will get you pictures to choose from the Cut Cut app itself for your use.
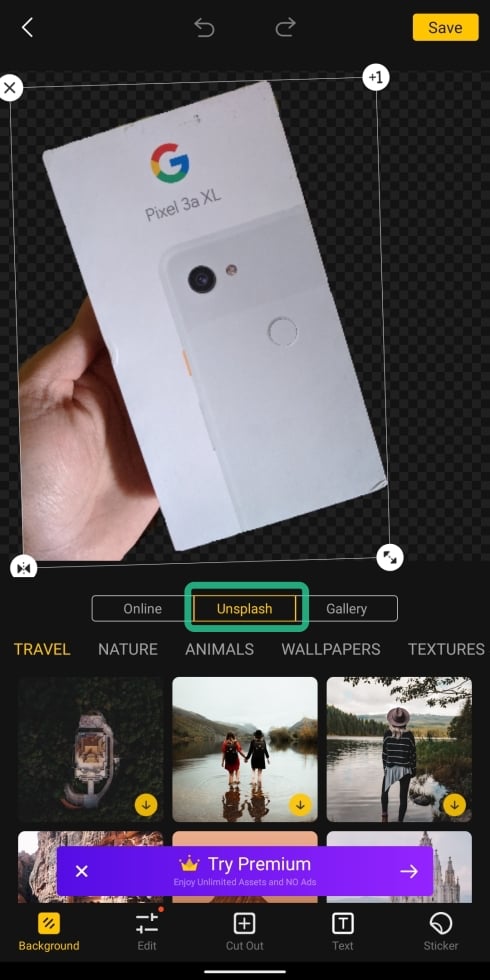
- Unsplash: Choosing the Unsplash tab will let you choose a background from Unsplash, which specializes on stock photographs from over 110,000 contributing photographers and a library of over 810,000 photos.
- Gallery: When you tap on the Gallery tab, you will be able to choose a new background for your cropped picture from your own gallery/internal storage.

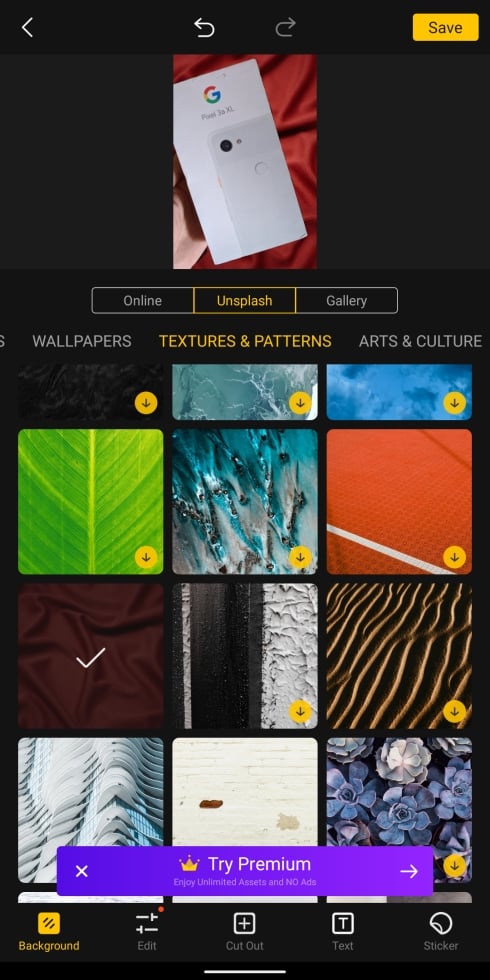
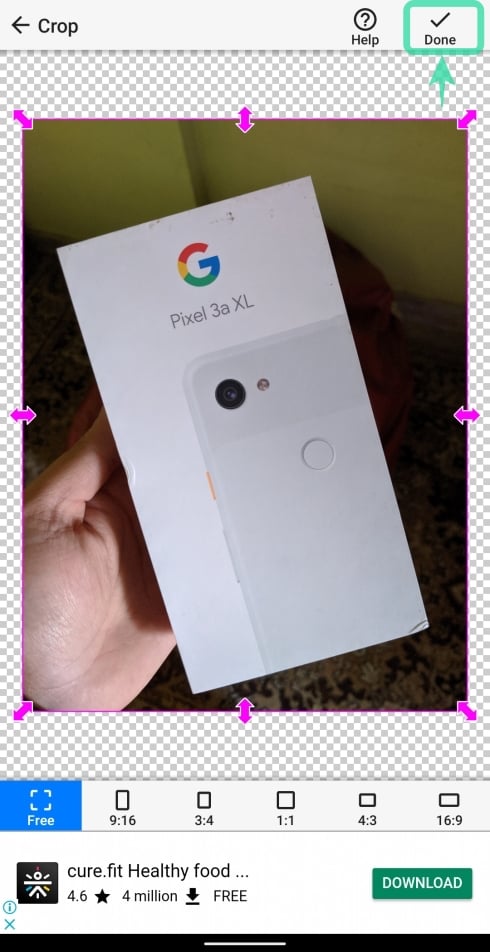
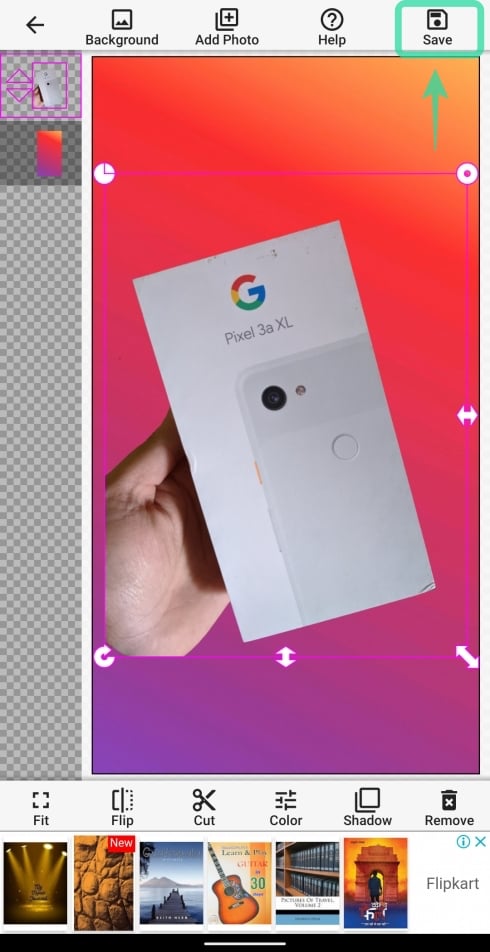
A preview of the newly edited picture is available for viewing at the top of the screen.

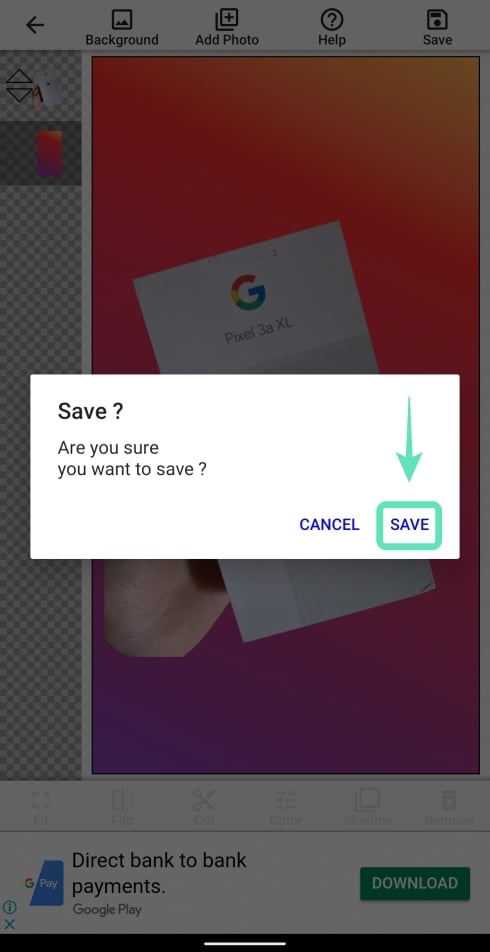
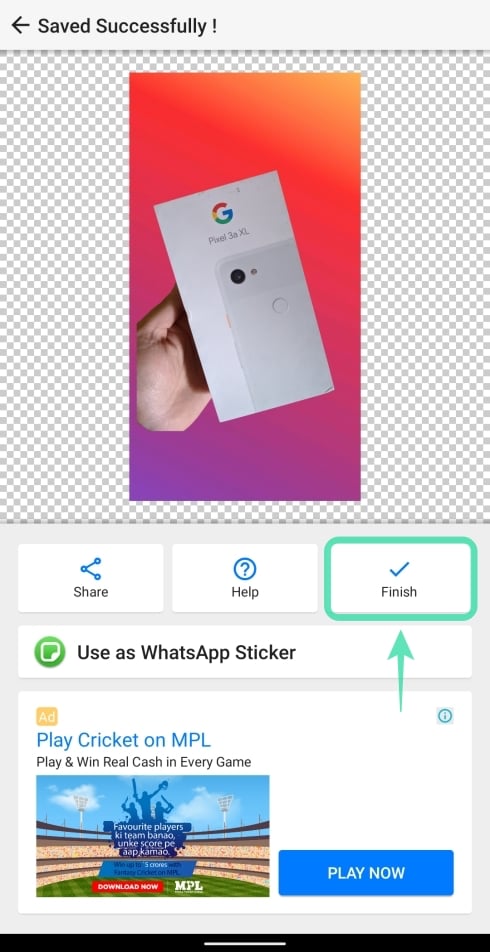
The saved picture will be visible on your phone storage.
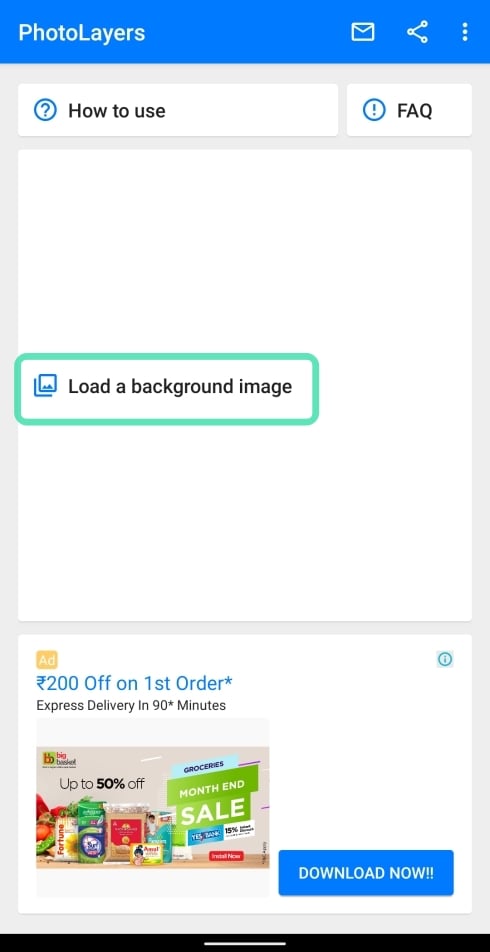
Using PhotoLayers app
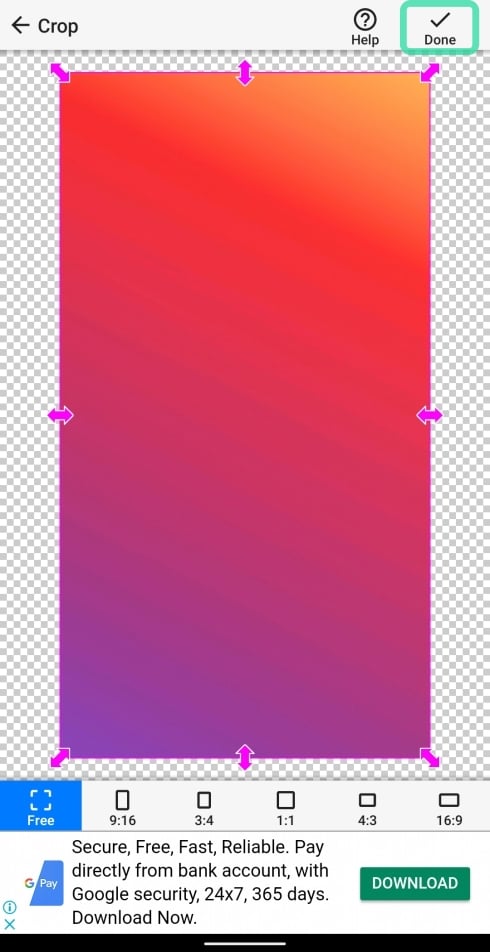
The background picture is now set.
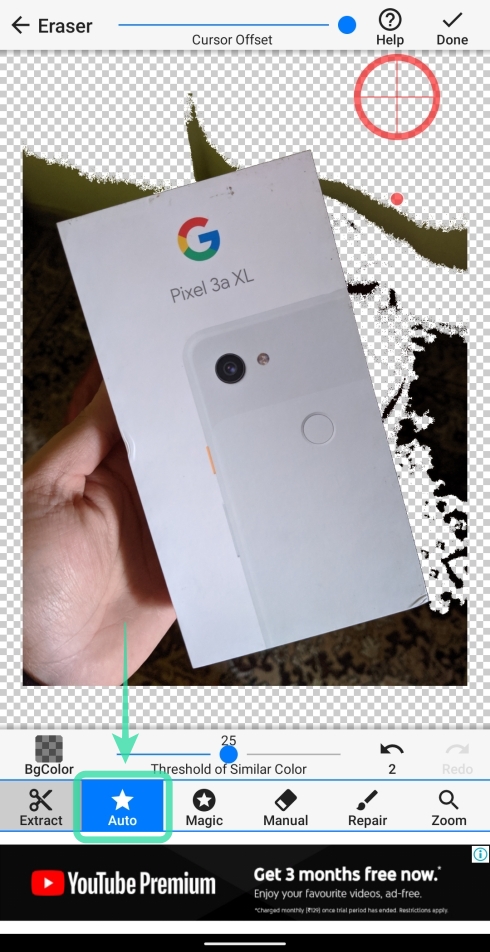
- Auto: This mode will remove large portions of unwanted elements from the picture. Tapping the Auto tile and brushing over the picture will automatically remove portions with the same color and items as the one you are brushing.
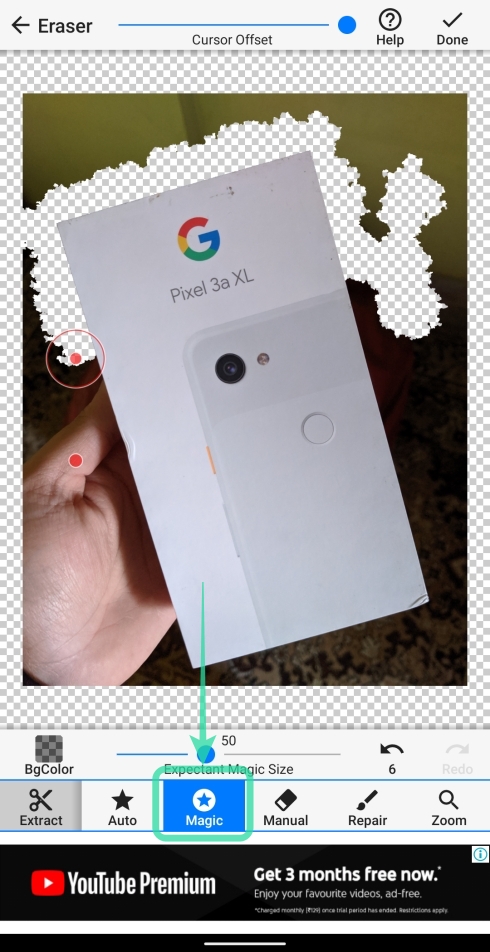
- Magic: This mode works similarly to Auto but will only delete elements from the picture where the brush actually touches. Smartly enough, the Magic mode will let you precisely cut out the minutest details that Auto mode won’t be able to.
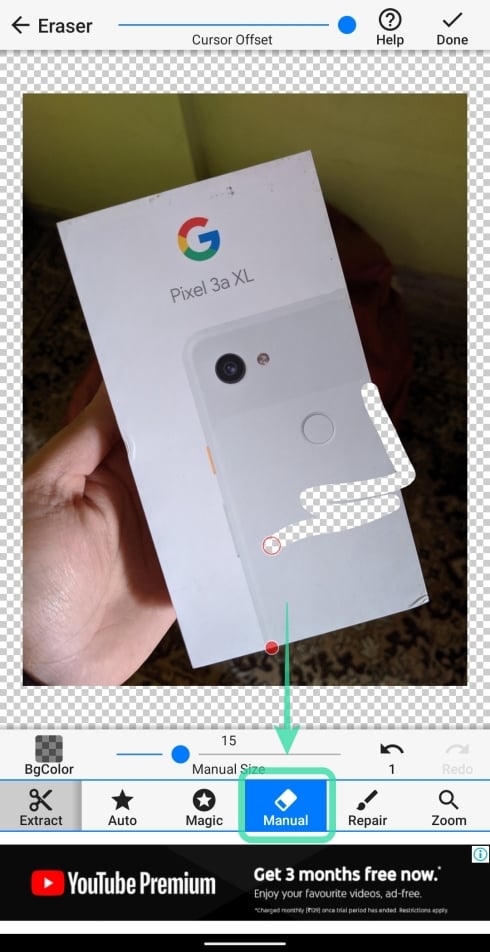
- Manual: This mode will let you crop the unnecessary details from the background by simply brushing on it.
- Zoom: Unlike on the Cut Cut app, zooming into the picture for precise cutting is only possible on this app by tapping on the Zoom button on the bottom right and then pinching in/out to zoom in/out.

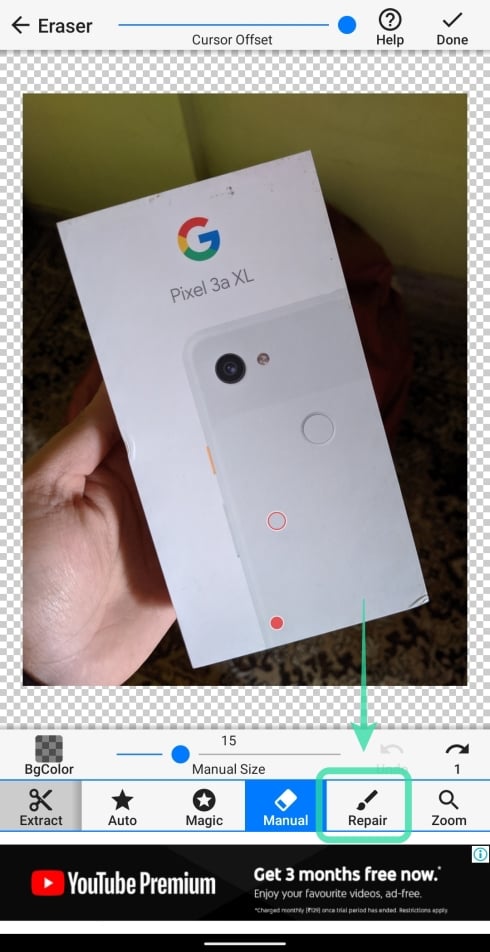
- Repair: This mode will let you recover those portions of the image that got mistakingly cropped.
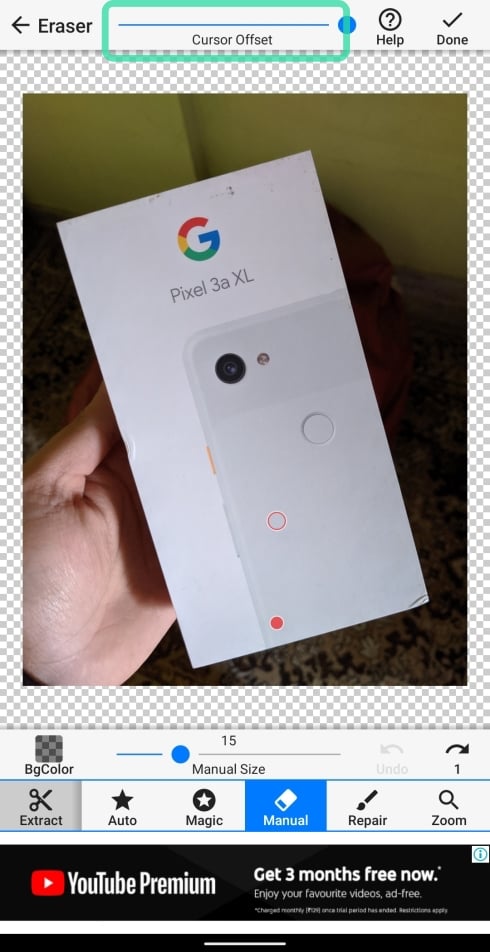
- Cursor offset: At the top, you can slide over the cursor offset tool to manage how much gap the brush has from the actual cursor.
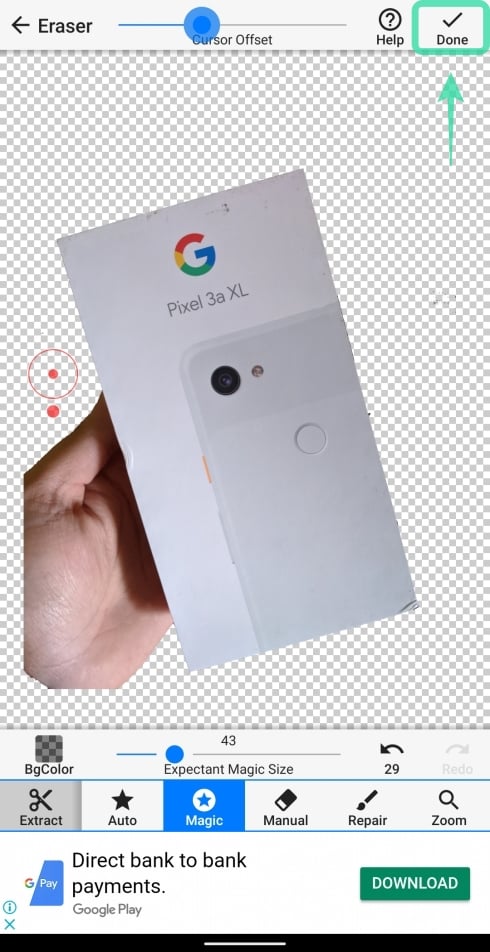
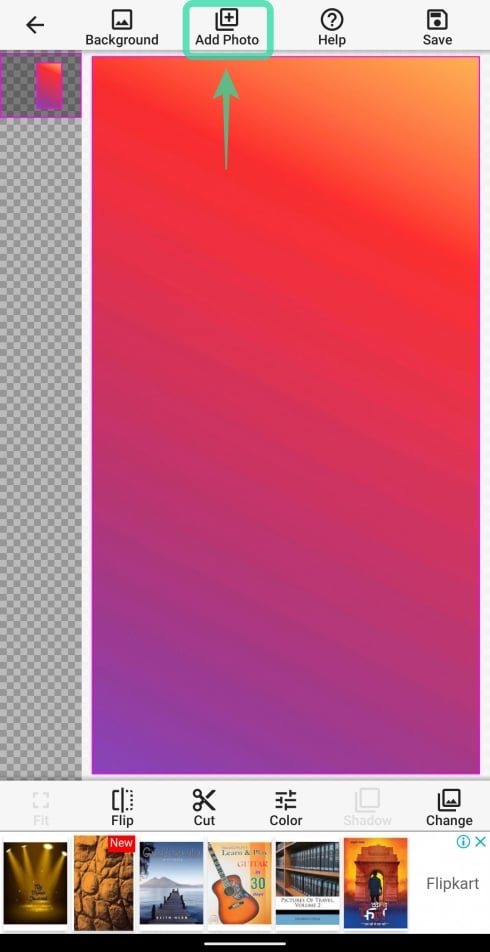
The cropped picture will be overlaid on top of the background that we added before (on Step 6).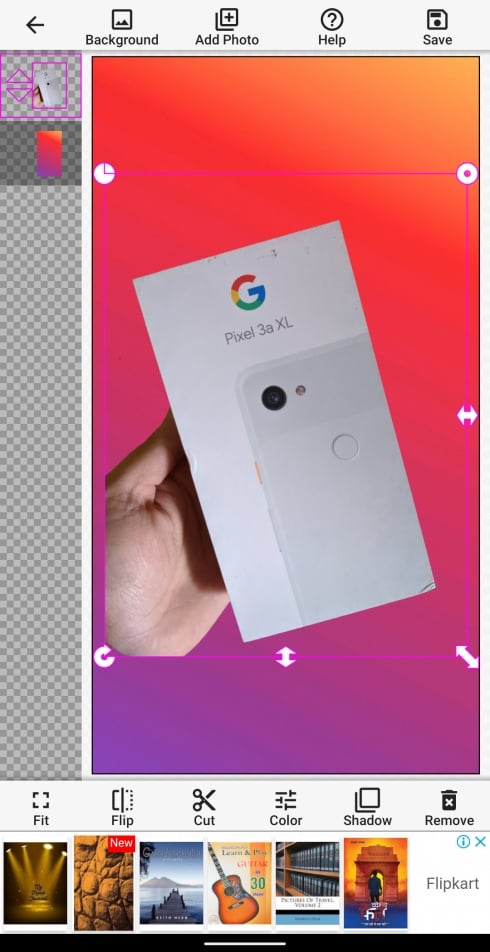
Have you tried cropping an image from a picture to a new background? How else do you do it? Let us know in the comments below!