Care to think about what customers think about your product/business? Want to know what sort of content does your page users like? Well, polls can help a lot! Since polls are extremely useful when it comes to recording one’s opinion/feedback, today we will see how to create a poll where users can cast their vote on more than options — yes, getting multiple answers to a question can really get you better feedback at certain times. Let’s see how your Android device can help you get multiple answers in a poll. We are using two methods for this, one via Survey Monkey app, and another using Telegram app.
Using SurveyMonkey app
2Open the app and tap on
Create Survey.

3If you wish to use a commonly used template, tap on
Browse Template Gallery otherwise tap on
New Survey.

4Give your survey a title and tap
CREATE. If your survey is of more than one page, you can choose a separate title pagewise and some description to it under
Page Title option.

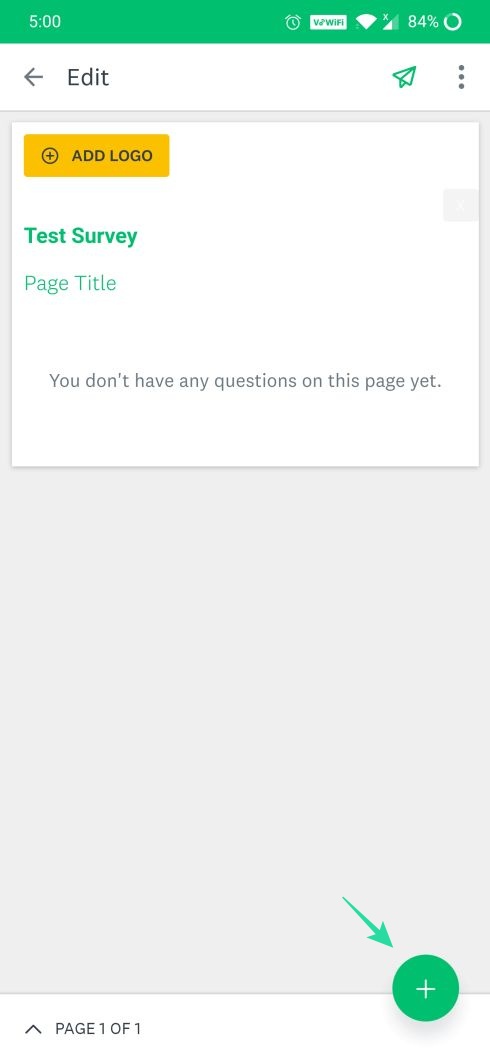
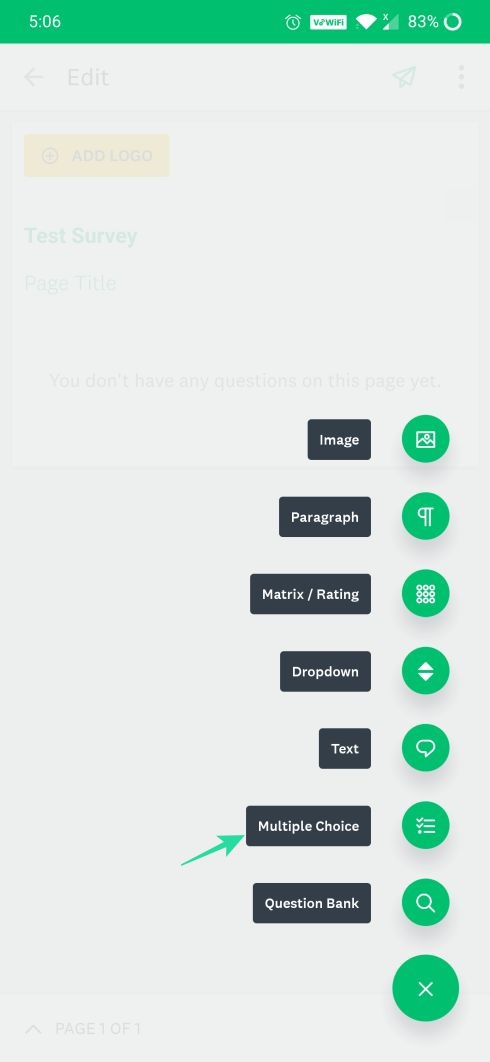
5Tap on the Plus ([icon name=”plus” class=”” unprefixed_class=””]) sign and then select Multiple Choice to add questions and answers to the survey you just created.
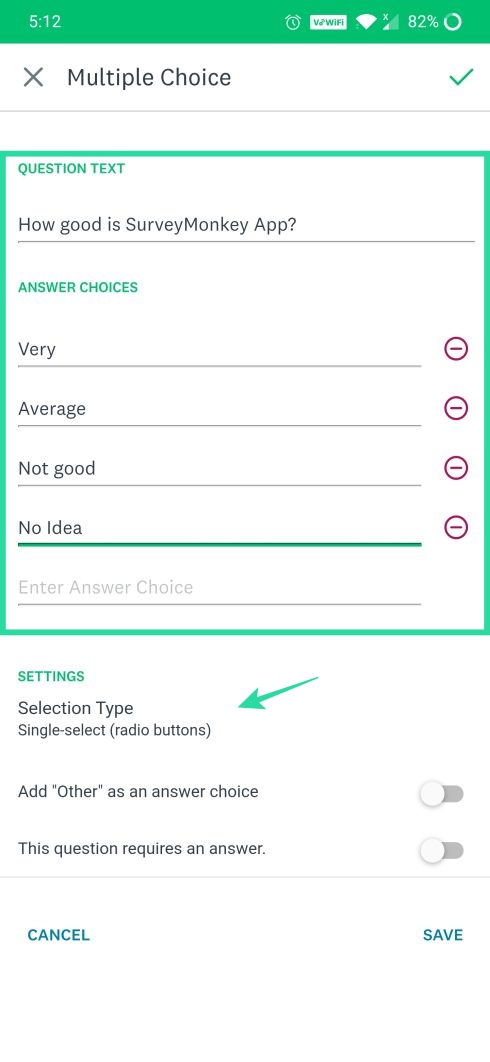
6Add the question and answer choices.
7Tap on
Selection Type under Settings and select
Multi-select (checkboxes).

8When done, tap on
Save.

9If you wish to add more questions to the survey, follow the same steps as step 5 to step 8.

10When you are done adding the questions, tap on
3 Dots ([icon name=”ellipsis-v” class=”” unprefixed_class=””]) at the top right.

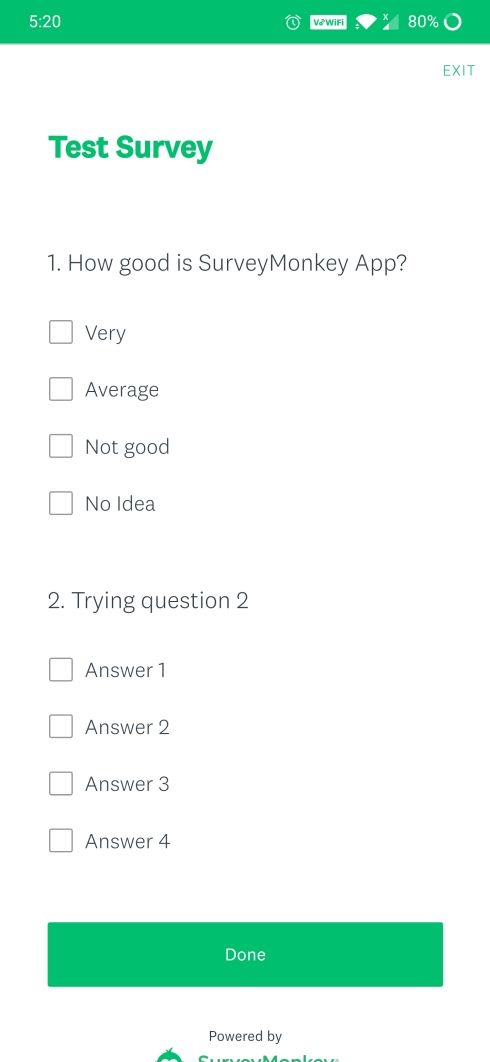
11Tap on Preview & Test to preview the actual look and functionality of the survey. Try marking multiple options as answer and tap on Done.
12After testing the preview, go back from the edit menu by tapping the back ([icon name=”arrow-left” class=”” unprefixed_class=””]) button.

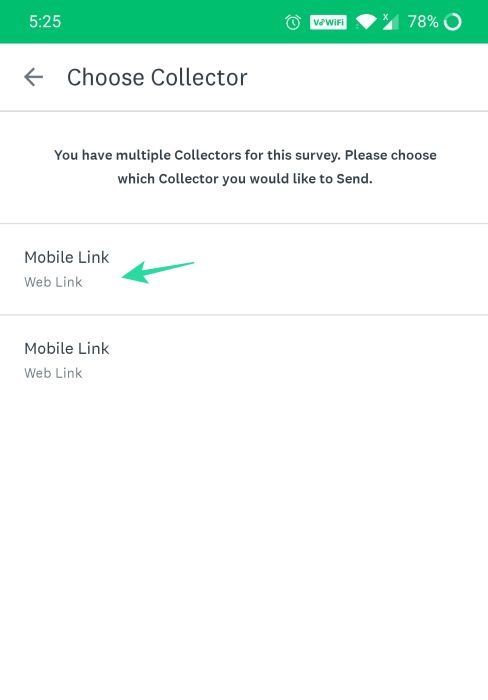
13Tap on
Send to collect responses and then tap on
Mobile Link.

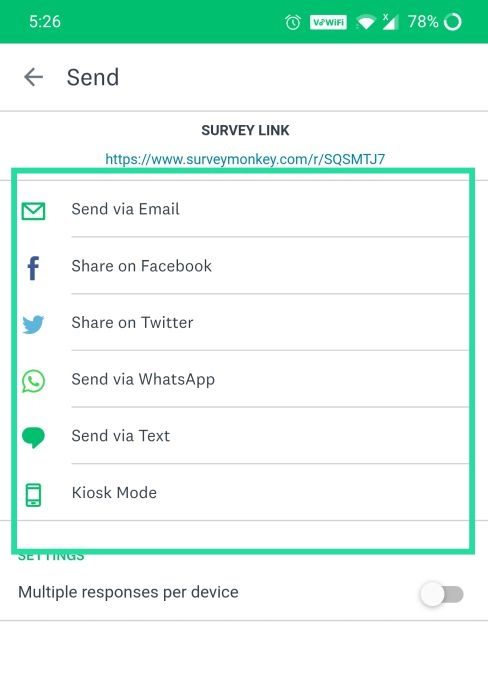
14Share the created survey to its desired audience using the available options.
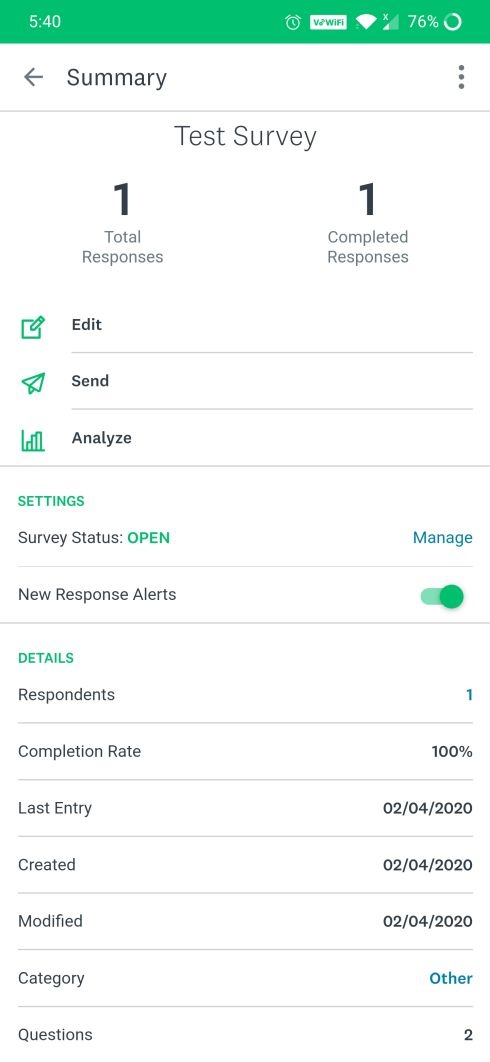
15To check the result of the survey, go back to the
Summary menu from where you selected Send to collect responses.

16 Tap Analyze your results to check the number of responses you received for your survey.
17You will be able to find all the active surveys and their reviews on the Home screen of the app.

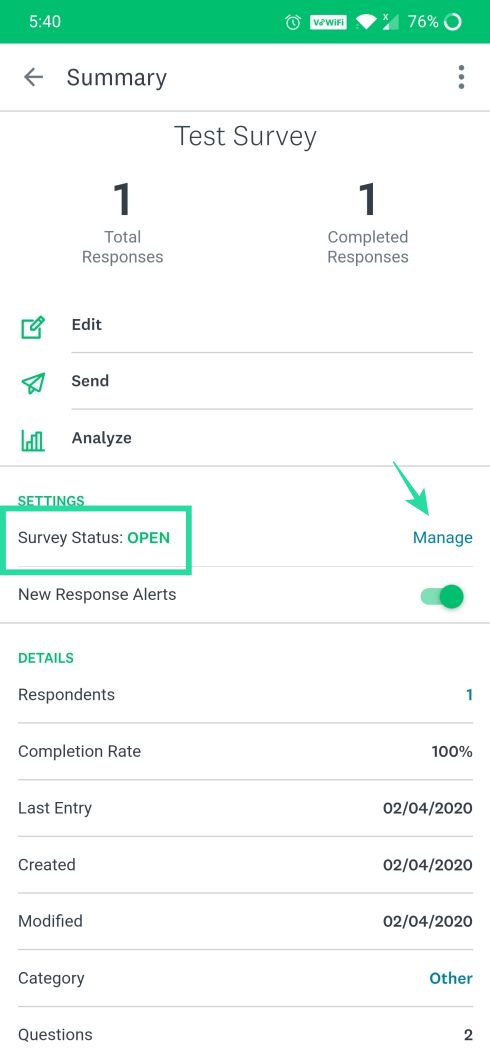
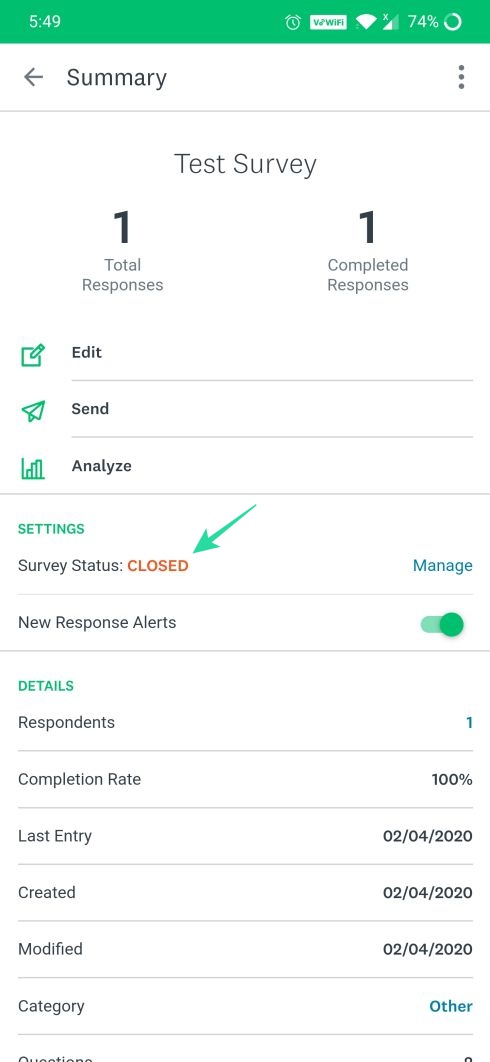
18To close an active survey, tap on the View Details option of the survey you created.
19Tap on Manage and disable the active radio ([icon name=”toggle-on” class=”” unprefixed_class=””]) buttons to stop receiving responses for the survey.
20Status of the survey must be updated to CLOSED.
Using Telegram app
Creating a poll with multiple answers as an option is a bit tricky, as you would first need to create a personal bot first, and then the poll. But it’s not rocket science and doesn’t take a lot of time.
Part 1: How to create a personal bot in Telegram App
In order to create a pool where you can cast multiple options as your answers, you need to create a Personal Bot. You will be able to publish polls on different groups and channels on behalf of your personal bot. To create a personal bot, follow the below-mentioned steps.
1Open the Telegram App. Tap on the top right
Search icon ([icon name=”search” class=”” unprefixed_class=””]).

2Type
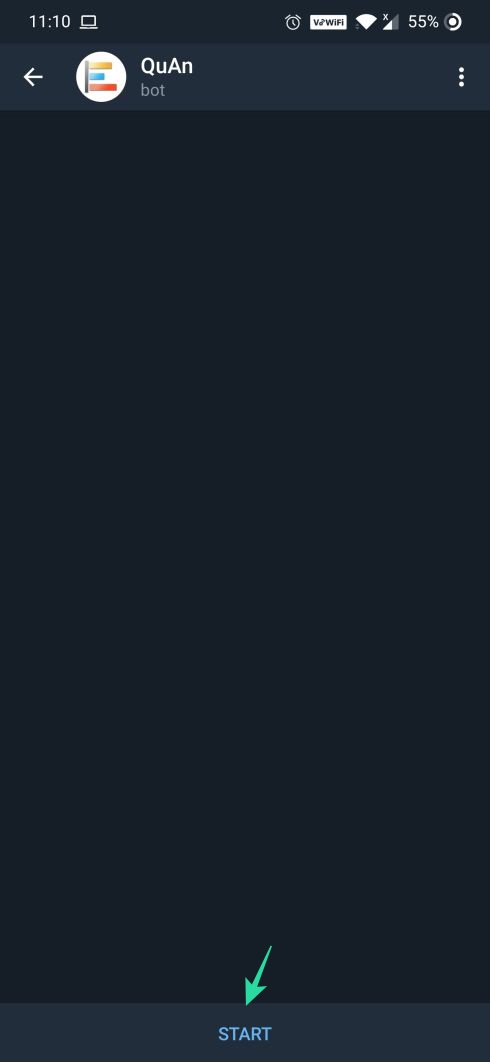
@quanbot in the search bar and select
QuAn (@QuanBot).

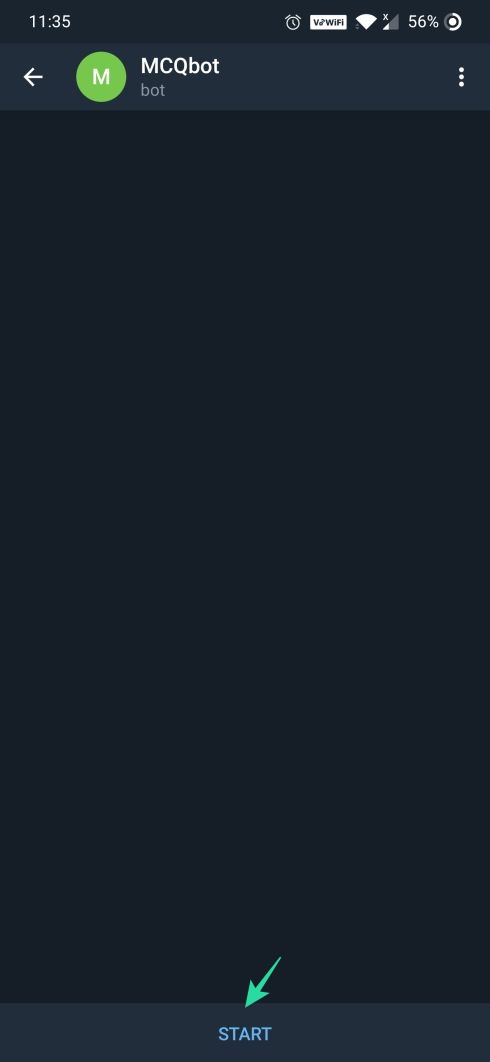
3Tap on START and then tap on your preferred language.
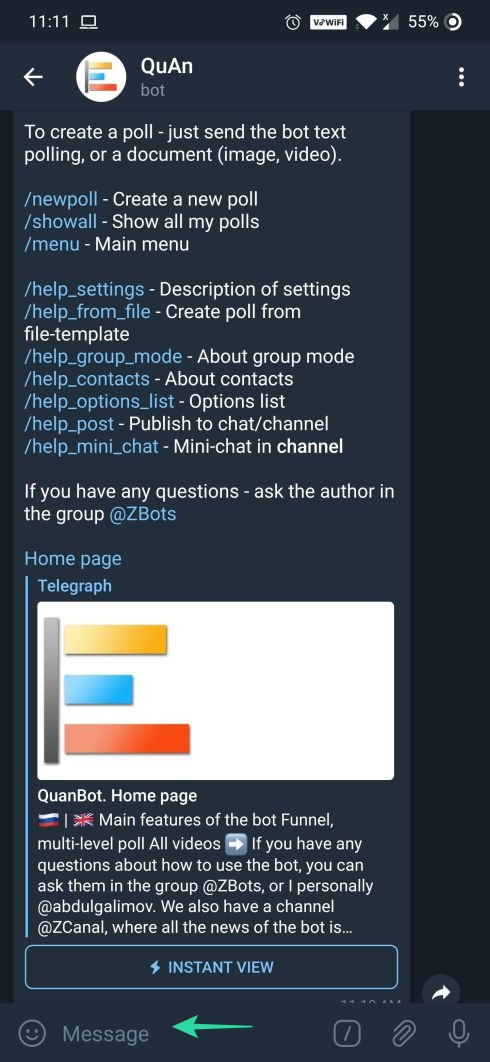
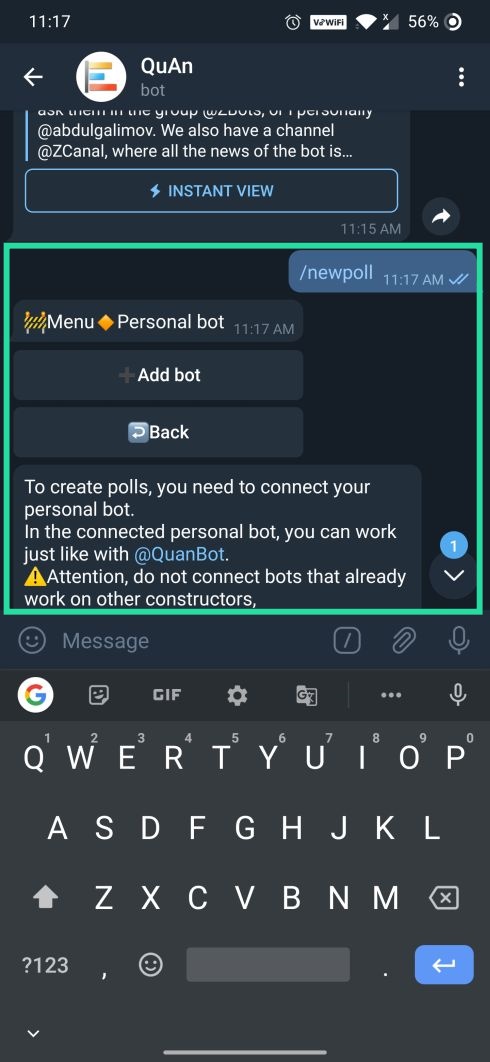
4Tap on the edit message, type /newpoll and send it.
5If you already own a personal bot, it will be displayed under the Personal bot menu. Otherwise, tap on +Add bot to create a new bot.
6Scroll to the bottom and tap on
@BotFather.

7 BotFather will be opened and then tap on
START.
8Type
/newbot in the edit message area and click send.

9Choose a name for your bot and enter it.

10If the name already exists in the Telegram App, it will prompt again to try some other name. Otherwise, confirmation of your new personal bot will be displayed.

11Now, tap and hold on the
token to copy it.

Note: Keep the token safe and secure because anyone can take control over your personal bot if they have access to the token.
12Tap on the
Back ([icon name=”arrow-left” class=”” unprefixed_class=””]) button and select
Quan. Paste the copied token and hit the
Send button to add your personal bot.

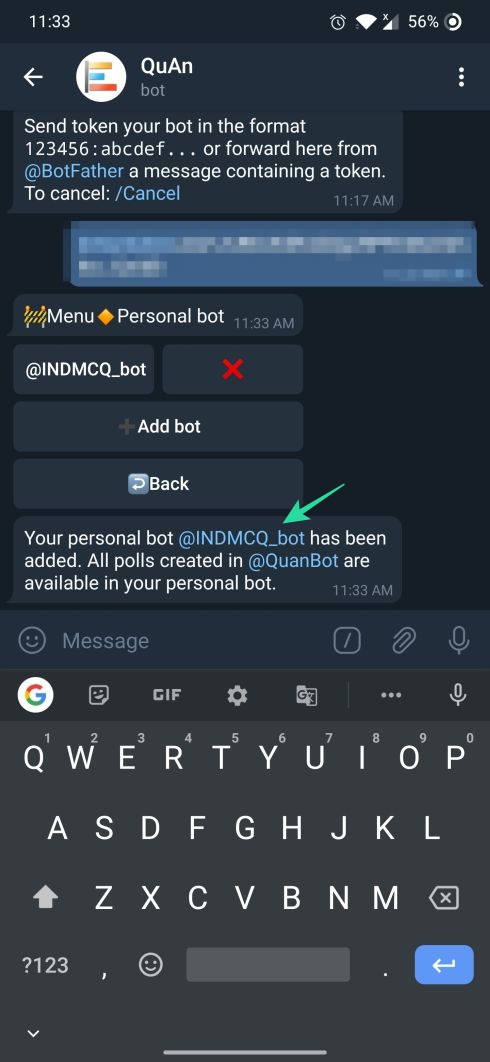
13Once your personal bot is added, a message stating that “Your personal bot @example_bot has been added.” will be displayed along with the personal bot menu.
Once done adding the personal bot, tap on the name of your personal bot to create a poll.
Part 2: How to create a poll with multiple answers selection
1Tap on the personal bot you just added to start creating a poll.
2Type
/newpoll.
Note: Type /help in the edit message area to check the options available.
3To continue working with the personal bot you created, you need to accept the terms and conditions mentioned under
/copyright section. Kindly go through each and every point to have a better understanding of the bot usage.

4Tap on “Yes, I accept the terms of the agreement” to get started.
5You can add more description of the poll describing its actual purpose, target audience, etc. or simply
type the name of the poll you wish to create and tap the
send button.

6Poll menu will be displayed from where you can add multiple options to the question.

7After adding enough options, tap on
Settings. 
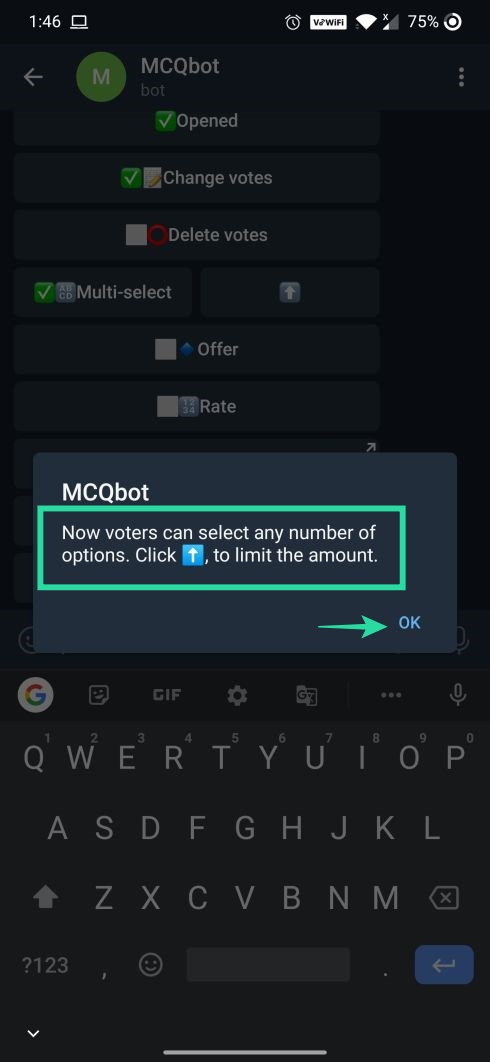
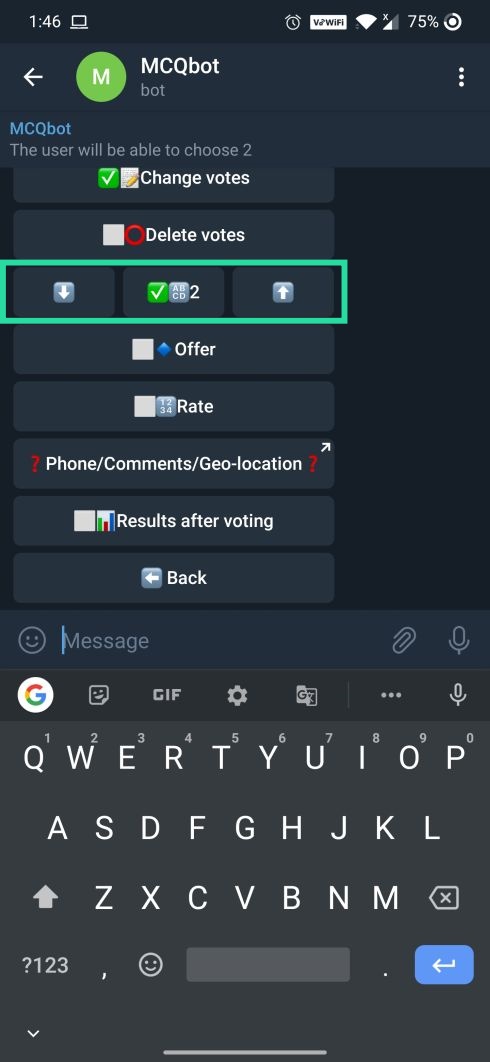
8Tap on the
Multi-select icon to turn on multiple answers selection.

9Use the up and down icons to limit the number of options one can select.
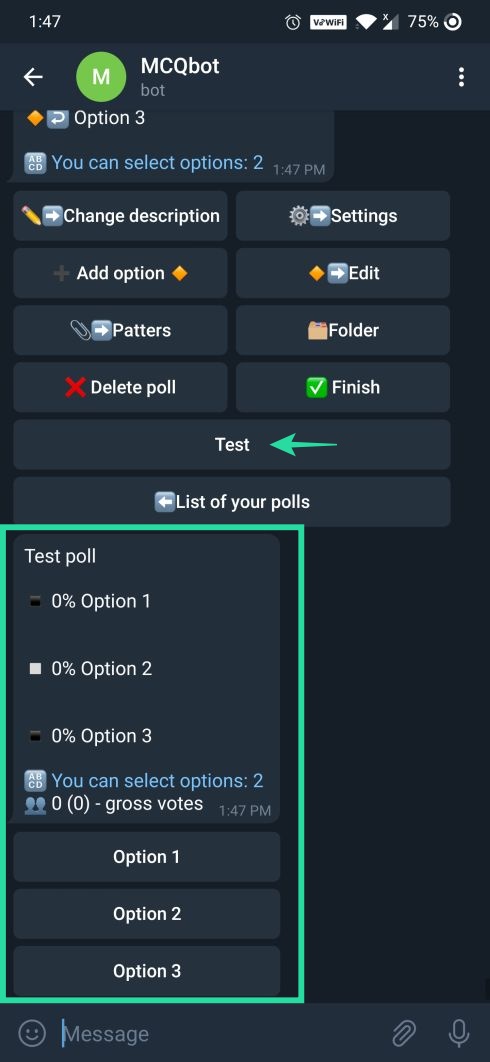
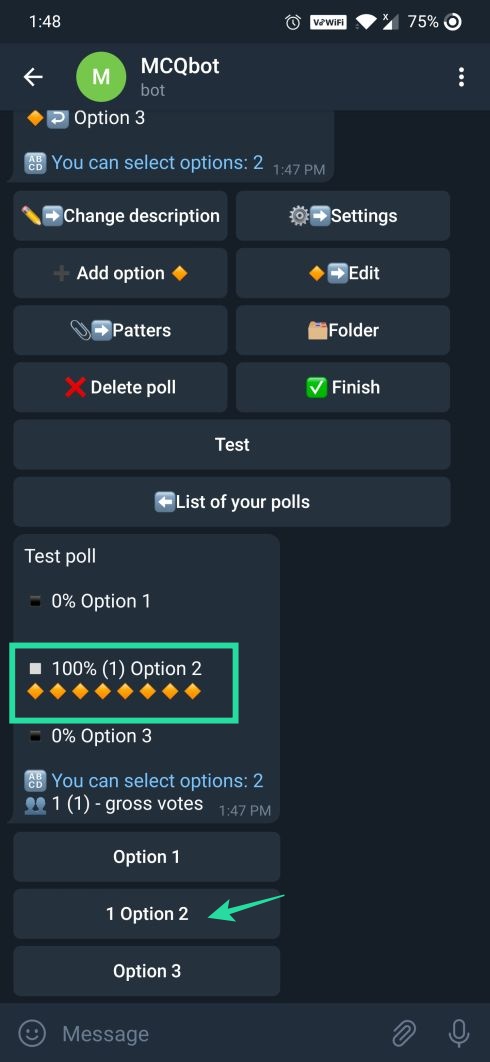
10Tap on Test to check whether the user is able to select multiple options as the answer.
11Tap on Finish icon to complete editing the poll.

Note: Creating and publishing a new poll using Personal bot costs 10 Coins. You will be able to add coins using your credit card by tapping on the Balance under Menu. You can get 100 coins for 106 RUB which is around [icon name=”inr” class=”” unprefixed_class=””]120
12After tapping the Finish button, if balance is more than 10 coins, the poll will be created successfully and a link will be generated which can be shared with others. Tap on the created link to share it on a group or channel.

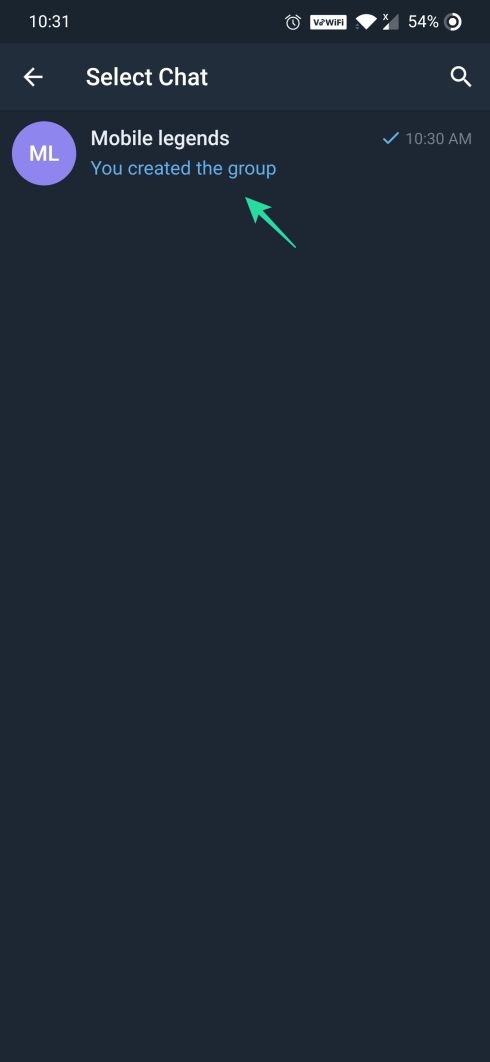
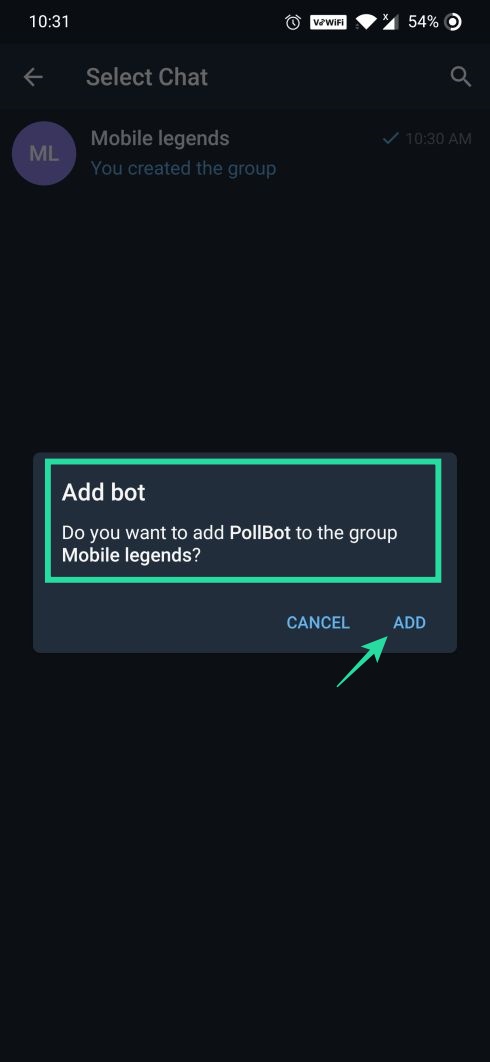
13Select the group you wish to share and click OK to add the bot.
14The poll you created will be shared with the people in the selected group. You can check the poll results by tapping on the My Polls option available on the personal bot menu (
/menu).

That’s all.
Setting up the poll with multiple answers in a bit of a task on Telegram but no so much on Survey Monkey. So, the latter is a better choice for you. But if you already use Telegram a lot, then keeping up with the app will make sense.
RELATED: