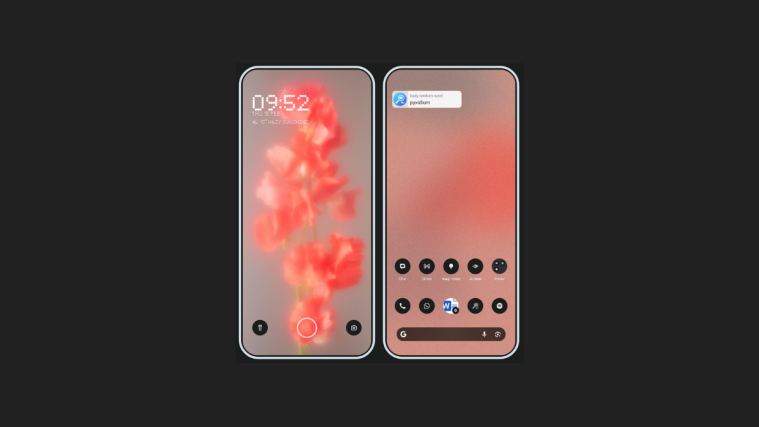
Not many spend their time customing their Android device to its potential but changing the wallpaper is something we all love, geeks or not. While we have talked about some of the best wallpapers apps on Android (and live wallpapers) in the past, we know you can’t be bothered to try new wallpapers every day. So, it’s easy to fancy why you would love to have a system where you can get a new wallpaper daily, automatically.
Let’s see how to change your Android device’s wallpaper automatically at regular intervals, whether your own set of chosen wallpapers or random ones.
How to change the wallpaper on Android automatically at regular intervals
The following guide will help you create a wallpaper playlist, after which new wallpapers will be set automatically on your Android device.
Using Google Wallpapers
Google offers the Wallpapers app that comes pre-installed on most Android devices and has its own collection of wallpapers across various categories. You can create a wallpaper playlist by turning ON the Daily wallpaper feature inside the app. Here’s how:
Step 1: Download and install the Google Wallpapers app from Google Play and then open the app.
Step 2: Tap on any of the categories available inside the app. In this instance, we’re choosing the Landscapes section.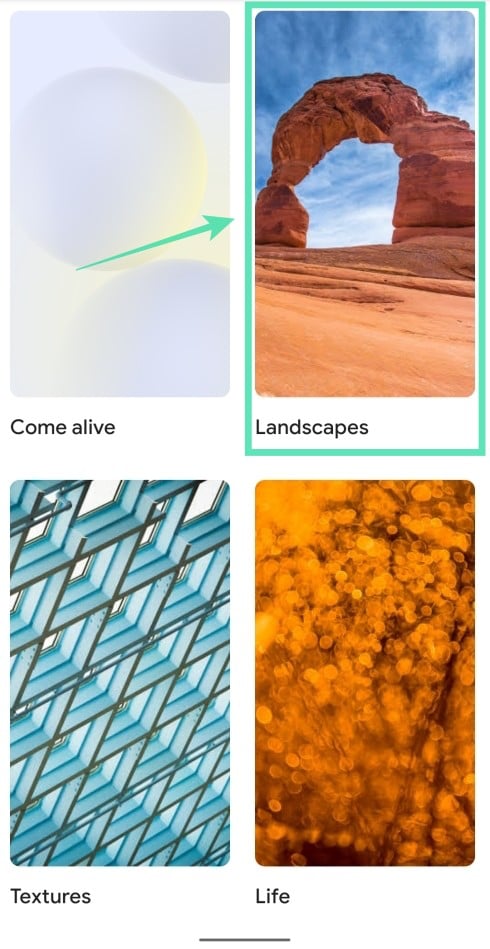
Note: Live wallpapers do not qualify for automatic rotation inside Google Wallpapers.
Step 3: Inside the Landscapes page, tap on the Daily wallpaper box to turn out the preset wallpaper playlist.
Step 4: Now, you’ll be prompted whether you want your next wallpapers to be download via any network or only on WiFi. Check the box adjacent to Download future wallpapers on Wi-Fi only to allow the app to only change wallpapers when connected to a WiFi network.
Step 5: Tap on Continue.
Step 6: In the next screen, tap on Set wallpaper under Rotating Image Wallpaper.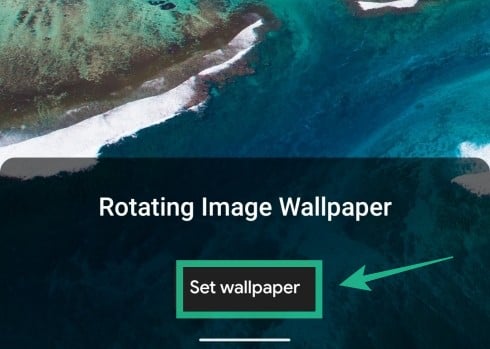
Step 7: Choose whether you want the Daily wallpaper to be set for your home screen only or on both the home screen and lock screen.
You have successfully created a wallpaper playlist using Google Wallpapers on your phone. You can refresh the wallpaper by opening the Google Wallpapers app and tapping on the Refresh icon at the top right.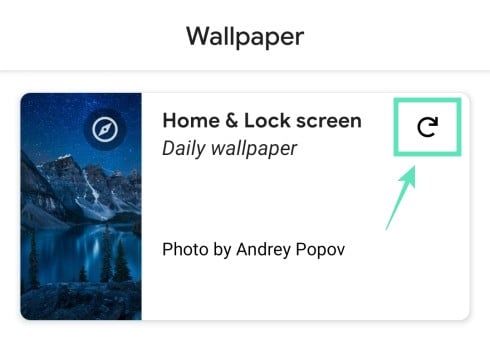
Using Muzei Live Wallpaper
Muzei is primarily a live wallpaper app and offers almost every functionality that you’ll come to expect from a wallpaper app. You can control how often the app changes your wallpaper as well as blur and dim your icons to give icons and the status bar more prominence on your home screen.
Setting up
Step 1:Download and install the Muzei Live Wallpaper app from Google Play and then open the app.
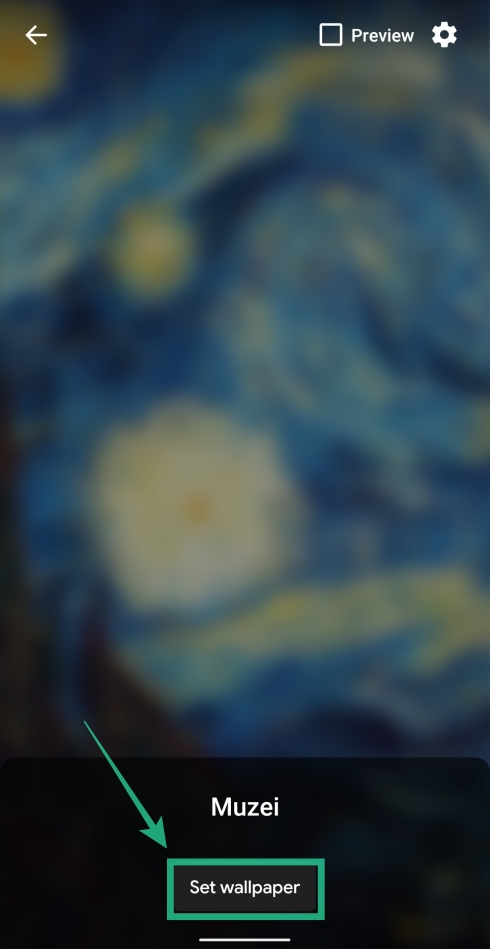
Step 2: Tap on Activate and then Set wallpaper.
Step 3: Now tap on the Muzei icon in the middle of the screen to open the app.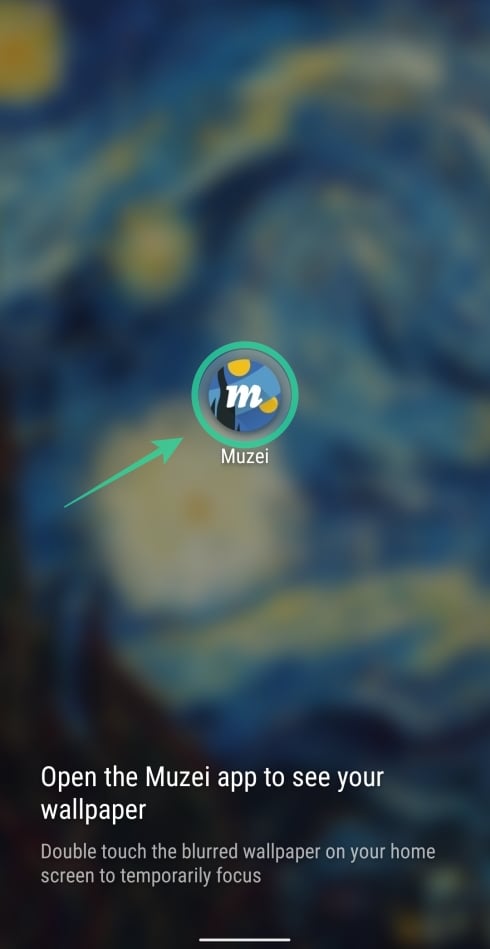
Muzei has now automatically set the artworks in its library to be your background. This wallpaper will be a blurred and dimmed version of the original artwork and will also be set for your lock screen.
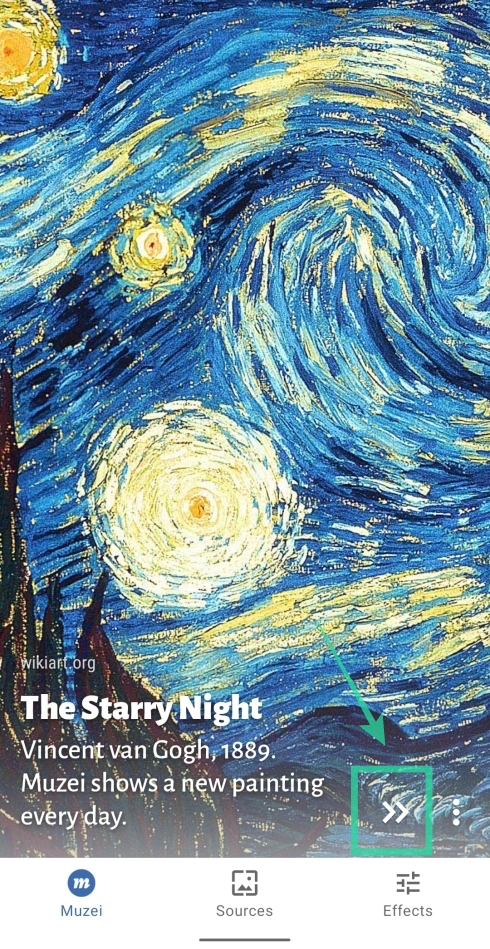
Skip to next artwork
When inside the Muzei app’s home screen, you can tap on the double right arrow at the bottom to jump to the next artwork.
Change playlist source
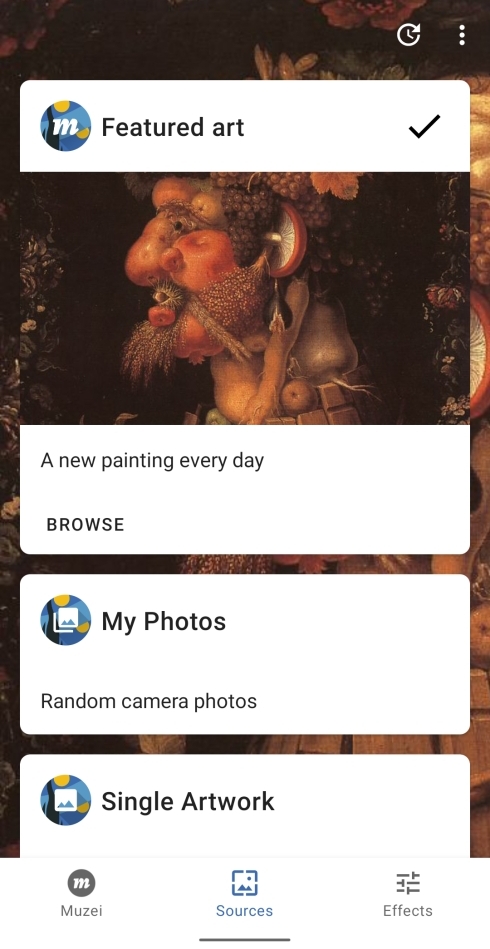
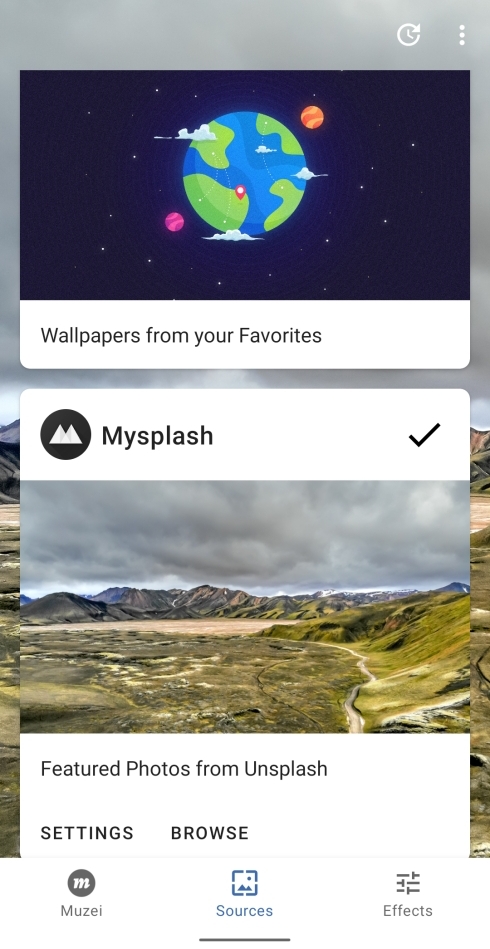
Muzei allows you to choose different sources for your wallpaper playlists. You can choose between Muzei’s artworks, My Photos (the pictures in your phone’s library), or from any of the compatible third-party wallpaper apps available on the Play Store including Backdrops, MySplash, Tapet, Wonderwall, and more that offer Muzei integration.
To change your wallpaper playlist source of Muzei:
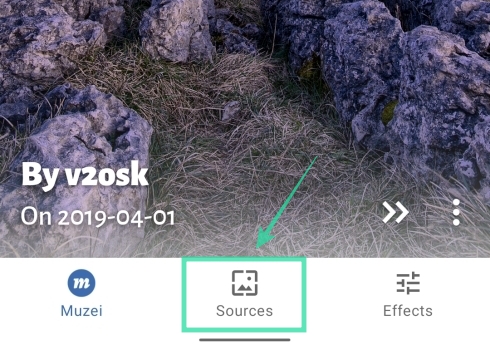
Step 1: Open the Muzei app, and tap on the Sources tab at the bottom.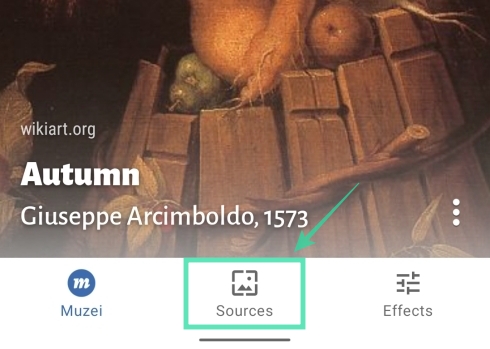
Step 2: From here you can choose from the available option by simply tapping on one of the options available inside this section. If a wallpaper app supports Muzei integration, it will also show up on this screen.
Change Auto Advance interval
You can change the interval after which Muzei will load a wallpaper onto your phone. To access the Auto Advance settings:
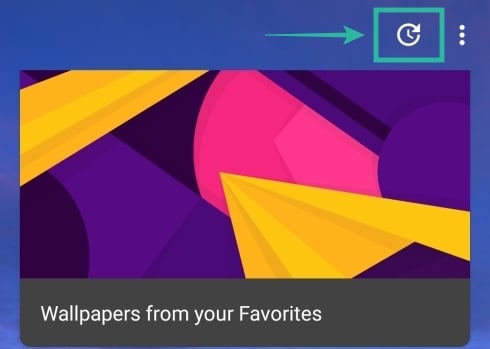
Step 1: Tap on the Sources tab at the bottom and then tap on the clock icon at the top right.
Step 2: Here you can choose from any time period between 15 minutes and 3 days from the menu.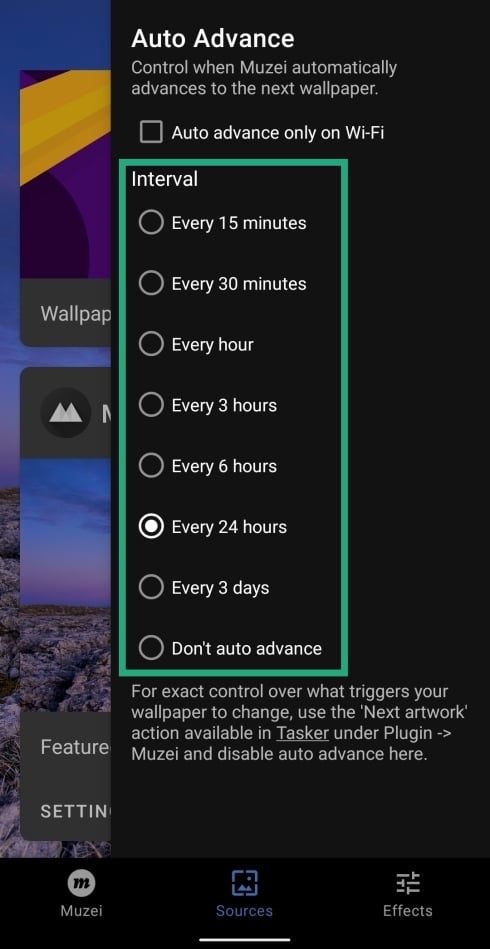
The Auto-Advance Settings page also lets you choose whether or not you want Muzei to download wallpapers using only WiFi or through any network. To enable WiFi-only download, check the box adjacent to “Auto Advance only on WiFi”.
Change wallpaper semi-automatically
In addition to enabling Auto Advance on Muzei and skipping to the next artwork in the app’s home screen, you can change your wallpaper manually if you wish to from your wallpaper playlist. For this you will have to enable a gesture shortcut for Muzei, executing which you can change wallpapers easily. To enable these gestures:
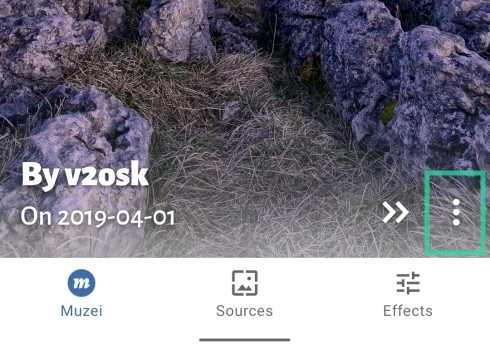
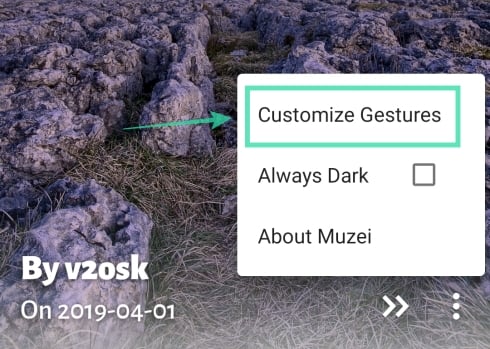
Step 1: Tap on the three-dot icon at the bottom of the Muzei app’s home screen and then select Customize Gestures.
Step 2: Here, you can enable two types of gestures – double tap on the home screen or three-finger tap on the home screen for the wallpaper to be changed automatically. To do so, tap on the Next Artwork option under either of the gesture options.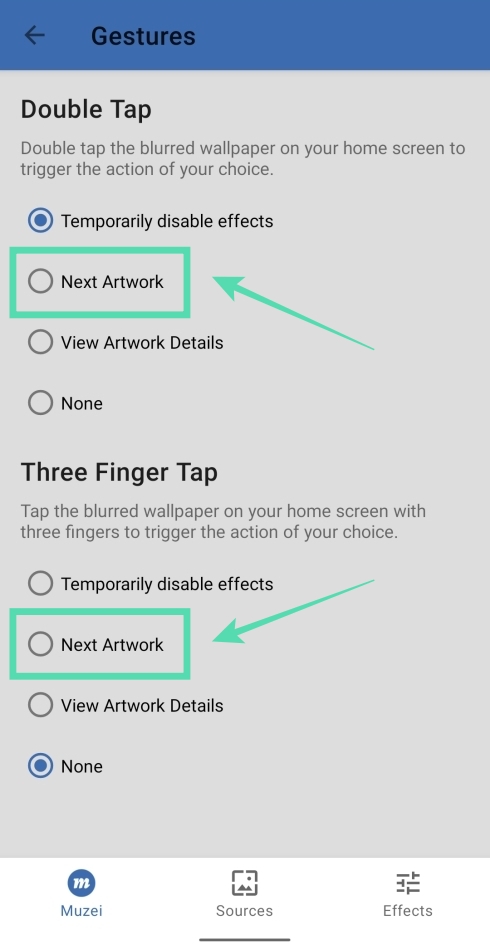
Now every time you make selected the gesture (double tap or three-finger tap) on the home screen, the wallpaper will change.
Blur, dim, or gray your wallpaper
Muzei additionally lets you tweak a background to better suit your icons and the status bar, so they don’t look out of place. You can tweak the background by blurring it, dimming it, or adding a gray shade to it. You can do so by following the instructions below:
Step 1: Tap on the Effects tab at the bottom of the Muzei app.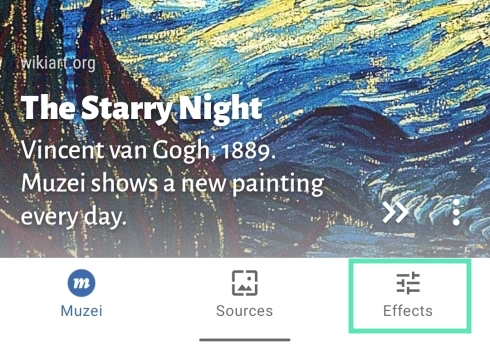
Step 2: Adjust the respective sliders to get your desired effect under the home screen and lock screen tabs at the top.
That’s it! You’ve successfully set up Muzei to load up wallpapers automatically on your Android device.
Do you use any app to create a wallpaper playlist for you? Let us know in the comments below.
RELATED:


