

The Halo mission has one Terminal in the underground Warthog tunnel and three Skulls split across the three lifeboat objective areas: one by the river fireflies, one on the grassy rocks, and one on a high blue-lit platform that requires a grenade jump or later mobility help.
Collectibles in this mission are easy to pass because several sit just outside the direct objective flow. The clean run is to take the Terminal during the Warthog tunnel stretch, then sweep the lifeboat areas while checking the distinct rock and light landmarks around each one.
- Halo mission collectible checklist
- Best route before collecting
- Terminal in the underground Warthog tunnel
- Right lifeboat Skull by the river fireflies
- Middle lifeboat Skull on the grassy rocks
- Final lifeboat Skull above the blue-lit platform
- Common missed pickups in the Halo mission
- Frequently Asked Questions
Halo mission collectible checklist
| Collectible | Where to look |
|---|---|
| Terminal | Small right-side opening in the underground Warthog tunnel |
| Right lifeboat Skull | River rock opposite the green firefly-like lights |
| Middle lifeboat Skull | Below the second grassy rock at the rear rock formation |
| Final-area Skull | Above the biggest central platform with the blue light |
Use the checklist as a fast scan before you start moving through the mission. The Skull entries are labeled by area, since the route identifies them by location rather than by individual Skull name.
Best route before collecting

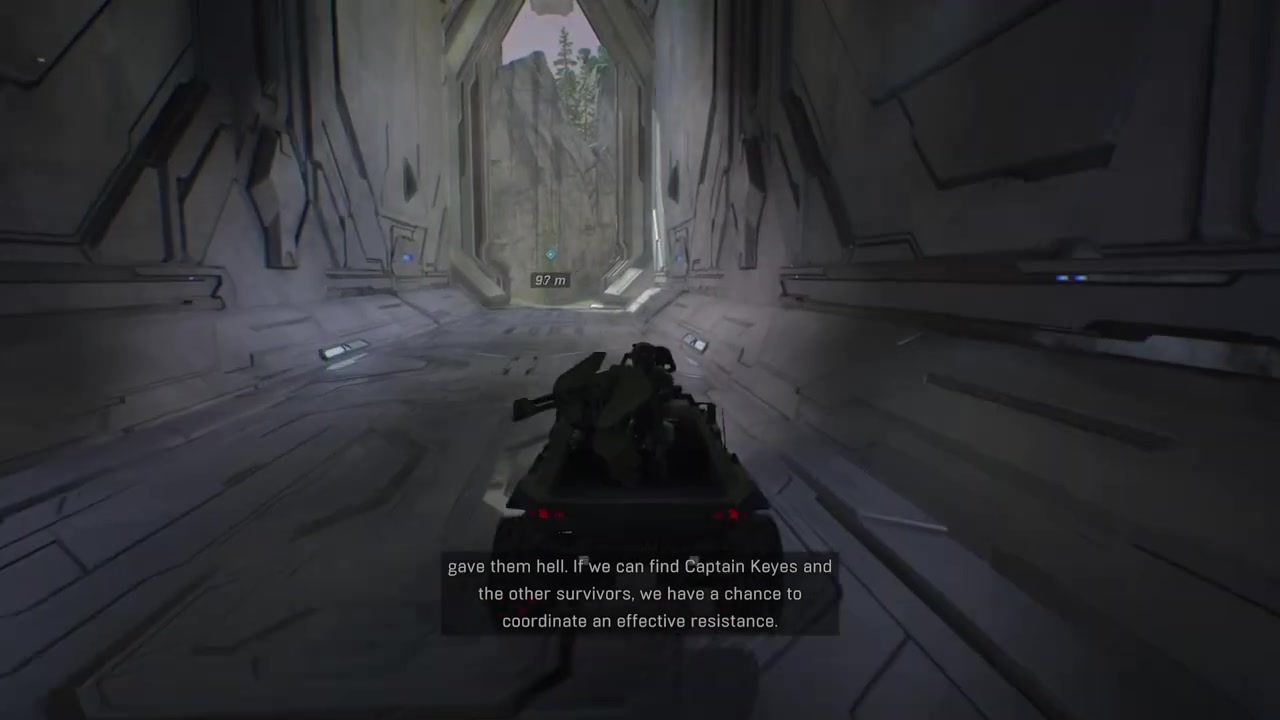
After you get the Warthog, grab the Terminal before driving too deep into the underground tunnel. The right-side opening appears before the tunnel loops around and drops farther down, so slow the Warthog section down until you have it.
KEY!After that, the three lifeboat objective areas can be cleared in any order because each area contains one Skull. A right-to-left sweep keeps the run tidy: right lifeboat first, middle lifeboat second, and the final central area last.
Terminal in the underground Warthog tunnel
Enter the tunnel
After you get the Warthog, drive into the underground tunnel section.
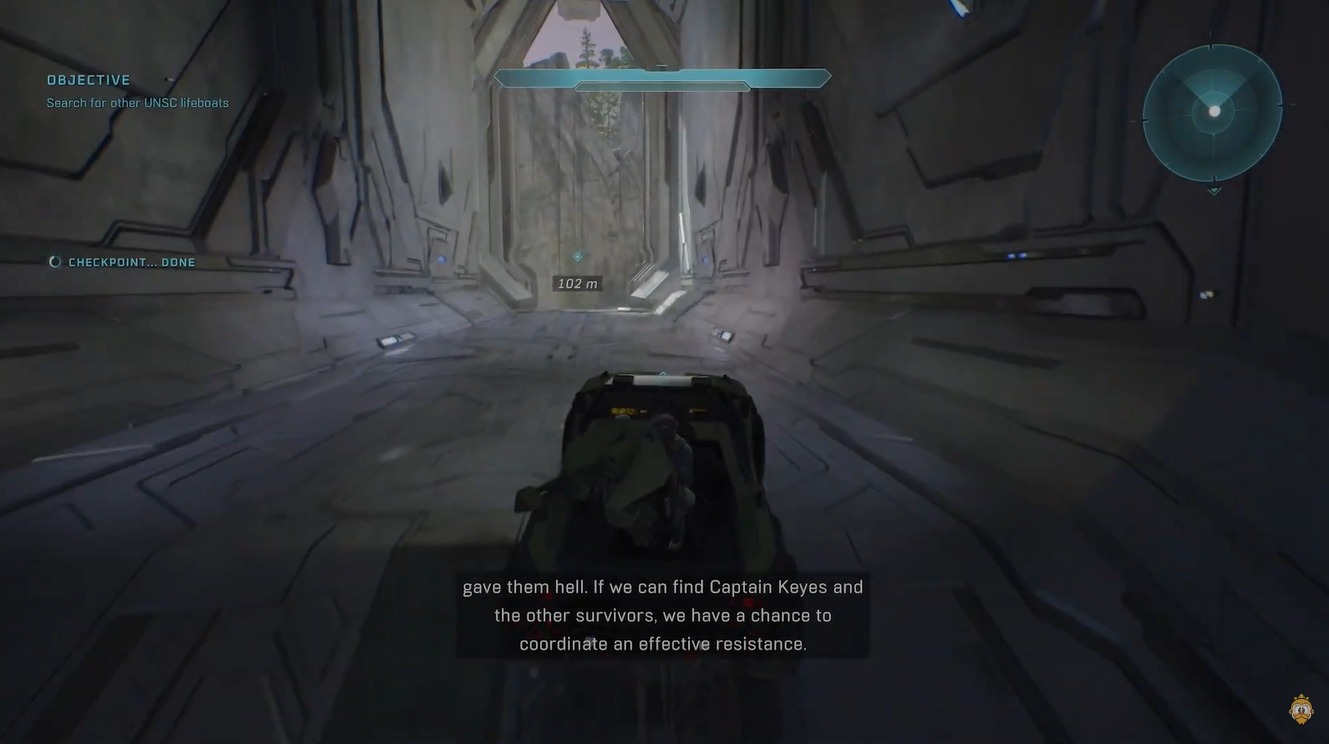
Watch the right wall
Look for a small opening on the right before the route loops around.
Drop into the gap
Jump down through the opening to reach the Terminal.
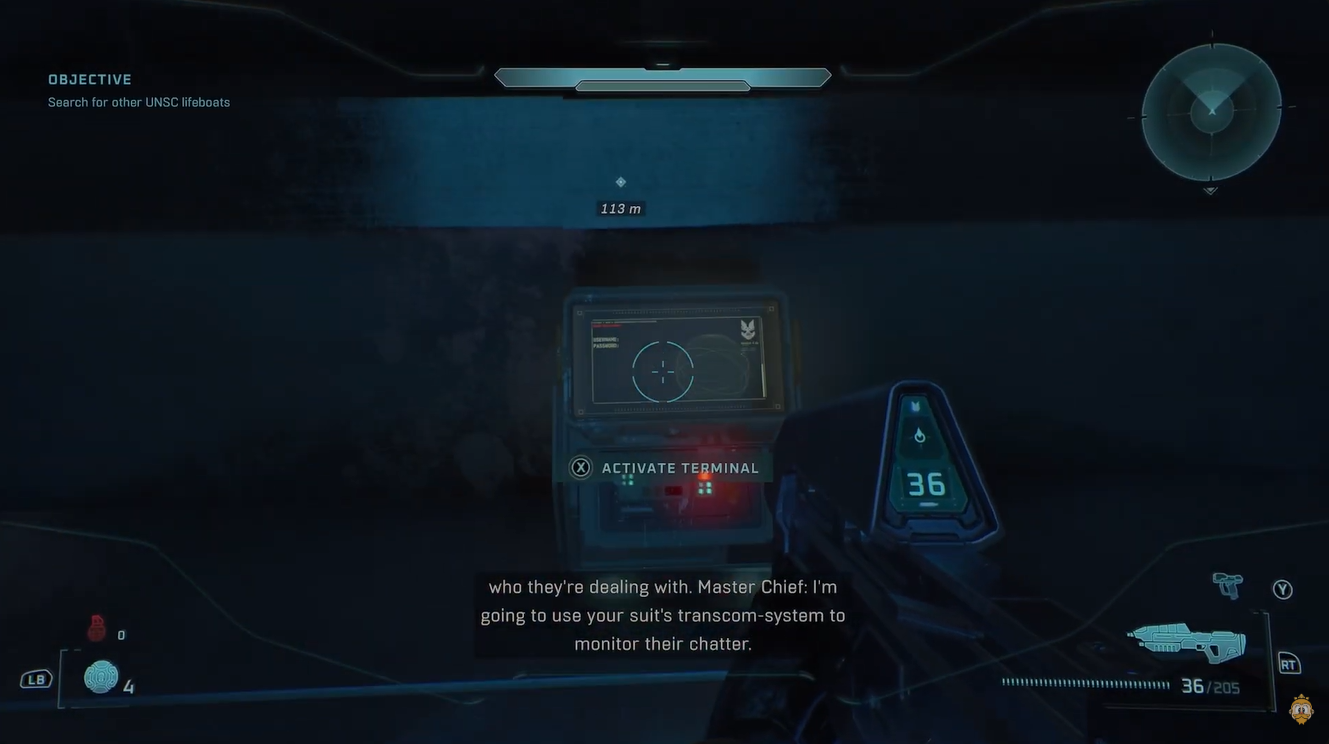
Return to the Warthog
Jump back up from the Terminal spot and continue the mission route.
Use the turn warning
If the tunnel turns right, then right again and starts heading farther down, turn back because you passed the opening.
Right lifeboat Skull by the river fireflies
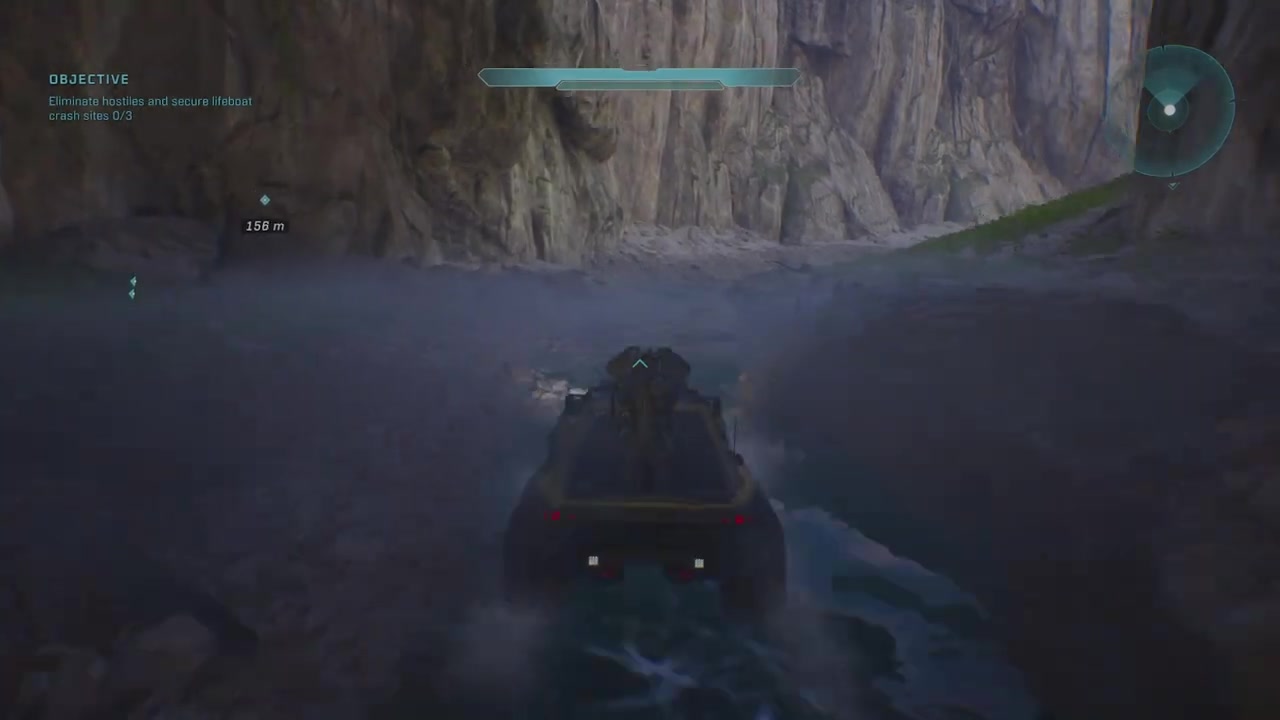
Follow the river
Move along the river until you reach a large rock with green, firefly-like lights nearby.
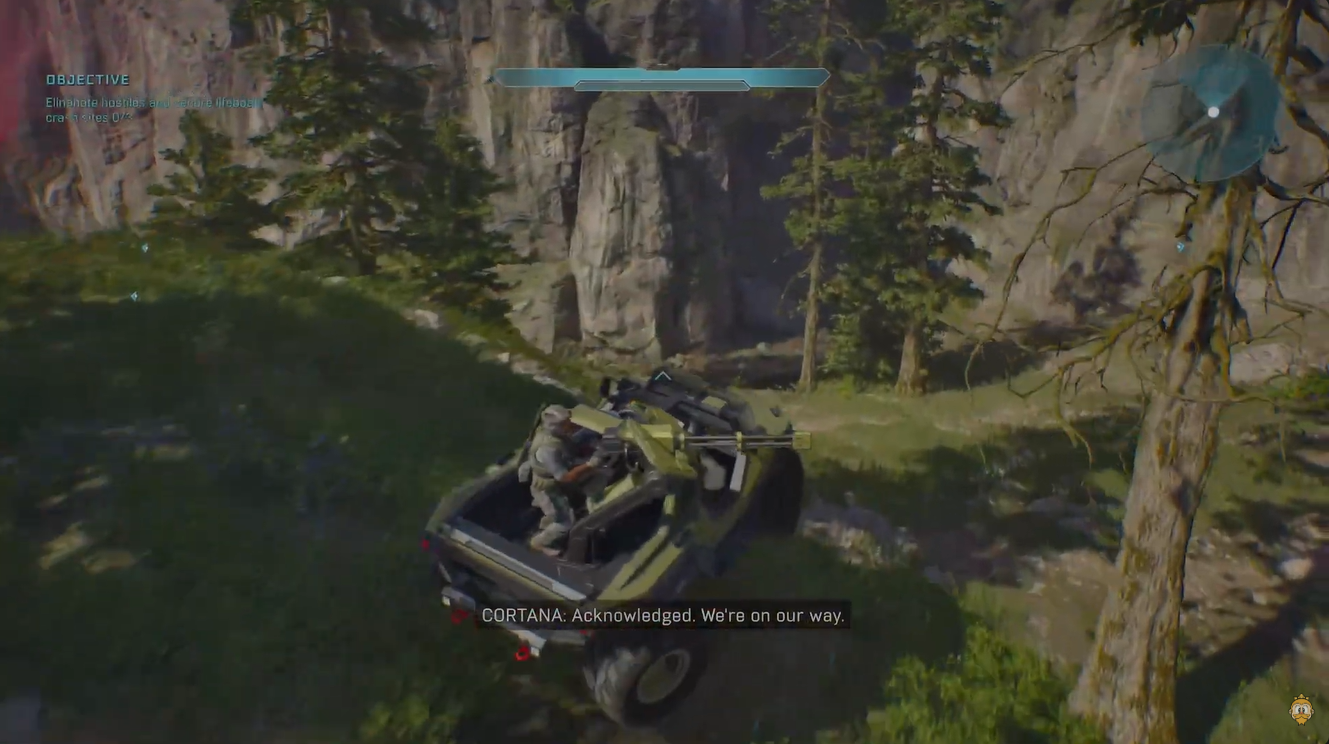
Face the opposite rock
Stand near the lights and look toward the rock opposite them.
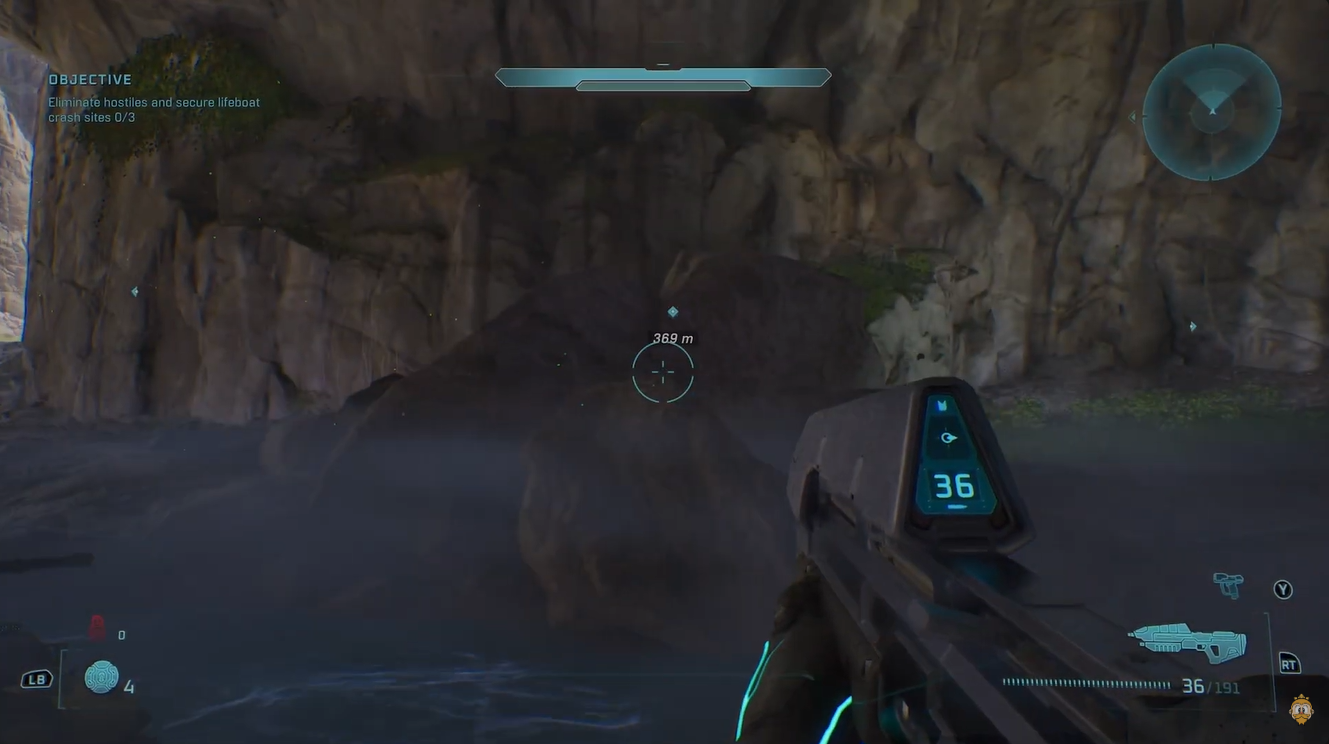
Grab the floating Skull
The Skull is floating in the air near that opposite rock.
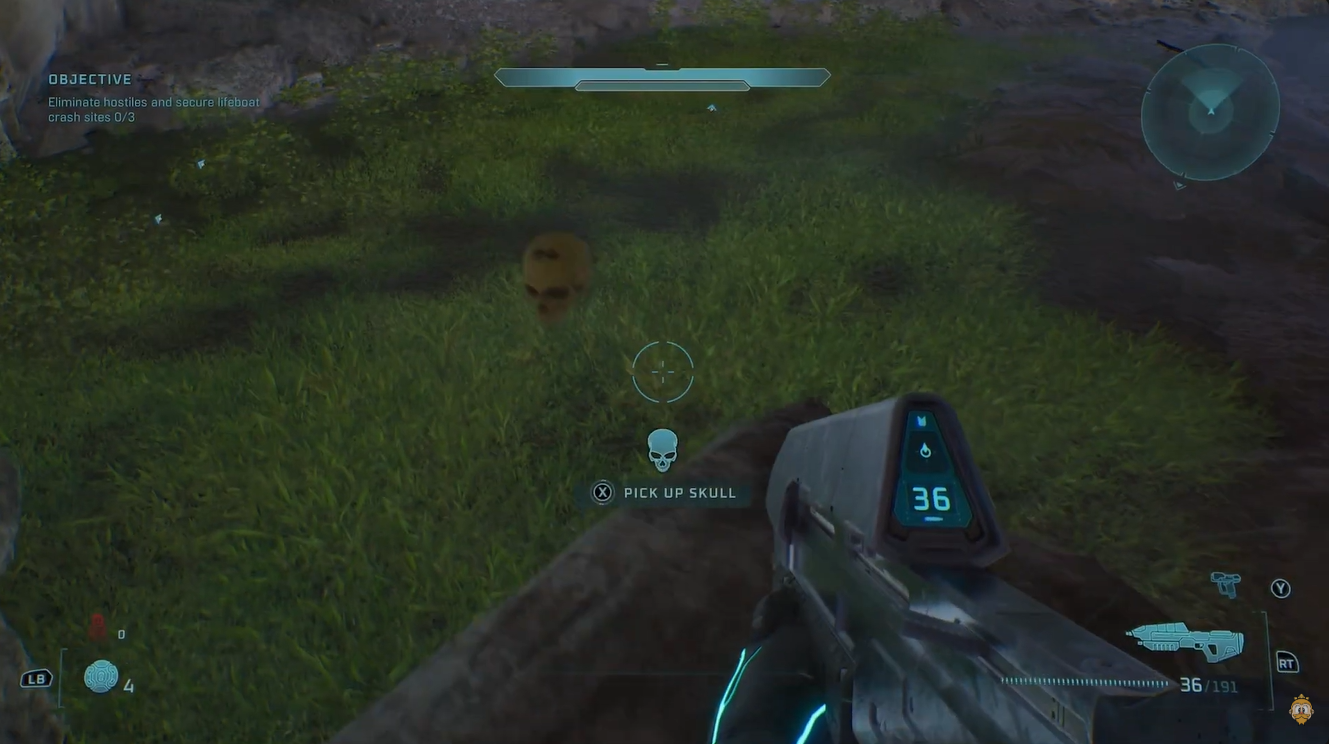
Middle lifeboat Skull on the grassy rocks
Go behind the rocks
At the middle objective area, head to the back of the rock formation.
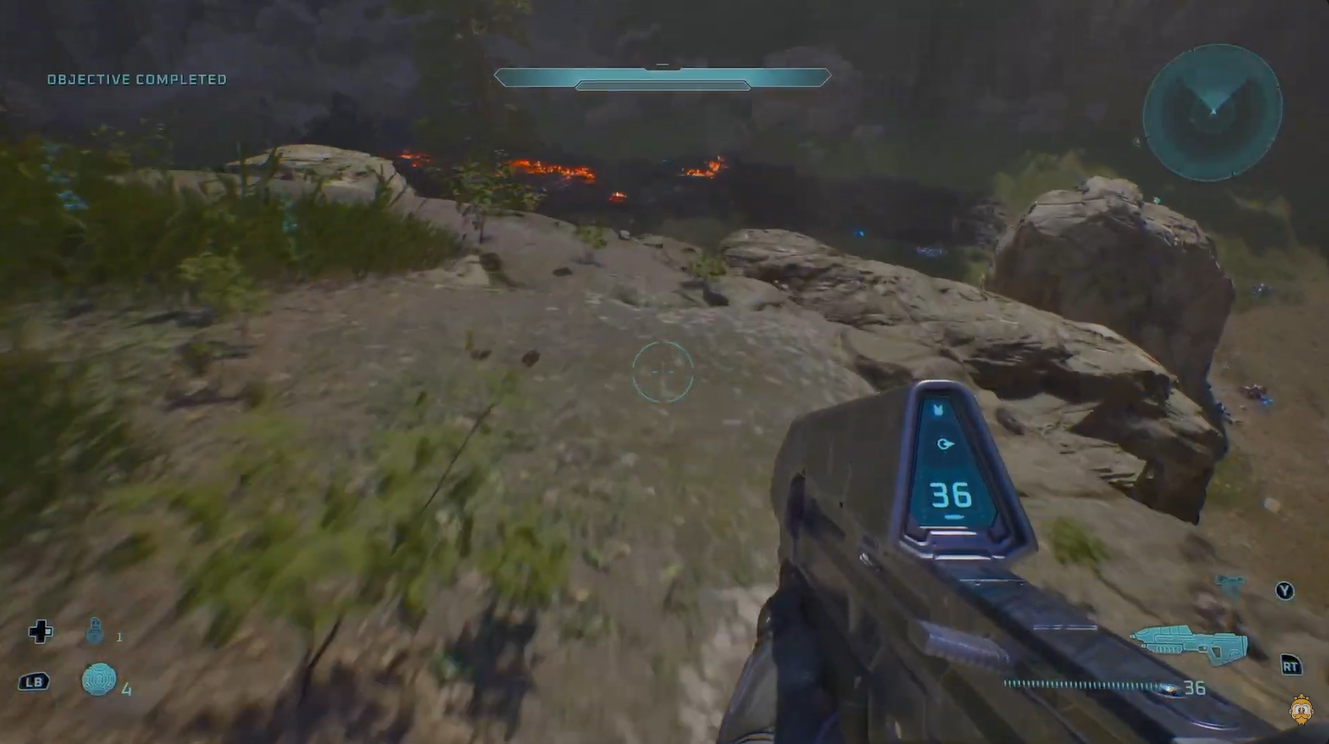
Find the grassy pair
Look for the two rocks with grass on top.
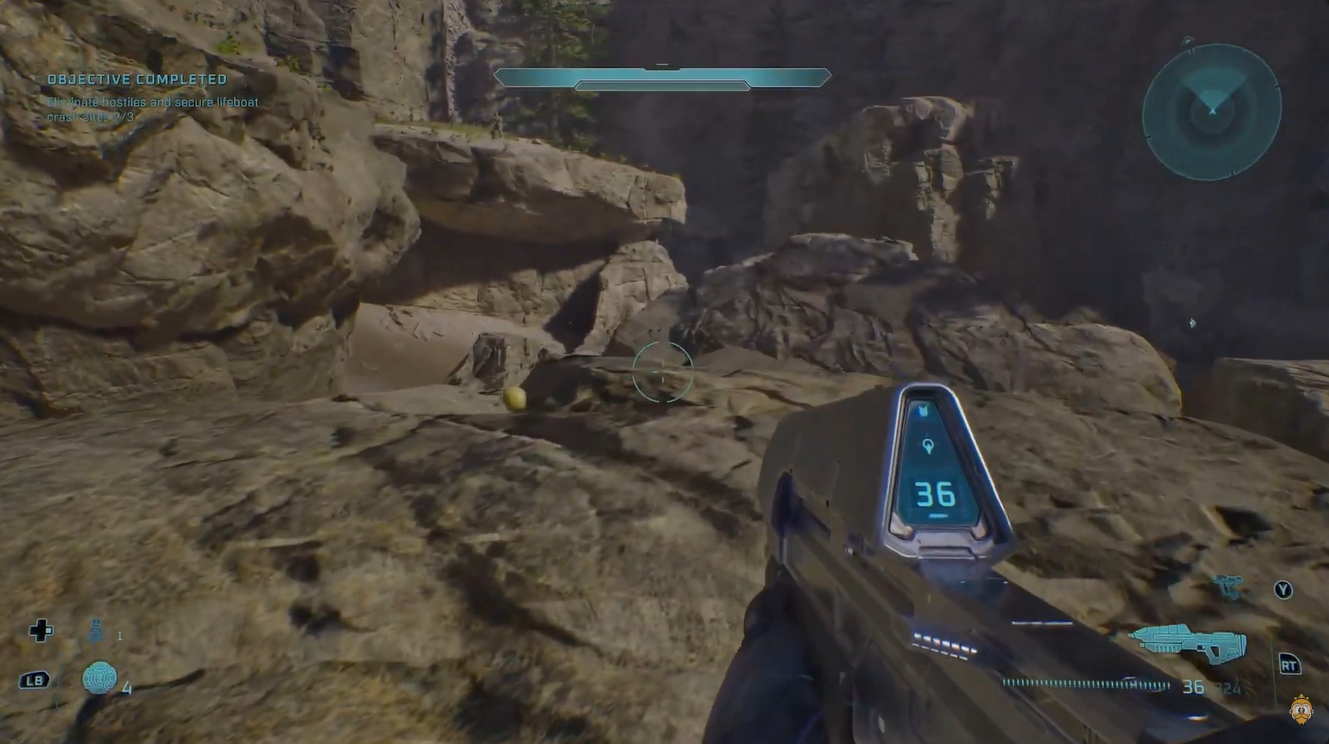
Cross the grassy rocks
Jump from the first grassy rock to the second grassy rock.
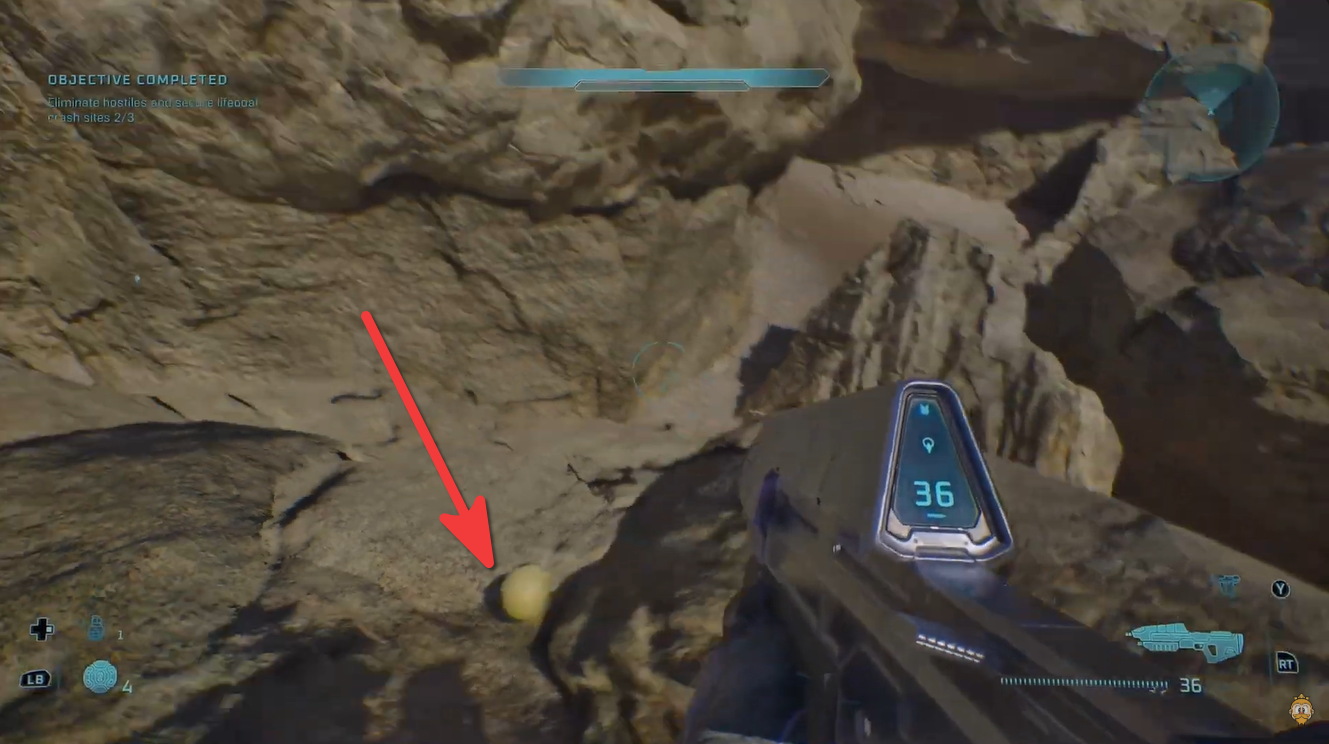
Drop straight down
Drop directly down from the second grassy rock to reach the Skull.
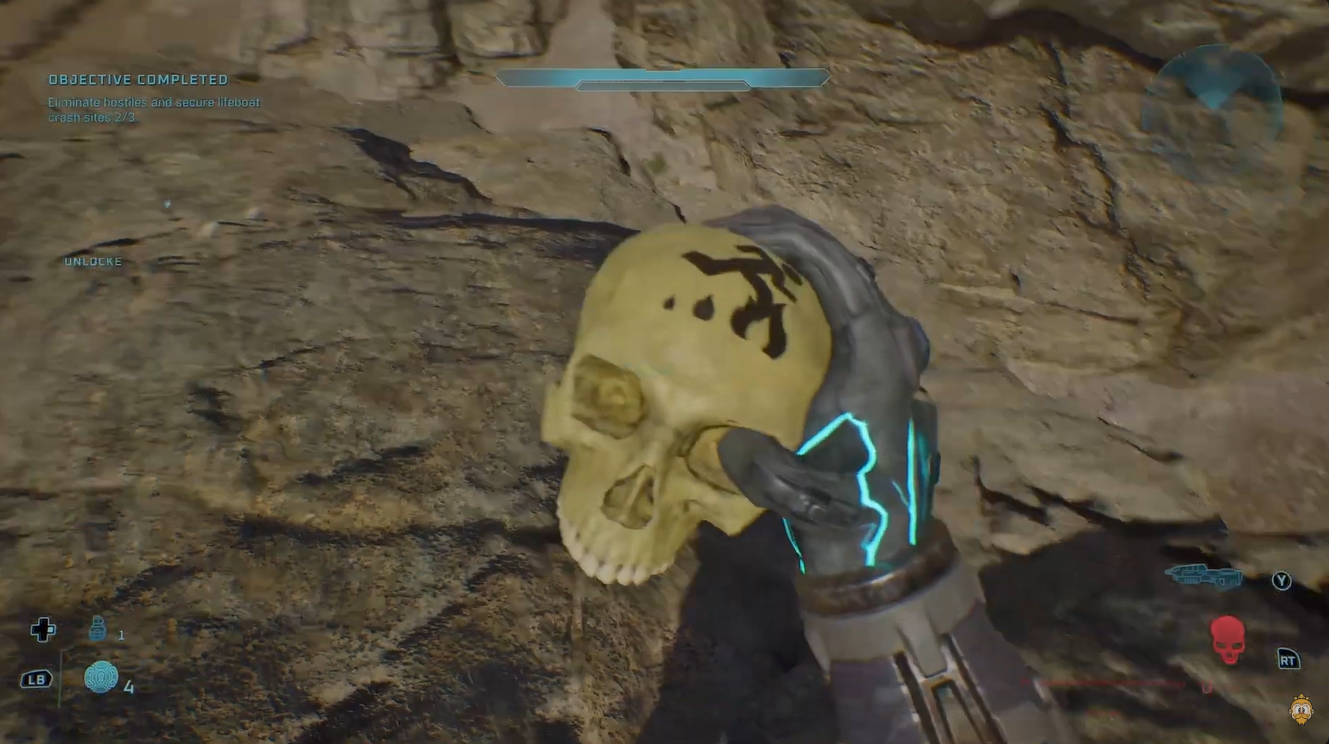
Final lifeboat Skull above the blue-lit platform
This is the only Skull in the mission that asks for a trickier movement setup. Do not head straight underground for the objective when you enter the final area; stay in the large central space and look up at the platform where the blue light is coming from.
Save a frag grenade before going for the final Skull; the jump can take repeated reloads, and arriving without one turns this pickup into a return-later job.
Stay in the central area
In the final objective area, remain in the large central area instead of going straight underground.
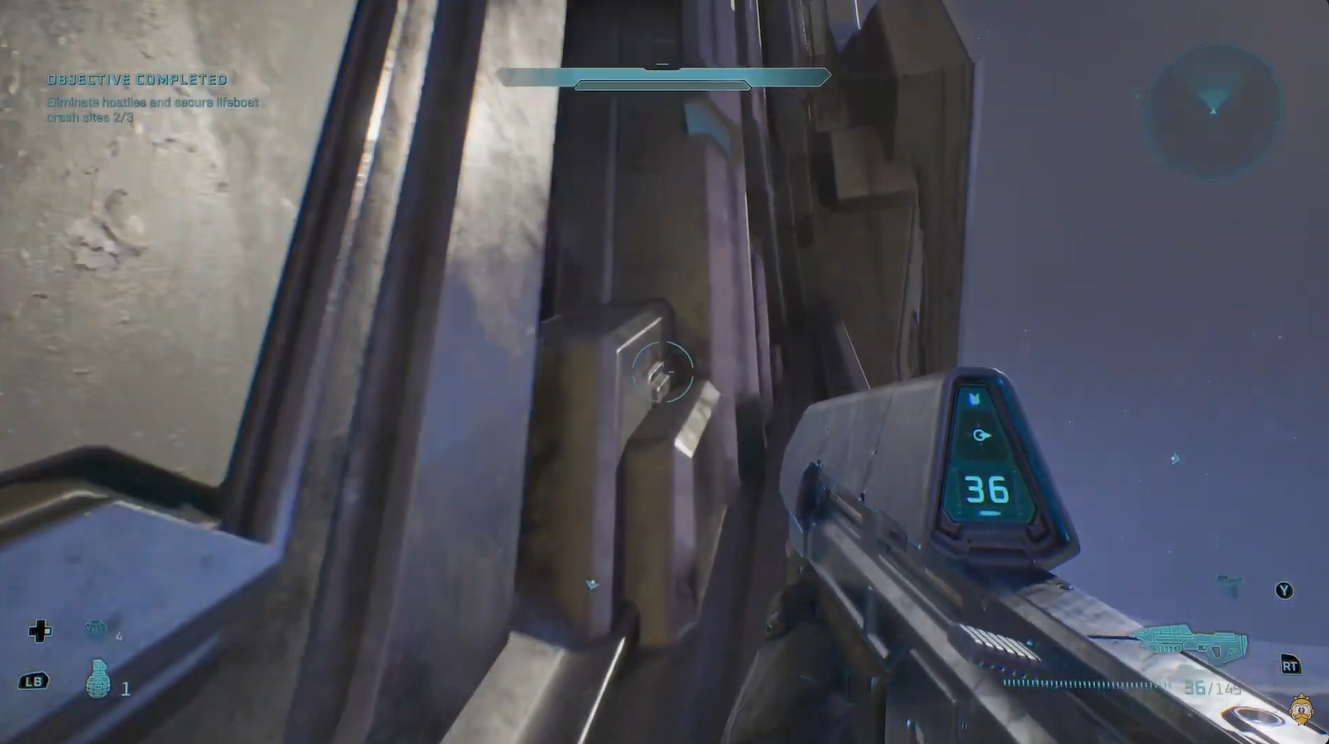
Find the blue-lit platform
Locate the biggest platform where the blue light is emitting.
Look above the platform
Spot the Skull high above that platform.
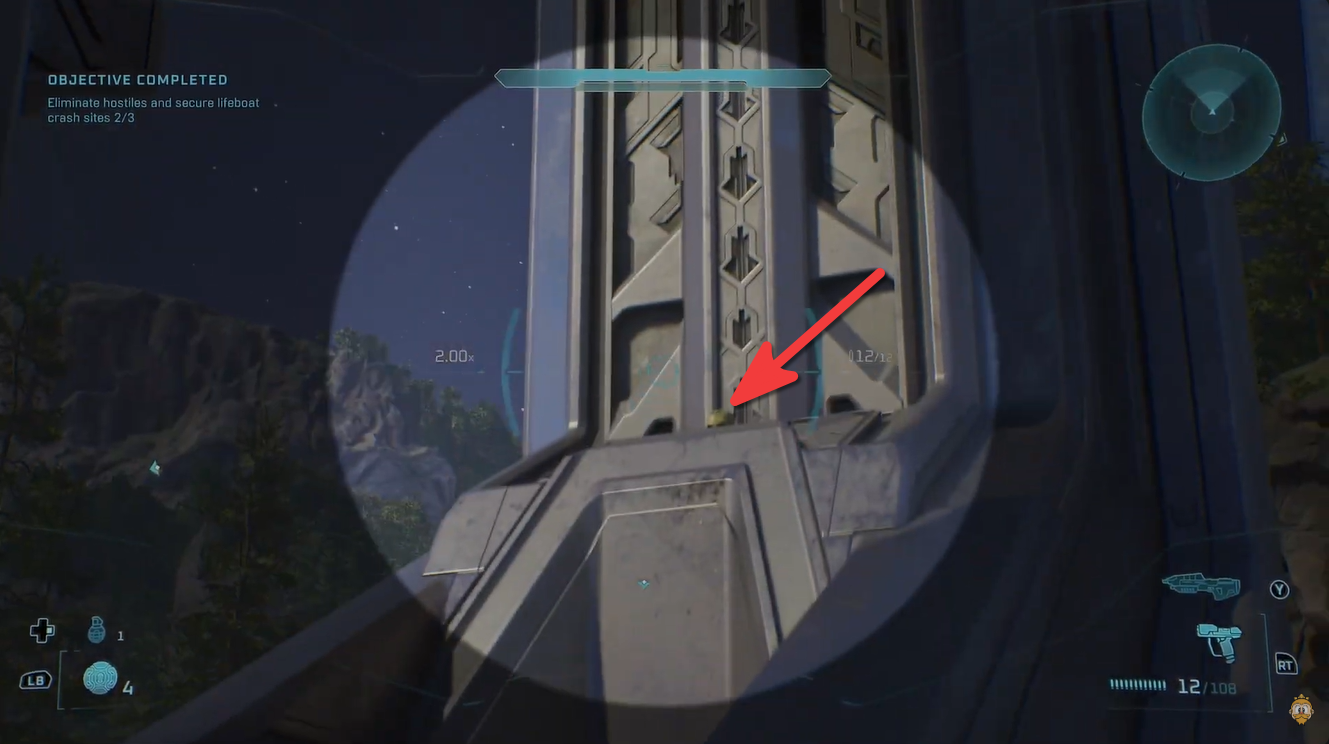
Set the frag jump
Use a frag grenade at your feet to launch yourself upward toward the Skull.
Repeat the attempt
Keep practicing and reloading until the grenade jump lines up cleanly.
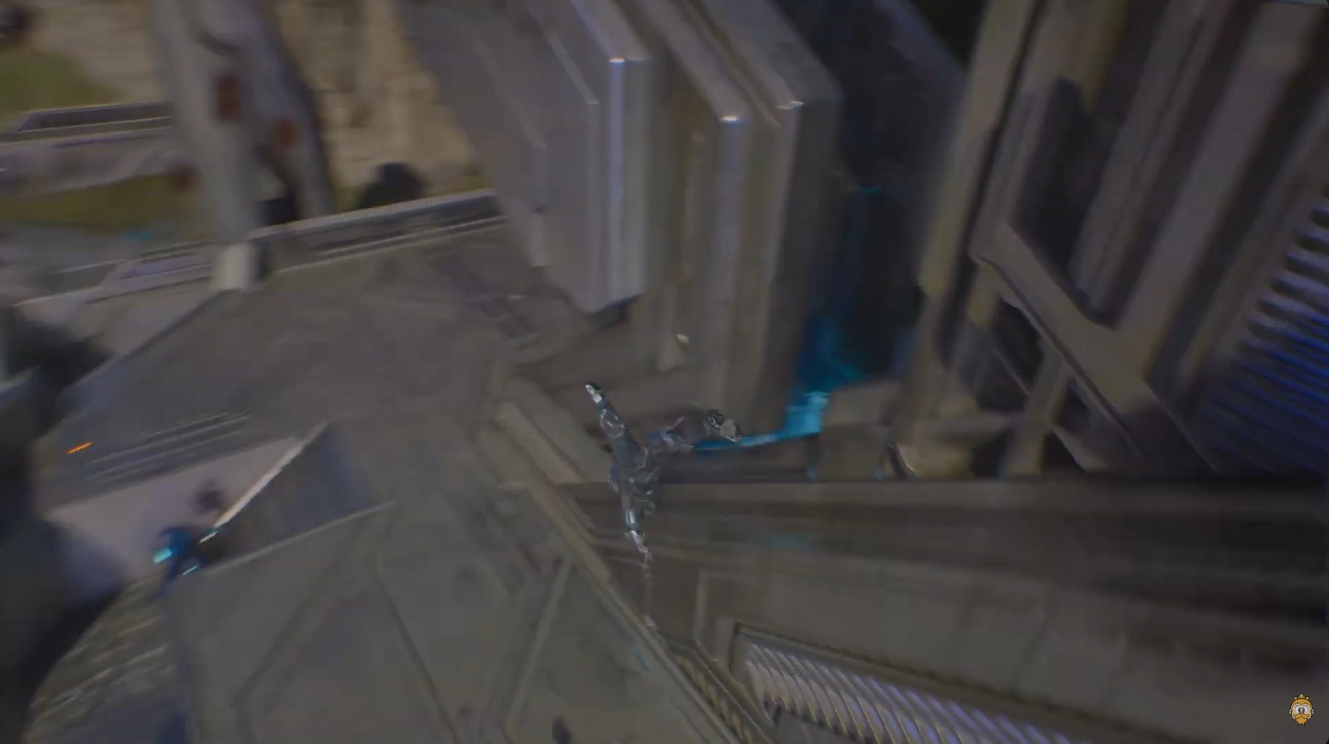
Use co-op height
In co-op, jumping from another player’s head may give you the extra height you need.
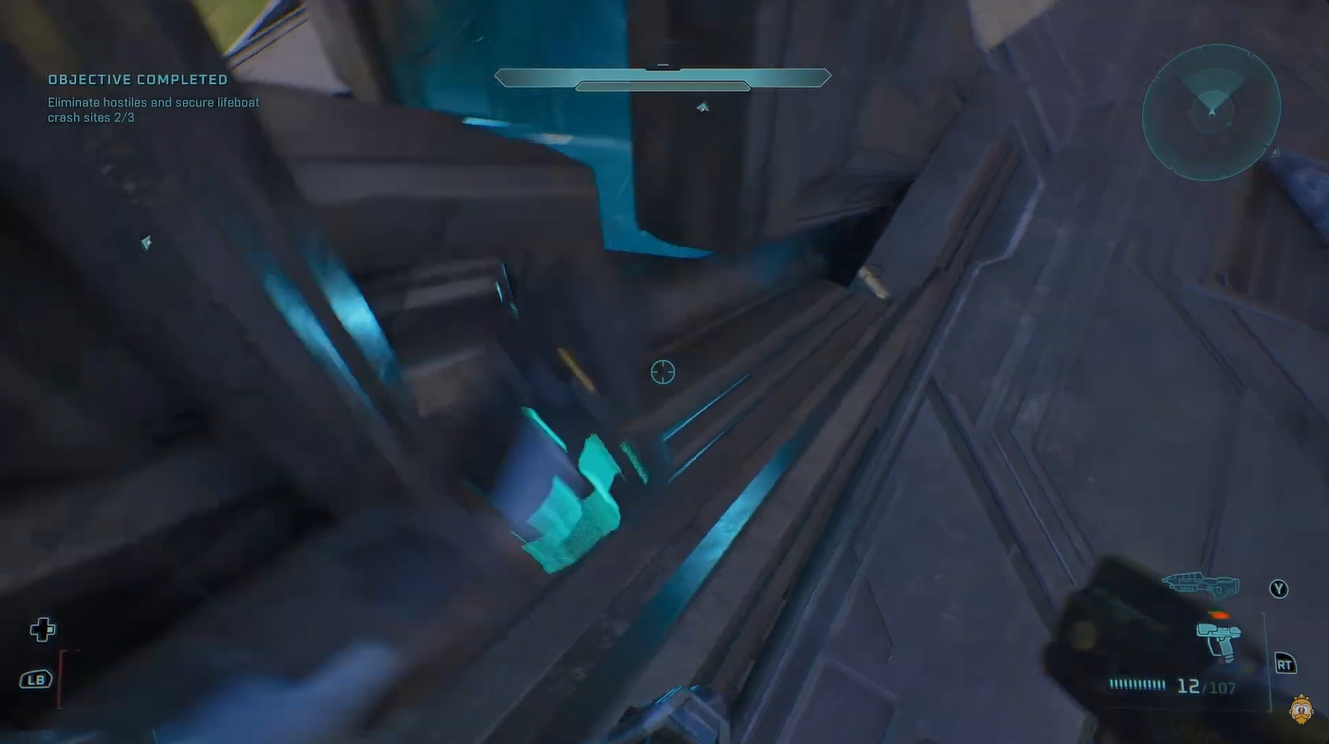
Return with flight later
If the jump keeps failing, come back after getting the later Skull that lets you fly.
Common missed pickups in the Halo mission
The Terminal is the easiest pickup to lose to momentum: once the tunnel begins the right-right downward turn, you have already overshot the side opening. The middle Skull causes the opposite problem, because the correct move is simply crossing the two grassy rocks and dropping from the second one.
The final Skull is usually missed because players arrive without a frag grenade or give up too quickly on the launch. Treat it as a repeat attempt pickup, and use co-op height or the later flying Skull if the grenade jump keeps stalling your run.
Frequently Asked Questions
How many Skulls are in the Halo mission?
There are three Skulls in the Halo mission, with one placed around each of the three lifeboat objective areas.
Where is the Terminal in the Halo mission?
The Terminal is inside a small right-side opening in the underground Warthog tunnel, reached after you get the Warthog.
Do the three Skulls have to be collected in order?
No. The lifeboat areas can be cleared in any order, though a right-to-left sweep makes it easier to track which area is done.
Do you need a grenade jump for the final Skull?
Yes. The solo method uses a frag grenade jump to reach the high Skull above the blue-lit platform.
What should you do if you cannot reach the final Skull?
Try it in co-op by using another player’s head for extra height, or return later after getting the Skull that lets you fly.
Video help




Leave a Reply