To unlock all fence skins in Grow A Garden 2, you must navigate to the props seller and purchase the fence crate, which grants immediate access to the complete set of 14 unique designs alongside the standard default option.
How to Unlock All Fence Skins
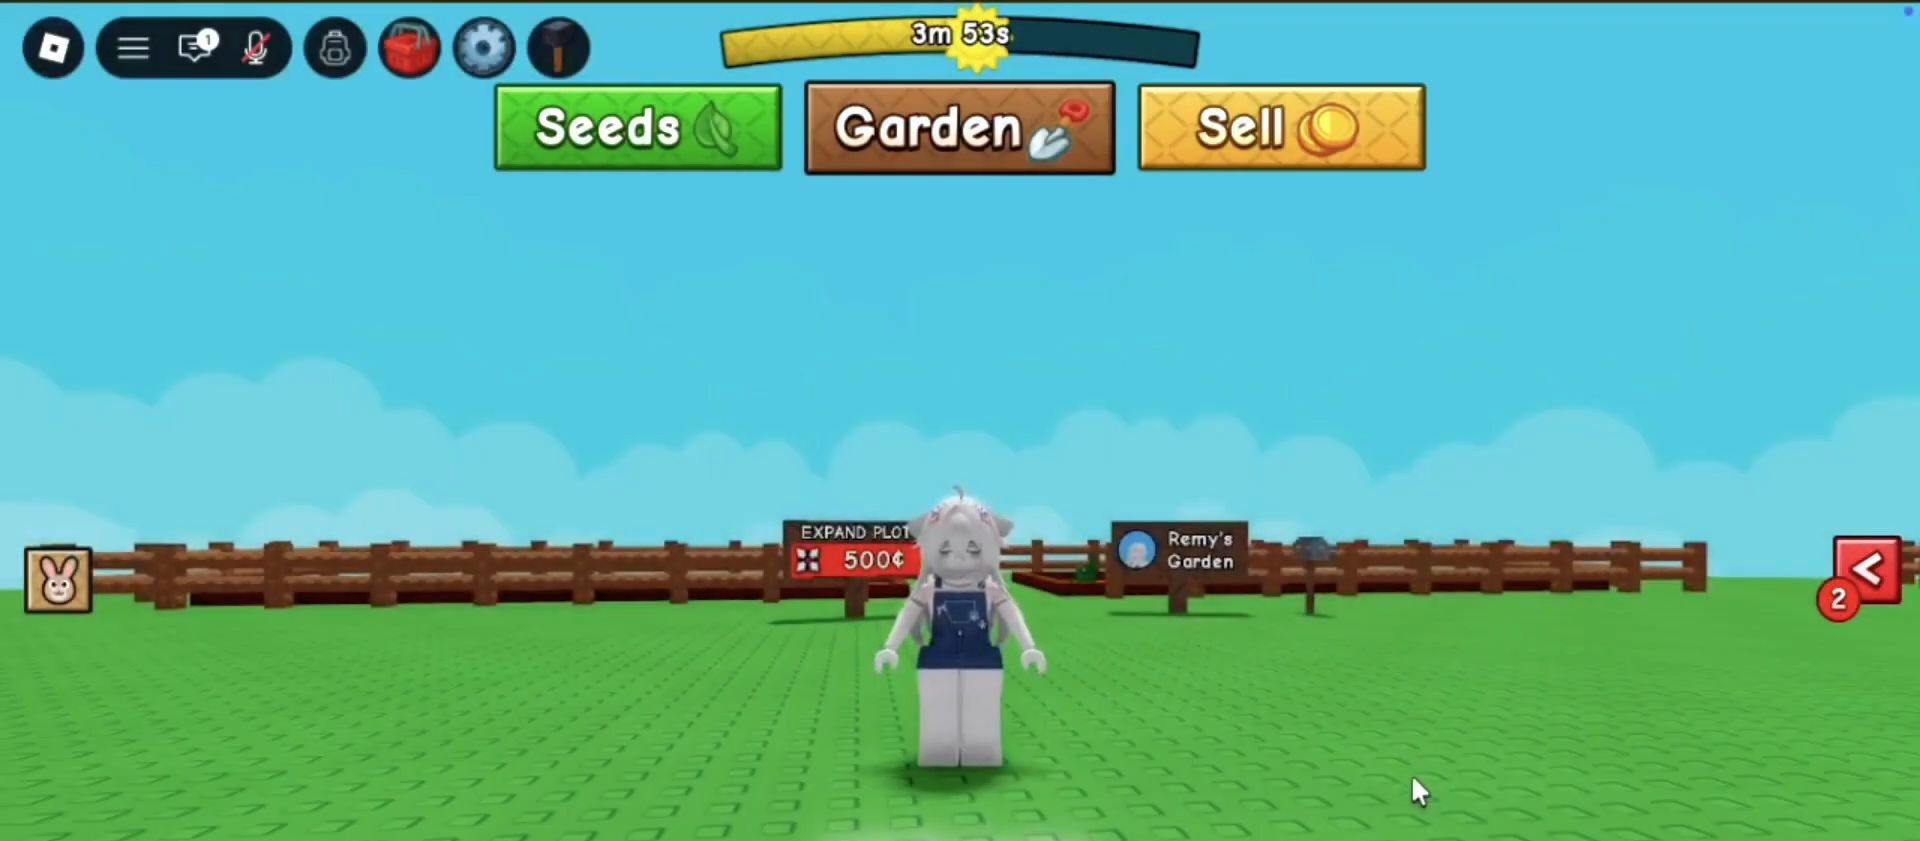
Step 1: Locate the Props Seller
Make your way across the map directly to the props seller.
This specific non-player character is the only vendor that holds the key to upgrading your perimeter aesthetics, meaning you must bypass all other standard merchants to access these specific cosmetics.
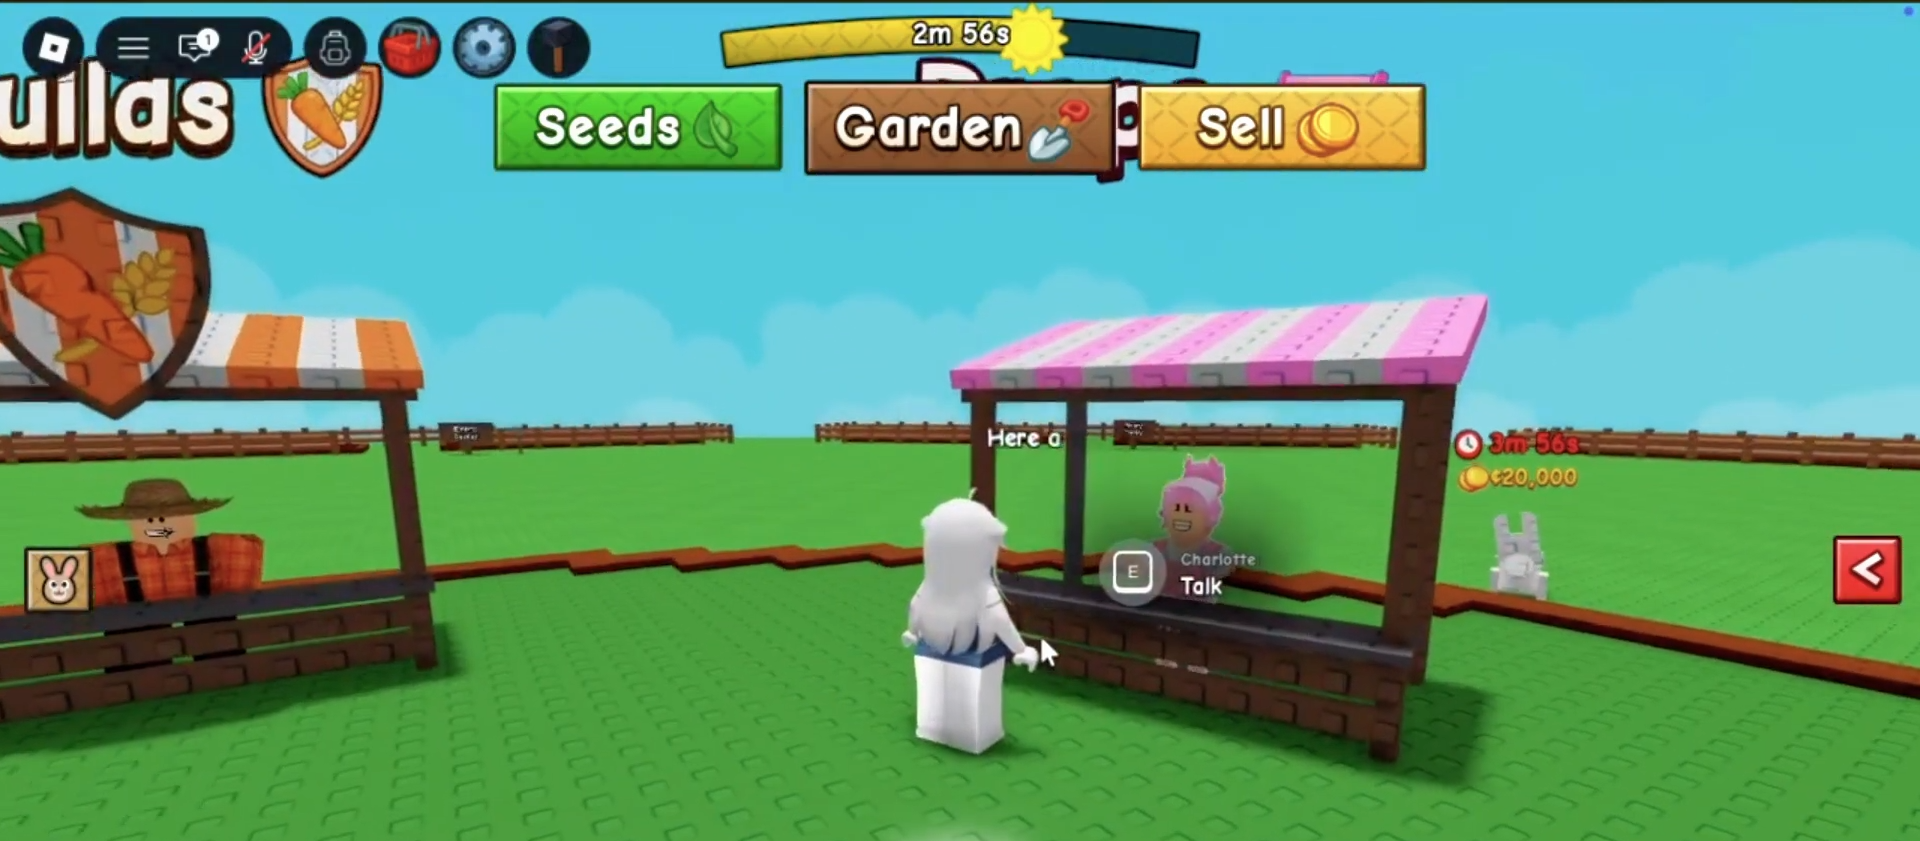
Step 2: Access the Vendor Menu
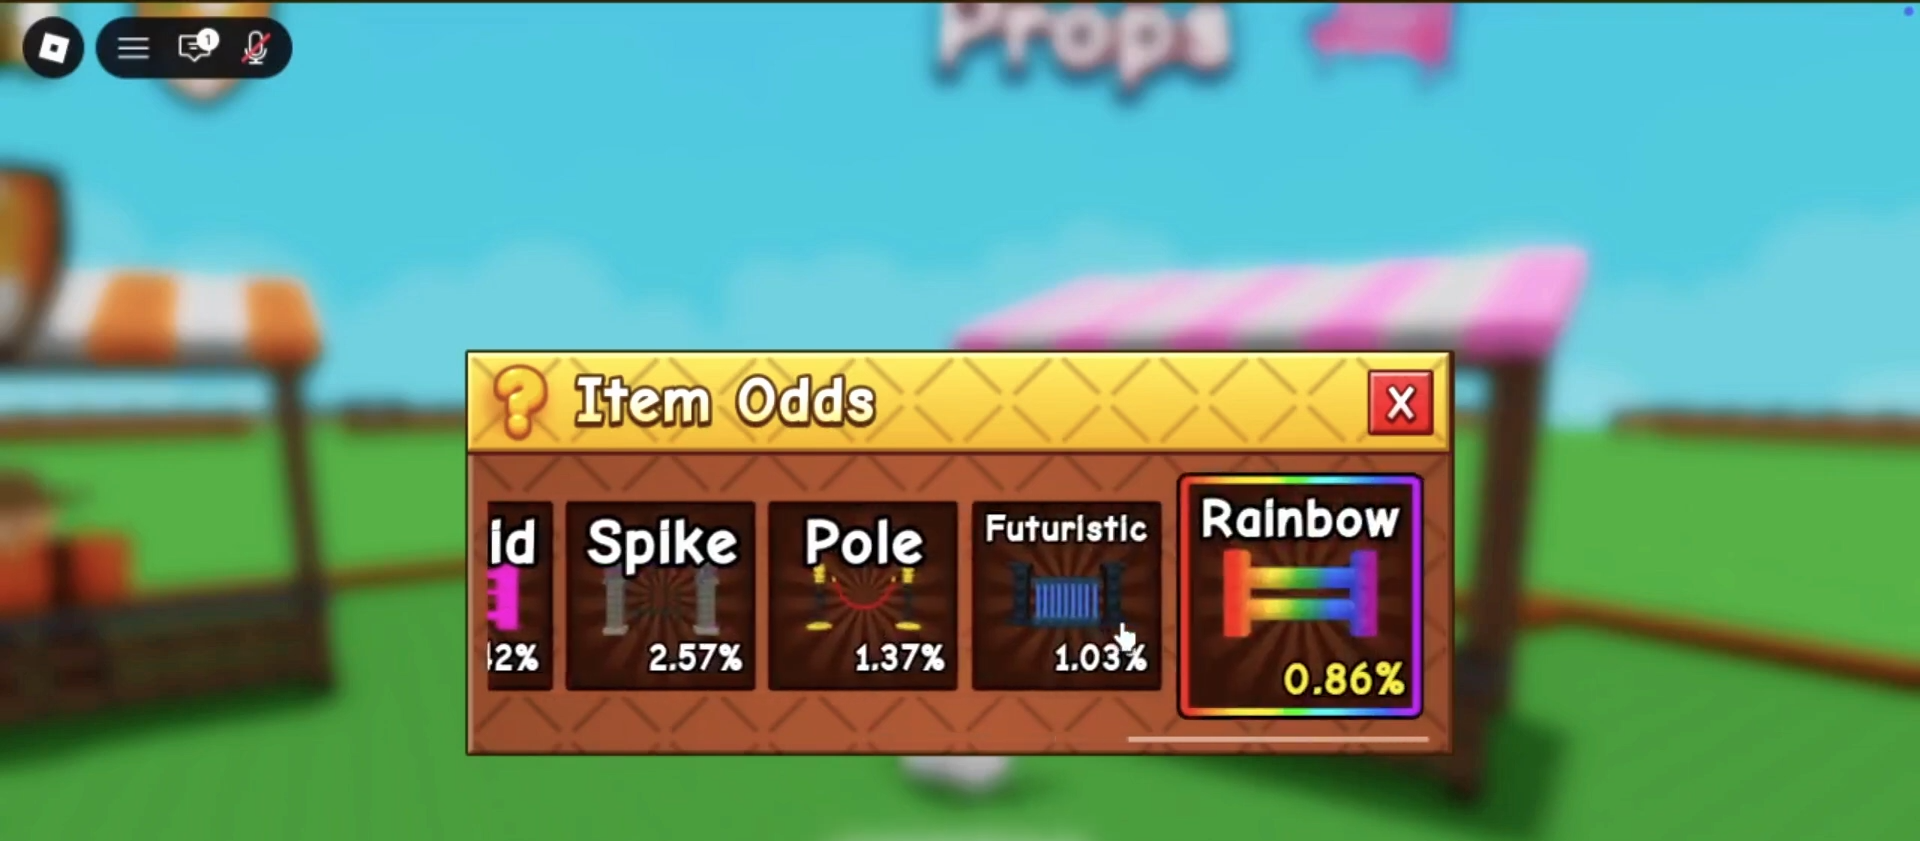
Interact with the vendor to bring up the official storefront interface on your screen. You will initially see a variety of standard items, requiring you to scroll down toward the bottom of the user interface to find the Fence Crate.
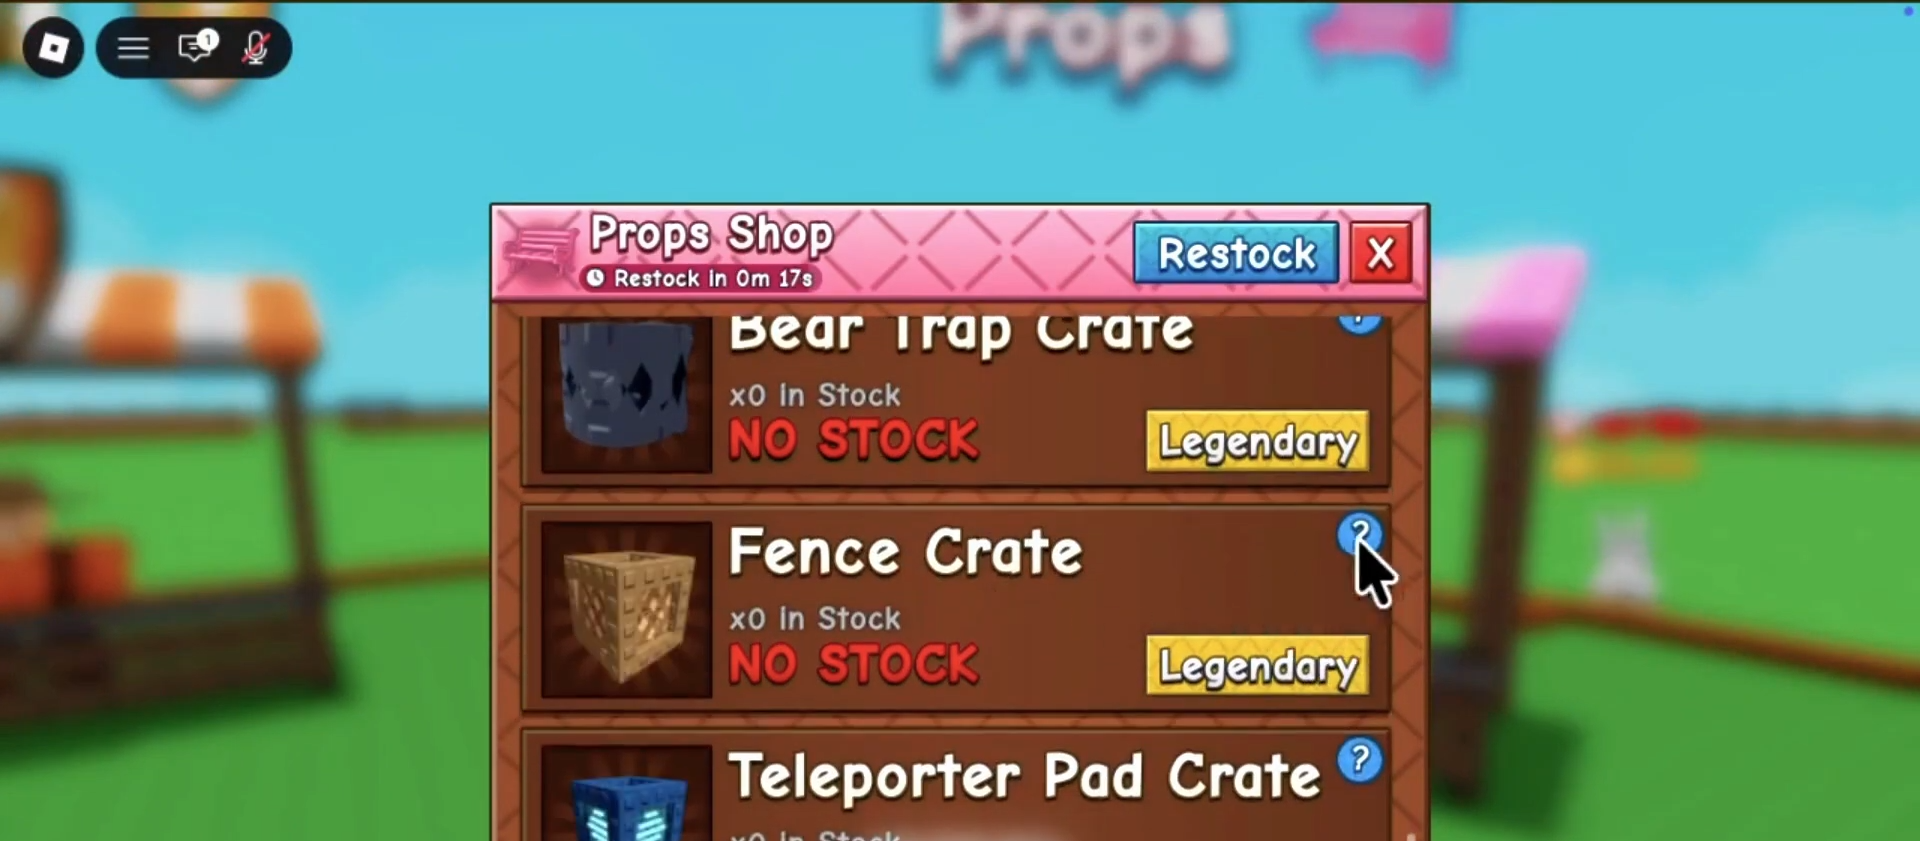
Step 3: Purchase the Fence Crate
Locate the fence crate within the expanded menu and initiate the purchase.
Step 4: Equip Your New Cosmetics
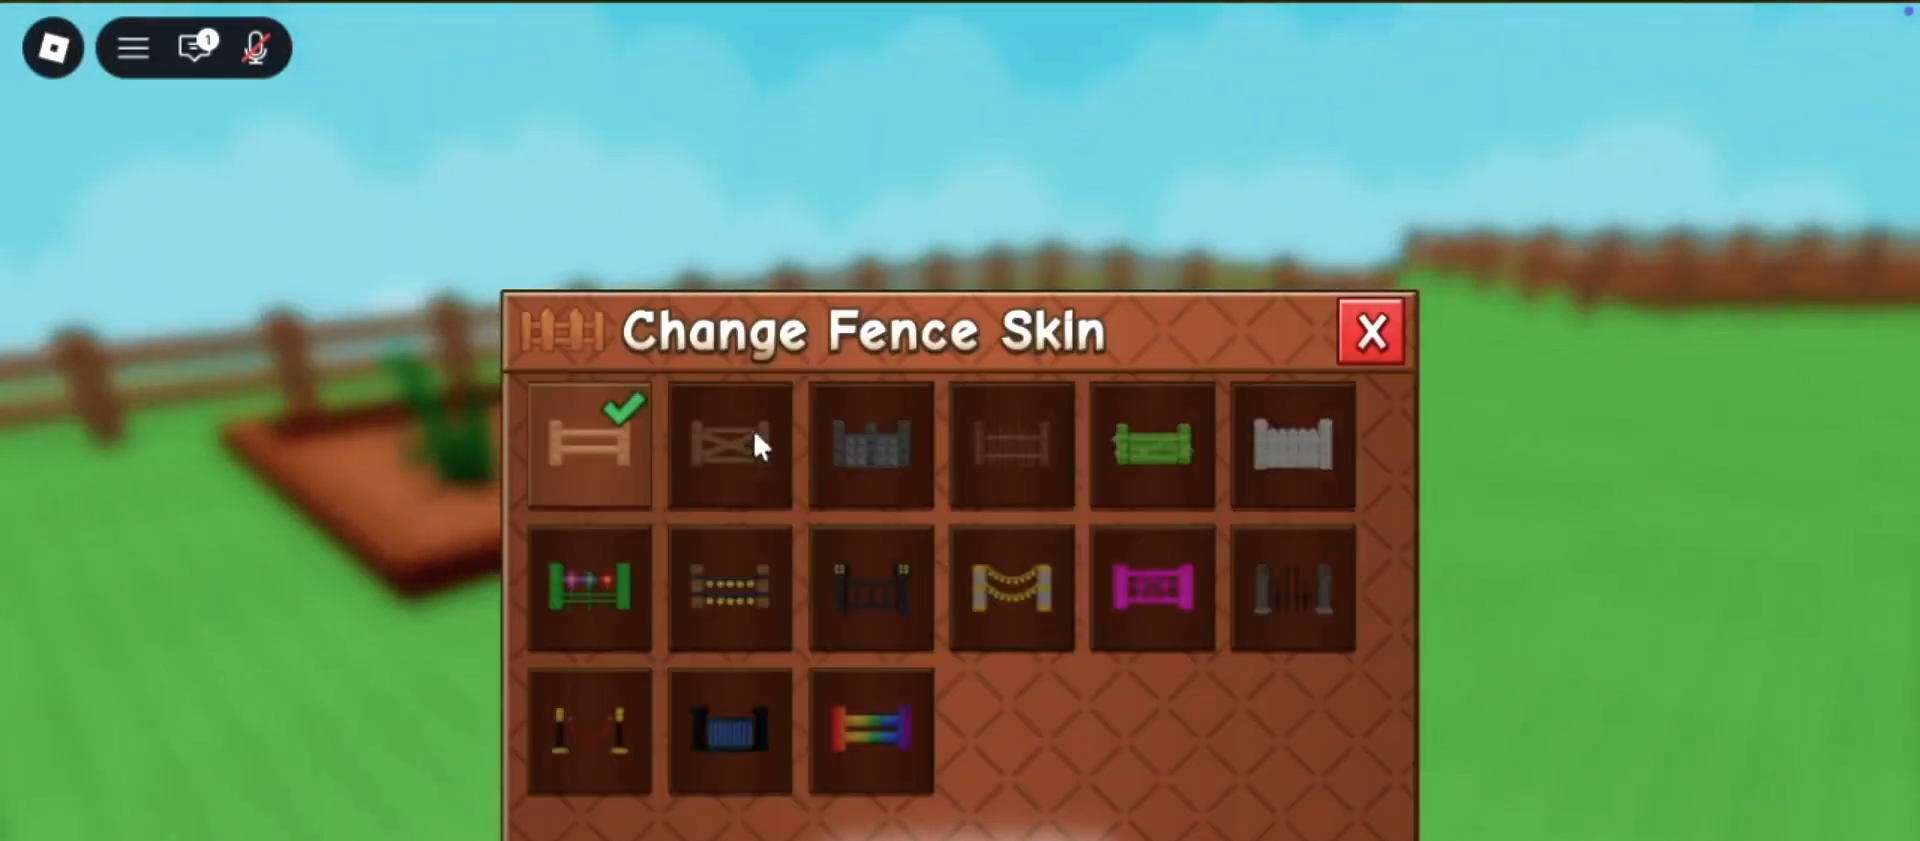
Travel back to your personal plot and interact directly with your garden sign.
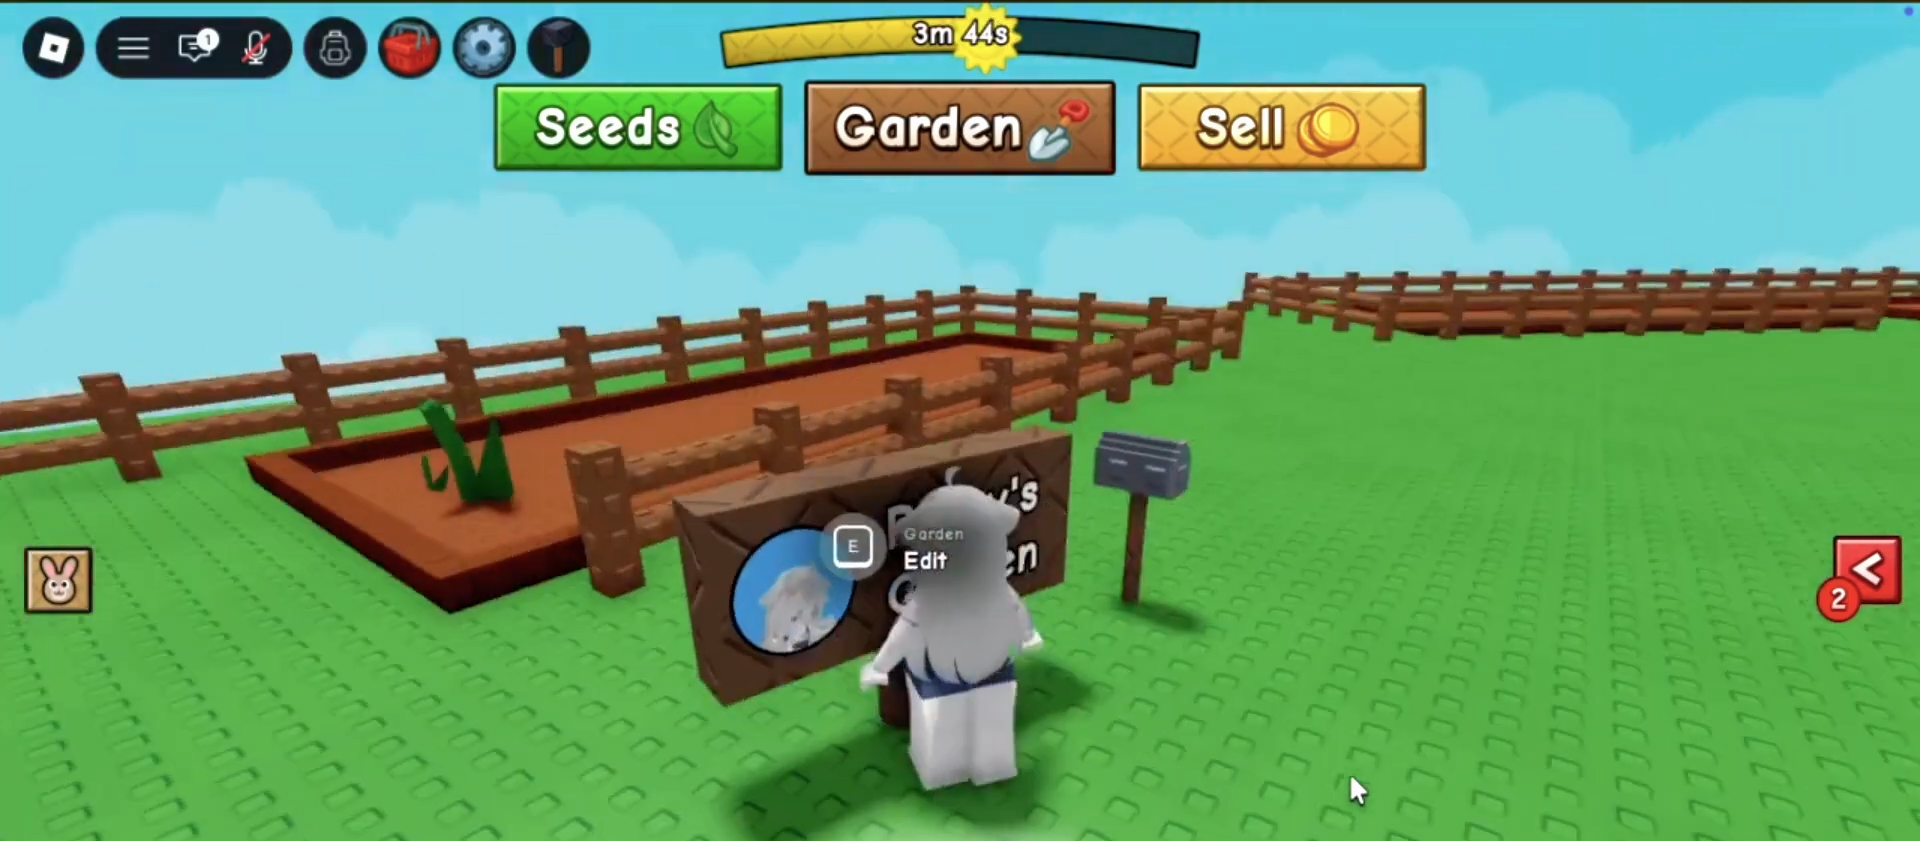
Opening this specific menu will display your newly expanded inventory.
Allowing you to seamlessly swap between all available cosmetic styles to customize your base.
Critical Mistakes to Avoid
-
Ignoring the Garden Sign Location: A common error is attempting to equip newly purchased cosmetics from a standard backpack inventory. If your new styles are not appearing, ensure you are interacting strictly with the garden sign located directly on your personal plot.
-
Purchasing the Wrong Item: The vendor menu contains multiple categories and items. If you do not scroll down far enough through the props seller’s inventory, you risk missing the dedicated fence crate completely.
-
Overlooking the Default Skin Assignment: When reviewing your newly acquired styles, remember that the 15th skin in the menu is always your standard default option. Do not panic if one slot looks familiar, as this is an intentional game mechanic.


Leave a Reply