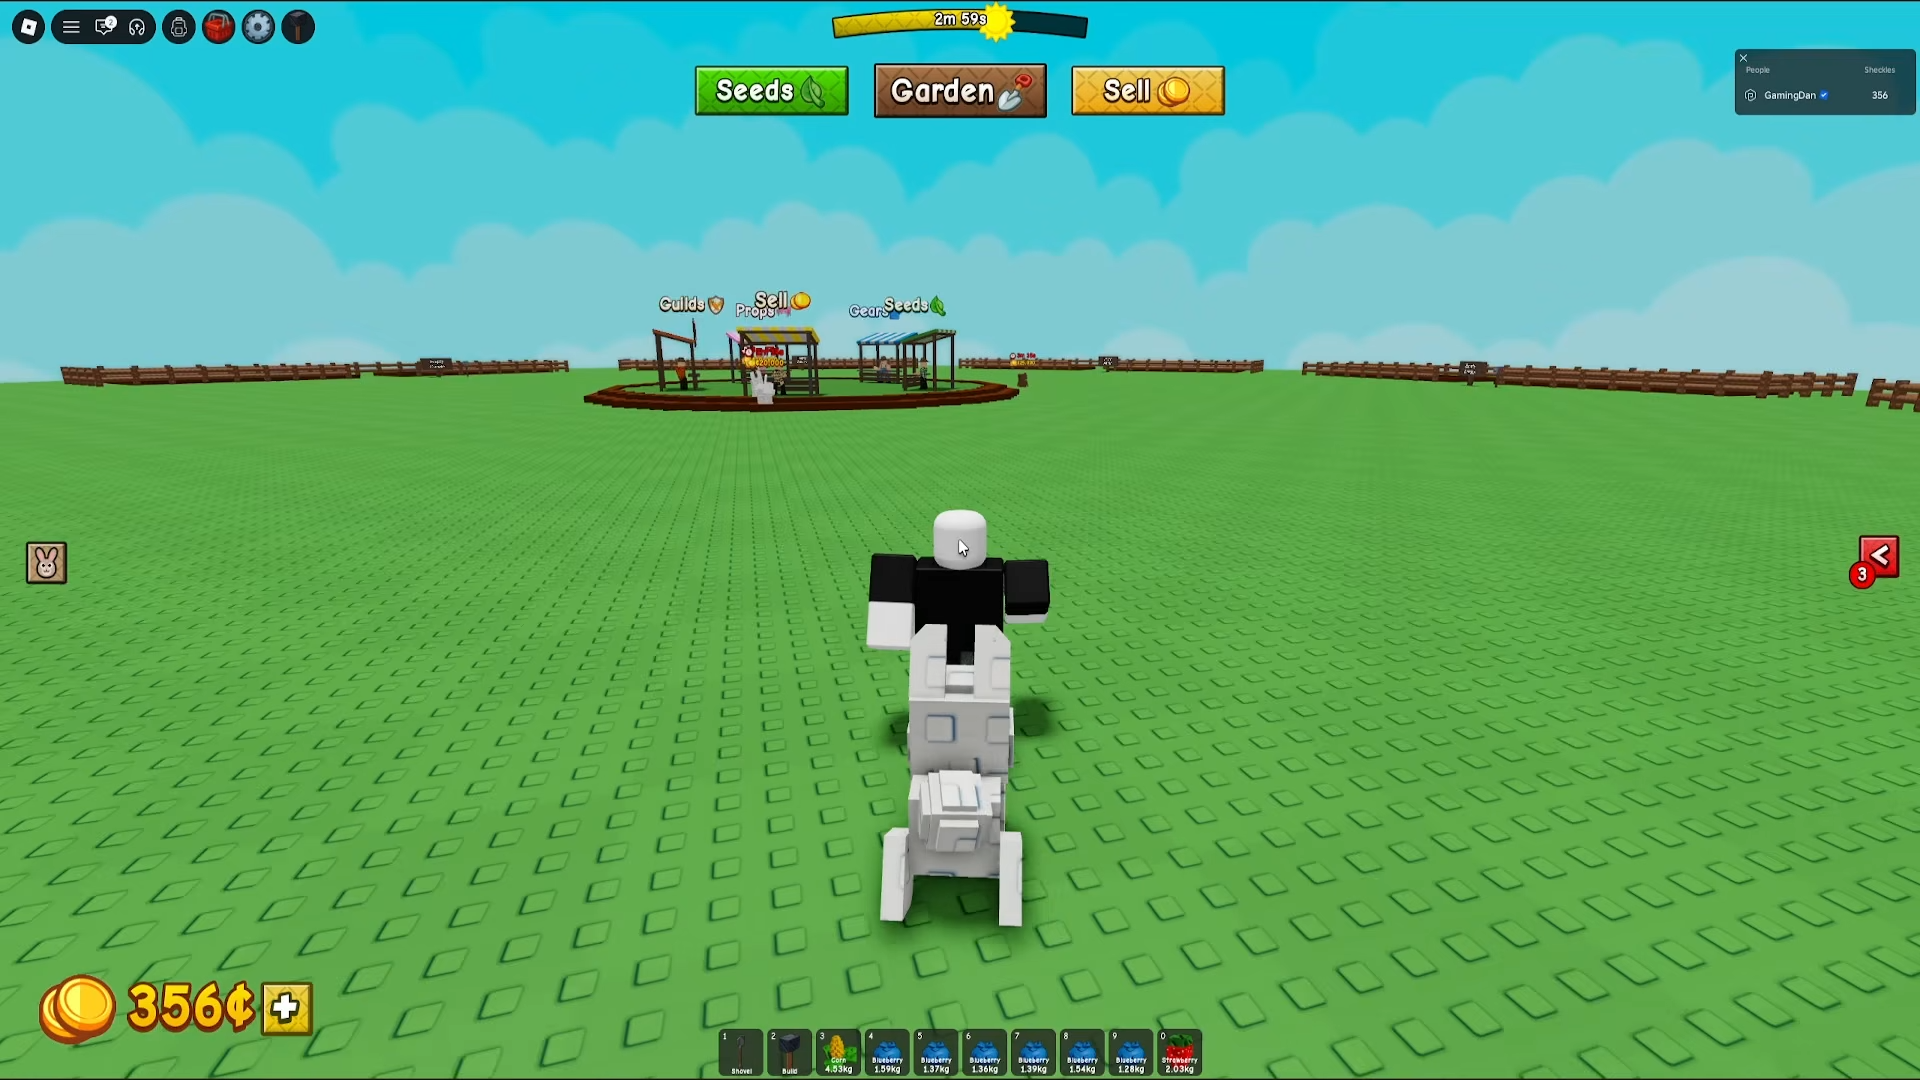
To create a guild in Grow a Garden 2, talk to Gilbert at the Guilds counter in the central hub and spend 99 Robux. Joining is free via mailbox invites.
Quick Guild Overview
How to Create a Guild
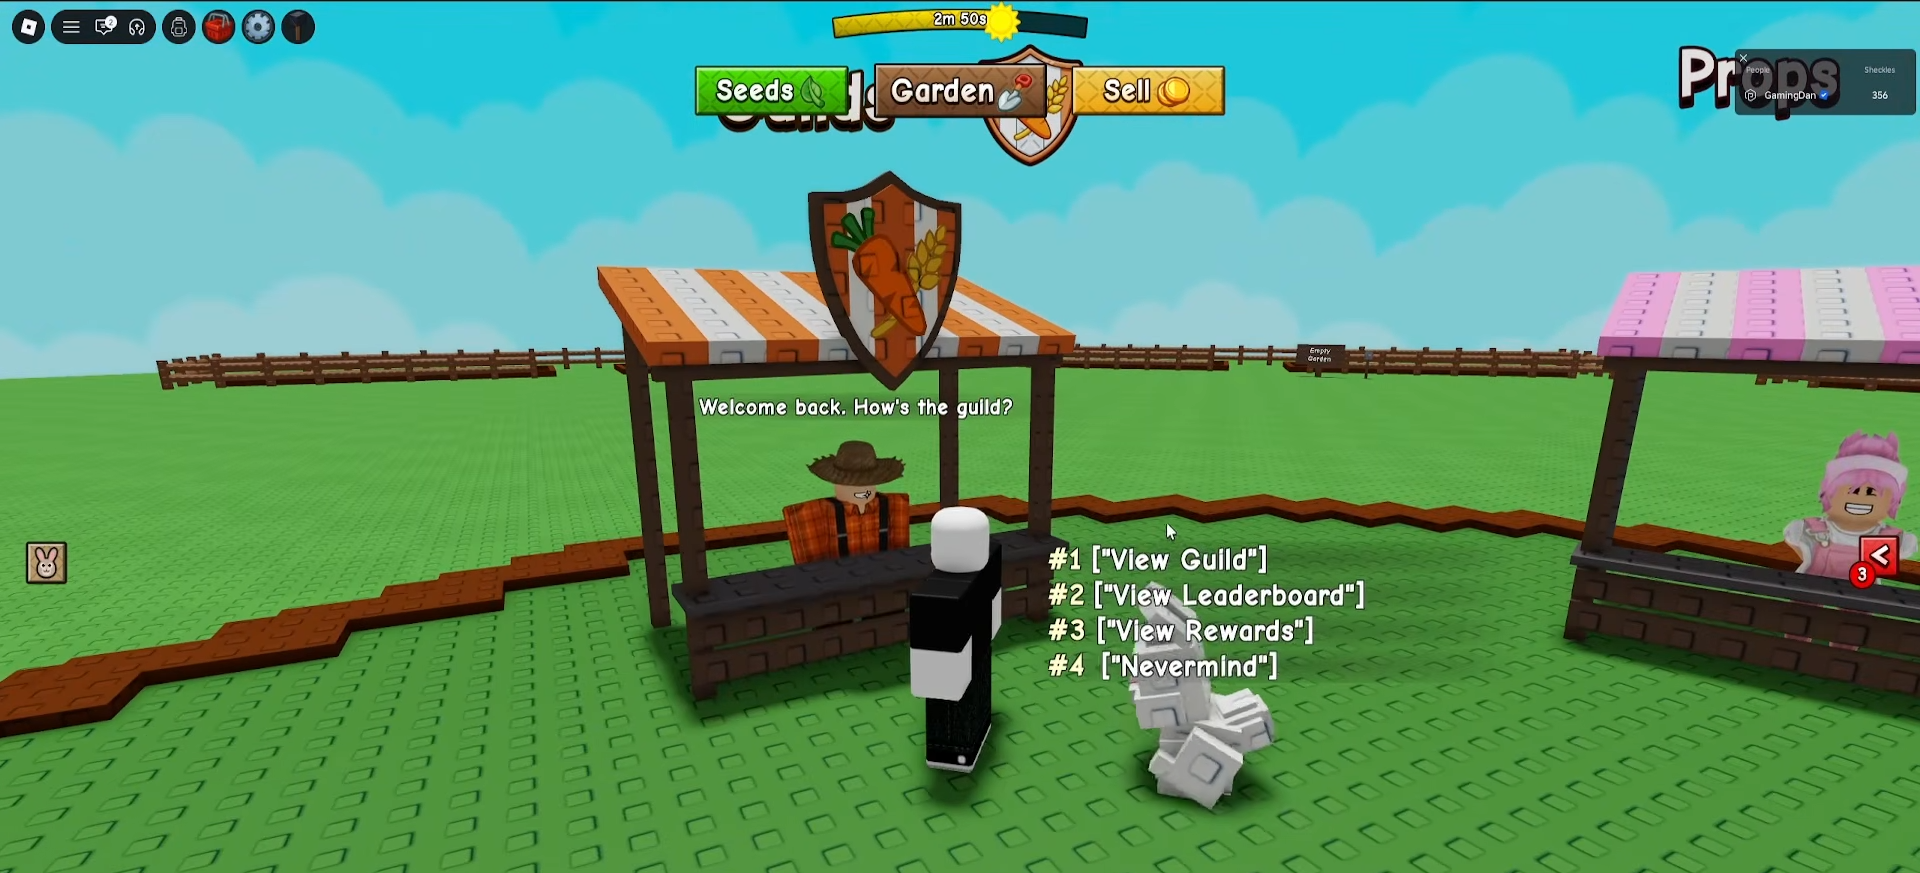
Step 1: Visit the Guilds Counter
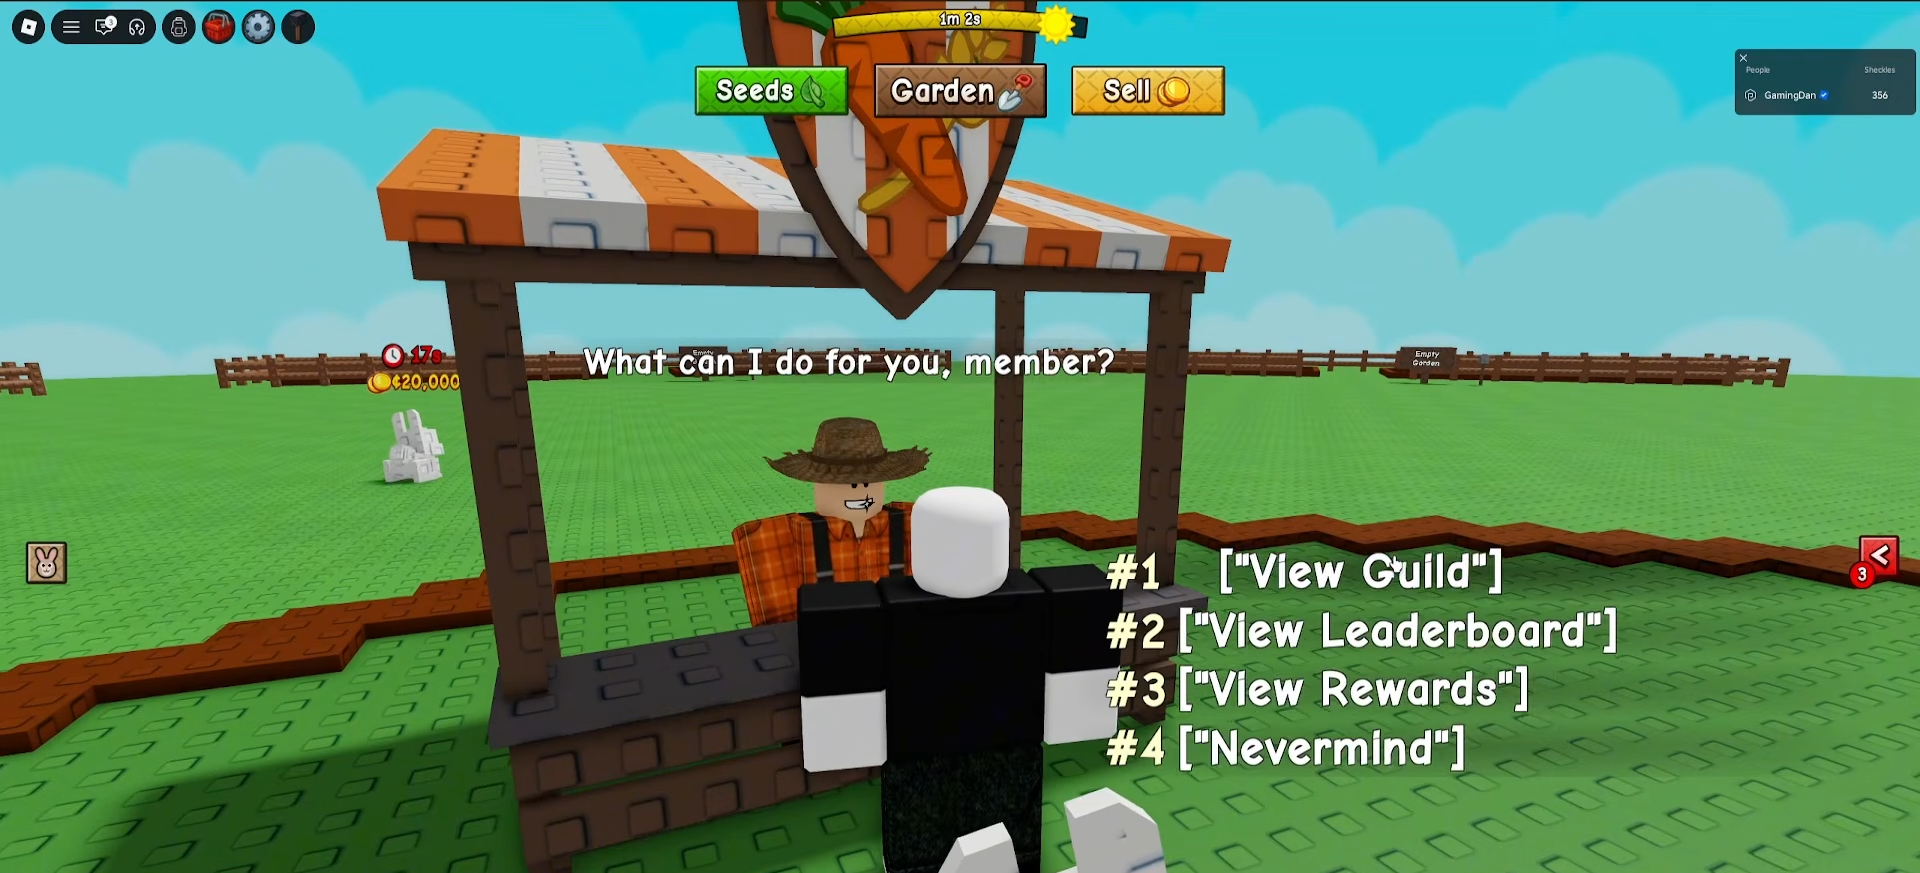
Head to the central hub and find Gilbert, the NPC standing at the Guilds counter.
Step 2: Initiate Creation
Talk to Gilbert and select “Create a Guild” (if you already have one, it shows “View Guild” instead).
Step 3: Fill Guild Details
Enter your:
-
Guild Name
-
Guild Tag (short abbreviation)
-
Description
You can also click the finger button to pick custom colors for your guild.
Step 4: Pay 99 Robux
Click the 99R$ button to confirm and spend the Robux. Once paid, your guild goes live and you become the Guild Owner/Leader.
Guild Customization Options
Step 1: Edit Guild Settings
From the Guilds counter, open your guild panel and click “Edit”.
Step 2: Change Name, Tag, Description
You can modify the guild name, tag, and description after creation.
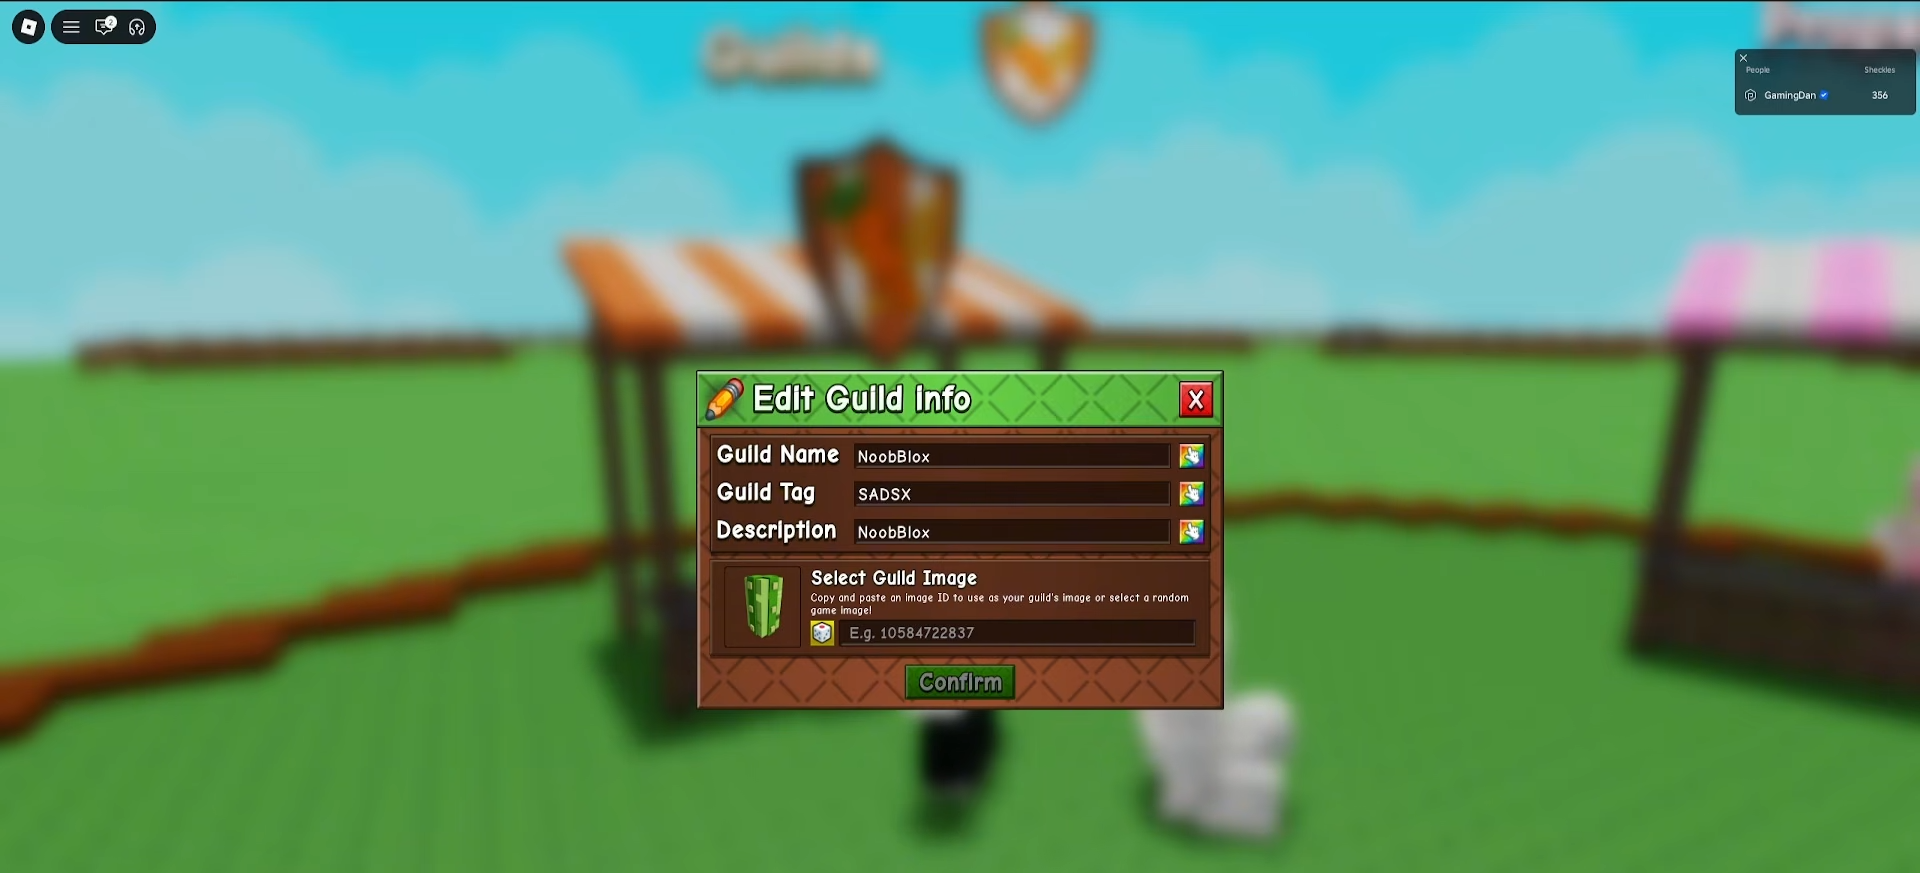
Step 3: Set a Custom Image
You have two options:
-
Randomize the image automatically
-
Upload your own from Roblox:
-
Go to Roblox → Create tab → Creations → Development Items
-
Upload an image/decal
-
Copy Asset ID
-

-
-
Return to game, paste the ID, and enter to update.
-
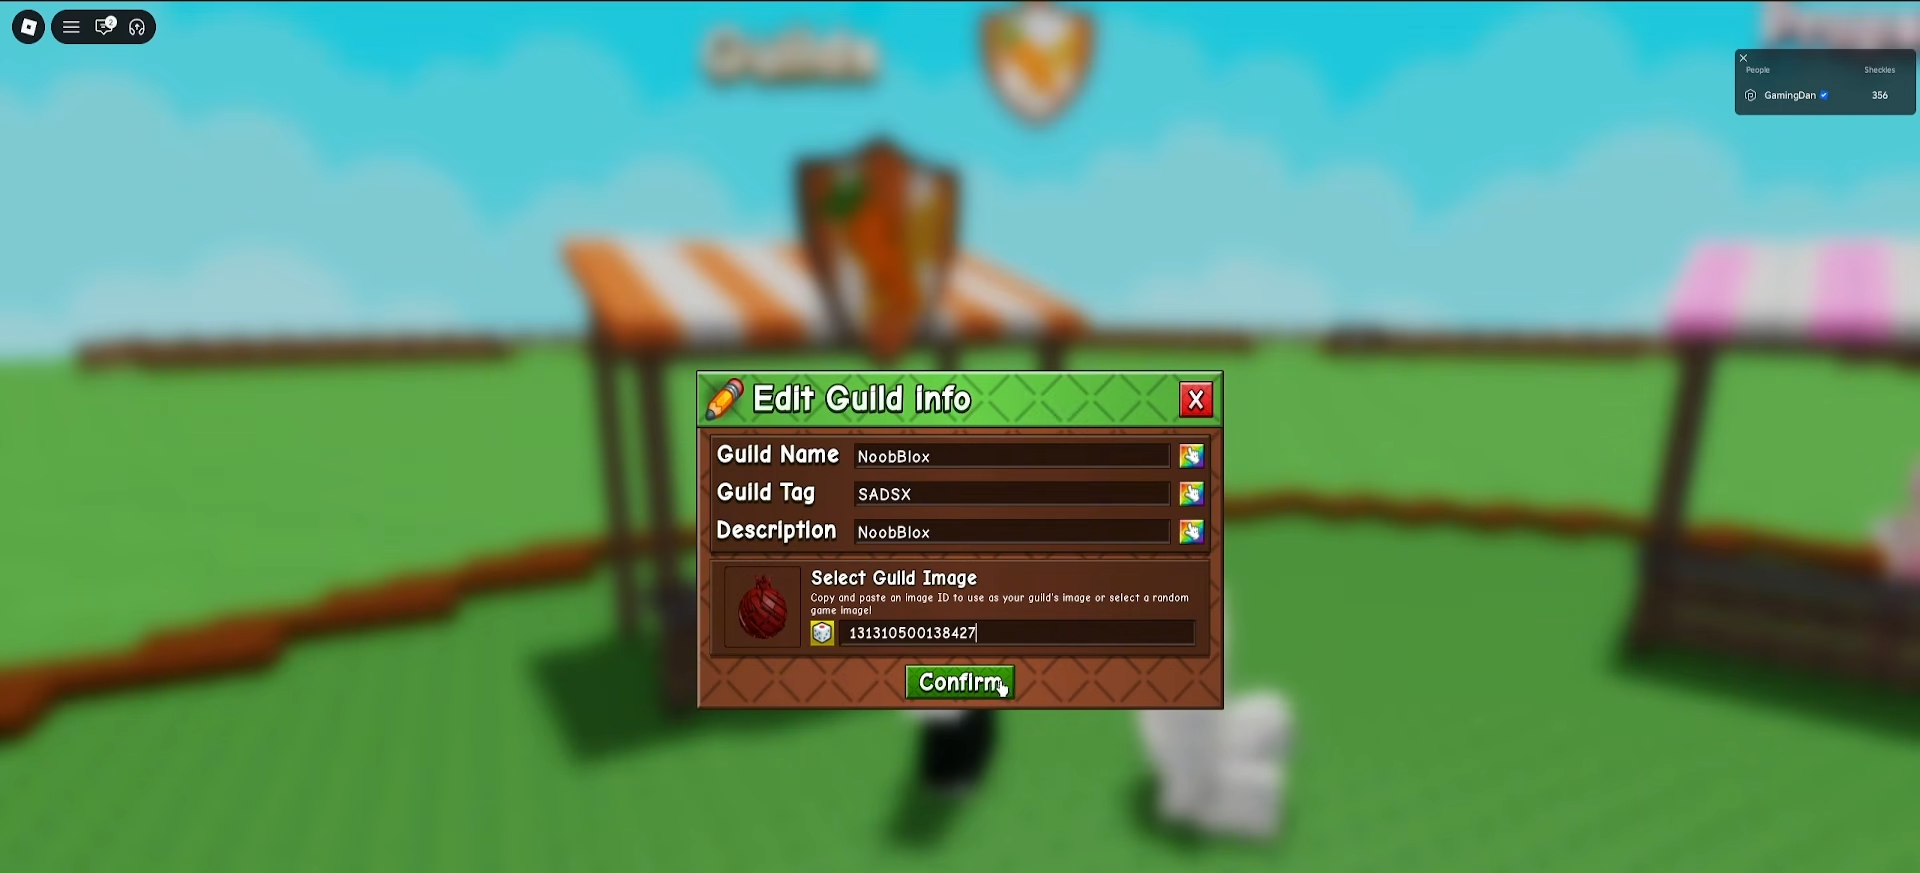
Step 4: Adjust Colors
Use the color picker to change your guild’s visual colors.
How to Invite Players to Your Guild
Step 1: Open Guild Panel
Go back to the Guilds counter, click “View Guild”.
Step 2: Click Invite
Press the “Invite” button.
Step 3: Select Players
Choose players from the list to invite. Important: You can only invite people currently in your server.
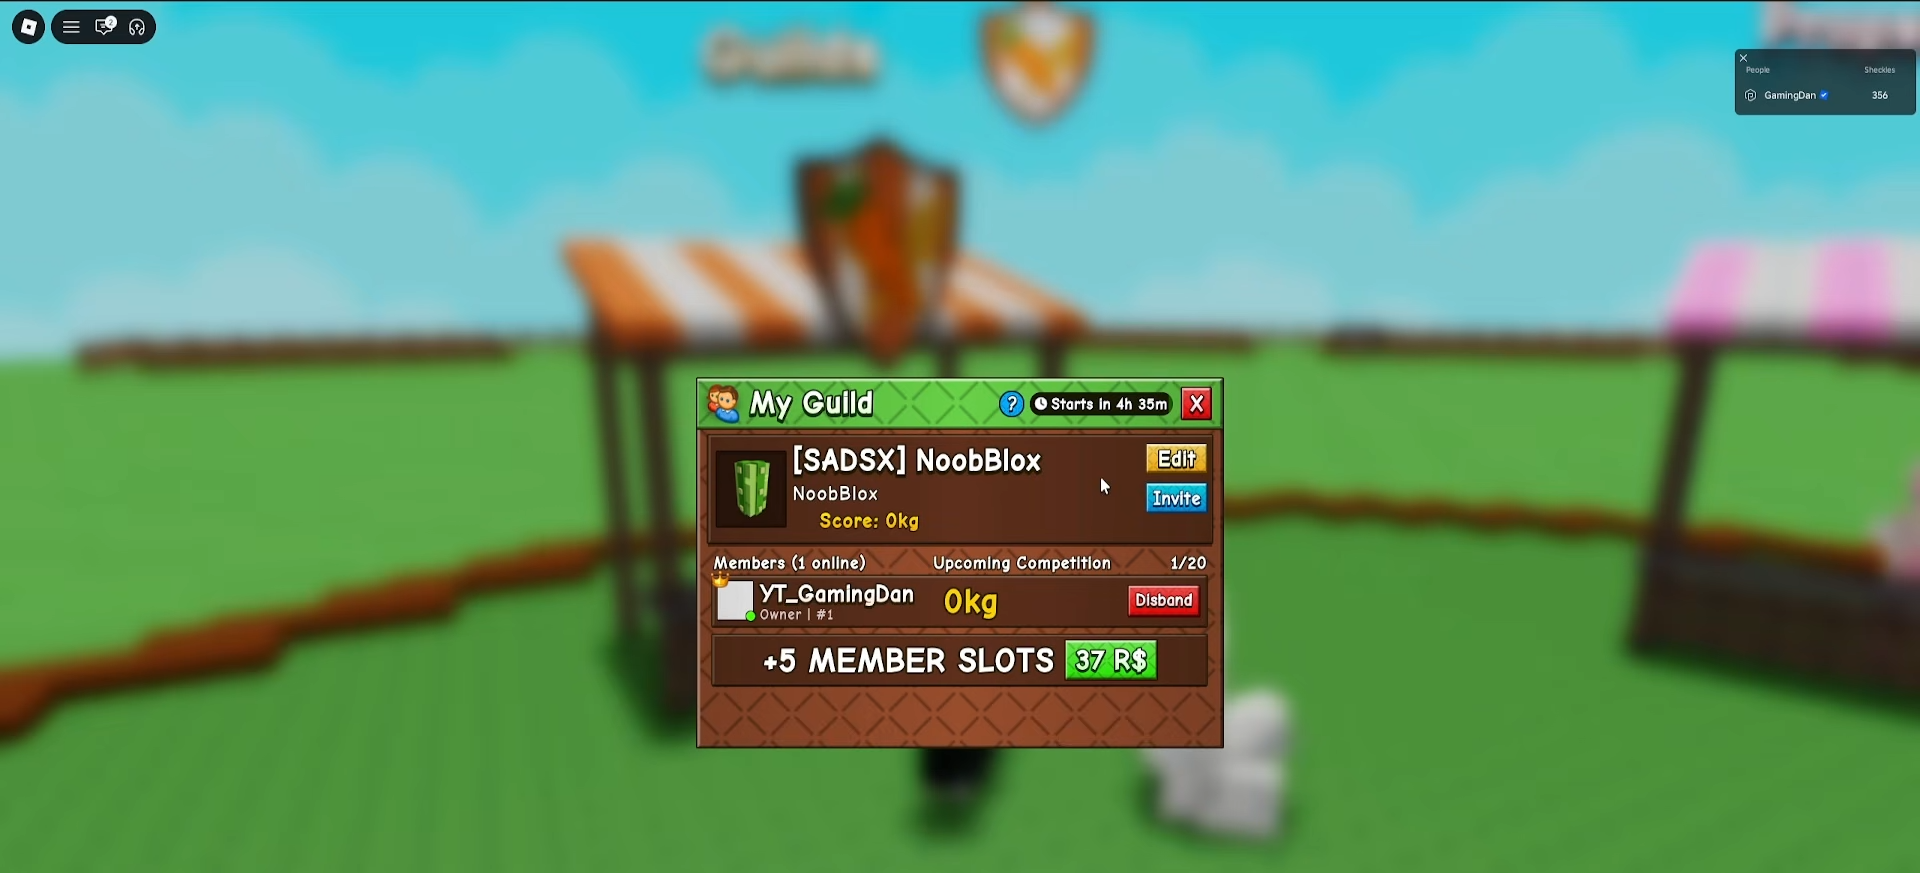
Managing Guild Members
Step 1: View Members List
Open your guild panel at the Guilds counter to see all members.
Step 2: Promote Members
Click the “Rank” button to give members new roles/promotions.
Step 3: Remove Members
You can kick or ban players from your guild.
Step 4: Buy Extra Slots
If you need more member slots, buy them with Robux.
Guild Competitions & Rewards
Step 1: View Competitions
In your guild panel, navigate to the “Competitions” section.
Step 2: Track Progress
Guilds compete in weekly competitions where members earn points by completing tasks.
Step 3: Check Leaderboard
View the leaderboard to see how your guild ranks against others.
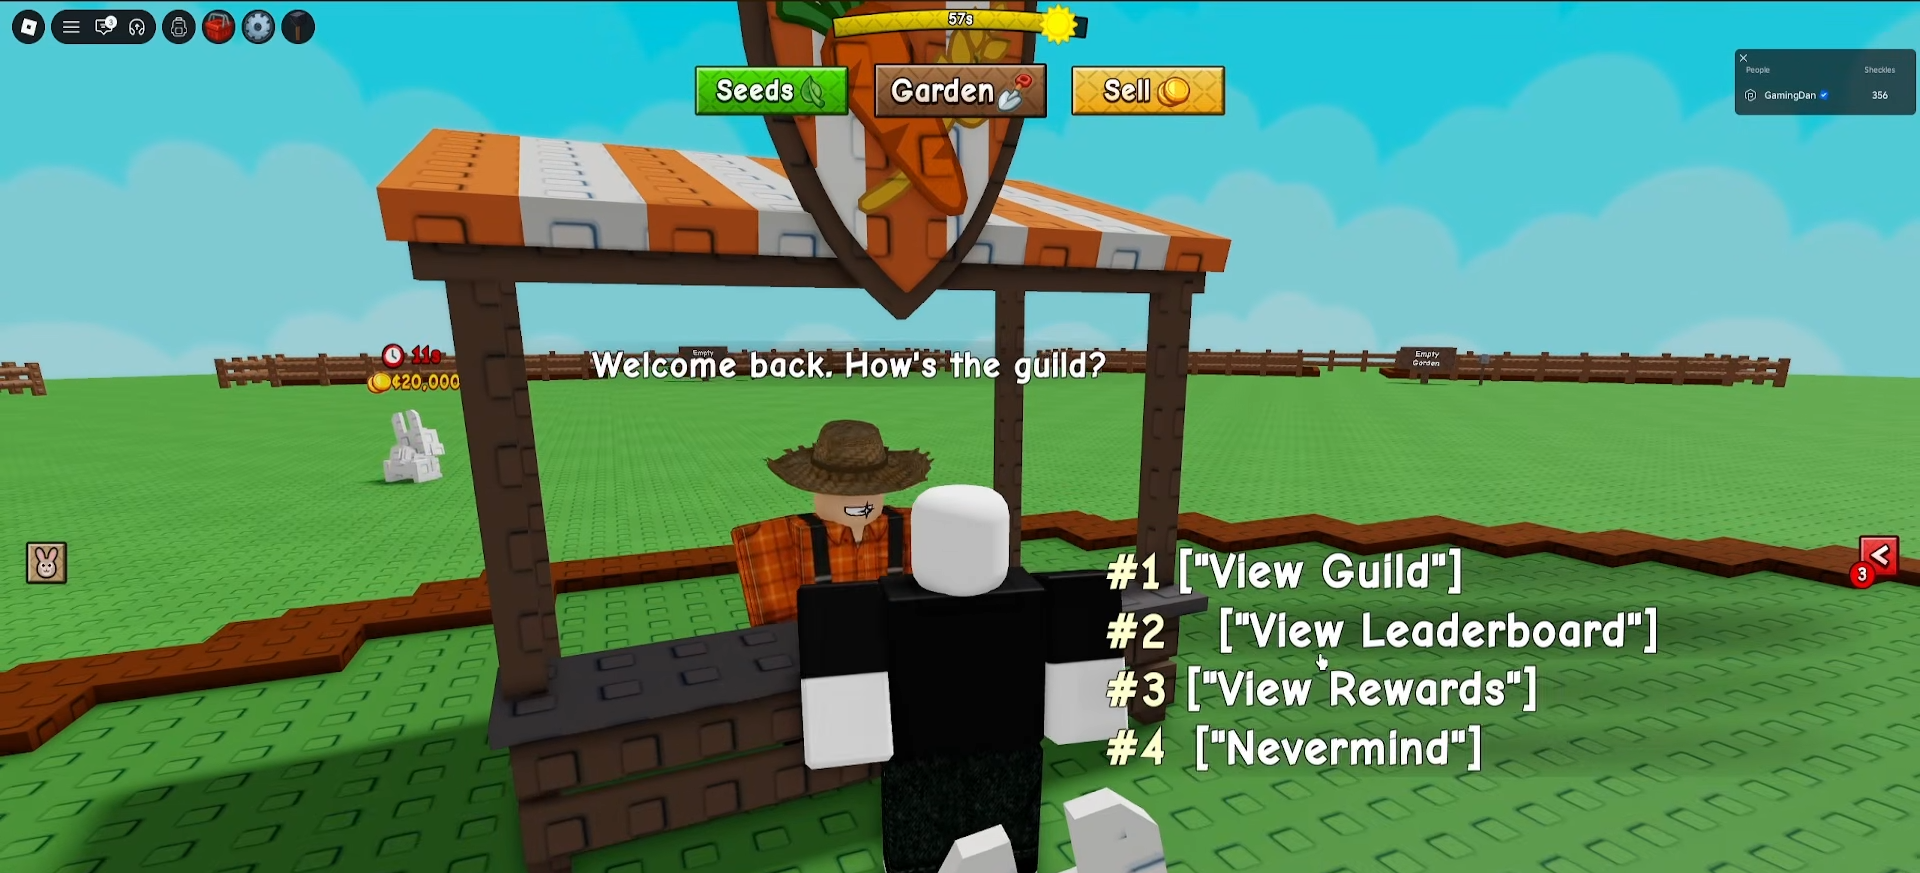
Step 4: Earn Group Rewards
Victorious guilds climb the leaderboards and earn exclusive prizes. Teams work together to harvest the heaviest plants for competition points.
Other Guild Owner Controls
-
Disband the guild entirely if needed
-
View overall guild stats and performance
-
Manage roles and member hierarchy
Critical Mistakes to Avoid
-
Don’t expect free creation: Guilds cost 99 Robux, not free code rewards
-
Invite restriction: You can only invite server members, not players from other servers
-
Don’t skip customization: Set your tag and colors early to make your guild unique
-
Watch slot limits: Default slots fill quickly; buy more Robux slots if your guild grows.
Guilds expand Grow a Garden 2’s multiplayer experience, letting you team up for competitions, share goals, and earn rewards together.


Leave a Reply