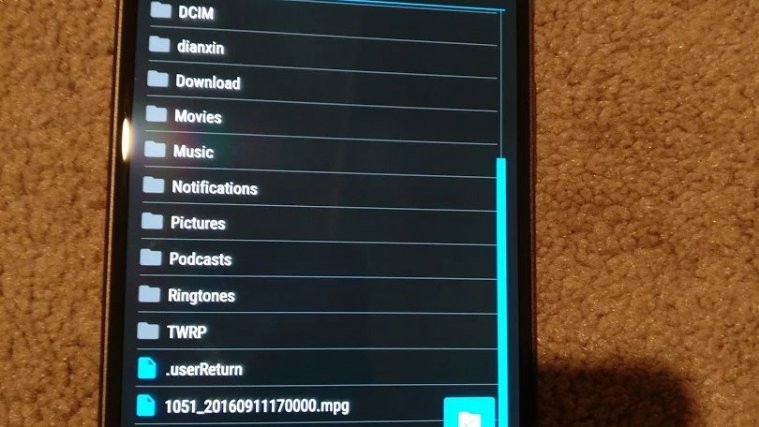
Ethan Yonker (Dees Troy), the lead developer of TWRP recovery yesterday posted on his Google+ account that the recovery shouldn’t take much time now to arrive for Pixel and Pixel XL as decrypt was finally working on his test builds. And come today, TWRP recovery for Pixel and Pixel XL have already made it to the official repository at TeamWin’s website.
The current TWRP build, however, is an alpha release at its best (even in the official channel). The developer states that it can cause data lose and that it breaks Chainfire’s SuperSU root (if installed on your phone). Also, installing TWRP recovery on Pixel and Pixel XL is slightly different than that of Nexus devices because of the new partitions layout on Pixel phones.
To install TWRP on Pixel and Pixel XL, we’ll NOT flash the recovery images directly to the phone. Instead, we will temporarily BOOT the TWRP recovery image first using the fastboot boot recovery.img command and then use the flashable recovery installer zip to install TWRP recovery on both slots of your Pixel phones. This is the recommended way of installing TWRP on Pixel and Pixel XL.
Download Pixel and Pixel XL TWRP recovery installer zip and Fastboot images
Update (Nov 18th, 2016): TWRP recovery 3.0.2-0 alpha2 builds now available for Pixel and Pixel XL. Download links updated.
- Google Pixel (sailfish):
- Google Pixel XL (marlin):
Prerequisites
To get started, you’ll need to unlock bootloader on your Pixel phone and have ADB and Fastboot setup on your PC. Check the links below for help:
- Unlock Bootloader on your Pixel or Pixel XL
└ (For Verizon) How to Unlock Bootloader on Verizon Pixel and Pixel XL - Setup ADB and Fastboot on your PC.
How to Install TWRP recovery on Pixel and Pixel XL
- Make sure you’ve unlocked the bootloader on your Pixel phone and have ADB and Fastboot setup on your PC before proceeding.
- Download the TWRP recovery .img file for your Pixel variant from the downloads section above and save it to a separate folder on your PC.
- Download and transfer the TWRP installer zip file for Pixel variant to your Pixel phone.
- Enable USB debugging from Developer options (help link).
- Connect your Pixel phone to the PC.
- Open a command window inside the folder where you saved TWRP recovery .img file on your PC in Step 2 above. To do that “Shift + Right click” on any empty white space inside the folder and then select “Open command window here” from the context menu.
- On the command window issue the following commands to temporarily boot (not flash) TWRP recovery image on your Pixel phone.
adb reboot bootloader
└ This will reboot your phone into bootloader mode.
For Pixel (sailfish):

fastboot boot twrp-3.0.2-0-alpha2-fastboot-sailfish.img
For Pixel XL (marlin):

fastboot boot twrp-3.0.2-0-alpha2-fastboot-marlin.img
- Your Pixel phone will now boot into TWRP recovery.
└ If you had a lockscreen password and your phone didn;t ask for it. Then the whole Step 7 again. - From TWRP recovery main menu: Select Install » select the TWRP installer zip file that we transferred to your phone in Step 3 above » and then do a Swipe at the bottom bar to confirm flashing the file.
└ This will install TWRP recovery to both slots on your Pixel phone.
Congratulations! TWRP recovery is now installed on your Pixel or Pixel XL phone.
About SuperSU Root on Pixel TWRP Recovery
[up] Update (Nov 16th, 2016): Chainfire has released an updated build of SuperSU, v2.78 SR4. You can flash this build directly from TWRP recovery on your Pixel phone and get rooted. Grab it at the link below:
[icon name=”hand-o-right” class=”” unprefixed_class=””] Download SuperSU v2.78 SR4 zip [/up]
If you had rooted your Pixel phone with Chainfire’s SuperSU, then installing TWRP recovery will result lose of root access. According to the folks at TeamWin, an update to SuperSU will be required to allow TWRP recovery and SuperSU co-exist on Pixel phones.
Dees Troy explained the reason for this to XDA developers as such:
Chainfire uses the ramdisk of the bootimage to do his system-less root. This is the same ramdisk that Google intended to be used for recovery. I am pretty sure that Chainfire will be able to come up with a way to make it work with TWRP, but TWRP needs a small change to the init binary to make decrypt work properly and Chainfire needed a different change to his init binary to make his ramdisk work for both normal boot and recovery.
We’ll be sure to update this post when SuperSU will be compatible TWRP recovery on Pixel and Pixel XL devices by Google.
Happy Androiding!


Does not work!
Does not work!