Editing your Page setup in a document is a great way to avoid corrections later. Having the page set up exactly as you want will help you draft and format your content accordingly minimizing the edits you need to make once you’re done. This is why you might be looking to set margins in a Google Docs document especially if you want to print it out. Setting margins in Google Docs is a fairly simple process that can be done using various methods. Let’s look at how to set 1-inch margins in a Google Docs document.
FYI: Margins are set to 1-inch by default in a new blank document in Google Docs. But if you changed or are using a pre-defined template that use a different size, then this page is for you.
How to do 1-inch margins on Google Docs website on a PC
You can set 1-inch margins when using a PC by either using the Page setup section or the ruler. Follow either section below, depending on the method you prefer. Let’s get started!
Method 1: Using Page setup
Here’s how to set 1-inch margins in a document using the Page setup section on your PC. Follow either guide below to help you along with the process.
SHORT GUIDE
- Google Docs > Select document > File > Page setup > Type 1 for relevant margins > OK
GIF GUIDE

STEP-BY-STEP GUIDE
The step-by-step guide below will help you easily access the Page setup section to set 1-inch margins in a Google Docs document. Follow the steps below to help you along with the process.
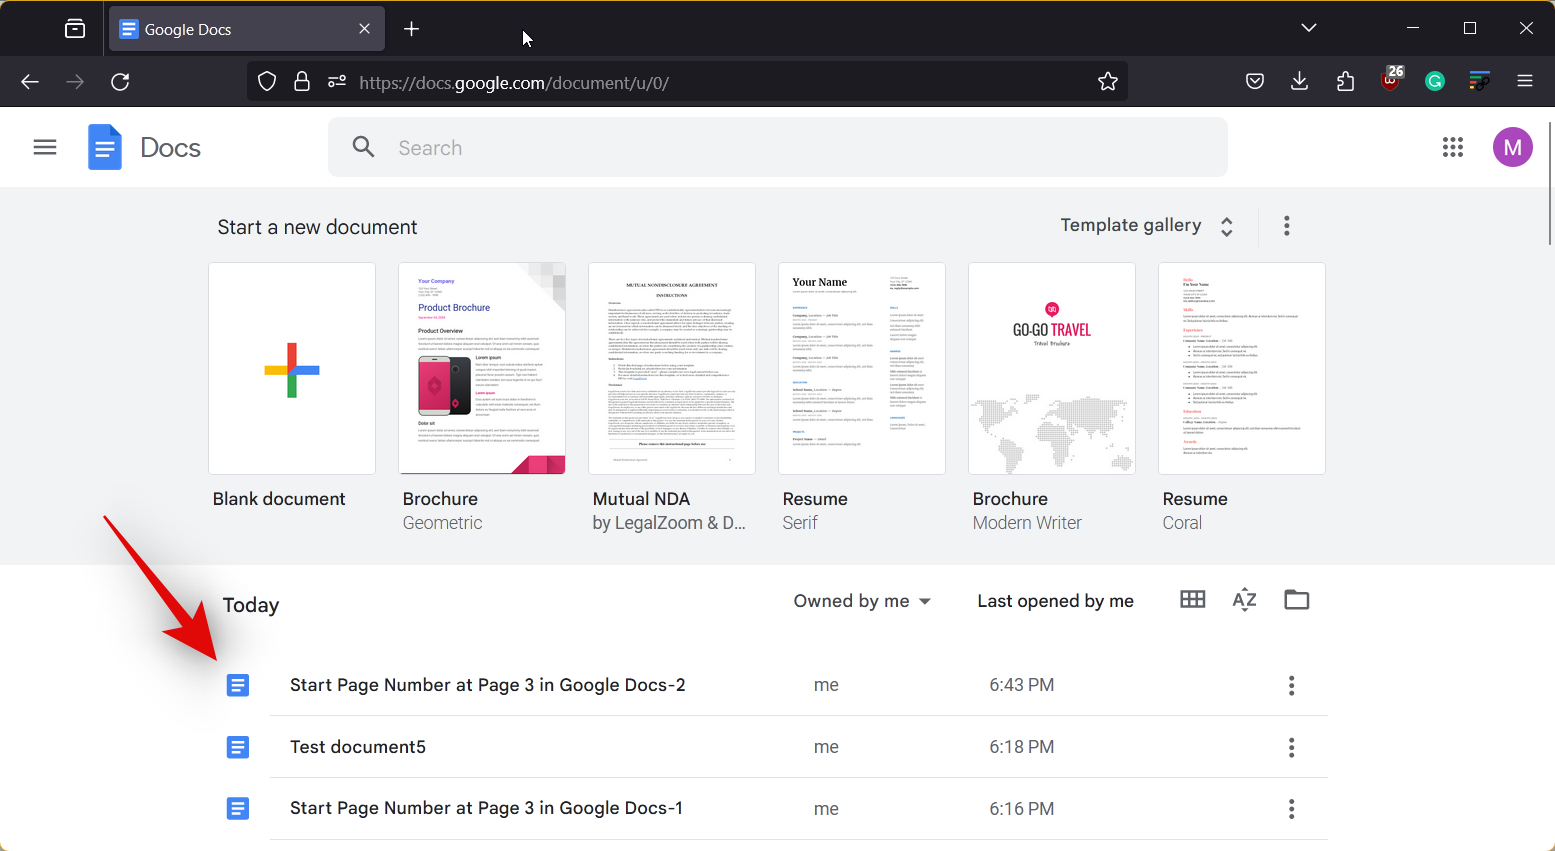
- Open docs.google.com in your browser and click on the document where you wish to set 1-inch margins.
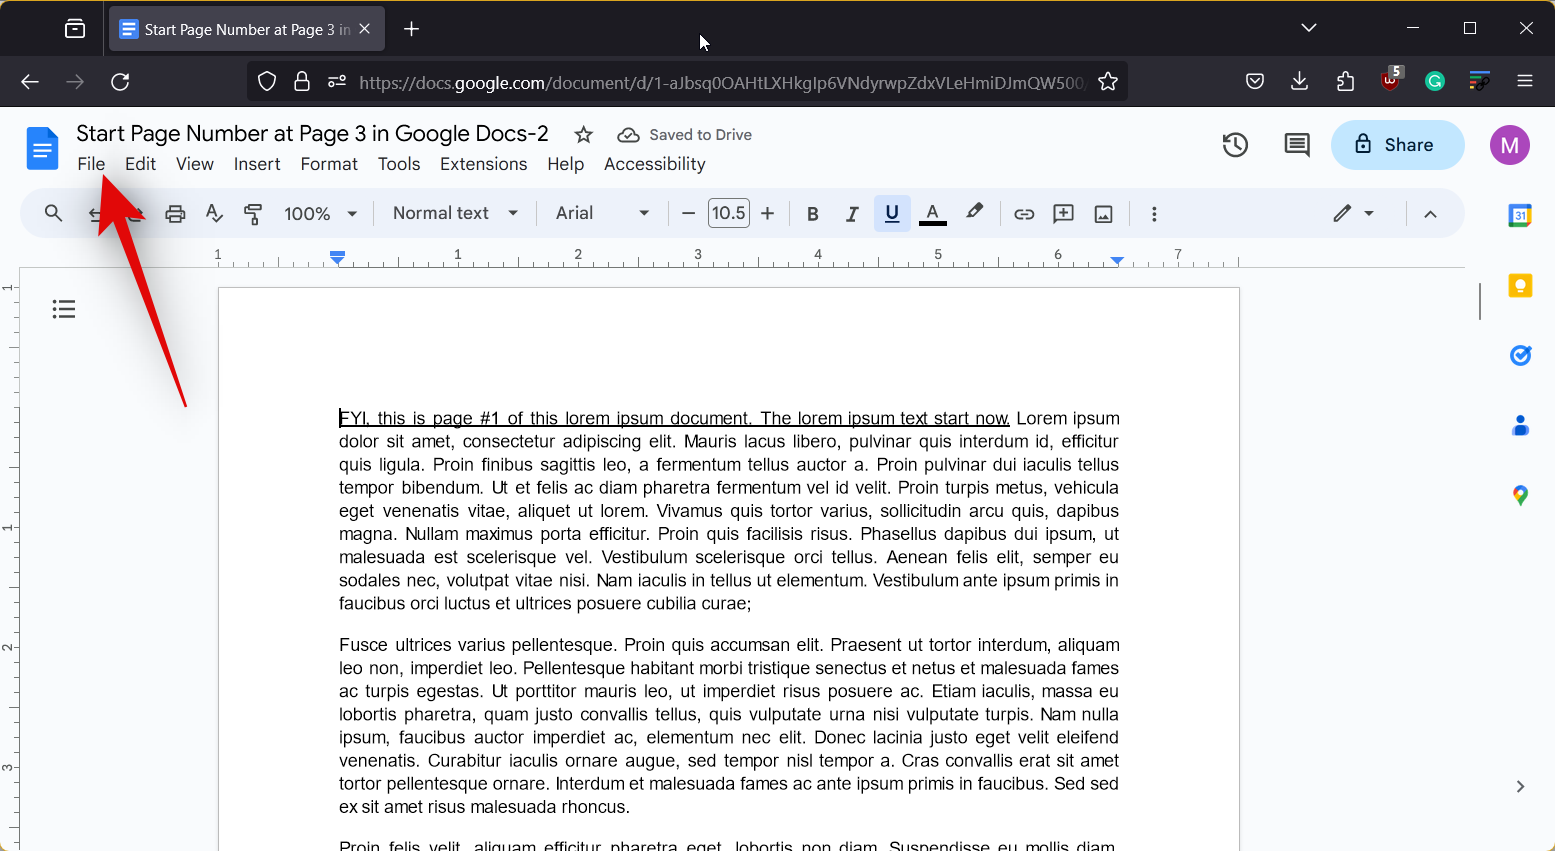
- Now click on File in the top left corner.
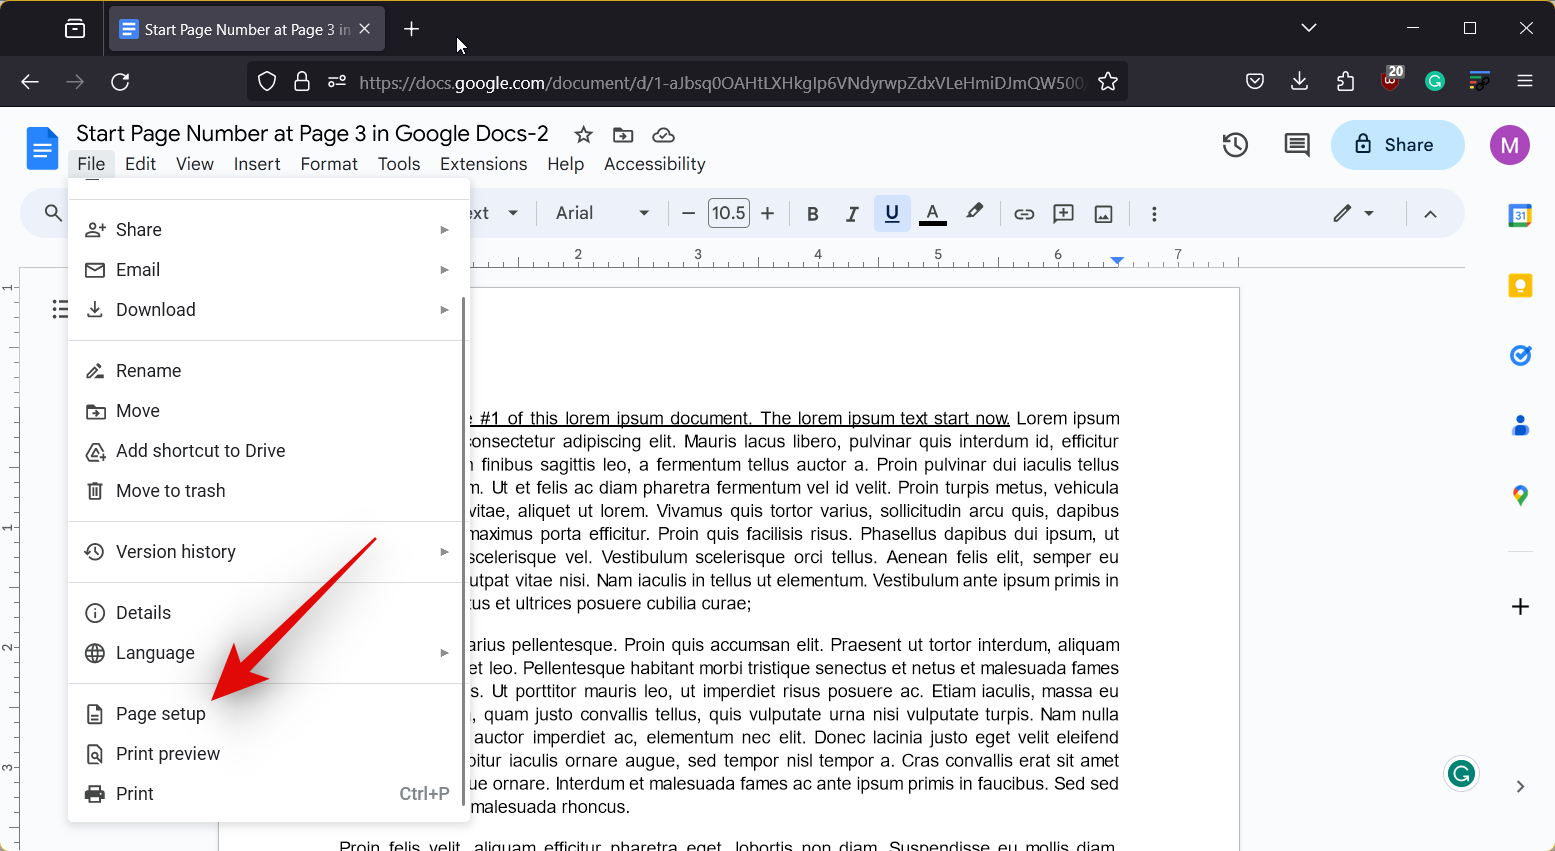
- Select Page setup.
- The margin is measured in inches by default, so you must enter your desired value. In this case, enter 1 beside Top, Bottom, Left, and Right.
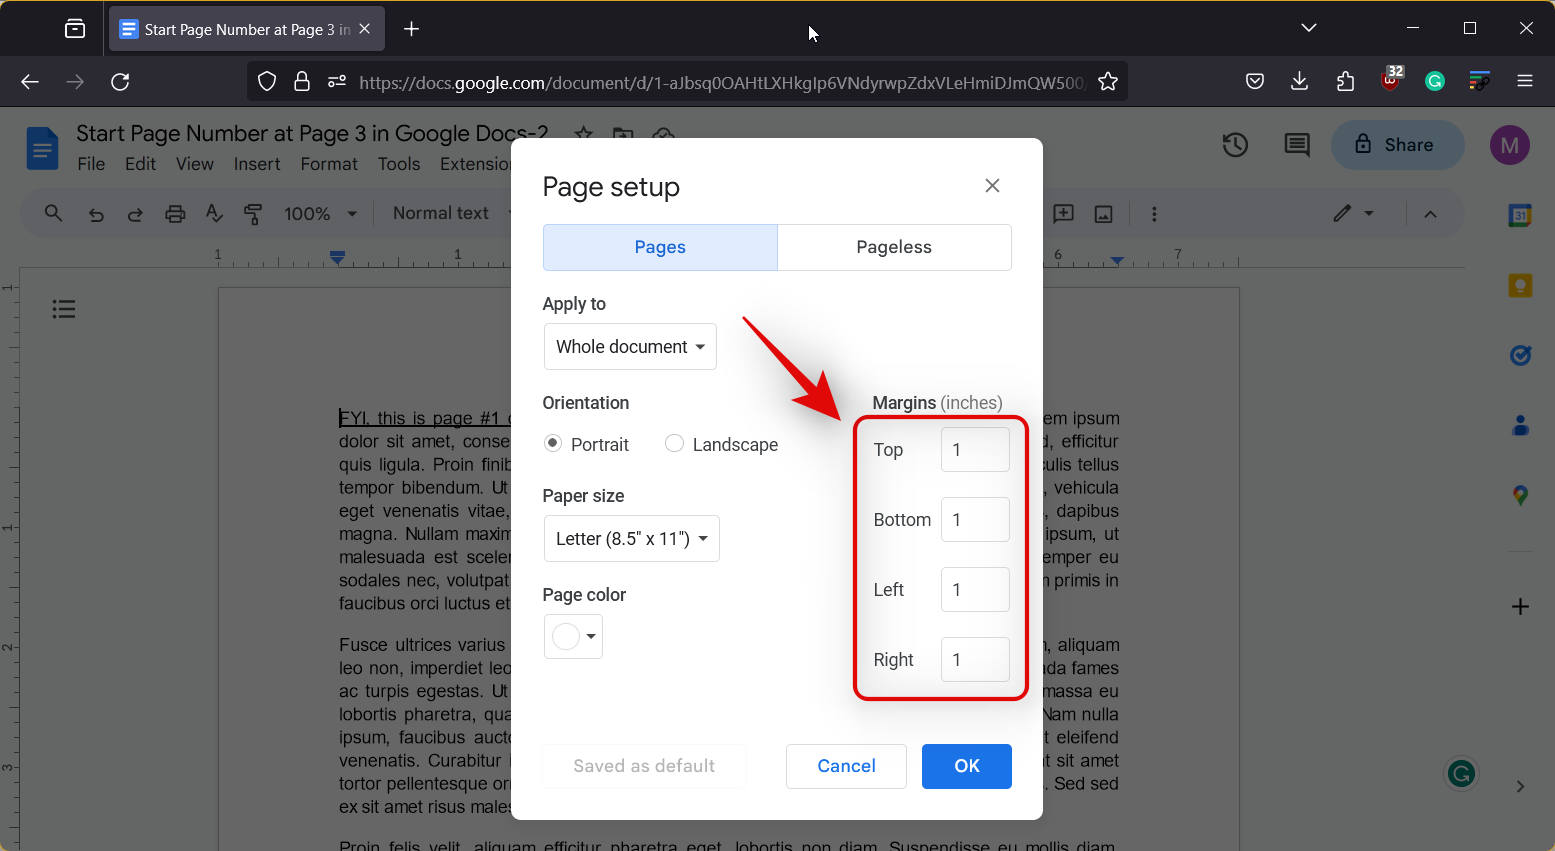
- Once you’re done, click on OK.

And that’s how you can set 1-inch margins in a Google Docs document using the Page setup section on your PC.
Method 2: Using Ruler
The ruler is another great way to set margins on the fly while editing or creating a document in Google Docs. The ruler can also help you change margins for a particular section of your document to improve its readability and format it according to your preferences. Follow either guide below to help you set 1-inch margins in Google Docs using the ruler. Let’s get started!
Short guide:
- Google Docs > Select document > View > Show ruler > Drag left Triangle in ruler to 1 > Drag right Triangle in ruler to your page’s width -1
GIF GUIDE
STEP-BY-STEP GUIDE
Here’s a step-by-step guide to help you easily set 1-inch margins using the ruler in a document. Follow the steps below to help you along with the process.
- Open docs.google.com in your browser and click on the document where you wish to set 1-inch margins.
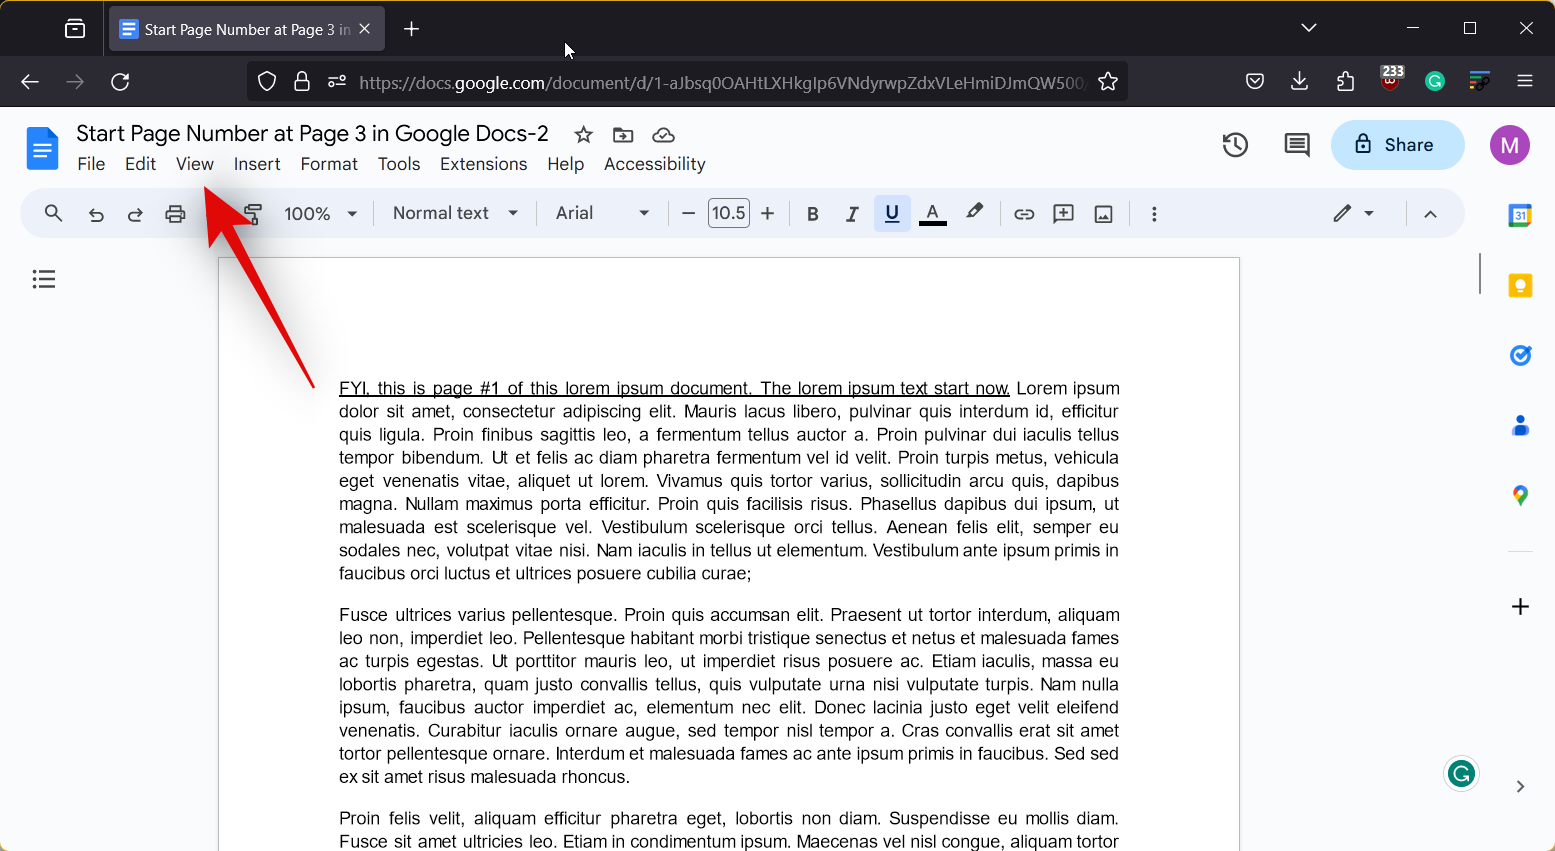
- Click on View at the top.
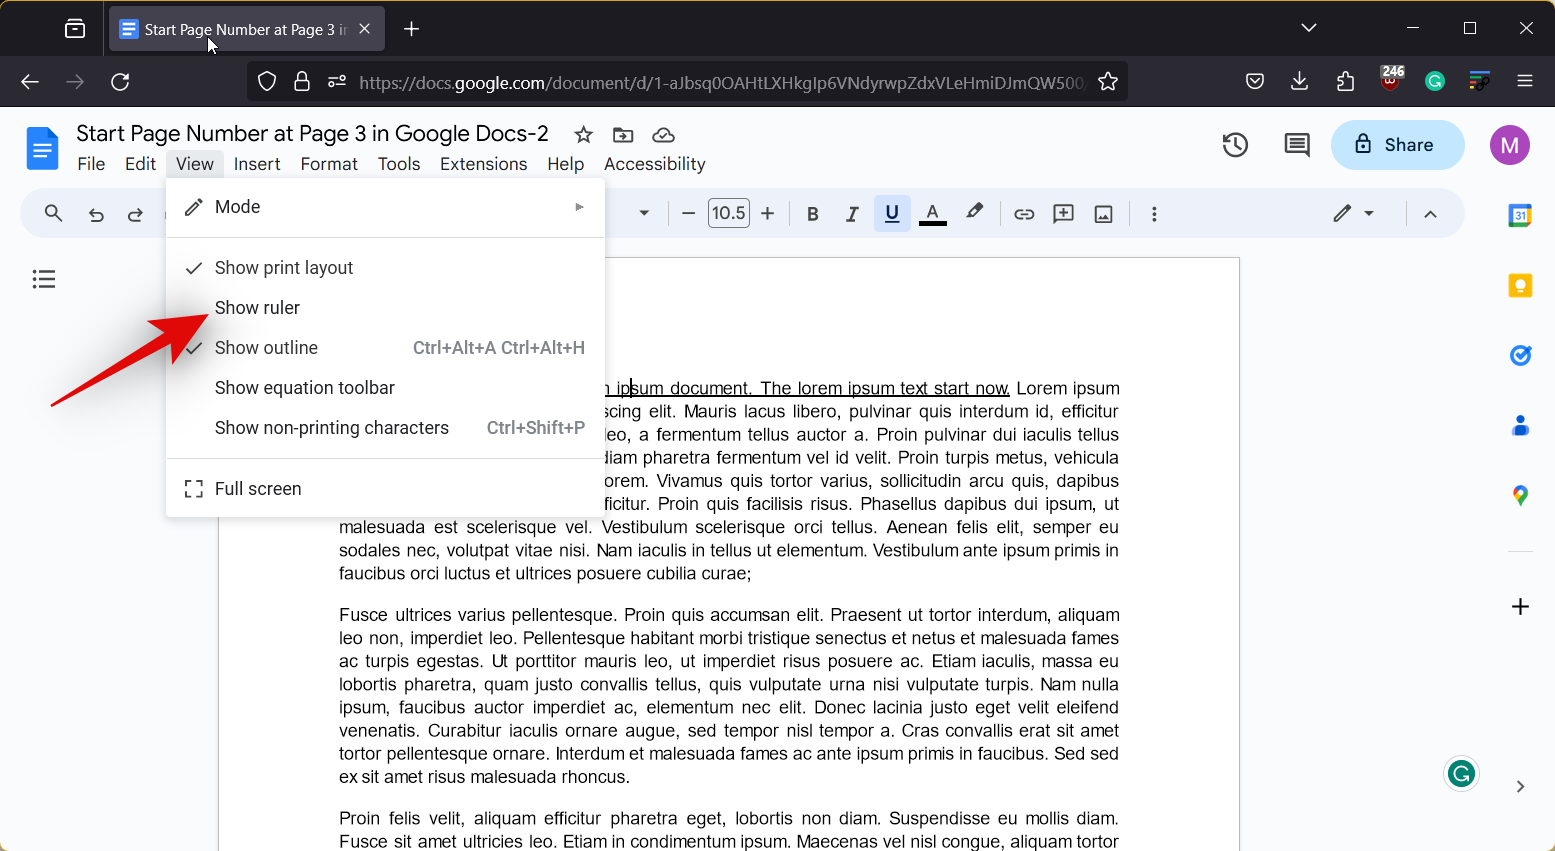
- Ensure Show ruler is checked. If not, click on the same to view the ruler in your current document.
- Now, if you wish to set margins for a particular section of the document, select the section. If not, then select the entire text by pressing
Ctrl + Aon your keyboard.

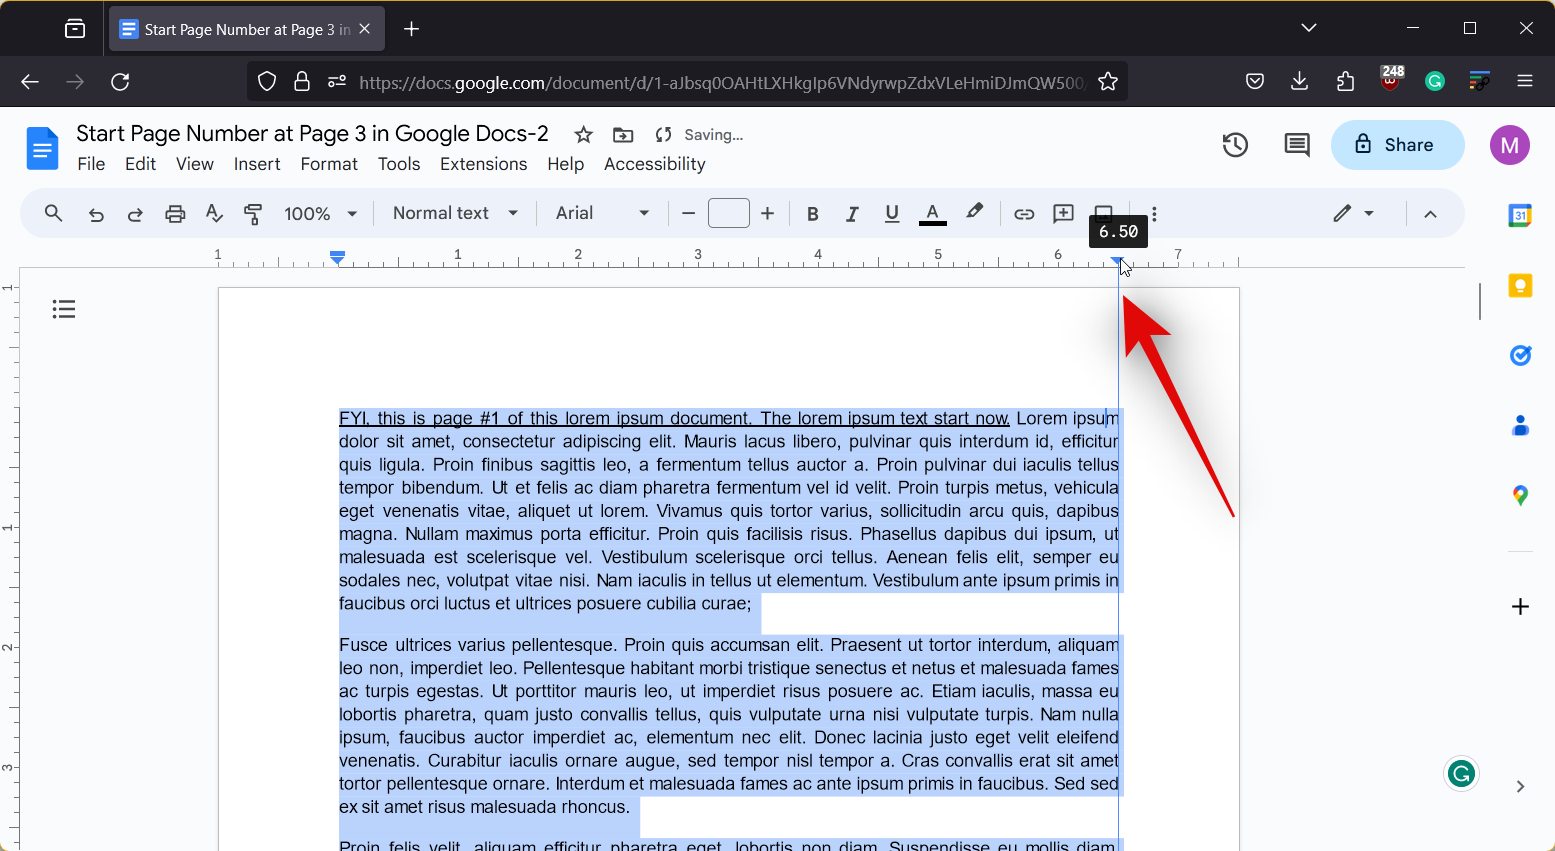
- Once selected, Click and drag the Triangle in the ruler on the left to adjust the left margin. The left margin is measured from -1 so you need to drag its value to 0 to set a 1-inch margin.

- Once done, click and drag the Triangle on the right side of the ruler. This end will be measured negatively from the width of the document. You can drag it to the extreme right to view the width of your document.

- Now drag it to the left to reduce an inch which will set a 1-inch margin on your right.
And that’s how you can use the ruler to set 1-inch margins in a document in Google Docs.
How to do 1-inch margins on Google Docs on iPhone
If you’re using an iPhone, then also you can use the Page setup section to set 1-inch margins in a document. Follow either guide below to help you along with the process.
Short guide:
- Google Docs > Select document > Edit > Ellipsis > Page setup > Margins > Default > Apply
GIF GUIDE
STEP-BY-STEP GUIDE
The step-by-step guide below will help you easily set 1-inch margins in a document in Google Docs on your iPhone. Follow the steps below to help you along with the process.
- Open the Google Docs app and tap on the document where you wish to set margins.


- Now tap on the Edit icon in the bottom right corner and then tap the Ellipsis icon.


- Next, tap on Page setup and then on Margins.


- Tap and select Default from the choices at the top. The Default option sets 1-inch margins for the top, bottom, left, and right sides of your document. Once selected, tap on Apply.


And that’s how you can set 1-inch margins for a document in Google Docs on your iPhone. The changes you make will only be visible in the Print layout view.
Can I do 1-inch margins in the Google Docs app on Android?
Unfortunately, no, the option to adjust margins is missing from the Google Docs Android app. If you’re an Android user, we recommend you use your PC to access docs.google.com and adjust the margins to 1-inch using any of the two guides we covered above. Or use an iPhone from someone you trust. You can also try to use the guides given for PC above in your Android phone’s browser by visiting docs.google.com and following those guides.