What to know
- Microsoft Designer’s Generative Erase tool allows you to remove objects from images using OpenAI’s DALL-E 3 generator.
- To use Generative Erase, open an image on Microsoft Designer, go to Image tools > Erase > Quick select > select objects to remove, and click on Erase Object.
- Designer also offers a Brush select option to let you manually choose a portion of the image to erase or use it to remove portions that weren’t selected by the Quick select option.
- Follow the guide with screenshots below to learn more about this.
Requirements
To start using Generative Erase on Microsoft Designer, you need to meet the following requirements:
- A PC with an active internet connection
- A web browser to log on to designer.microsoft.com
- A Microsoft account to use Microsoft Designer’s AI tools
- (Optional) images to add to a design if you don’t want to generate using the AI platform
Availability
- Generative Erase is available inside Microsoft Designer when you create a design using images.
- Images can be generated using the AI platform or you can add them from your computer.
- You can use the Quick Select tool to let AI select objects you want to discard or manually choose a portion of the image to erase using the Brush Select option instead.
How to erase objects in an image using AI in Microsoft Designer
Before you can start using the Generative Erase tool, you need to sign up to designer.microsoft.com using your Microsoft account on a web browser.
Step 1: Open the image you want to remove objects from
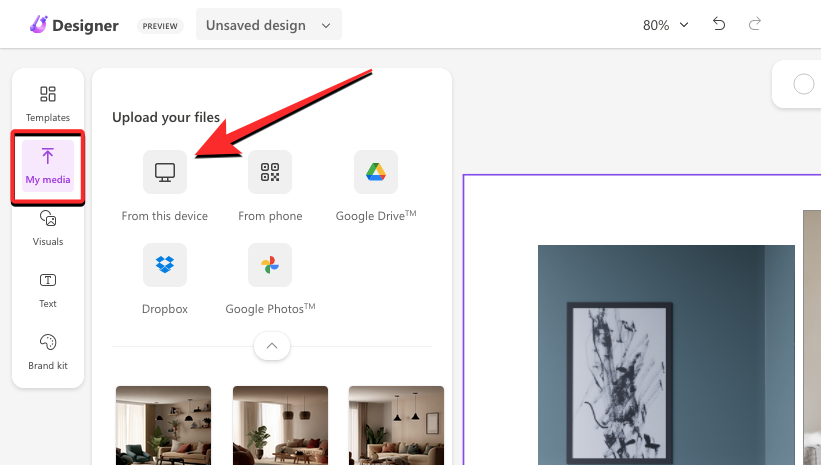
When you’re signed in, open the image you want to remove objects from in Microsoft Designer. If you have the image on your PC, then get it via My Media > From this device.
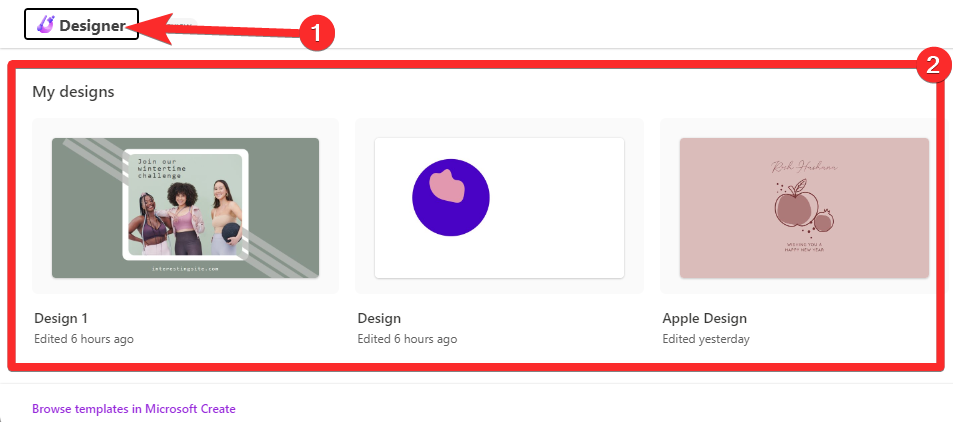
Or, if you have a design on Microsoft Design itself, then open it by going to My Designs. For this, simply click the Designer logo in the top right and then select the design from the My Designs popup that will open.
Step 2: Use Generative Erase to remove objects
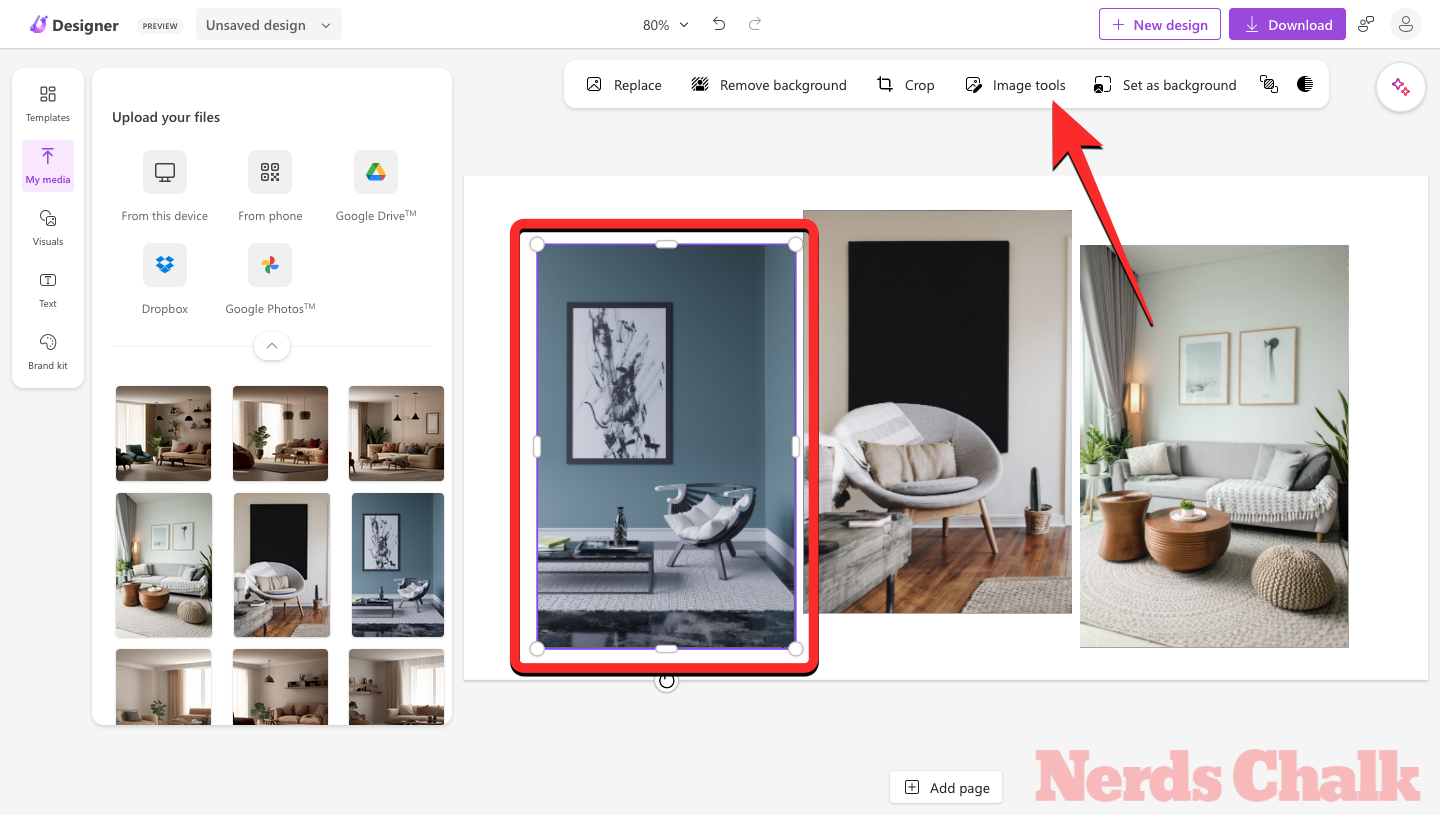
Once you’ve added the images to your design, select the image you want to edit and click on Image tools from the toolbar at the top.
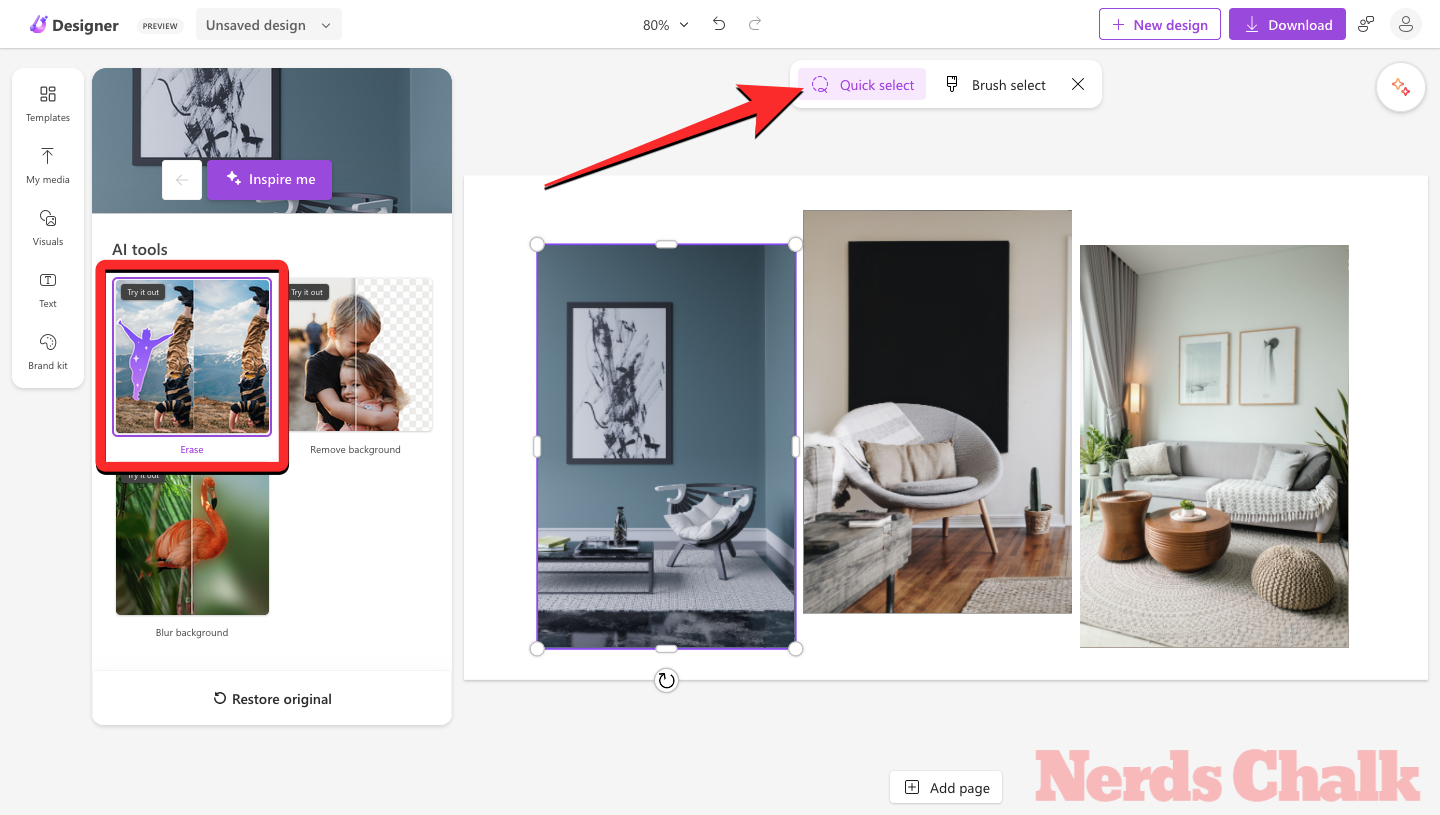
You will now see the AI tool sidebar on the left. From here, click on Erase and then click on Quick select at the top.
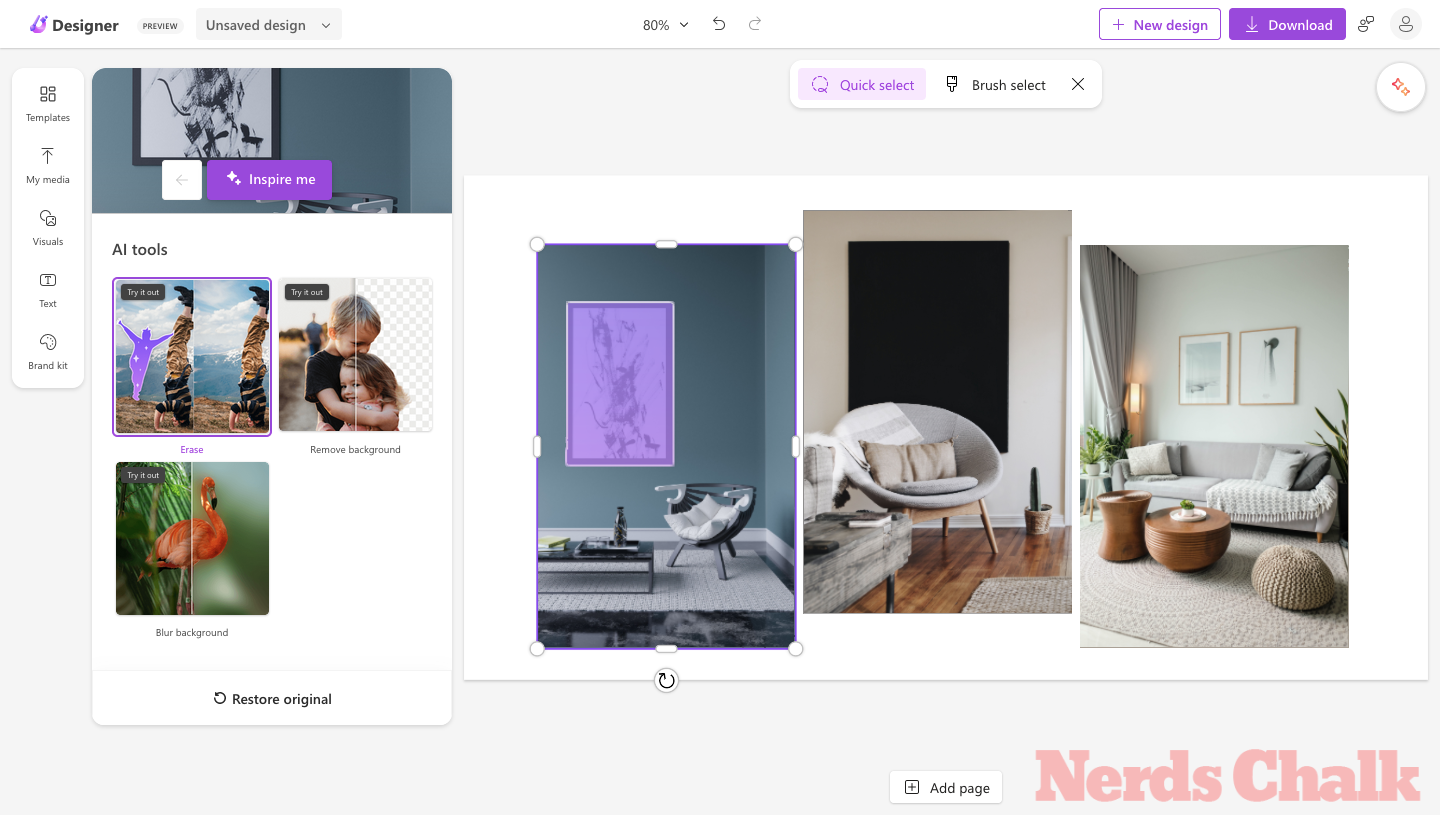
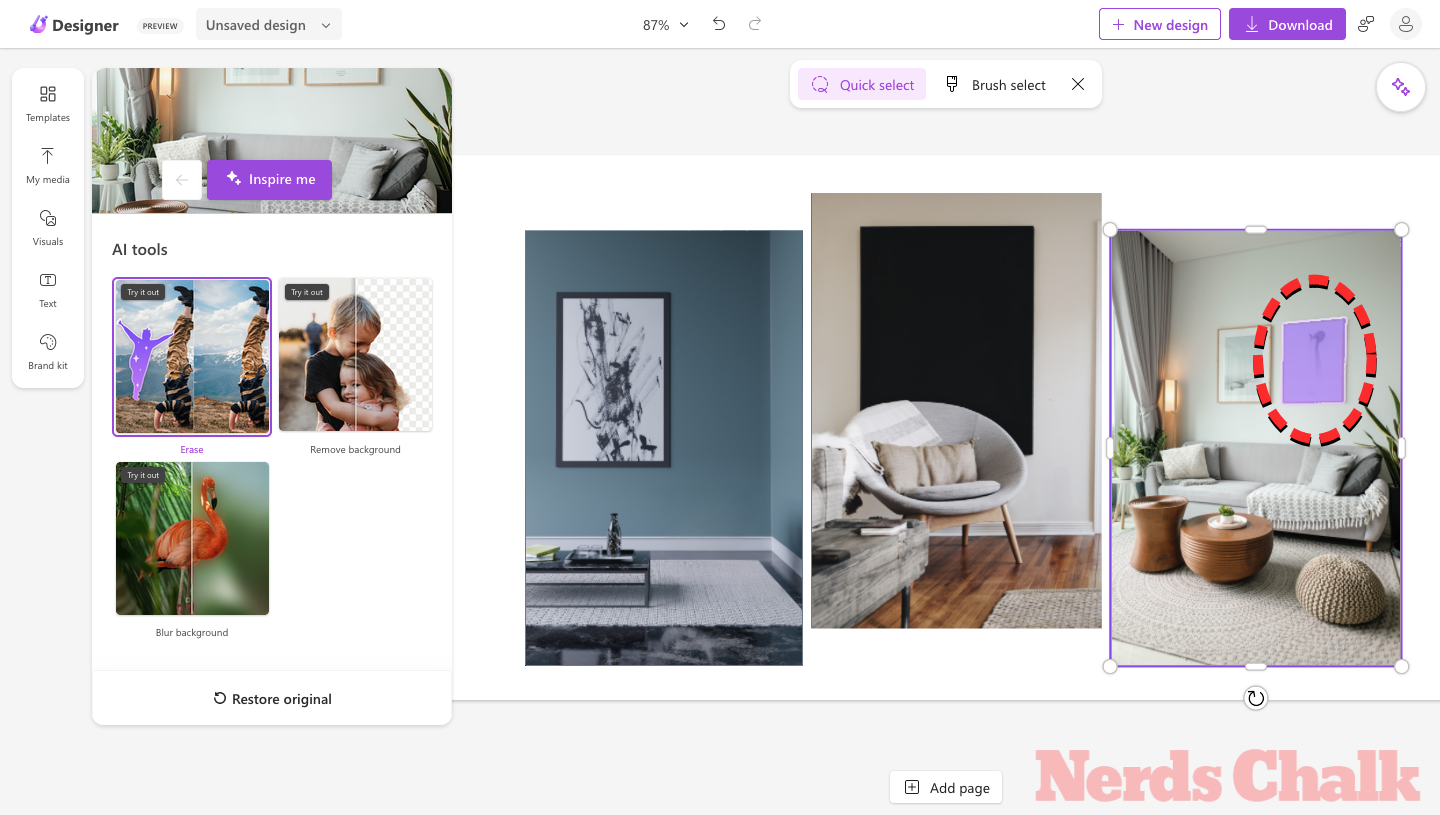
When Quick Select is active, hover the mouse pointer over the object you want to remove. As you can see from this screenshot, hovering over the wall poster will select only the wall poster to remove it.
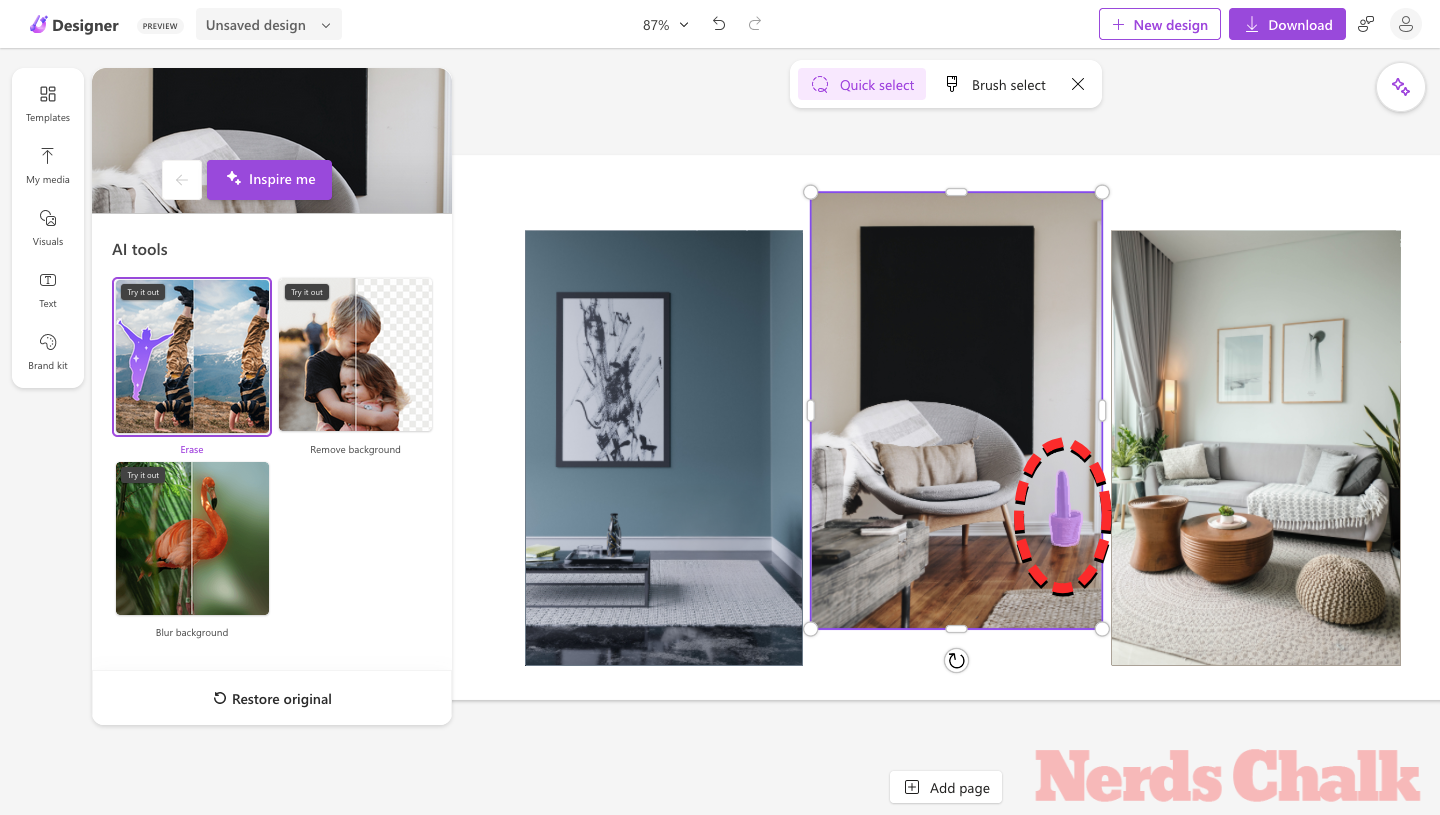
To remove the chair from the image, hover the pointer over it until the entire chair is selected. Sometimes, hovering over an item may only select some portions of it; so you can try moving around the pointer until the whole object is highlighted.
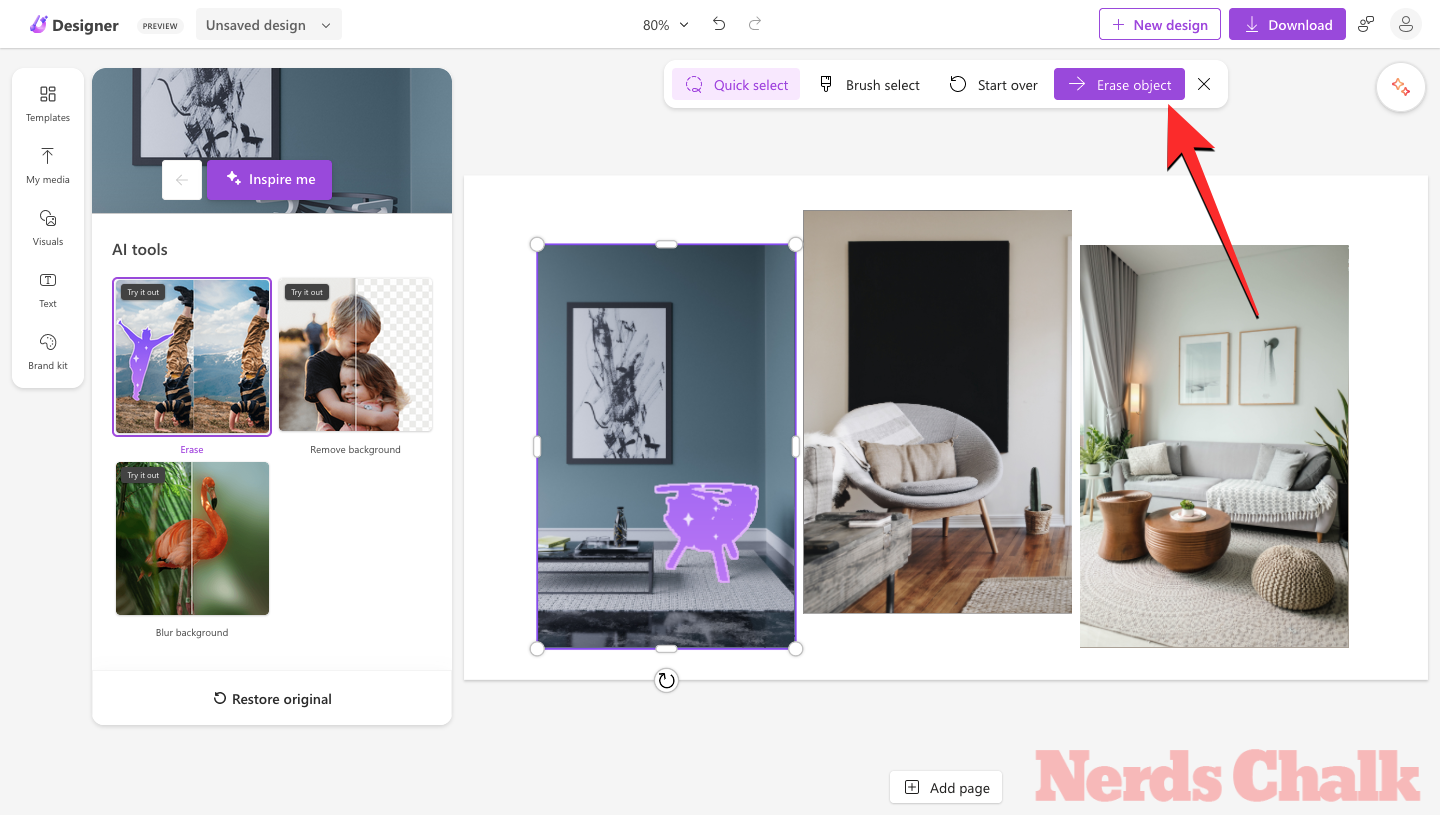
When the unwanted item is selected, click on it and then click on the Erase object button at the top.
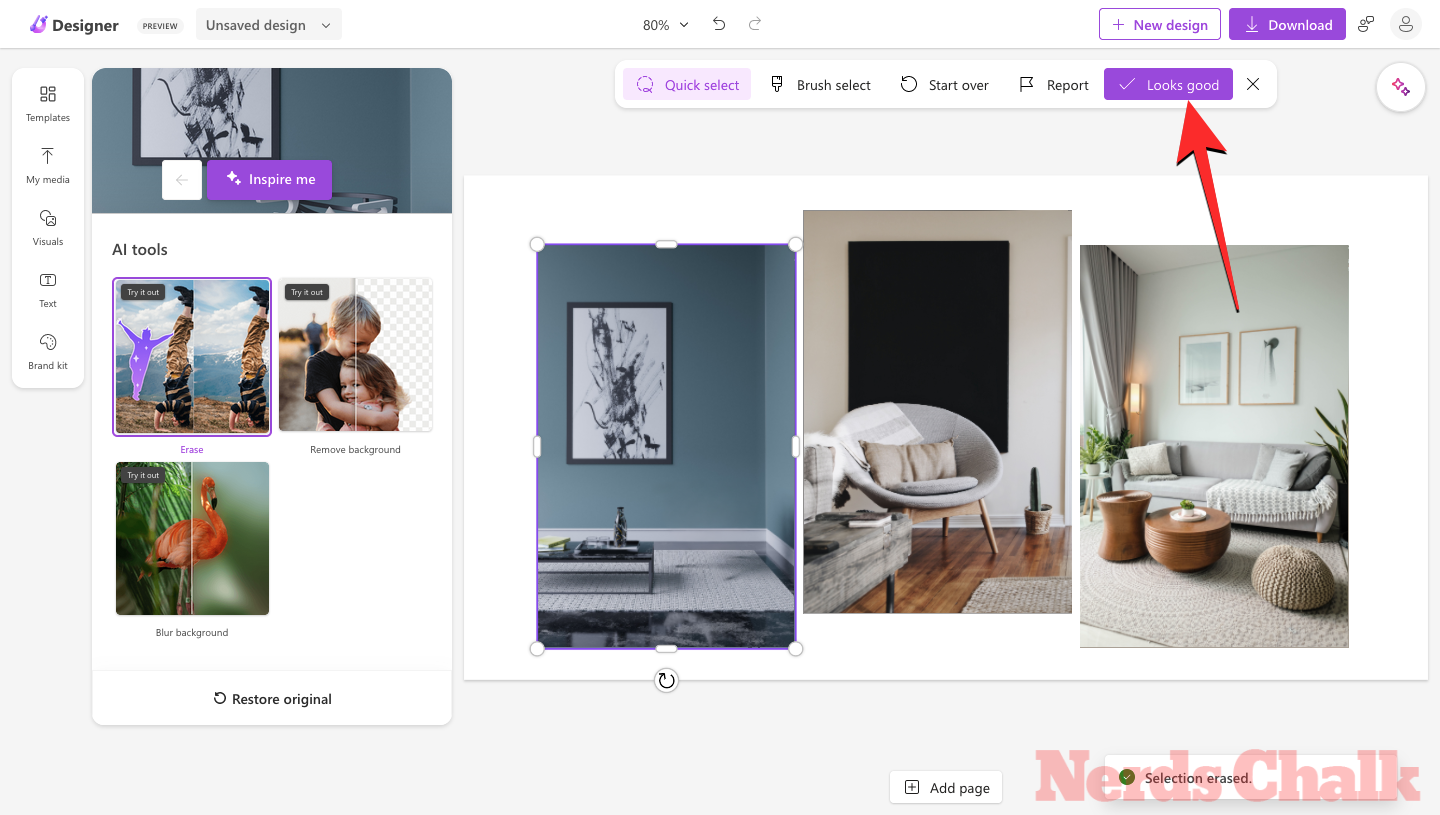
The Designer tool will now remove the selected object from the image. If you’re satisfied with the result, you can click on Looks good at the top to save changes or you can move to Step 2 below to remove the object’s residues.
Step 3: Erase residues using Brush select
After you’ve removed objects using Quick select, there may sometimes be some residual elements like shadows or outlines that may not have been removed by the AI tool. As you may have seen in the earlier screenshot, the corrected image still showed shadows of the chair that we removed.
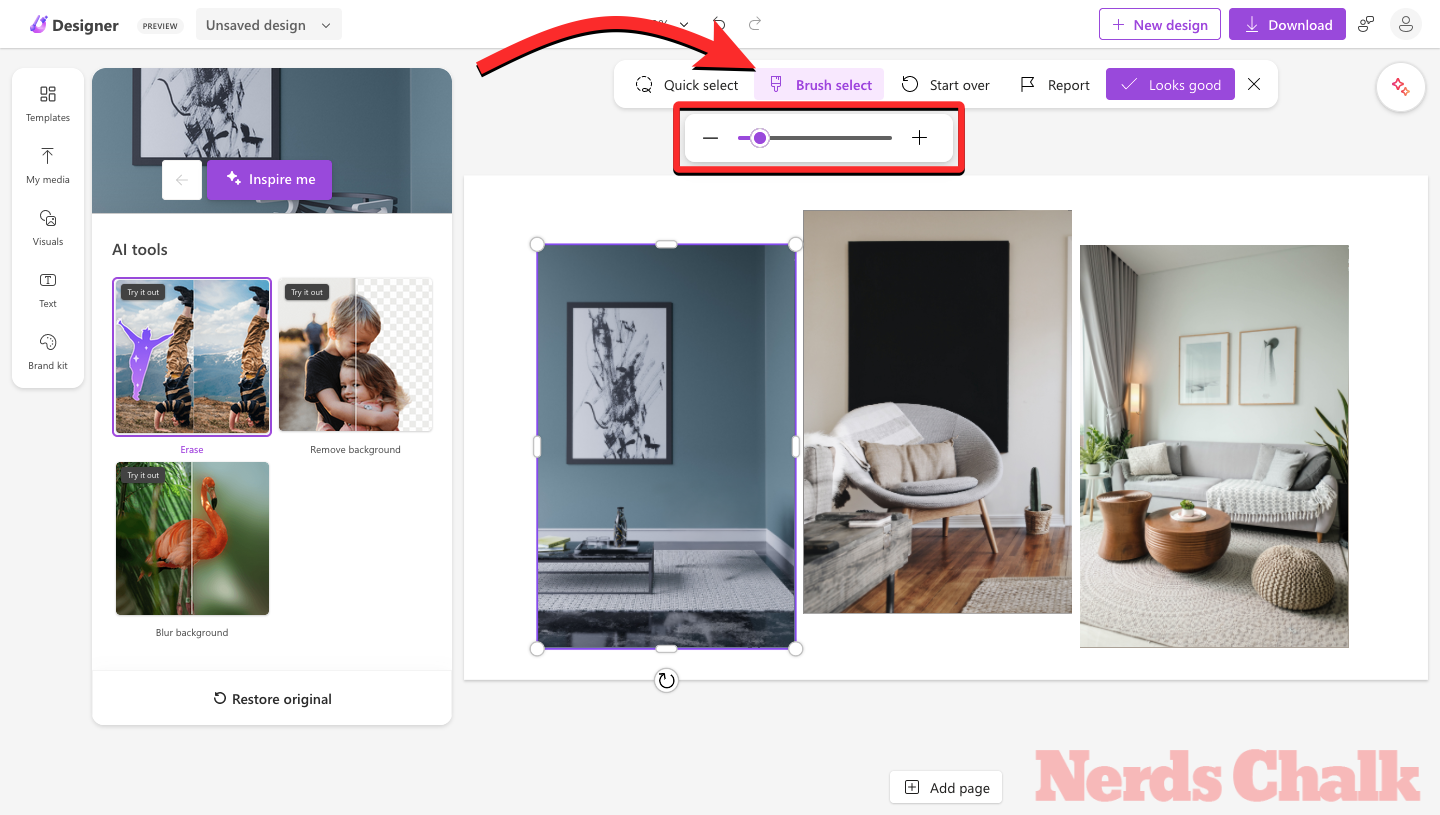
To remove those elements, you’ll have to click on the Brush select button at the top and choose a brush size using the slide that appears underneath.
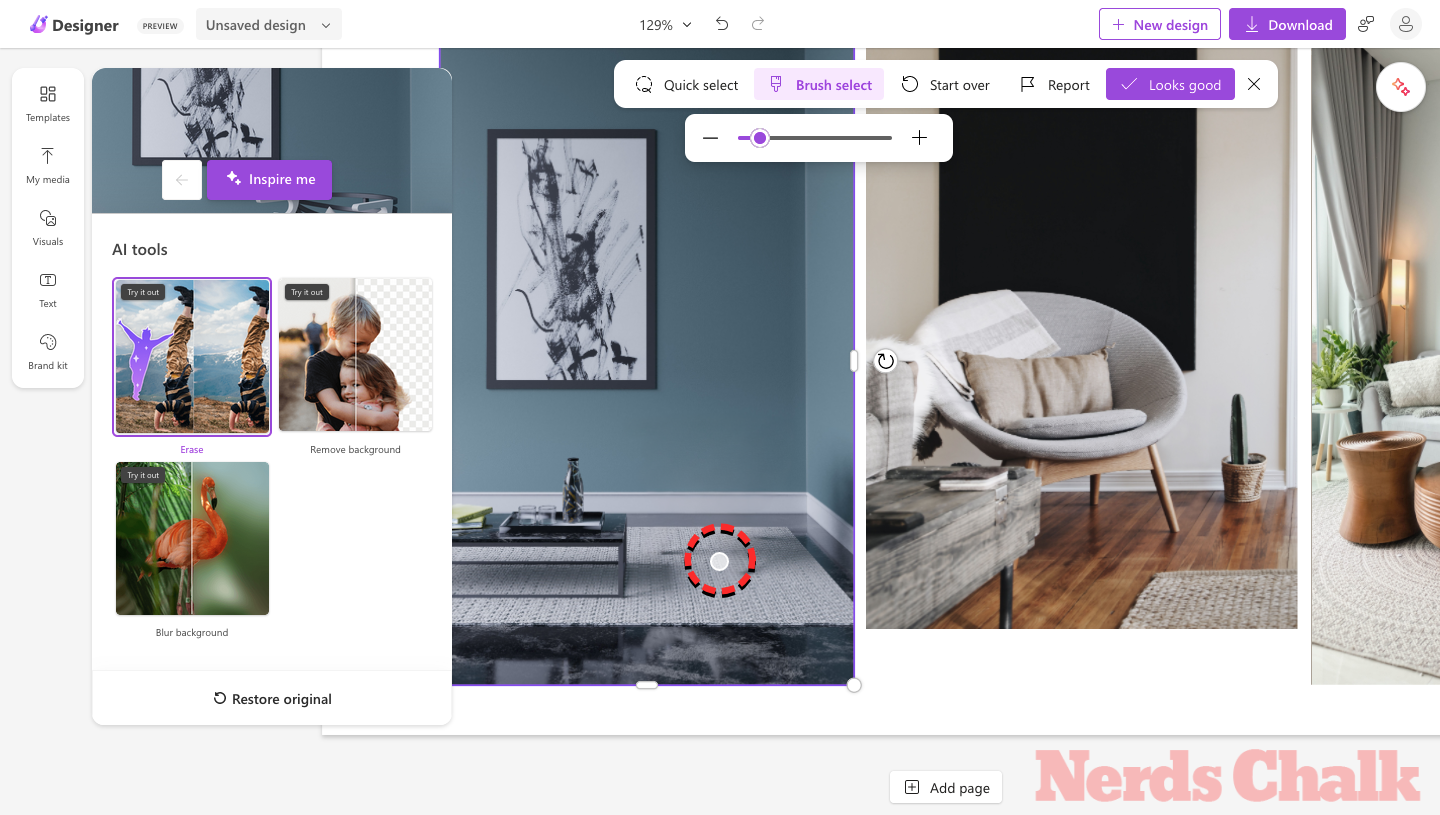
Now, move the pointer to the portion where you see the residues (shadows in this case). You can also zoom into the design to get a clearer look at what needs to be removed.
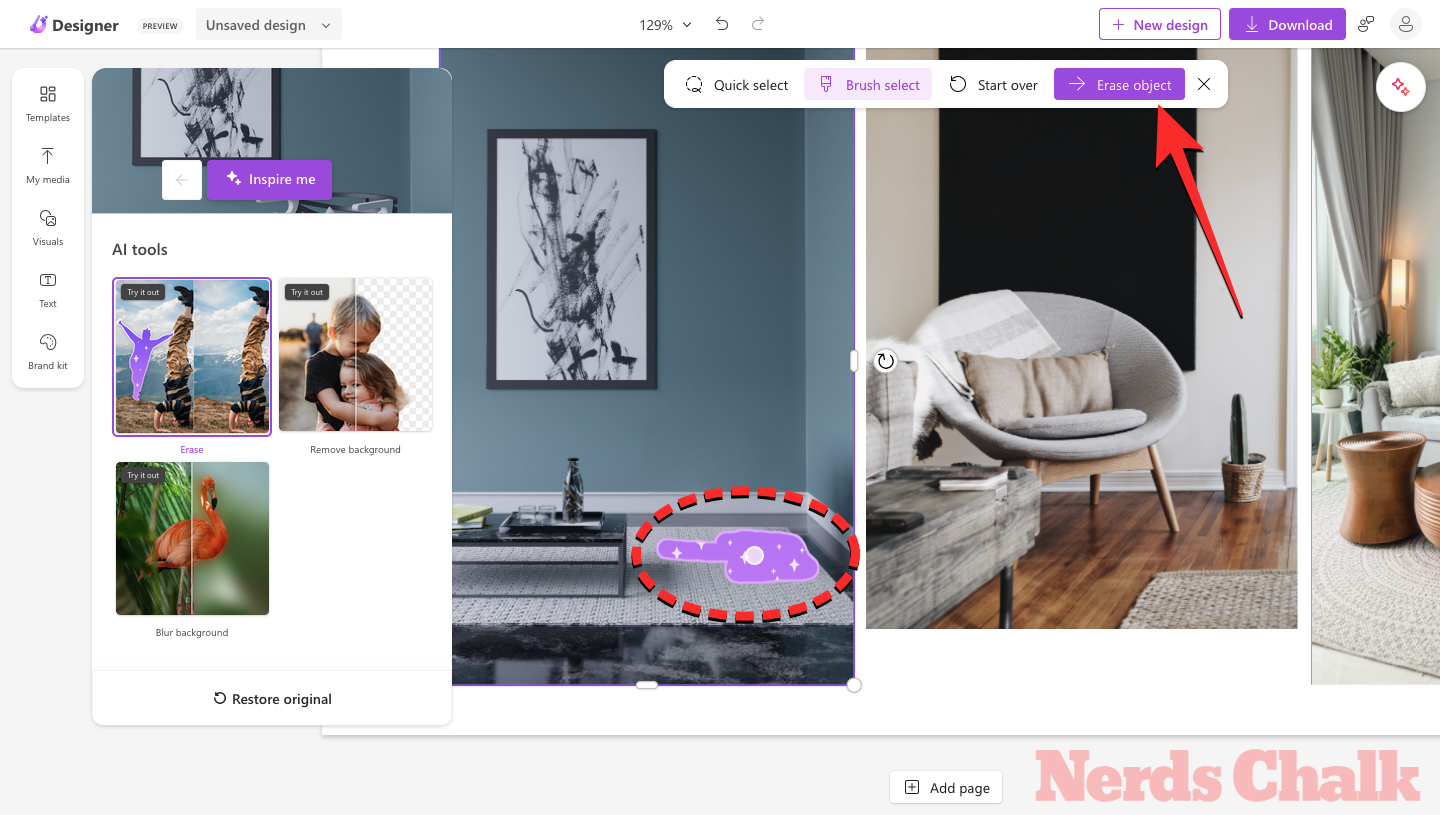
To select the unwanted portions manually, click and drag the brush around the desired area. When you’ve covered the desired portion, it will be highlighted. You can then click on the Erase object button at the top to request the Designer AI to delete it.
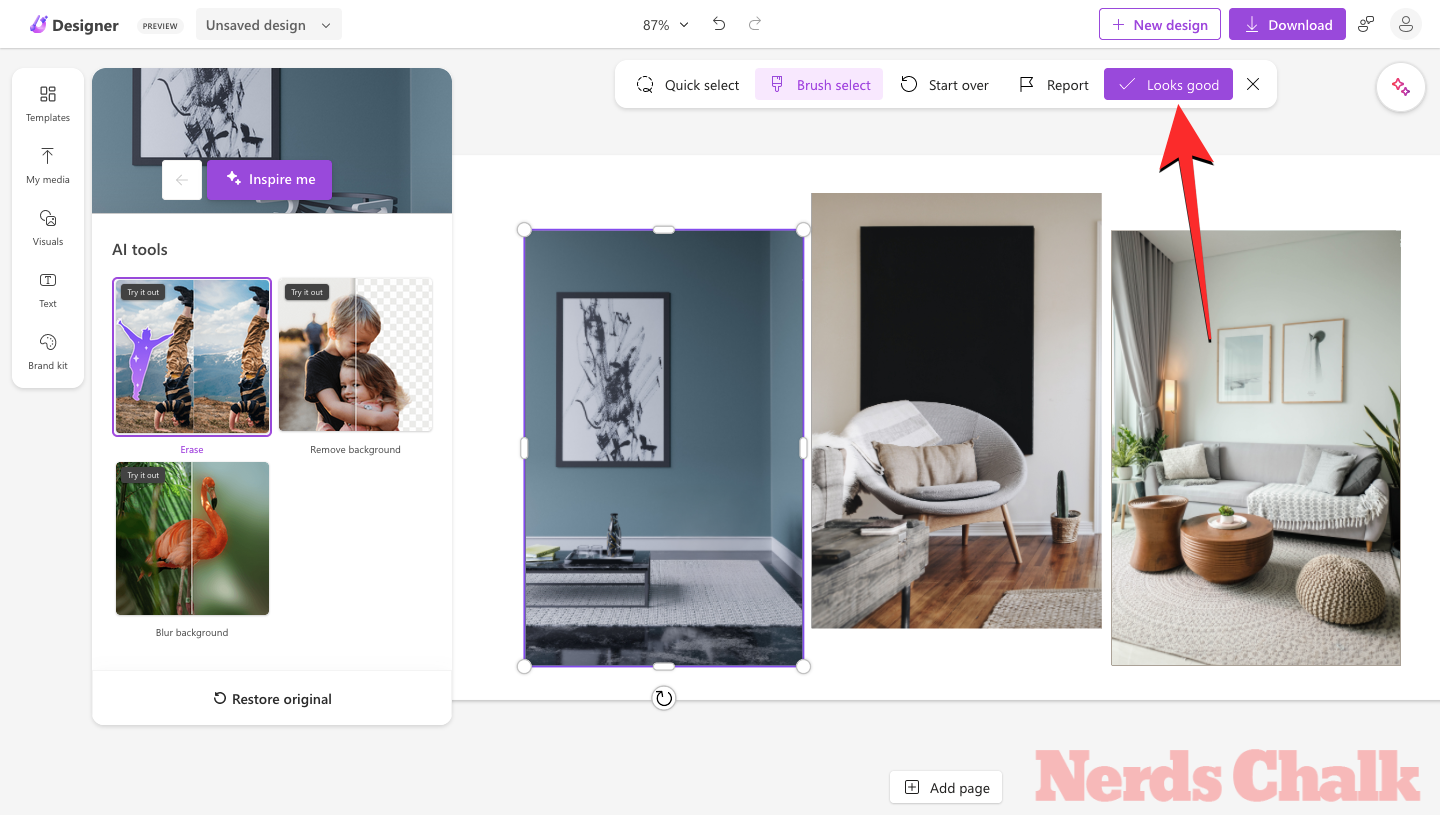
In a matter of seconds, you’ll see the generated result. If you’re happy with the changes, click on Looks good at the top.
Step 4: Repeat Steps 2 and 3 to erase elements from other images in your design
To remove objects and their residues from other images in the same design, you can follow steps 1 & 2 to do it.
Here’s what we removed from the second image.
Here’s what we removed from the third image.
Step 5: Save and download your design
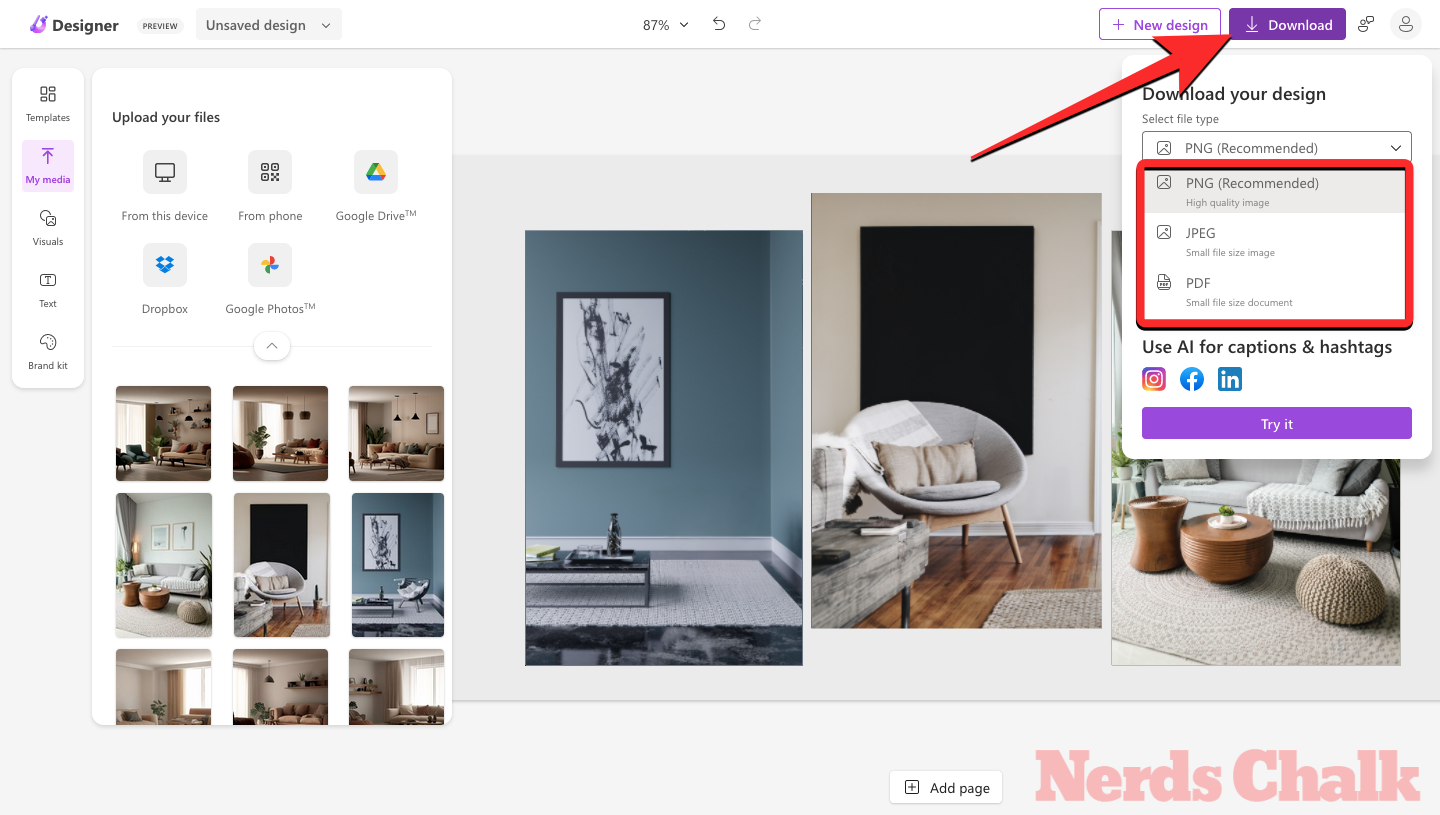
When you’ve successfully erased objects from images in your design, you can customize their appearance further with a different background and other elements. To save the final design on your computer, click on Download at the top right corner and select a preferred file type (PNG, JPEG, or PDF).
You can then save this file by clicking Download from the Download your design menu.
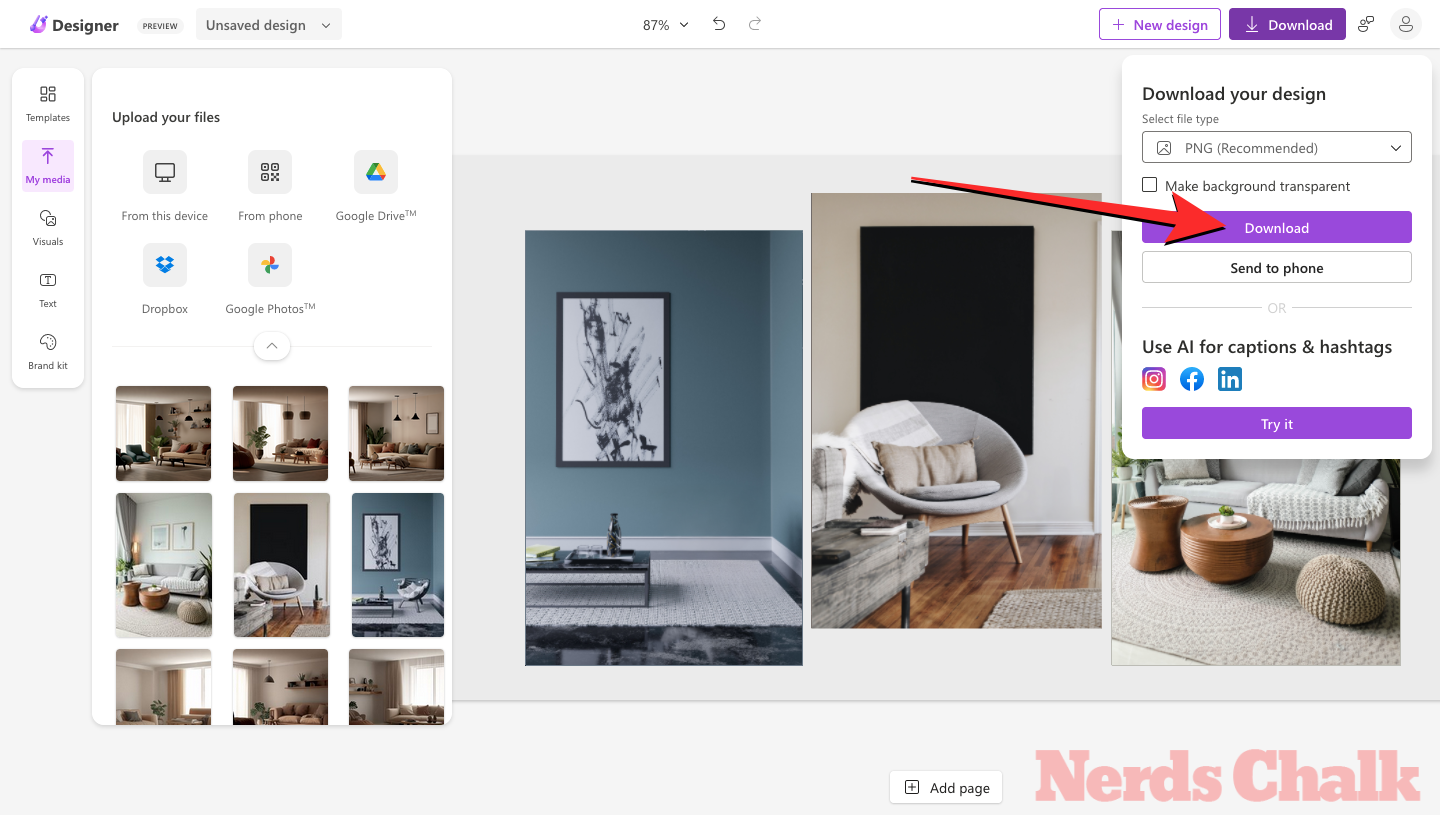
The design will now be saved on your computer.
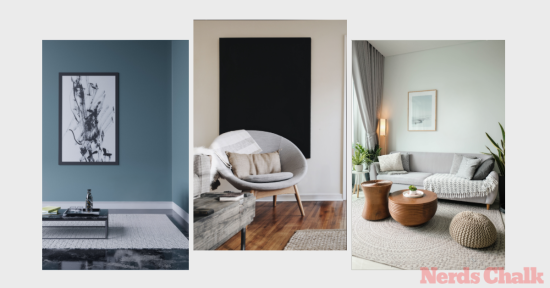
Here are the final results!
You can compare and check how the Microsoft Designer was able to successfully erase unwanted objects and elements from the original design in the final design.

That’s all you need to know about using the Generative Erase tool to remove objects from images on Microsoft Designer.