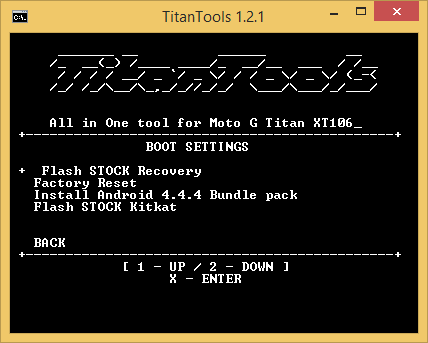
Rooting an Android device isn’t that hard these days if a root tool is available, but those who are quite new to the game may feel a little bit nervous at times. For such people, toolkits are a blessing, and if you’re a Moto G 2014 user looking for the easiest way to root, or install custom recovery like TWRP or Philz, or even modify your phone a it, then you’re in luck as Titantools toolkit has been released for your device, making it extremely easy plus hassle-free to do the whole customization thing.
The toolkit has been developed by ekusuito, and we would request you to at least thank him if you find this tool incredibly useful. Titantools supports all latest versions of Windows, and is really your first step to the customization on Android device. You have the choice of installing Xposed framework, for which you download variety of modules to customize your phone all by yourself, as per your wishes.
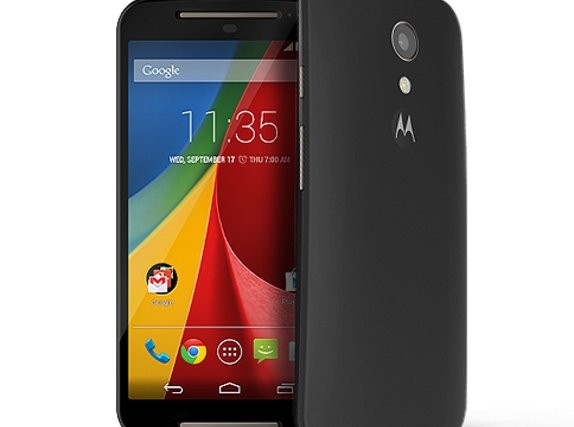
Supperted model: Moto G 2ng Gen, 2014 edition, model no. XT106_
Download link: TitanTools 1.2.1
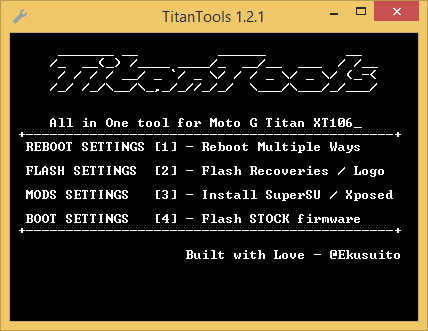
Some basic functionality of Titantools includes:
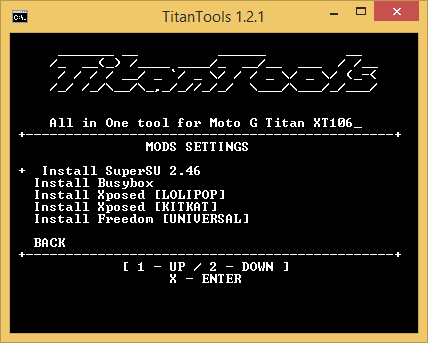
- Root
- Flashing stock firmware (KitKat 4.4.4)
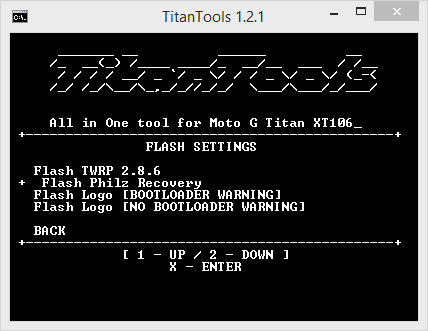
- Flash custom recovery (either TWRP or Philz touch Recovery)
- Installing Xposed framework
- Installing Busybox.
If somehow you have flashed a buggy ROM and you want to get back to stock Kitkat it comes with, you can also do that. Just select “flash stock firmware” first and then select factory reset then “flash stock firmware” option.
Note: For flashing stock KitKat user need to download KitKat package separately.
Useful Tips
The toolkit relies on connection between Android device and PC via ADB. So, it’s imperative that ADB is working alright on PC while Android device is ready too. For this reason, check out the tips below.
- You will need ADB and its drivers properly installed and working. Get all help with ADB here.
- Make sure you have got the drivers of your device installed. Get Motorola drivers from here: Windows | Mac
- Enable USB debugging in settings:
- Go to Settings – About phone, and then tap build no. 7 times.
- Go back to Settings, and now you’ll see Developer options, tap on it.
- Now, look for USB debugging and enable it. Tap on OK to confirm your action.
- Connect device to PC and enable the USB debugging with your PC.
- Simply connect the device to PC.
- In a moment, you’ll get a pop-up on your device titled “Allow USB debugging” with computer’s RSA key fingerprint and other technical stuff. If you don’t get this pop-up, it means drivers aren’t installed or properly working. Re-install the drivers.
- Simply, select the checkbox ‘Always allow from this computer’ and then tap on OK.
- Now you must be able to us ADB and ADB based tools like TitanTools easily, without any hassle.
Via: XDA


