- What to know
- What Pillar of Wind actually does
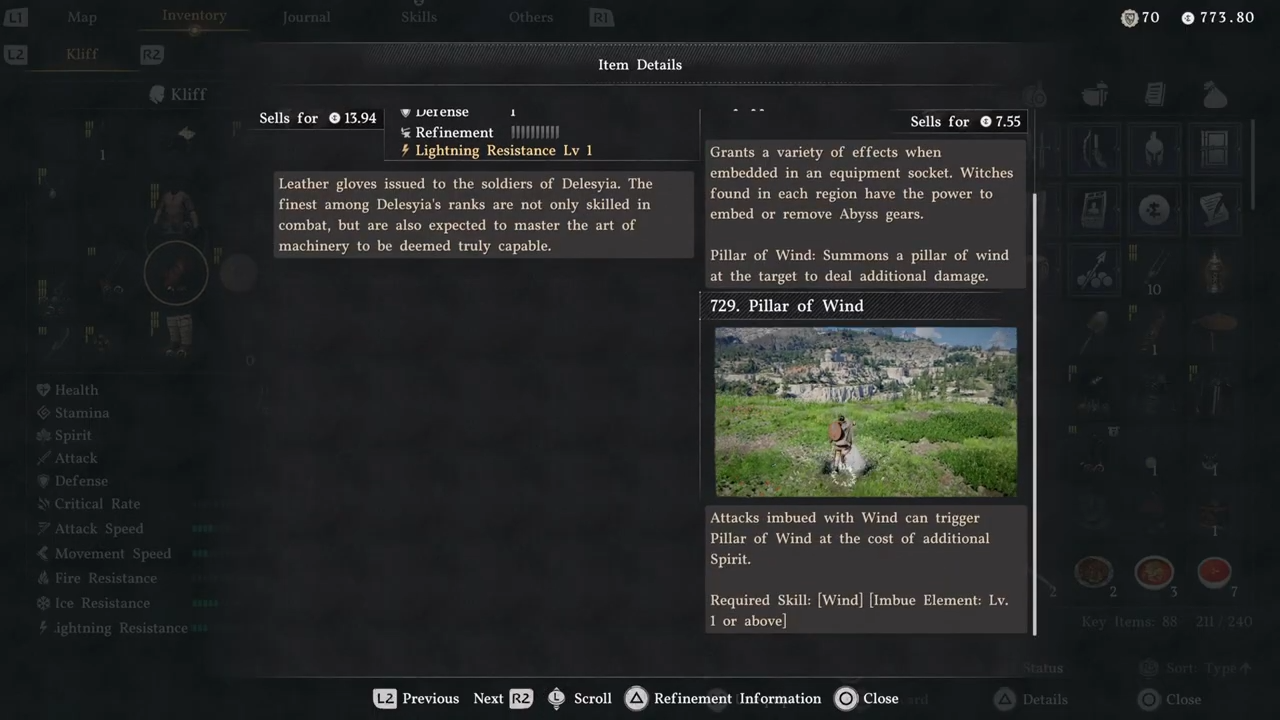
- Pillar of Wind details
- Progression and how to unlock Pillar of Wind
- Alternative ways to encounter Pillar of Wind
- How to use Pillar of Wind effectively in traversal
- How to use Pillar of Wind in combat positioning
- Wind‑element synergy and where Pillar of Wind fits
- When not to rely on Pillar of Wind
- Pillar of Wind testing: What to check in practice
What to know
-
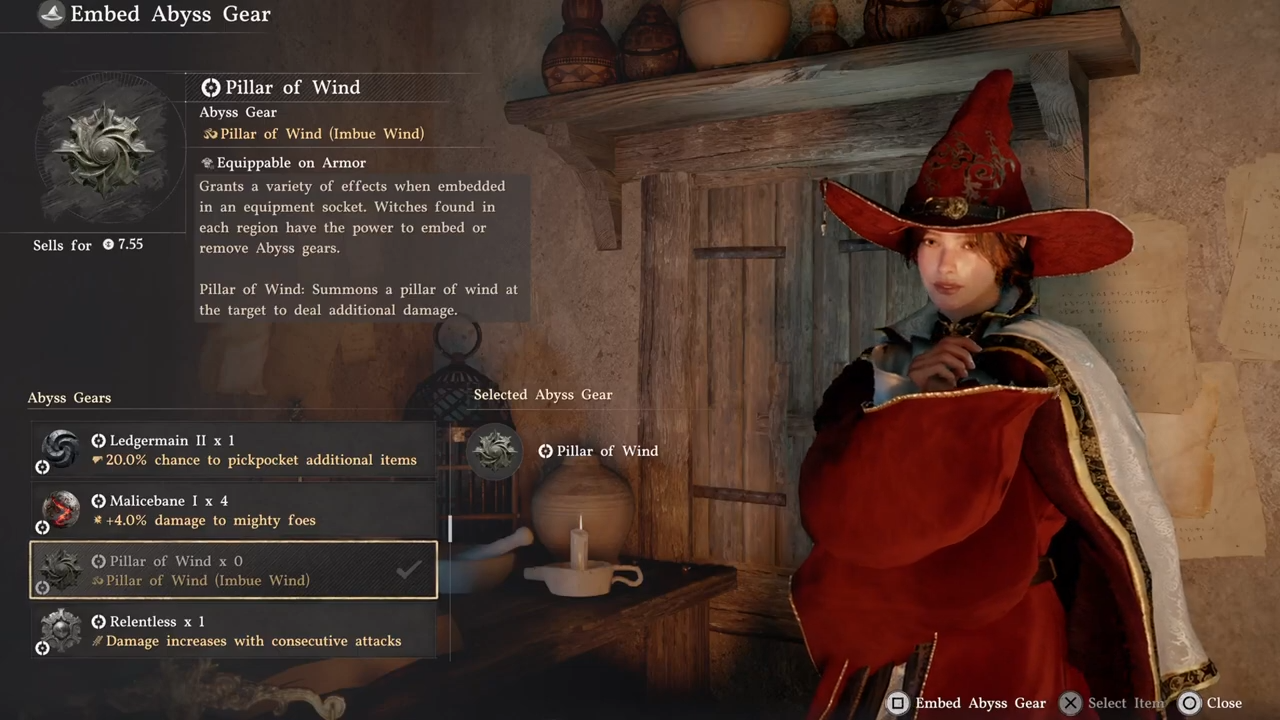
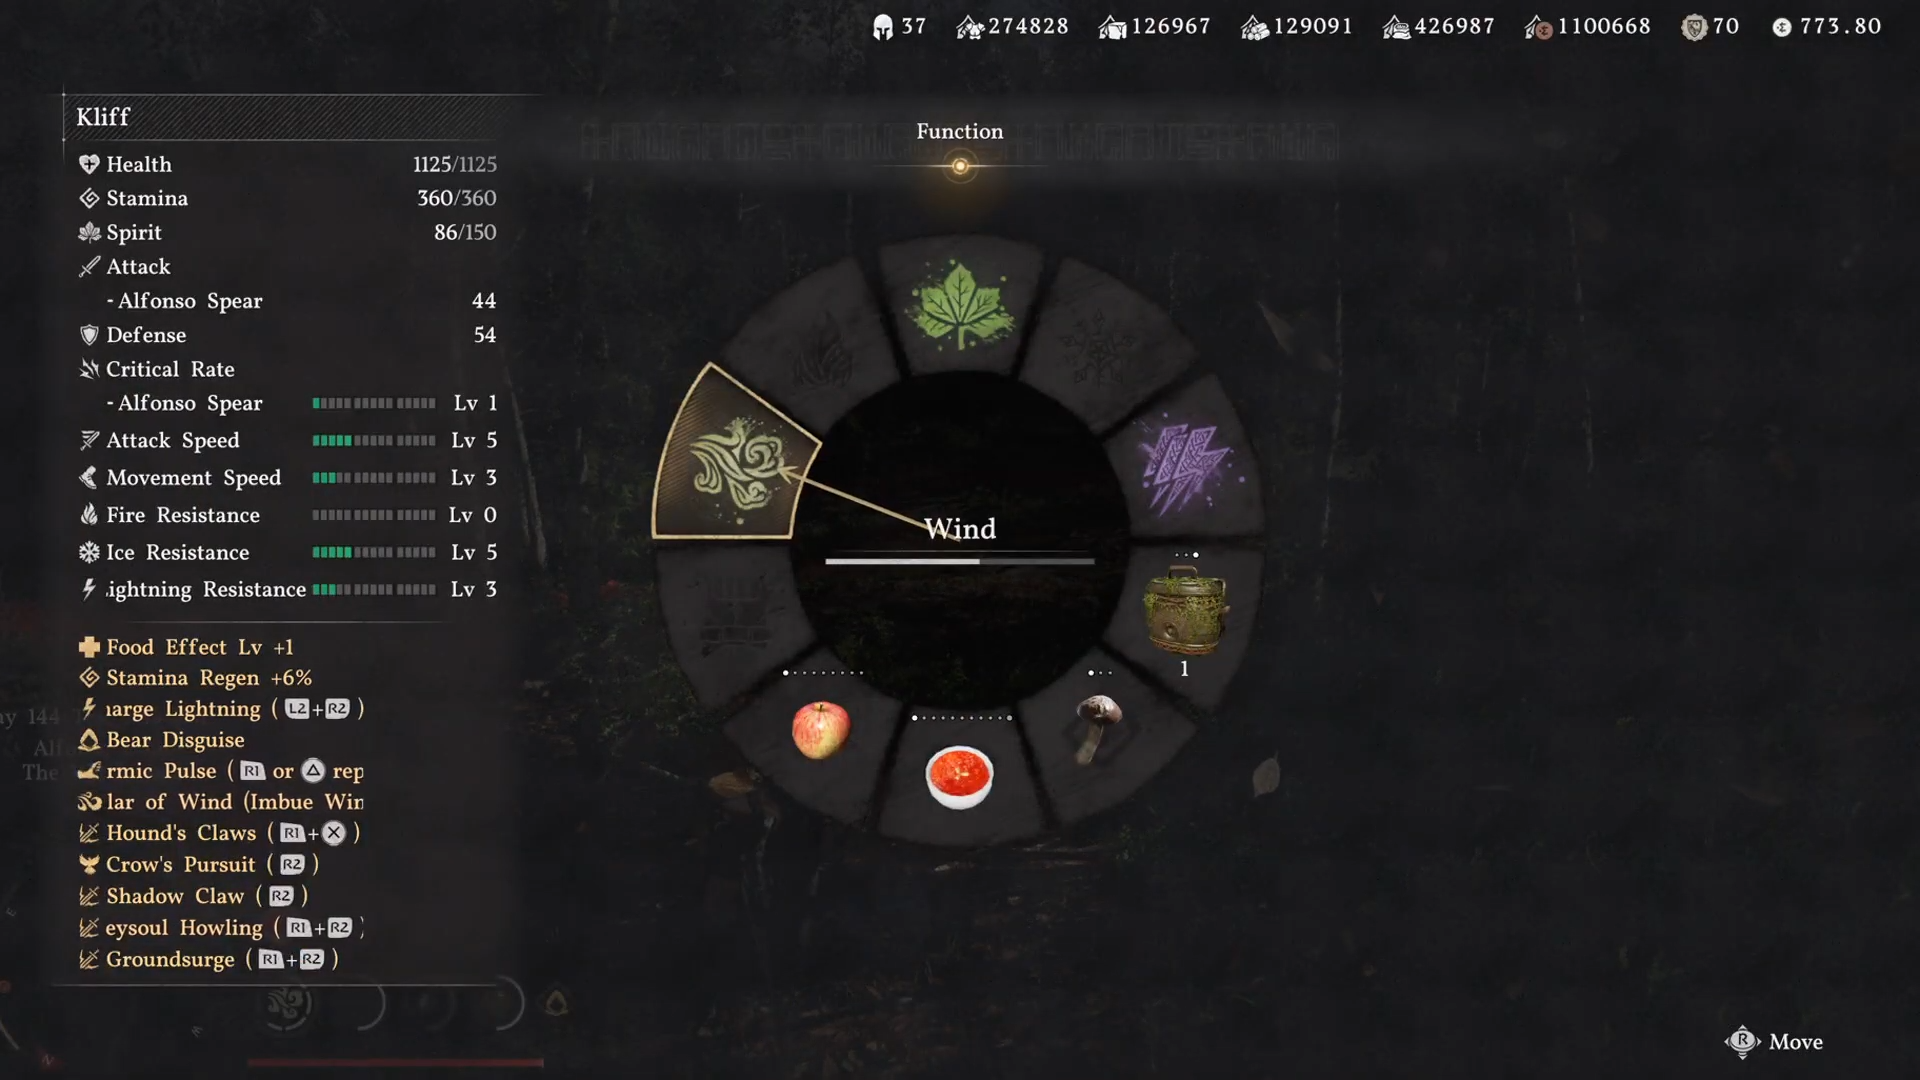
Pillar of Wind is an Abyss gear that channels the Wind element through specific weapon and ability setups.
-
It mainly boosts mobility, letting you launch high‑gain jumps or aerial bursts that extend traversal and positioning options.
-
You normally obtain it via a mid‑ to late‑game quest unlocked after Chapter 8 and certain liberation‑style milestones.
-
Aside from the story route, Pillar of Wind can also appear as a rare reward from specific exploration dispatch missions if you reroll and replay them.
Pillar of Wind transforms how Kliff handles both verticality and combat in Crimson Desert, merging wind‑based mobility with a versatile Abyss‑gear upgrade system.
What Pillar of Wind actually does
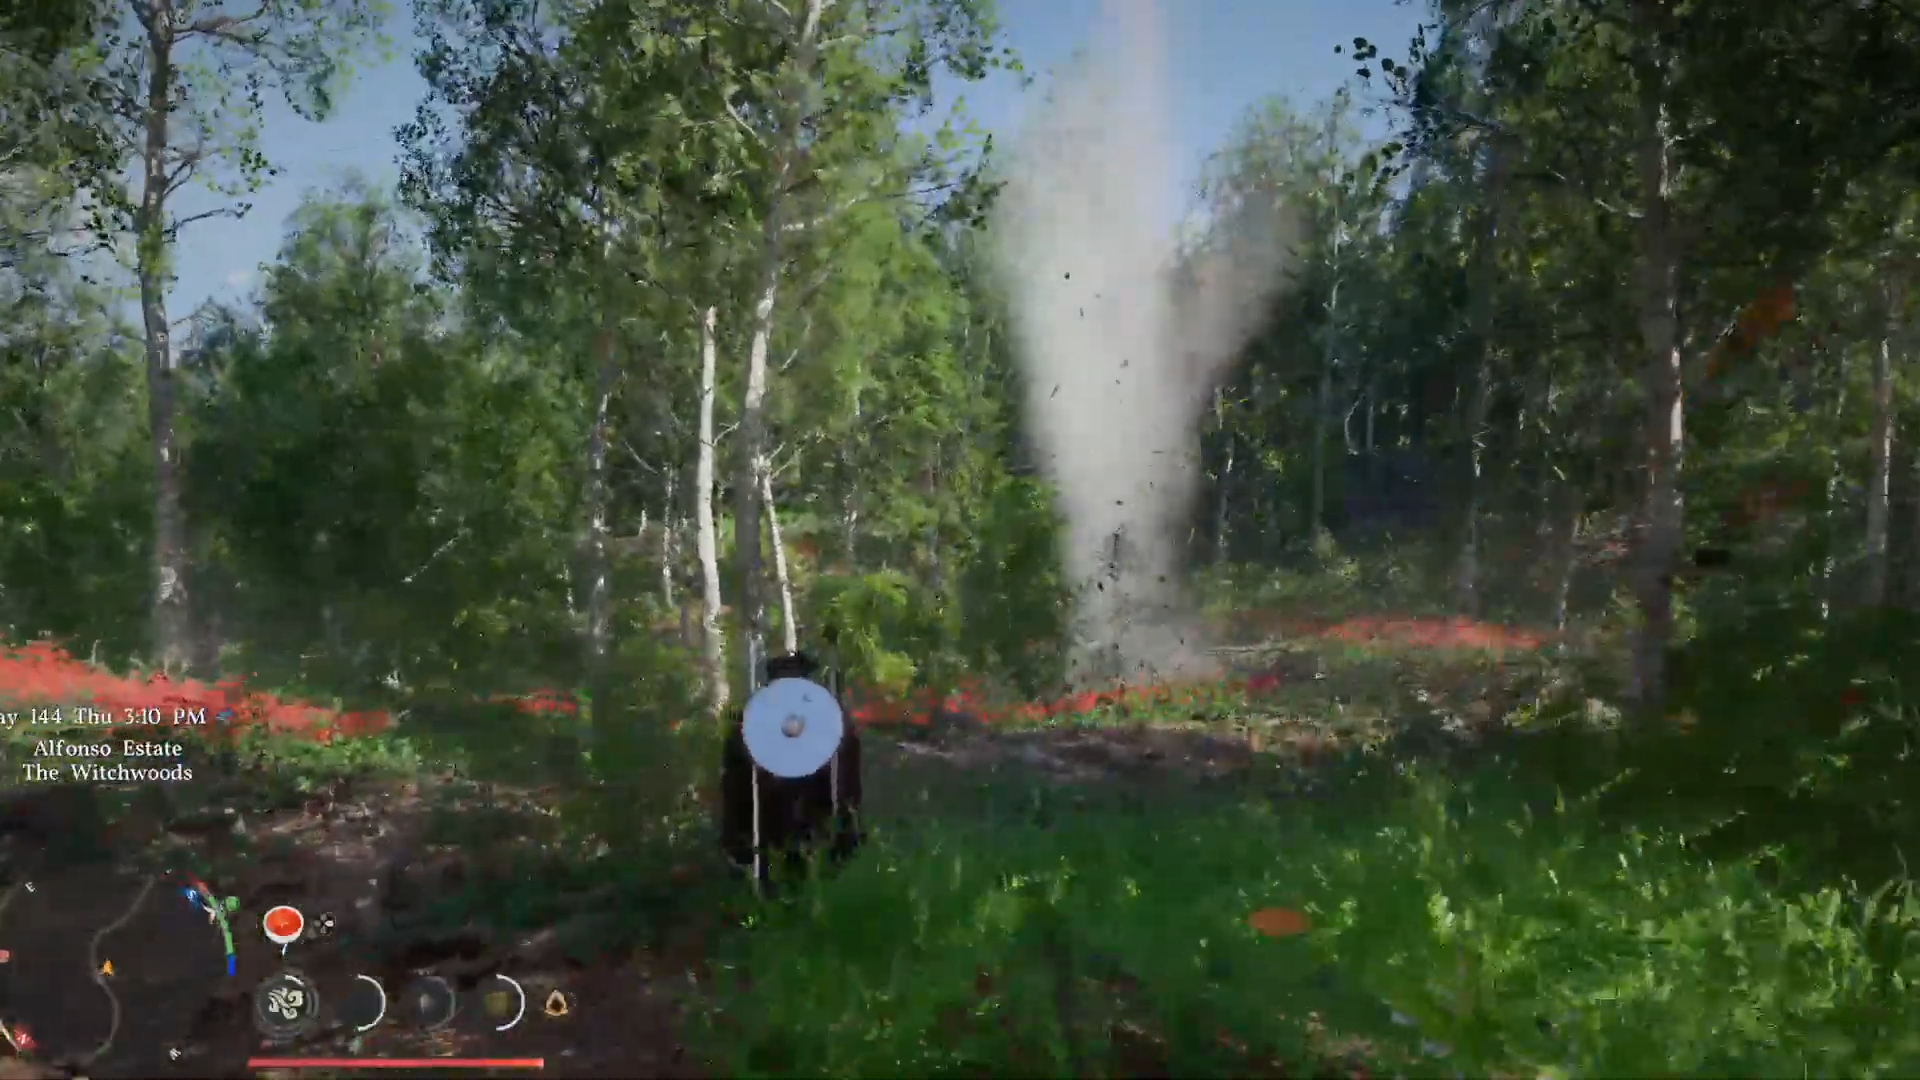
Pillar of Wind is not a standalone spell but an Abyss‑gear module that plugs into your armor or weapon sockets and modifies how wind‑imbued attacks behave. When slotted, it takes a focused input—typically a charged bow or Force‑Palm style maneuver—aimed at the ground, then triggers a short‑duration vertical updraft that can fling Kliff several times higher than a normal aerial maneuver.

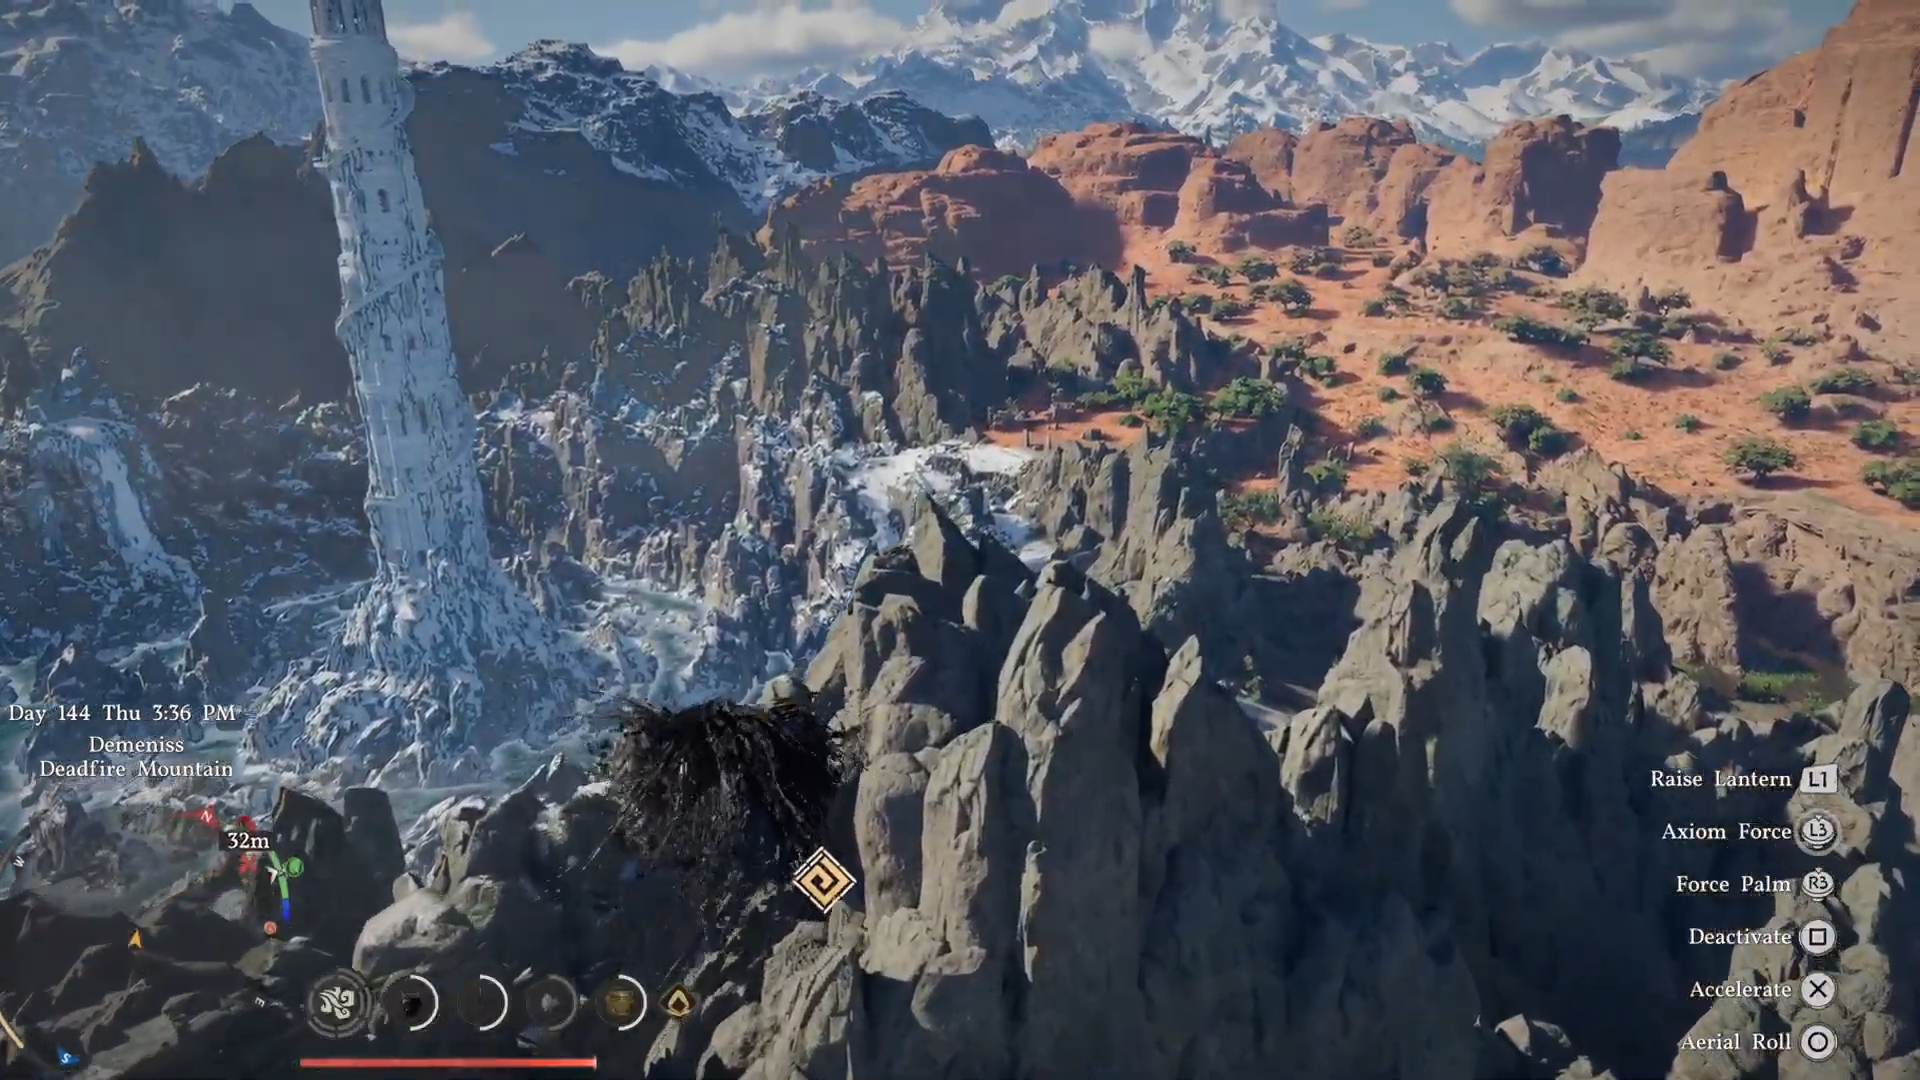
On the ground, this translates into rapid‑elevation access to rooftops, ledges, and otherwise hard‑to‑reach cliffs, reducing dependency on around‑the‑back routes or long ladder paths. In combat, the same mechanic can be used to dodge heavy‑ground attacks, reposition above enemies, or loop into mid‑air combos, especially when paired with wind‑element talents that encourage aerial aggression.
Pillar of Wind details
Progression and how to unlock Pillar of Wind
Obtaining Pillar of Wind is not part of the very early game; it sits in the mid‑game narrative arc once factions such as the Poon Militia and related regions like Pailune have been substantially “liberated.” A key trigger is pushing through Chapter 7 and properly entering Chapter 8, which unlocks new quest chains that eventually surface the “Queen of the Skies”–style mission.
That quest typically involves traveling to a remote, elevated area, following a long‑distance path marker, and then confronting a flying or sky‑linked boss associated with avian or aerial themes. Successfully defeating this boss under the quest‑defined conditions (including secondary objectives like avoiding certain attack types or keeping allies alive) grants Pillar of Wind as a direct reward, often with a short cinematic that highlights the wind‑module locking into Kliff’s gear system.
Alternative ways to encounter Pillar of Wind
Outside the main quest, Pillar of Wind can also appear as a rare end‑reward from a specific exploration‑themed dispatch mission. These dispatches simulate archaeological or survey‑style runs, dropping you into a contained zone with timed objectives such as collecting relics, activating markers, or surveying landmarks.
If the mission is flagged as having Abyss‑gear drop potential, and the underlying list includes wind‑related modules, Pillar of Wind may show up in the reward pool with a low percentage. Because drop rates are tuned to be infrequent, repeatedly replaying the same dispatch or rerolling the daily list is often necessary to pull it without relying on the main story.
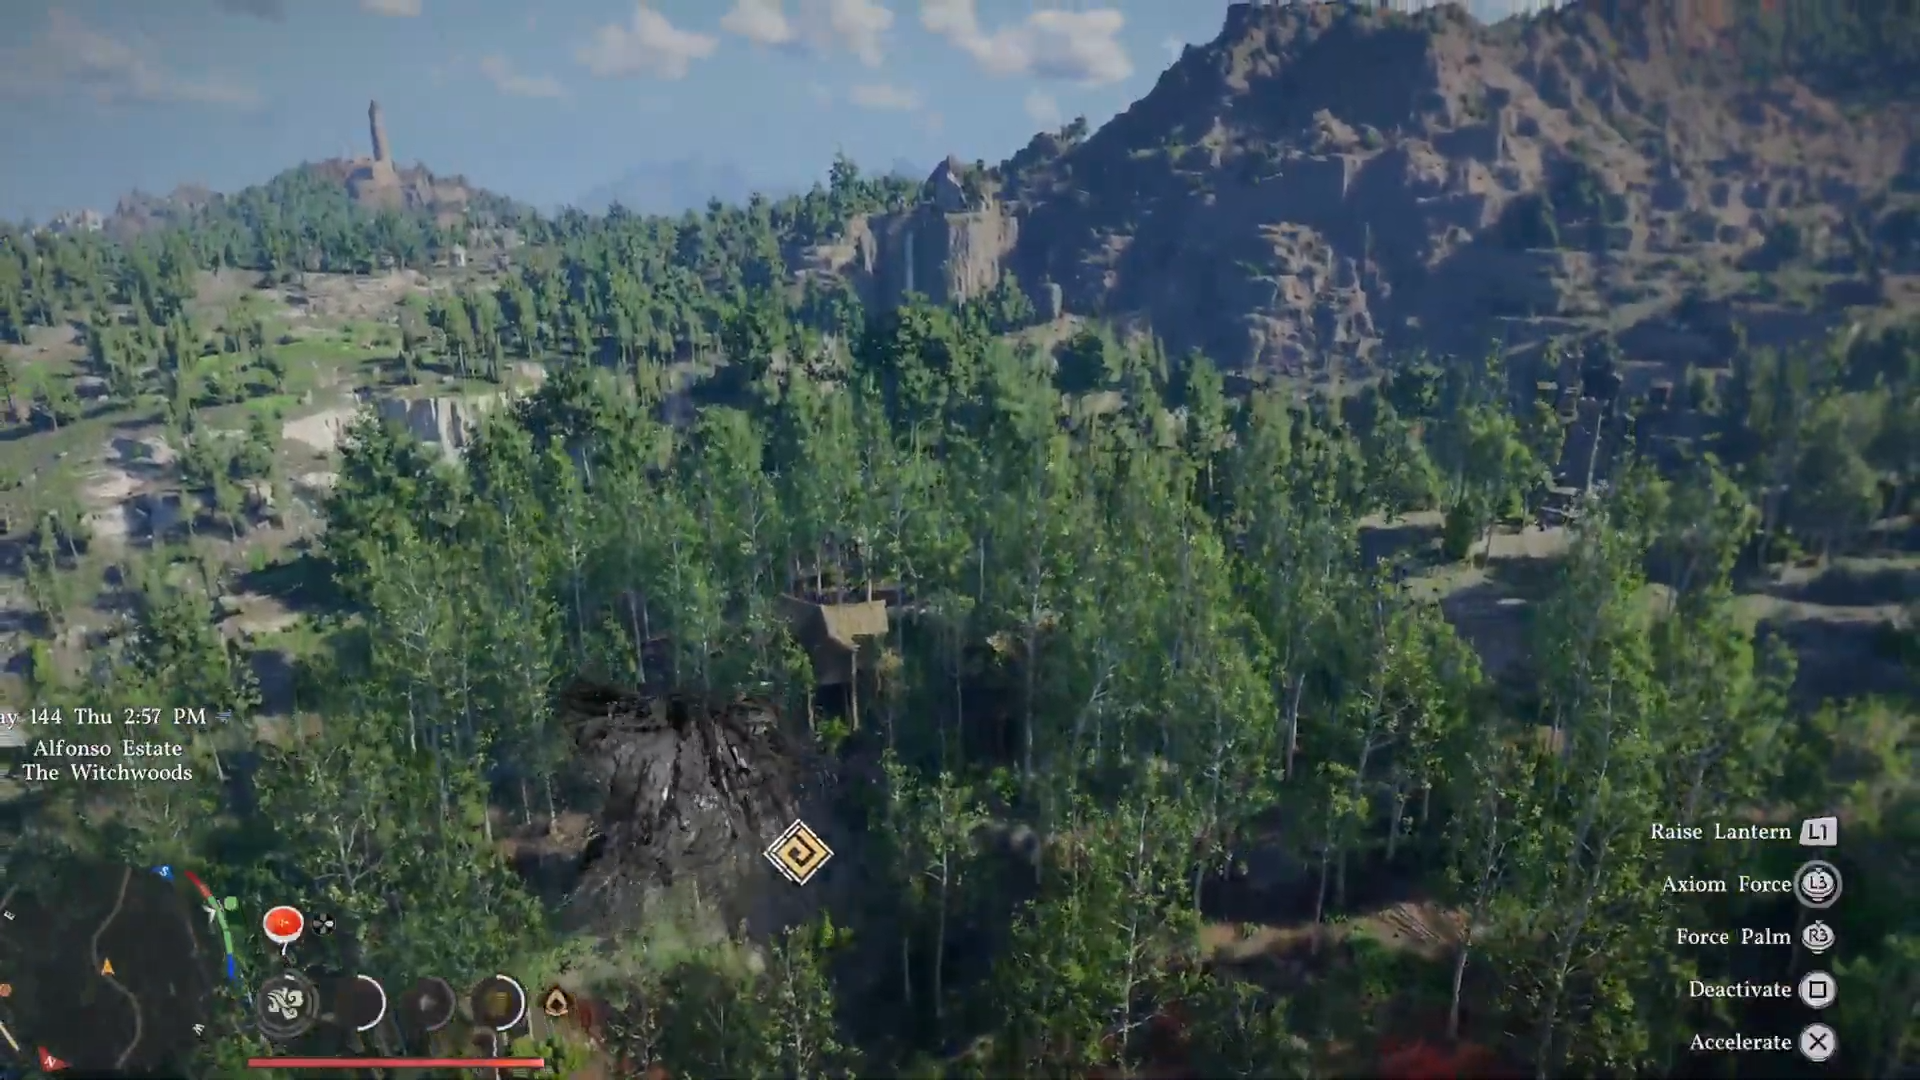
How to use Pillar of Wind effectively in traversal
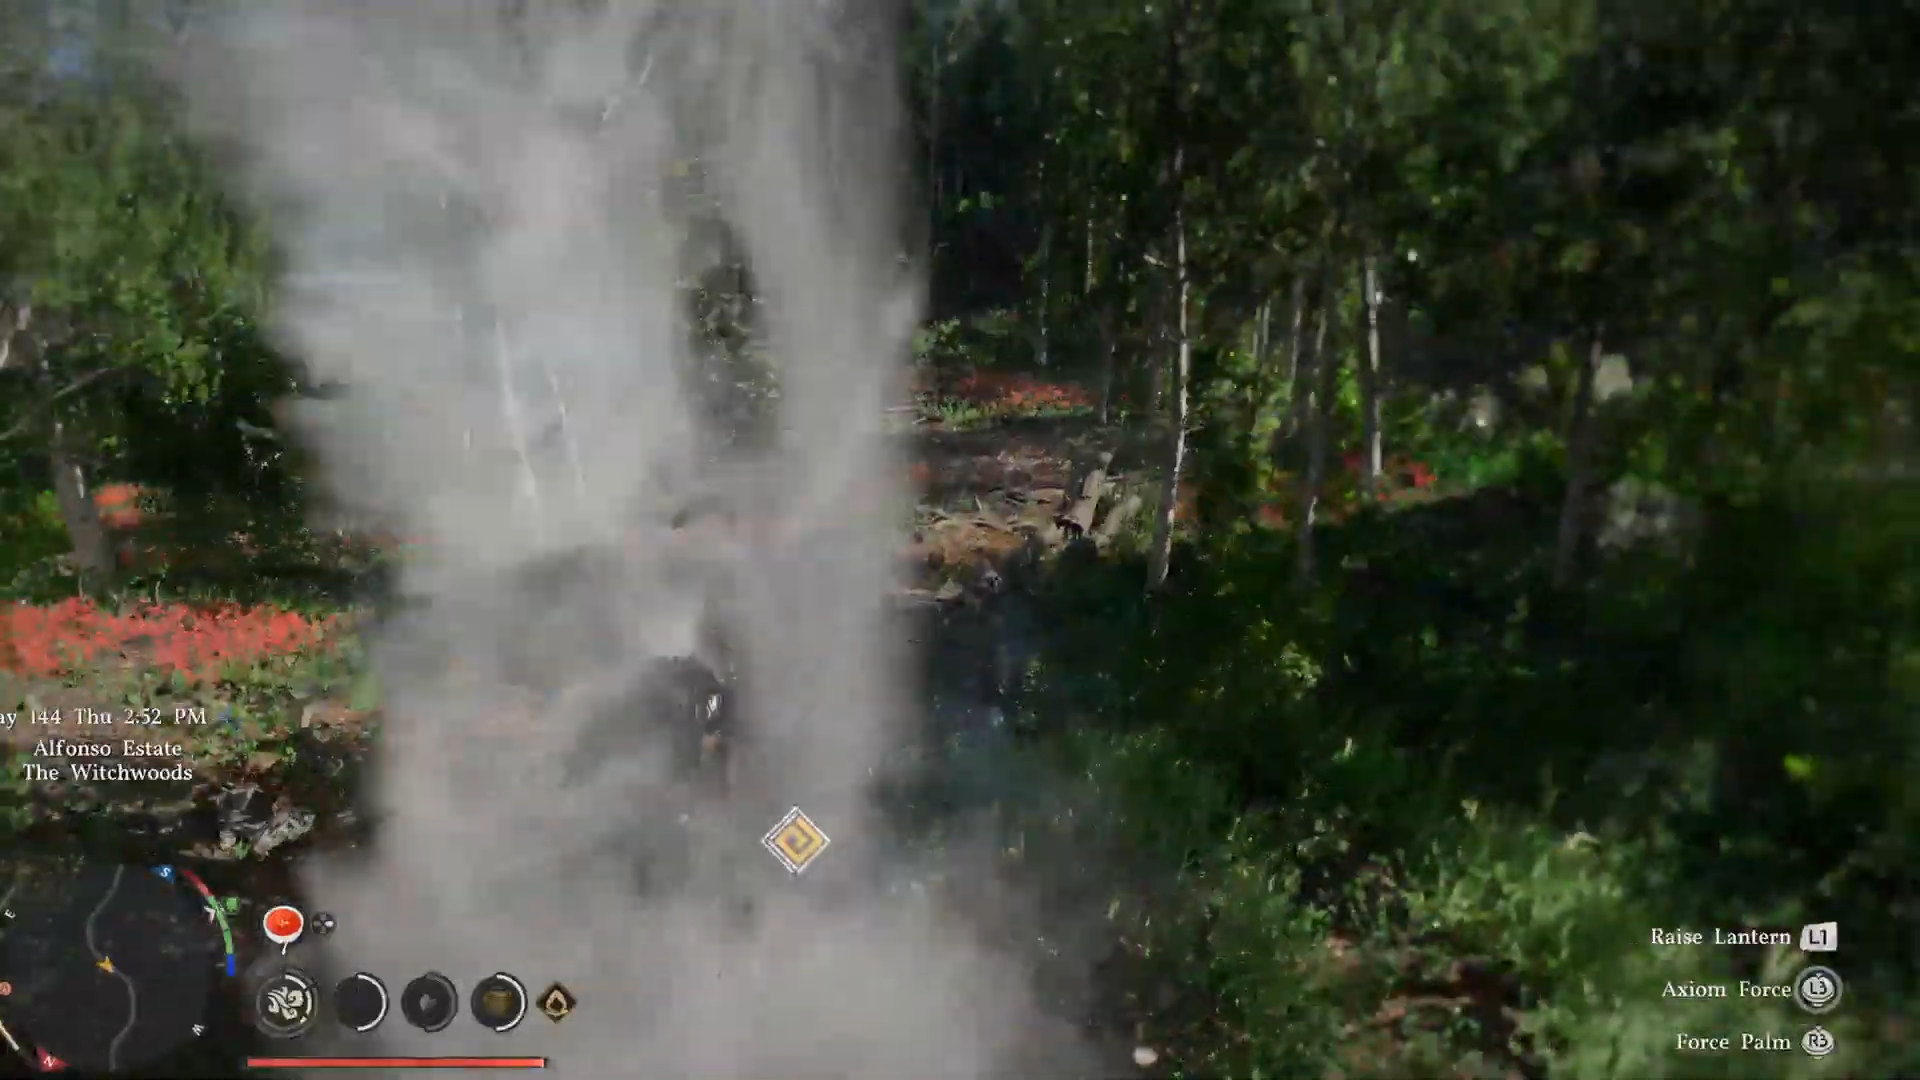
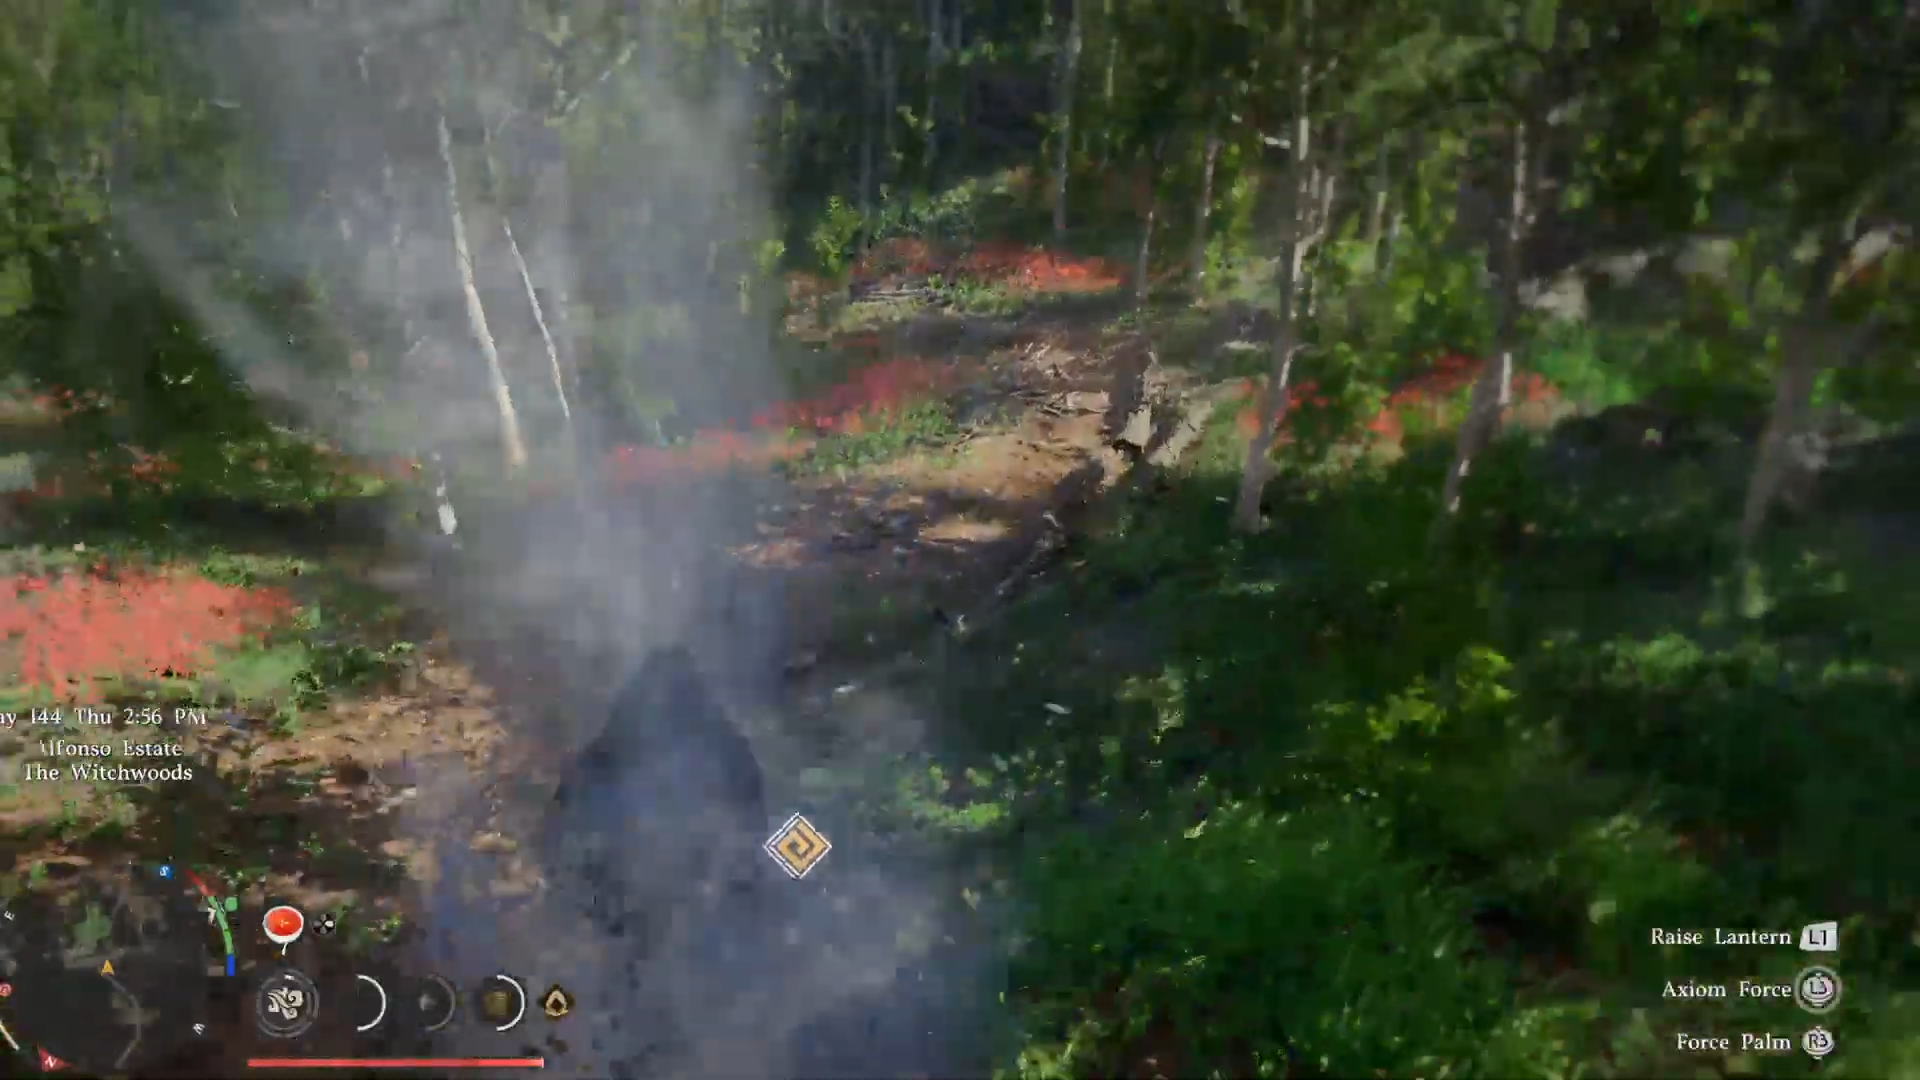
Once slotted, the most basic use case is simple: charge your bow or selected Force‑Palm‑style move, aim it at the ground directly beneath Kliff, fire, and then immediately jump or use an aerial‑dash input to ride the updraft. The resulting vertical lift can surpass several tiers of cliffs in a single burst, letting you bypass canyon walls, tower skirts, or dense enemy‑packed stairways.
Because the Spirit cost per activation is nontrivial, it is best treated as a “designated‑jump” tool rather than a constant hover engine. For example, using it only at the start of a climb to skip the first two or three rock tiers, then switching to normal parkour for the rest, preserves Spirit for combat‑critical moments. The ideal locations are narrow vertical chasms, ruined towers with broken staircases, and high‑plaza zones where guards are clustered at the base; there, the gear effectively turns a long‑exposure climb into a telegraphed vertical dash.
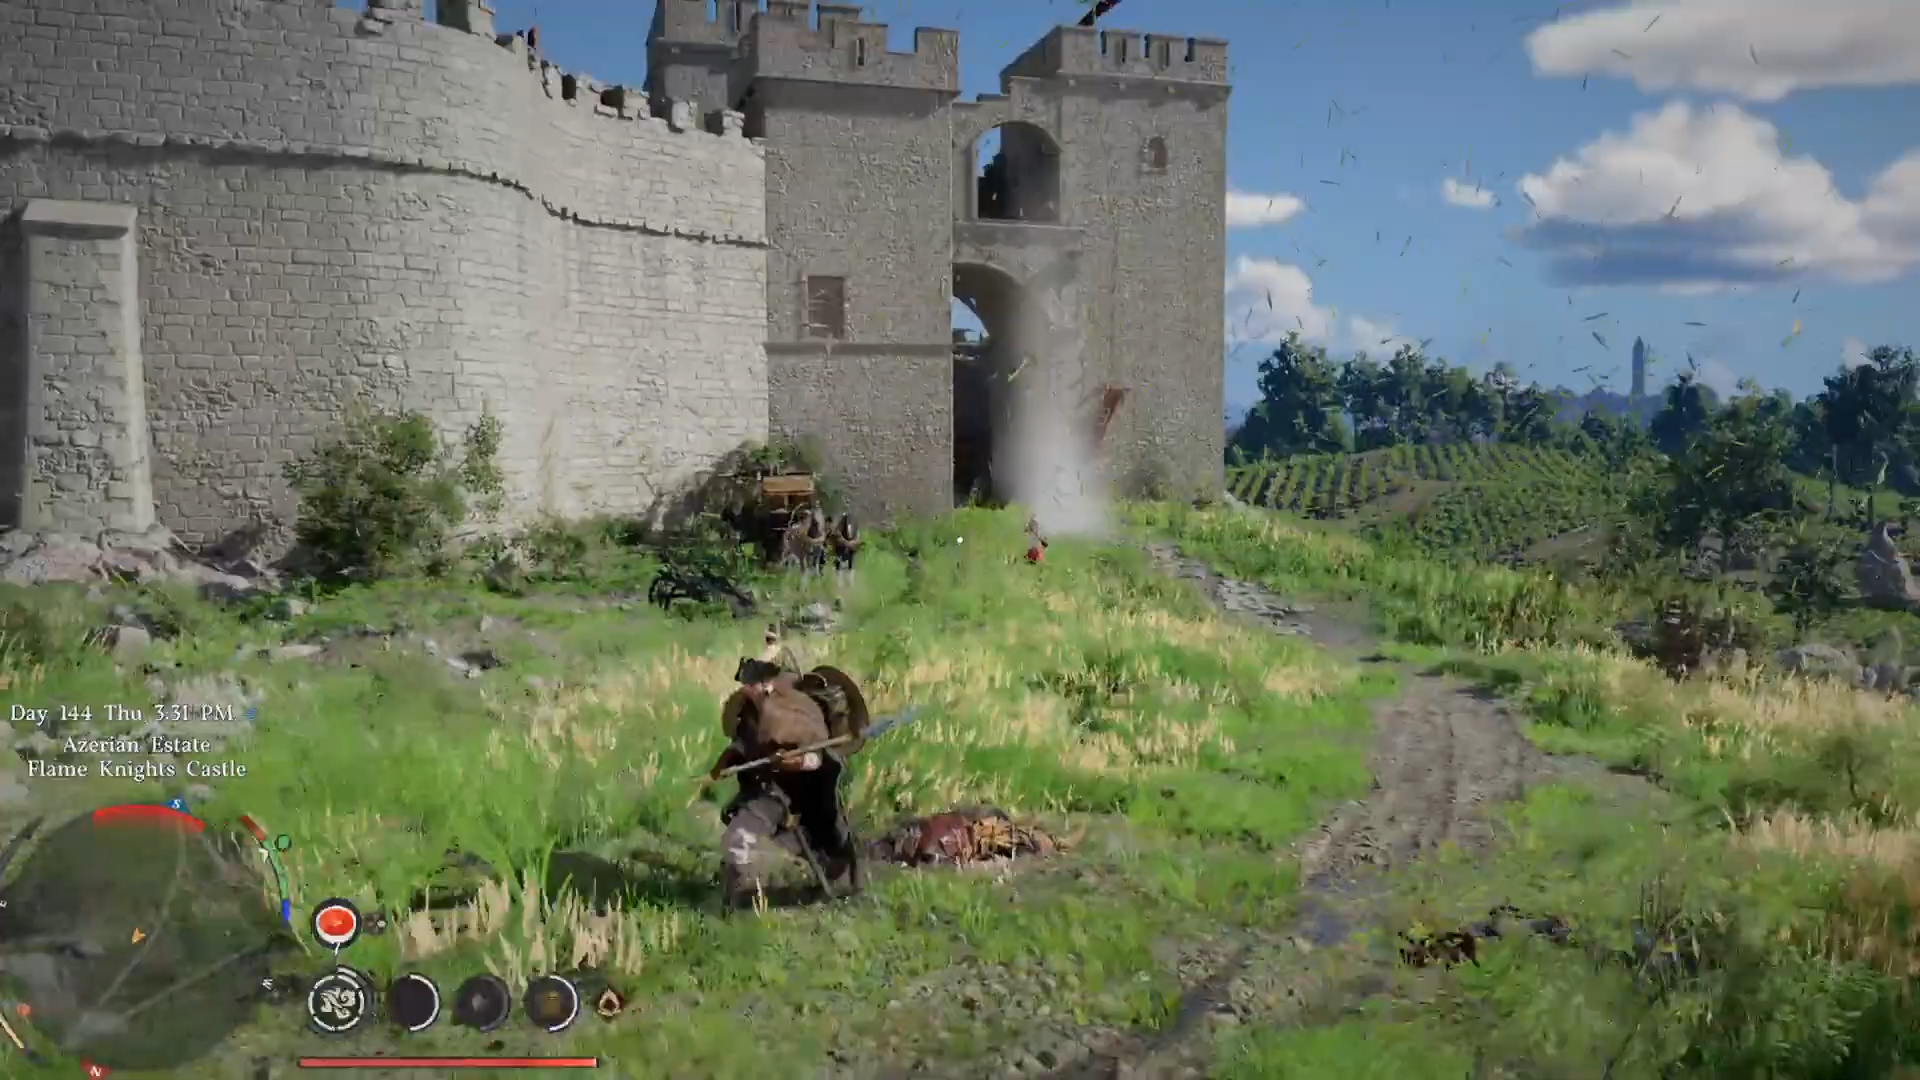
How to use Pillar of Wind in combat positioning
In active fights, Pillar of Wind shines as a mobility‑reset tool rather than a damage‑focused ability. When an enemy commits a heavy melee or slam‑style attack, firing the wind‑burst at your feet lets you lift out of the impact zone, dodge the AoE, and then reenter from above with a counterstrike or aerial combo chain.
Against large‑body or aerial foes, this same pattern can be used to drag the enemy into more open spaces where you can circle‑strafe or force them into environmental hazards.
When combined with wind‑element talents that add small tornadoes or knock‑back effects, Pillar of Wind can also be chain‑activated into a “vertical kiting” loop: ground‑burst, aerial strike, then another burst as you come down, creating a staggered up‑and‑down pattern that keeps enemies slightly off‑balance. Timing this loop so Spirit regenerates between bursts is key, since the gear does not regenerate energy on its own and must be used deliberately.
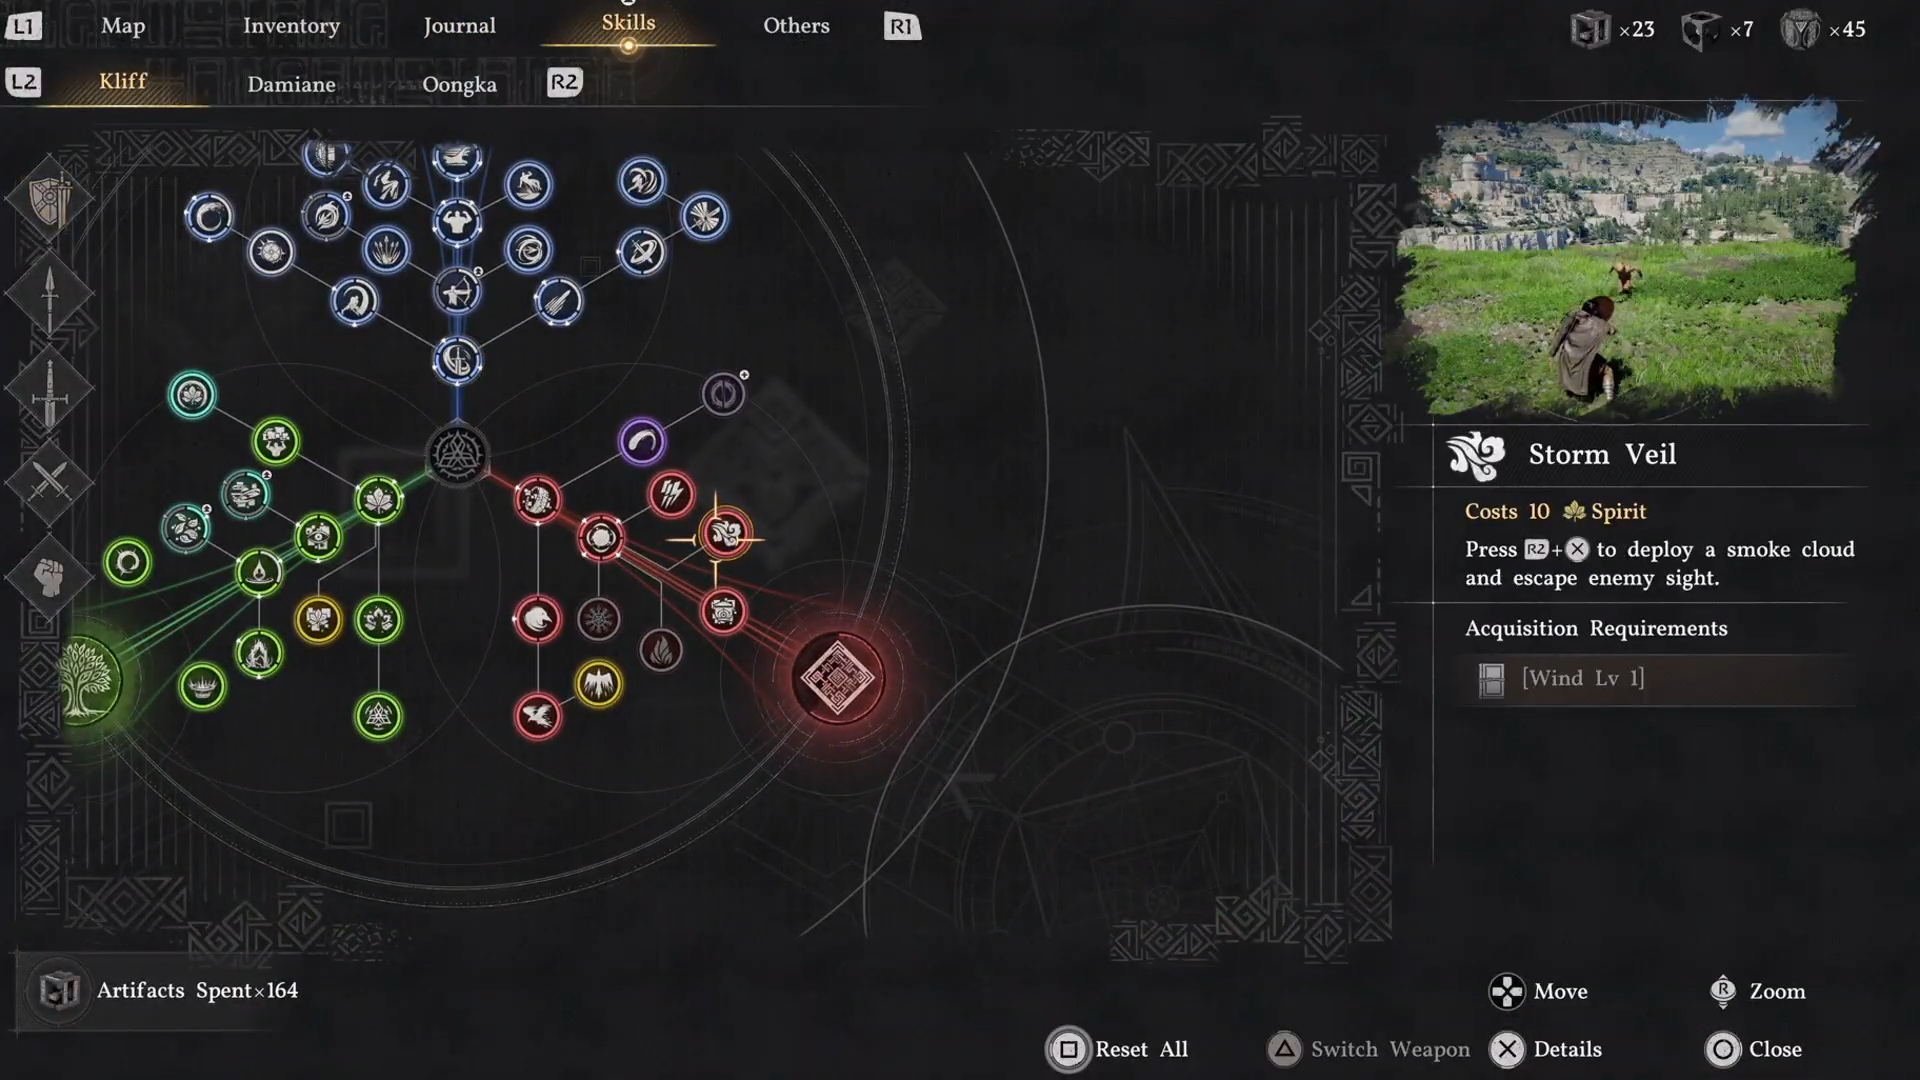
Wind‑element synergy and where Pillar of Wind fits
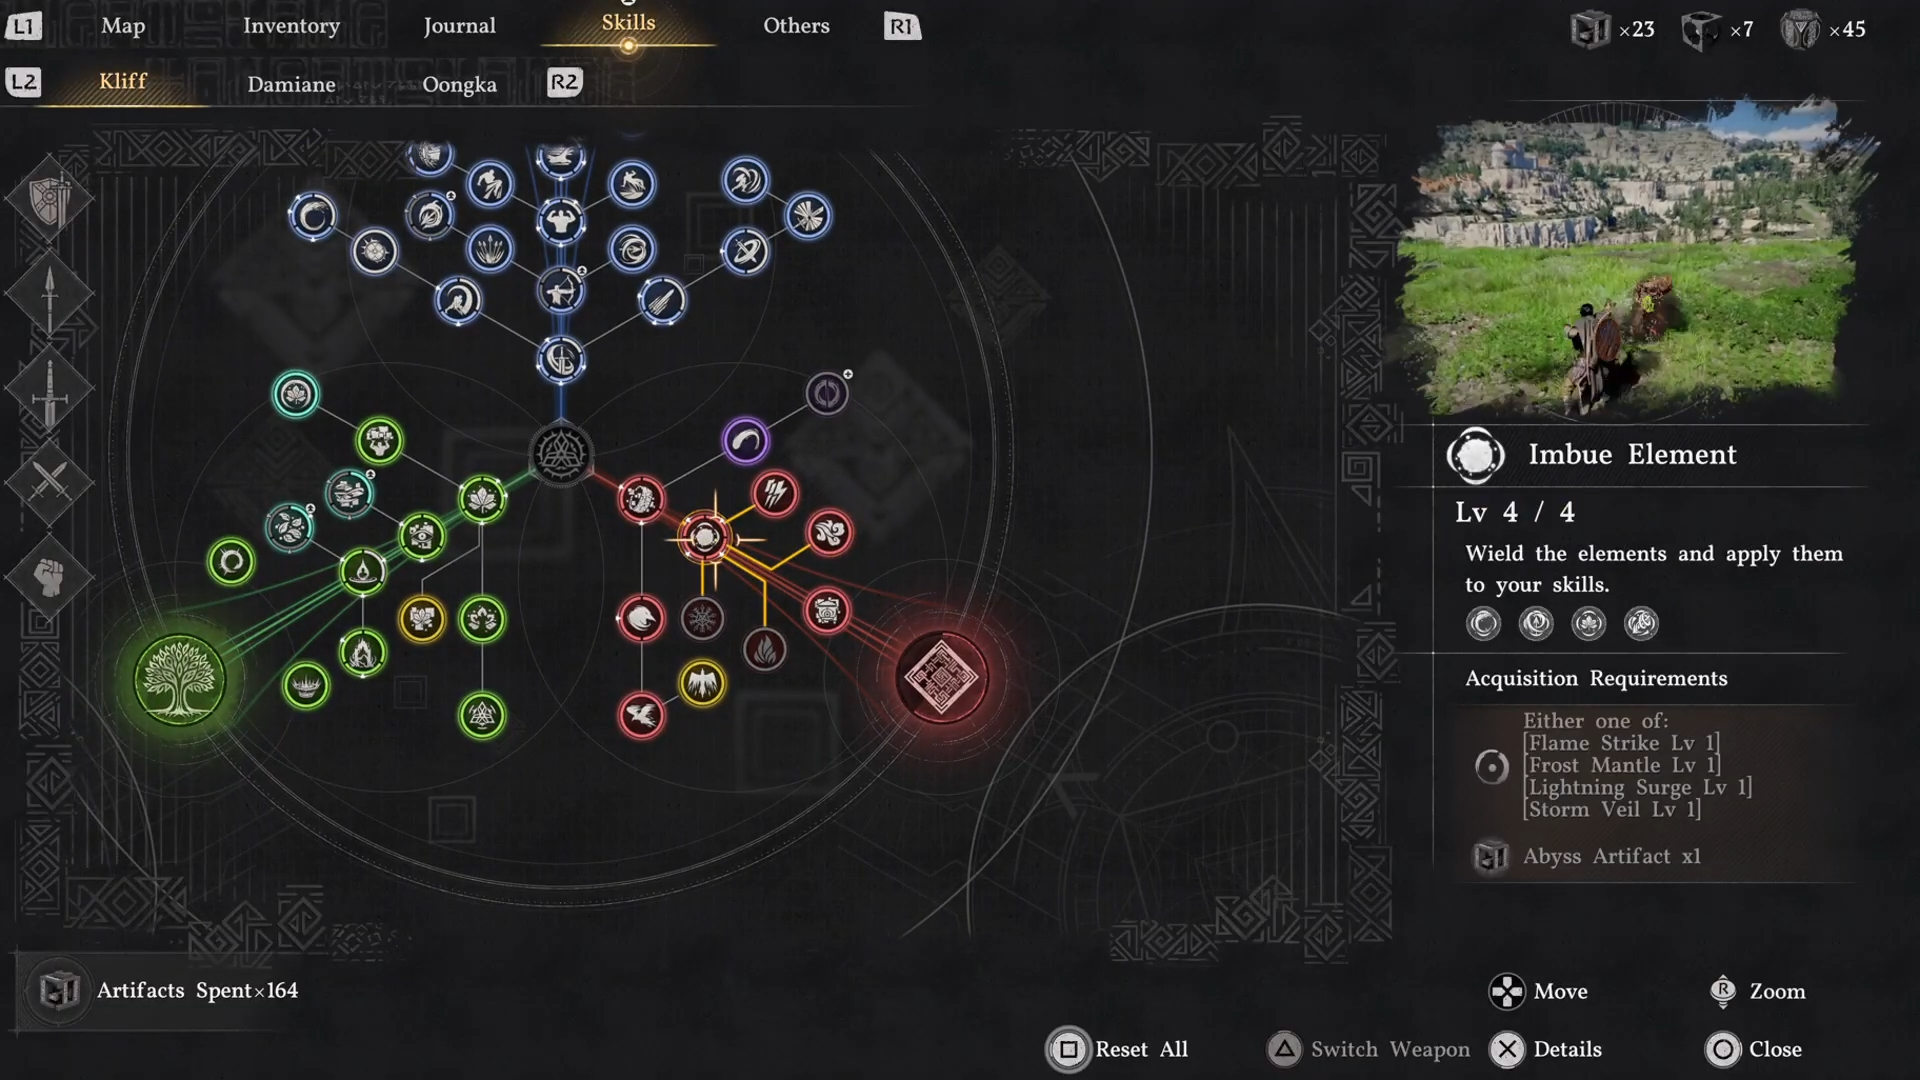
Pillar of Wind is at its most effective when supported by the broader Storm Veil / Wind‑element network. That web usually includes skills like short‑range wind‑cutting dashes, area‑wide smokescreen effects, and stagger‑inducing tornado bursts that complement the verticality of the Pillar.
By slotting the gear, you essentially turn the Wind element into a full‑spectral mobility suite: horizontal skirmishing tools from the skill tree, plus one or two dedicated vertical‑axis tools from Abyss gear. Enemies that rely on grounded‑only aggression or slower‑turning melee patterns will struggle to keep pace with this style, especially in layered or multi‑tiered arenas.
When not to rely on Pillar of Wind
Despite its utility, Pillar of Wind is most vulnerable in Spirit‑starved or high‑pressure scenarios. If you fire the burst mid‑fight without a clear follow‑up, you may end up exposed mid‑air, easy prey for anti‑air or ranged attacks. In tight corridors or enclosed temples, the vertical updraft can also be wasted because headroom is too low to fully exploit the jump height.
Additionally, against certain enemy types that track aerial movement aggressively or have built‑in anti‑gravity mechanics, the gear can pull you into, rather than out of, danger. In those cases, it is wiser to treat Pillar of Wind as an escape or reset tool used only under controlled conditions—such as when you have a clear line of sight to a safe landing or you know the enemy’s attack rhythm—rather than a default “always‑on” move.
Pillar of Wind testing: What to check in practice
Anyone testing Pillar of Wind in Crimson Desert should run a structured traversal and combat loop to validate its value.
Step 1: Test basic vertical yield in a safe zone
-
Find a tall, open cliff or ruin with multiple clearly marked tiers.
-
Use the wind‑burst once, then estimate the height gain compared to a standard Force Palm or jump‑dash.
-
Repeat several times, observing consistency of the updraft and whether Spirit cost scales with distance or just use‑count.
Step 2: Test repositioning in a controlled enemy fight
-
Enter a low‑to‑mid‑tier arena with a few patrolling enemies.
-
Trigger the burst to dodge a charged attack, then immediately follow up with a melee or aerial combo.
-
Note whether the Spirit drain leaves you defenseless for a few seconds or if you can recover quickly enough to chain again.
Step 3: Test combo‑potential with wind talents
-
Equip at least one wind‑buffing skill that adds knock‑back or small tornadoes.
-
Use the Pillar to jump up, then launch the wind skill as you land, checking how much stagger or knock‑down it adds.
-
Repeat with different combos to see which patterns feel most natural and efficient.
Step 4: Test limitations in tight and anti‑air spaces
-
Run the gear in a narrow corridor or a low‑ceiling hall; observe whether the burst sends you into the ceiling and wastes Spirit.
-
Face an enemy or zone that explicitly punishes aerial positioning (e.g., dropping traps or anti‑air projectiles) and see whether using Pillar of Wind feels risky versus rewarding.
Step 5: Evaluate long‑run Spirit economy
-
On a full‑region traversal route, consciously restrict use of Pillar of Wind to no more than once every 3–4 minutes.

-
Track how often you would have used it “spontaneously” versus how often you actually do use it under the constraint.
-
Decide whether the gear feels like a “must‑have” mobility anchor or a situational luxury you can occasionally skip.
For players who enjoy fast‑paced, aerial‑oriented combat or aggressive exploration, the gear can border on essential, letting you bypass entire chunks of terrain and re‑enter encounters from advantageous angles. For more grounded, tanky, or defensive players, it may remain a niche tool—useful in specific climbs or escapes but not central to day‑to‑day combat.


Leave a Reply