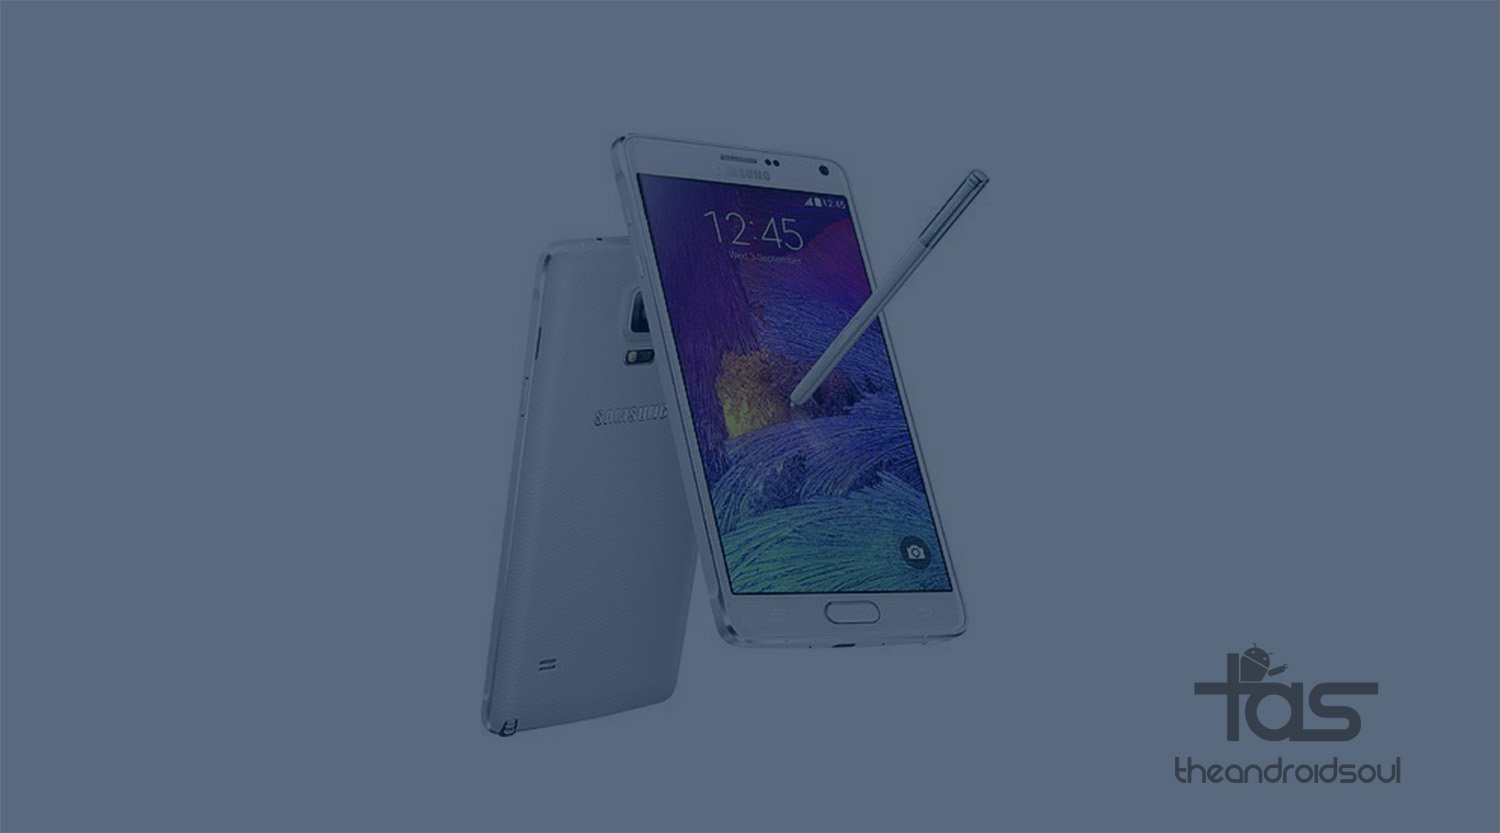
After a somewhat long wait since Android 5.1.1 was released for the Canadian Galaxy Note 4, model no. SM-N910W8, its root for 5.1.1 build OI4 is now finally available. We know many of you were eagerly waiting for it, so here it is.
Rooting Android 5.1.1 build N910W8VLU1COI4 isn’t that just flashing the SuperSU through recovery. You also need to have a custom kernel, whose permission is set as permissive, to root Oi4 build. We’ve provided one below, along with the SuperSU file.
You’ll need to flash both the custom kernel and SuperSU file, and once you hit the reboot system button, your device will boot up as rooted.
Downloads
- Custom kernel — Link | File: N910W8_COI4_Kernel_SelEnforceV0.1-Sef.zip (11.3 MB)
- SuperSU root package — Link | File: BETA-SuperSU-v2.52.zip (3.8 MB)
Supported devices
- Canada Galaxy Note 4, model no. SM-N910W8
- Don’t try this on any other device than the one having model no. specified above.
Use the Droid Info app, to determine the model no. of your Galaxy Note 4. If it is exactly the one specified above, then it should be compatible with the root method we have here.
Warning!
Warranty may be void of your device if you follow the procedures given on this page. You only are responsible for your device. We won’t be liable if any damage occurs to your device and/or its components.
Backup!
Backup important files stored on your device before proceeding with the steps below, so that in case something goes wrong you’ll have backup of all your important files.
How to Install
Required: You need to have TWRP recovery installed on your device to be able to root it. Check out our page on Galaxy Note 4 TWRP recovery for this.
Also make sure that you have updated your Galaxy Note 4 to Android 5.1.1 already, as this is only for Android 5.1.1. Your device’s build no. under Settings > About device, must be ending with OI4.
- Power off your device and wait for 5-10 seconds until the device is fully switched off.
- Press and hold Volume up + Home + Power button together and release them only when you see Samsung’s logo.
You will enter recovery mode soon, and should see TWRP recovery. If you see 3e recovery, then you need to install TWRP recovery for this (linked above).
That’s it.
Need help? Let us know if you need any help with this via comments below.
Via sefrcoko