Buy Tip Jar and Price Tags first for long-term earnings, then add Inventory Space and Selling Space once carrying items or shelf capacity becomes your main bottleneck.
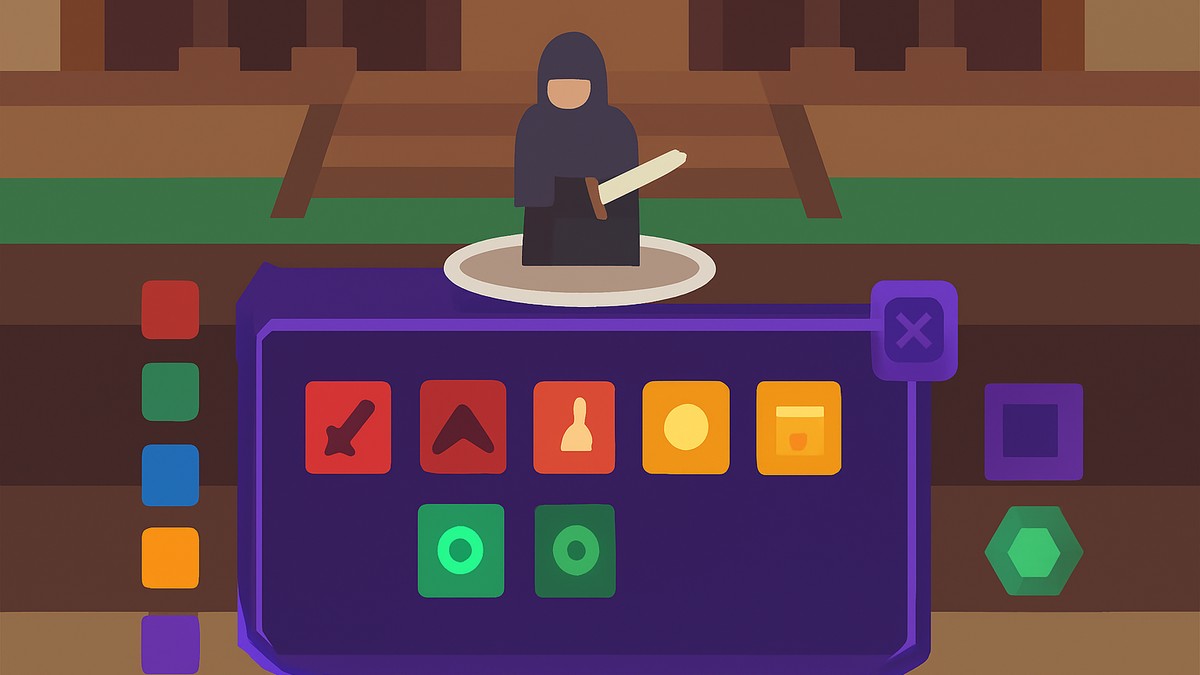
In Storage Hunters: Open World, the best shop upgrades are the ones that make every auction trip and every sale pay off harder. Open the shop upgrades menu from the upward arrow icon on the right side of the screen, then prioritize upgrades that improve income, selling flow, and capacity before spending on anything that only looks nice.
The default route is Tip Jar first, Price Tags second, then Inventory Space and Selling Space. The only real reason to change that order early is if your bag or shelves are already stopping you from moving items efficiently.
Best first shop upgrade order
| Priority | Upgrade | Buy it when | Why it matters |
|---|---|---|---|
| 1 | Tip Jar | You are selling items regularly. | Adds more chances at Diamond tips over time. |
| 2 | Price Tags | You want better customer offers from normal sales. | Starts negotiations closer to fair value. |
| 3 | Inventory Space | Your bag keeps filling during auction runs. | Lets you carry more items before returning to organize or sell. |
| 4 | Selling Space | Your shelves are always full. | Adds more display room so more items can sell at once. |
| 5 | Advertising | You have $3,000 net worth. | Makes customer offers arrive faster. |
| 6 | Storage Box Space | You have $65,000 net worth. | Gives more room to hold valuable items for later. |
| Late game | Plot Capacity | You have $100,000 net worth. | Adds major item capacity for a larger shop setup. |
Start with upgrades that work across many normal sales. Tip Jar can return more upgrade currency over time, while Price Tags improves the opening point of customer negotiations, so both help without changing how you play.
Buy Tip Jar and Price Tags first unless your bag or shelves are blocking sales; then fix that bottleneck before chasing later bonuses.
Tip Jar is the strongest long-term first buy because it increases the chance of customers leaving Diamond tips by 2% per level. Since Diamonds are tied to further upgrading, this can slowly pay you back while you keep doing the normal loop of buying lockers, bringing items home, and selling them.
Price Tags is the other early upgrade that scales well because it makes customers start negotiations 5% closer to the item’s fair value per level. Better first offers mean less money left on the table, especially when you are selling a lot of small and mid-value finds.
The strength of both upgrades is that they do not need a special farming route. Once bought, they keep working in the background across regular customers, which is exactly what you want early while your shop is still building momentum.
When capacity should come first
If you are constantly walking back from auctions because your bag is full, Inventory Space can be the better immediate buy even before the income upgrades. Each level adds 5 inventory slots, which means longer auction runs and fewer wasted trips between lockers and your shop.
If your issue is not carrying items but selling them, move Selling Space up the order. It adds 2 display shelves per level, giving you more room to place items in your shop at once instead of leaving valuable finds stuck in storage or your inventory.
Mid-game upgrades to save for
| Upgrade | Unlock requirement | Effect | Best use |
|---|---|---|---|
| Advertising | $3,000 net worth | Customers offer 10% faster per level. | Use it when waiting on offers is slowing sales. |
| Trophy Capacity | $5,000 net worth | Gives more trophy slots. | Use it once trophies are part of your auction setup. |
| Storage Box Space | $65,000 net worth | Gives more storage box slots. | Use it to hold valuable items instead of selling too early. |
| Plot Capacity | $100,000 net worth | Adds space for 100 more items per level. | Use it for a larger late-game shop with much more stock. |
Once the early income and capacity upgrades are handled, start saving for unlock-based shop upgrades. These are not first buys, but they become much more attractive once your shop has enough volume for speed, storage, and plot size to matter.
Advertising is the first of these that most players will feel because faster offers make your shelves cycle sooner. Storage Box Space is more about control, letting you keep valuable items for later instead of dumping them just to clear space.
Plot Capacity is the big late-game upgrade. It unlocks at $100,000 net worth, and because each level adds room for 100 more items, it becomes one of the best upgrades once your shop is large enough to use that space.
Upgrade mistakes that slow income
The most common mistake is buying random bonuses before fixing the bottleneck in front of you. If your bag is always full, buy Inventory Space; if shelves are packed, buy Selling Space; if sales are flowing, go back to Tip Jar and Price Tags.
Shop placement and shelf layout also matter. Keep your shop near your auction zone, avoid wasting time on long walks, and keep shelves grouped and organized so your selling area does not become the slowdown.
Progression systems beside shop upgrades
Luck Boosts, achievements, and accessories sit next to the shop-upgrade route because they improve your chances of finding mutated items, which can sell for more than normal finds. Gavel Trophies also fit this lane: they are placeable before an auction, can stack, and increase the chance that items in the upcoming locker roll with mutations.
Assistant Upgrades, the Assistant’s 15% Auto Accept setup, and Decor Bonuses can all help your wider money-making loop, but they should not distract from the first shop buys. Get your passive earnings and capacity stable before spreading upgrade currency into side systems.
Lost Items and the Time Capsule are worth keeping on your radar too. The Time Capsule unlocks at $100,000 net worth behind the Shopping Mall and lets you apply mutations to specific items, making it a strong progression target after your core shop upgrades are already doing their job.
Frequently Asked Questions
Should I buy Inventory Space before Tip Jar?
Yes, if your bag is constantly full and that is slowing every auction run. The default first buy is still Tip Jar for long-term Diamond tips, but Inventory Space adds 5 slots per level, so it can be the better immediate upgrade when carrying capacity is your main problem.
What does Price Tags do in Storage Hunters?
Price Tags makes customers start negotiations 5% closer to the item’s fair value per level. That means better opening offers and more money from normal sales without needing a special setup.
When does Advertising unlock?
Advertising unlocks after $3,000 net worth. Each level makes customers offer 10% faster, which helps when your shelves are stocked but you are waiting too long for buyers.
Is Plot Capacity worth buying?
Yes, but it is a late-game upgrade. Plot Capacity unlocks at $100,000 net worth and adds space for 100 more items per level, so it becomes valuable once your shop is large enough to need that much extra room.
Are there working codes for free upgrade currency?
No. As of July 1, 2026, there are no working Storage Hunters: Open World codes or in-game code redemption feature for free cash, Diamonds, or upgrade currency.
Video help