What to know
- Canva offers a Beat Sync feature that allows users to sync audio to videos automatically by detecting markers in the audio waveform.
- To use Beat Sync, go to Canva.com > create a video template > Uploads > upload your video > + icon > drop your audio file > select the audio clip > Beat Sync > turn on Display beat markers > enable Sync now.
- You can check out the guide below to learn more.
Canva allows you to sync your audio to your video automatically, thanks to the Beat Sync feature. Beat Sync automatically identifies major markers in your audio waveform. These markers are then synced to major highlights in your video for maximum immersion.
In this post, we’ll explain how you can use the Beat Sync feature inside Canva on PC and phone.
Requirements
You will need a few things before using Beat Sync in Canva. Once you fulfill these requirements, you can use the next section to use Beat Sync in Canva.
- A Canva account
- Premium subscription for Canva Teams or Canva Pro (for using auto-sync)
How to use Beat Sync on Canva on PC
You can use Beat Sync in Canva from the new dedicated section in the web app. First, you must create your project and arrange your audio and video clips in the desired order. You can then use Beat Sync and subsequently finalize and download your video. Follow the steps below to help you along with the process.
Step 1: Create your project
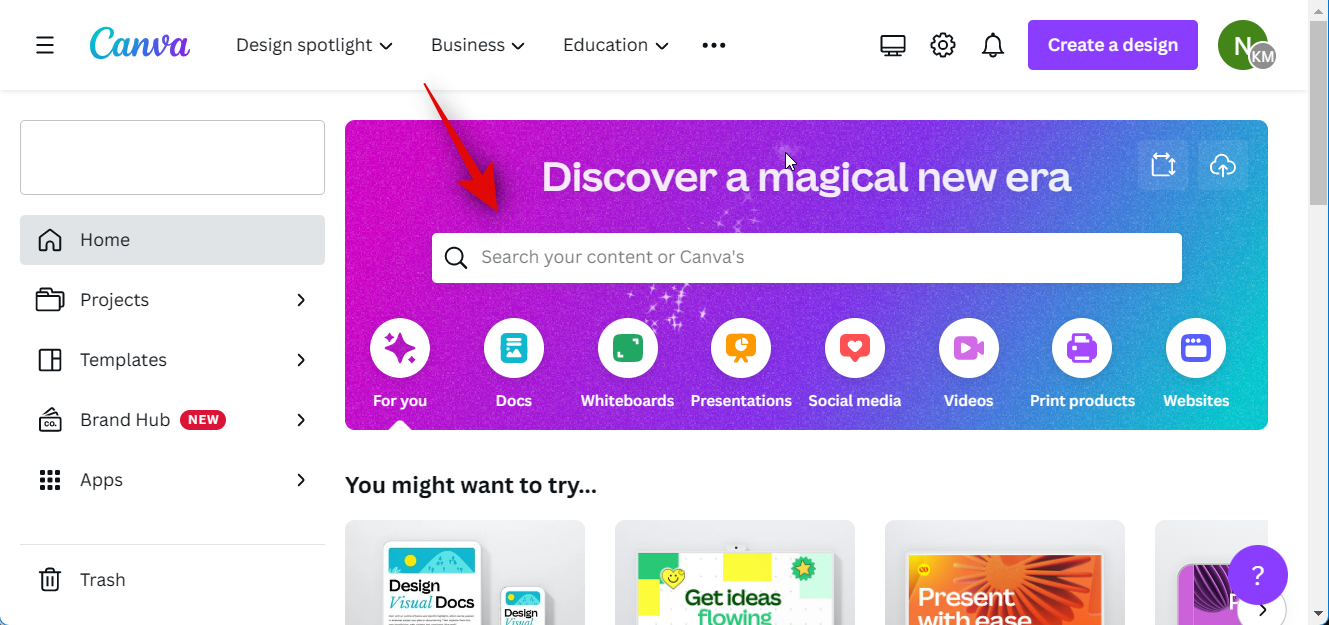
- Open Canva.com in your browser and log into your account if needed. Now click the search bar at the top and search for your preferred template for the current project.
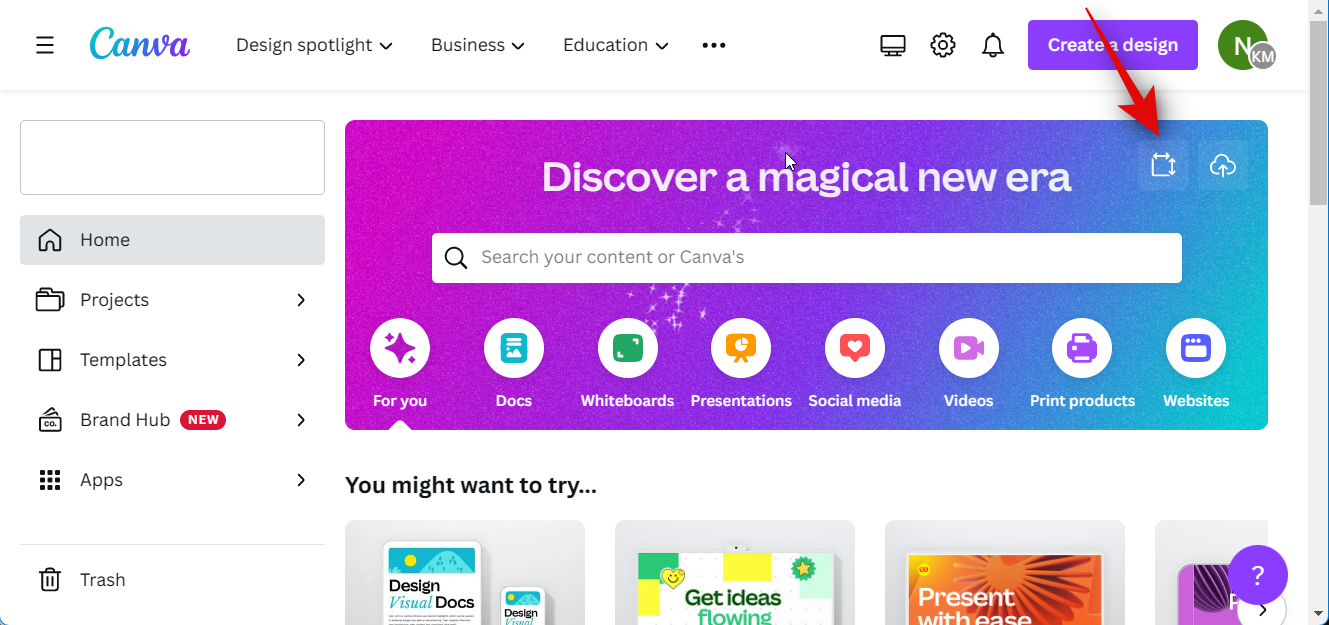
- You can also click Custom size to create a base canvas manually based on your current requirements.
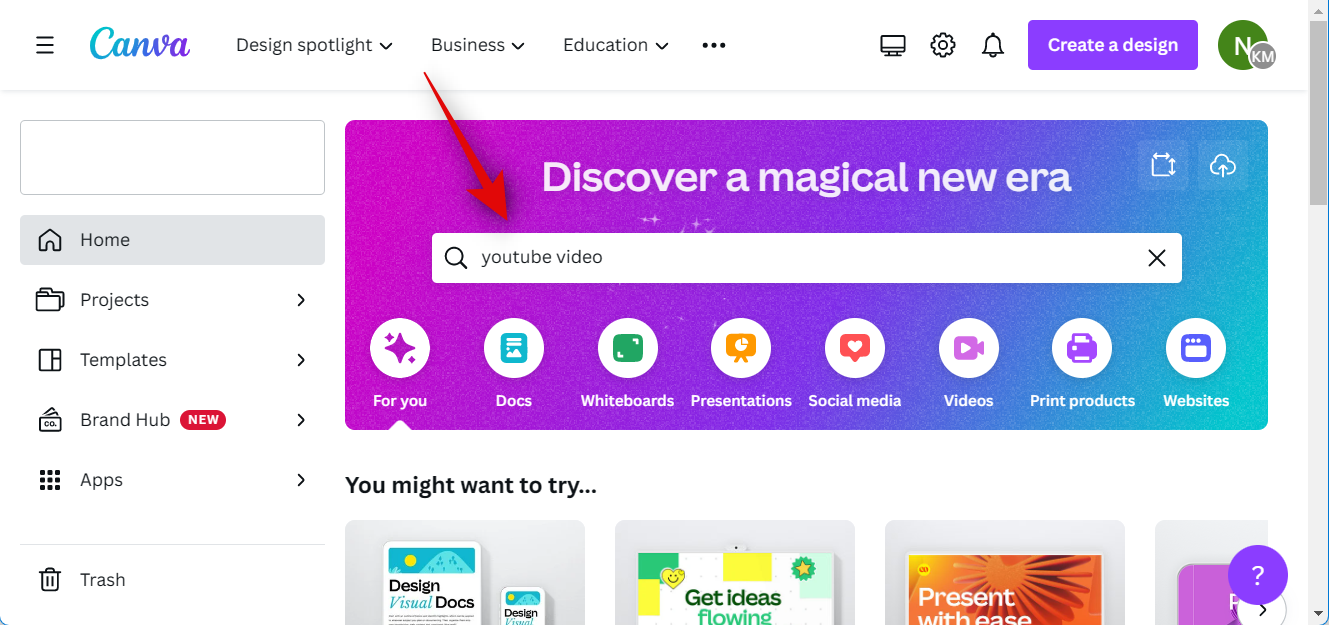
- Let’s create a YouTube video for this example. We will search for YouTube videos to view all available templates.
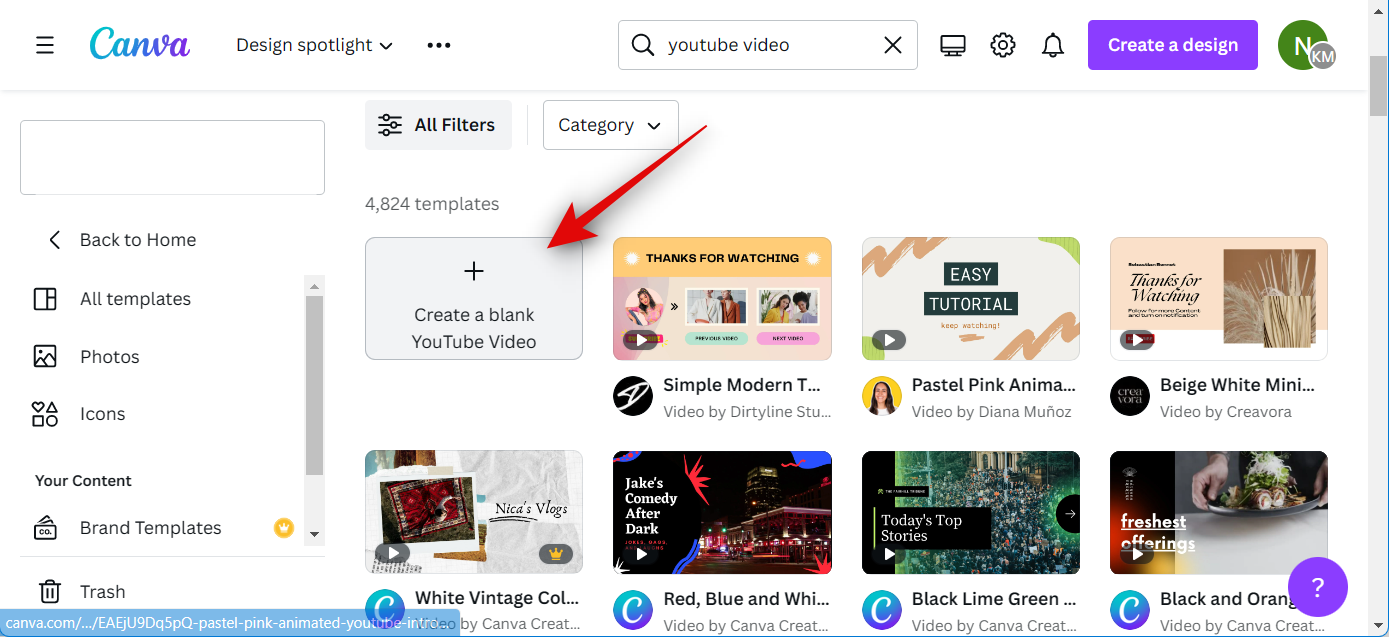
- Click and select a template you like. Let’s create a blank video for this example. Click Create a blank YouTube Video.
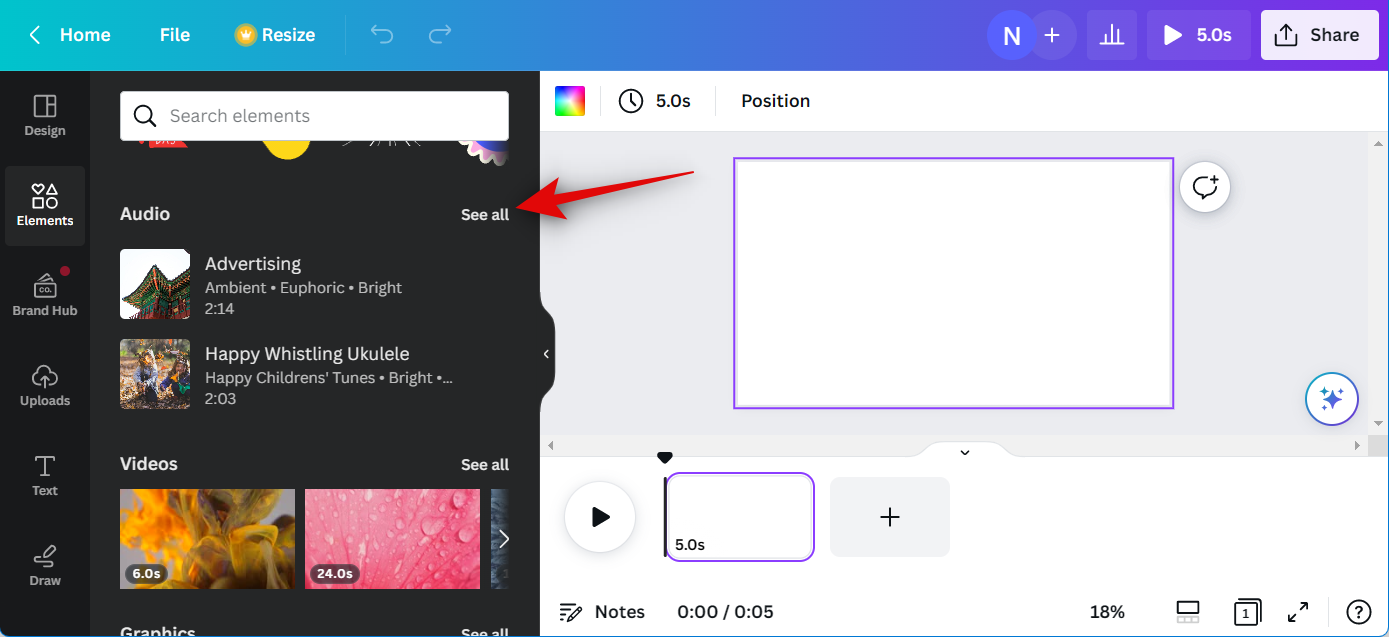
- Now add the necessary video and audio clips to your new project. If you wish to add stock videos and audio clips offered by Canva, then you can click Elements in the left sidebar and select the preferred video and audio under the dedicated categories.
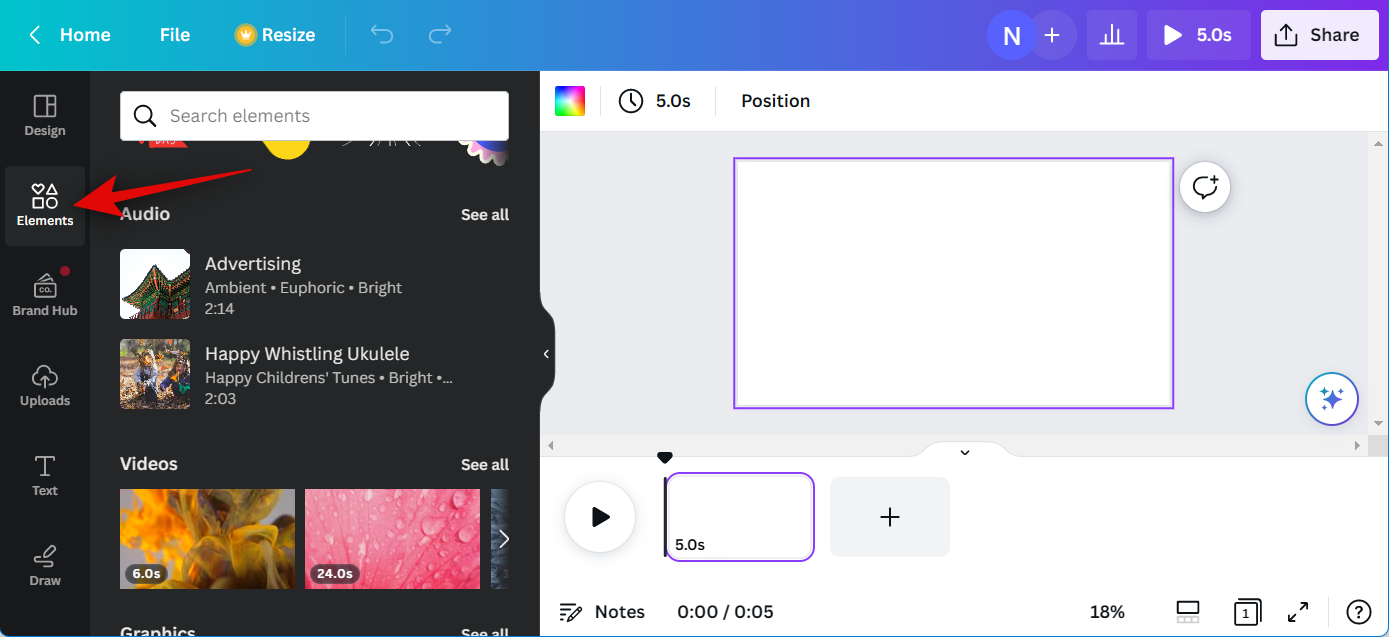
- You can click See all to view all available choices.
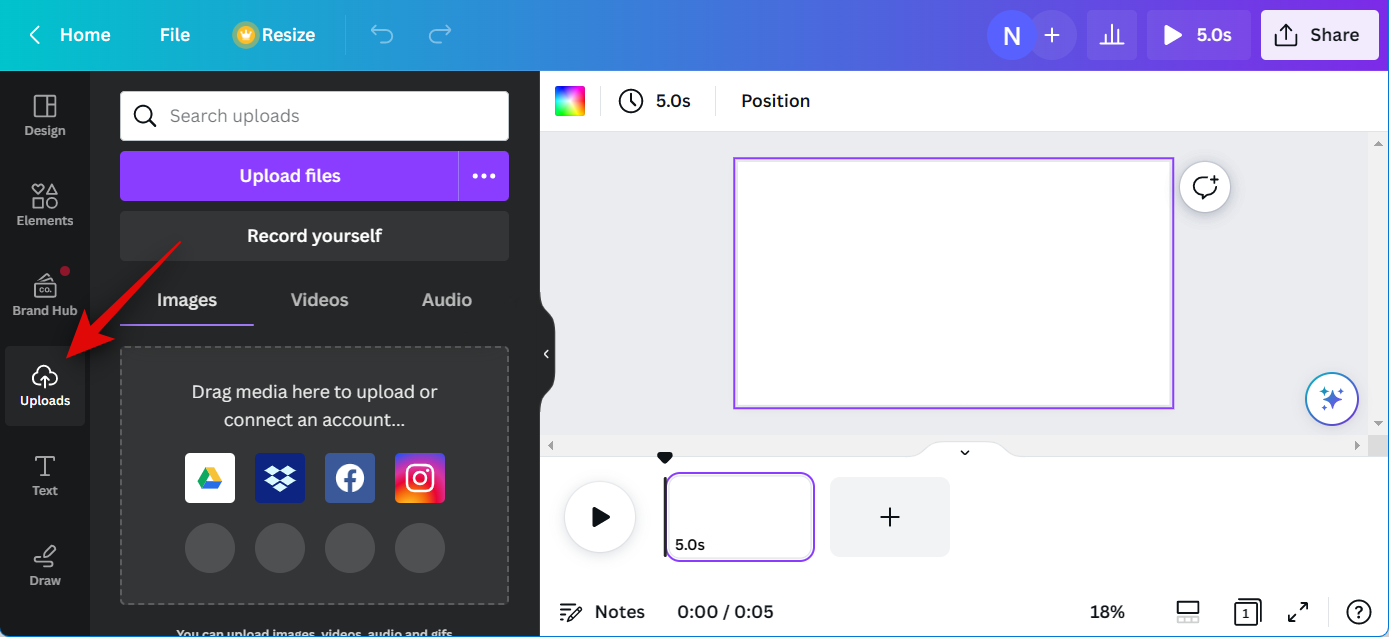
- If you wish to add video and audio clips from your PC, click Uploads instead.
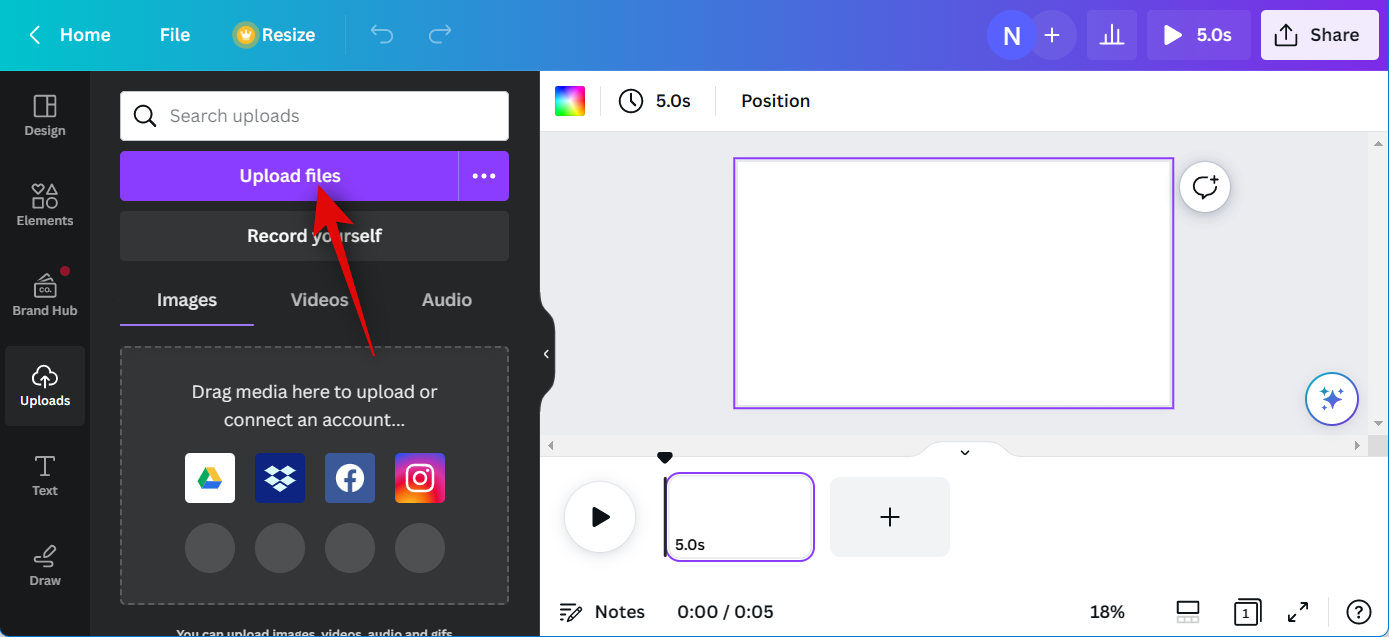
- Click Upload files and select the necessary audio and video clips from your PC.
- Now click and drag the first video clip to your base canvas to add it to your project.
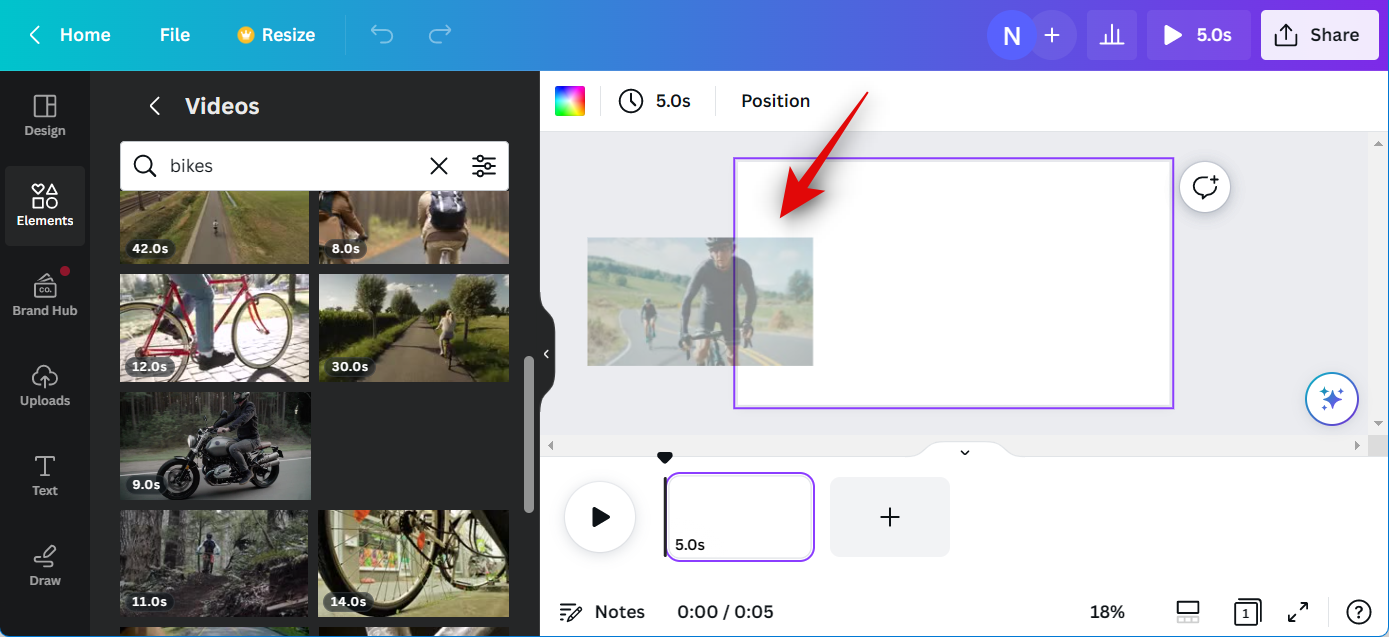
- Click the + icon in your timeline and add more videos as needed to your project. Repeat the steps above to create a rough timeline for your video project. Similarly, drag and drop your audio clips in your timeline under the videos you wish to sync them to.
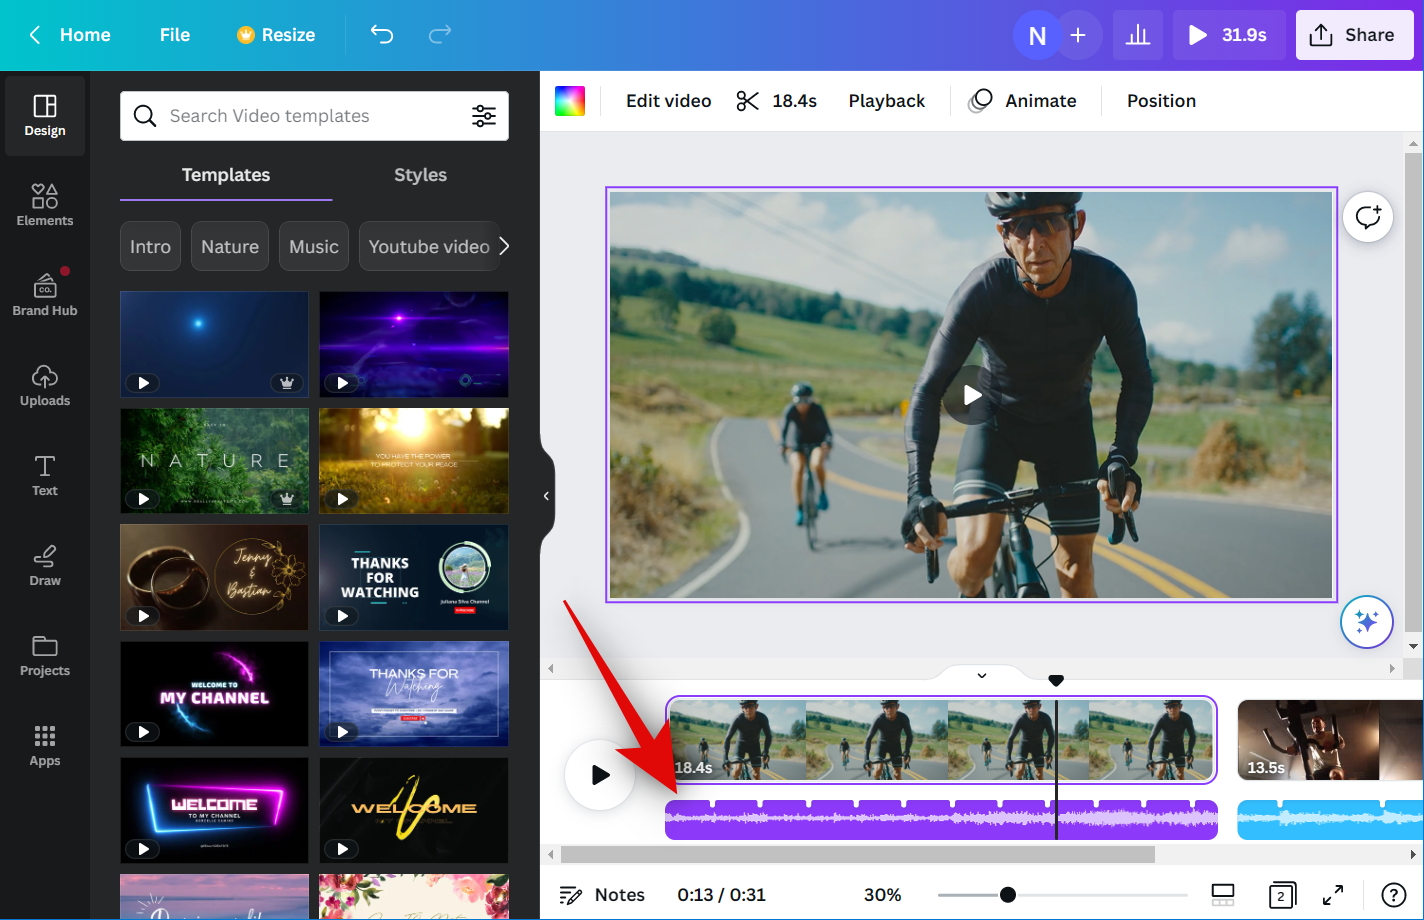
- Repeat the steps above to add all the necessary audio clips to your timeline. You can now click and drag video and audio clips to adjust them in your timeline as needed to fit your requirements.
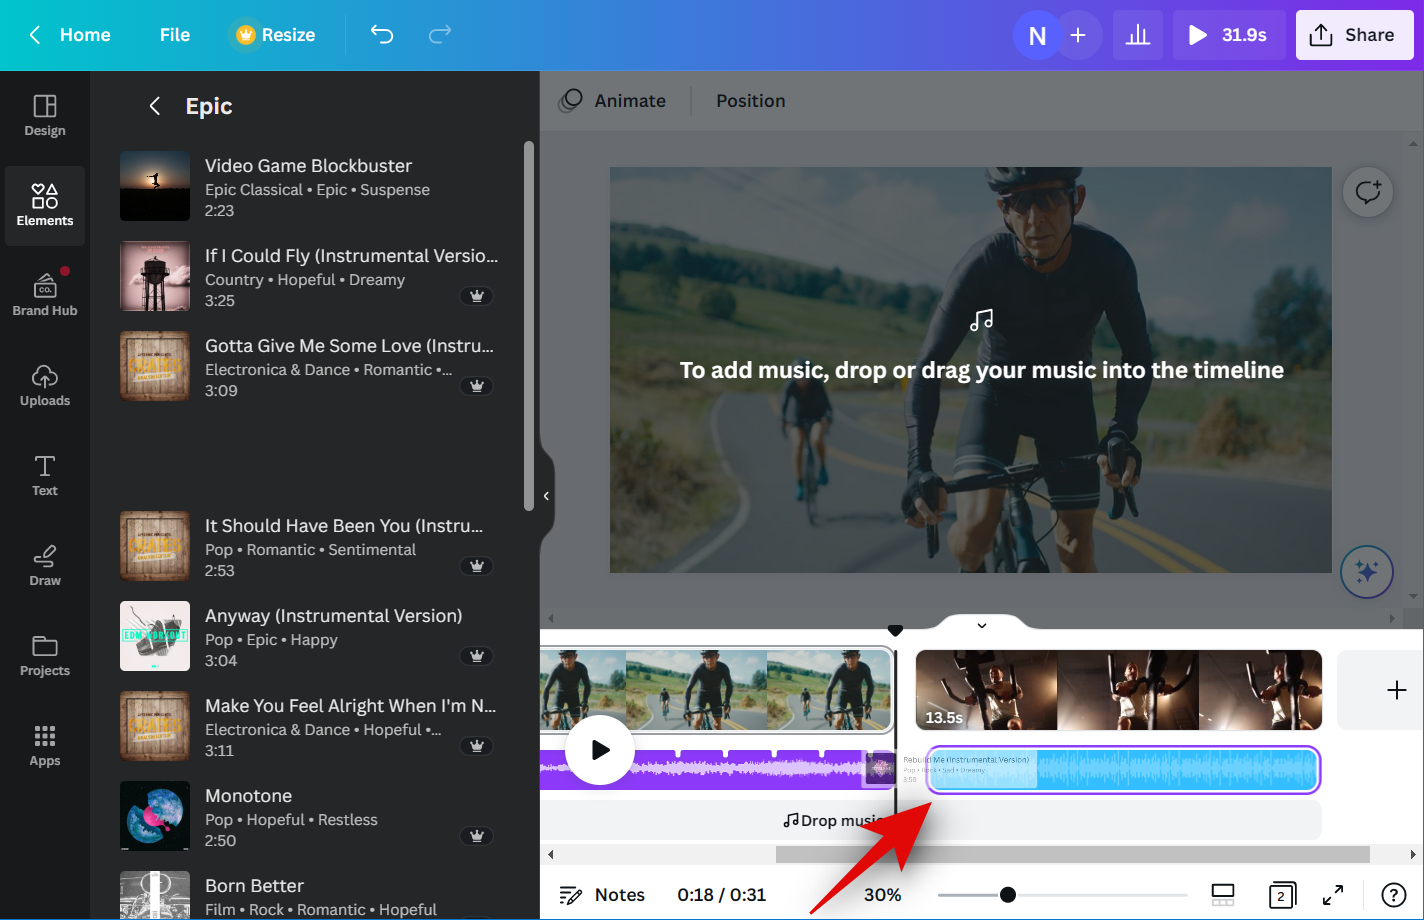
- You can also double-click and drag the middle of an audio clip to adjust the portion being played in your project.
- You can also click and drag either end to adjust its length.
- Finally, adjust and edit your video and audio clips to apply effects, crop, trim, and adjust them as needed using the toolbar at the top.

Now that your project is ready, we can now use Beat Sync. Use the next step to sync your audio and video clips automatically.
Related: How to Create a Brand Kit in Canva
Step 2: Use Beat Sync
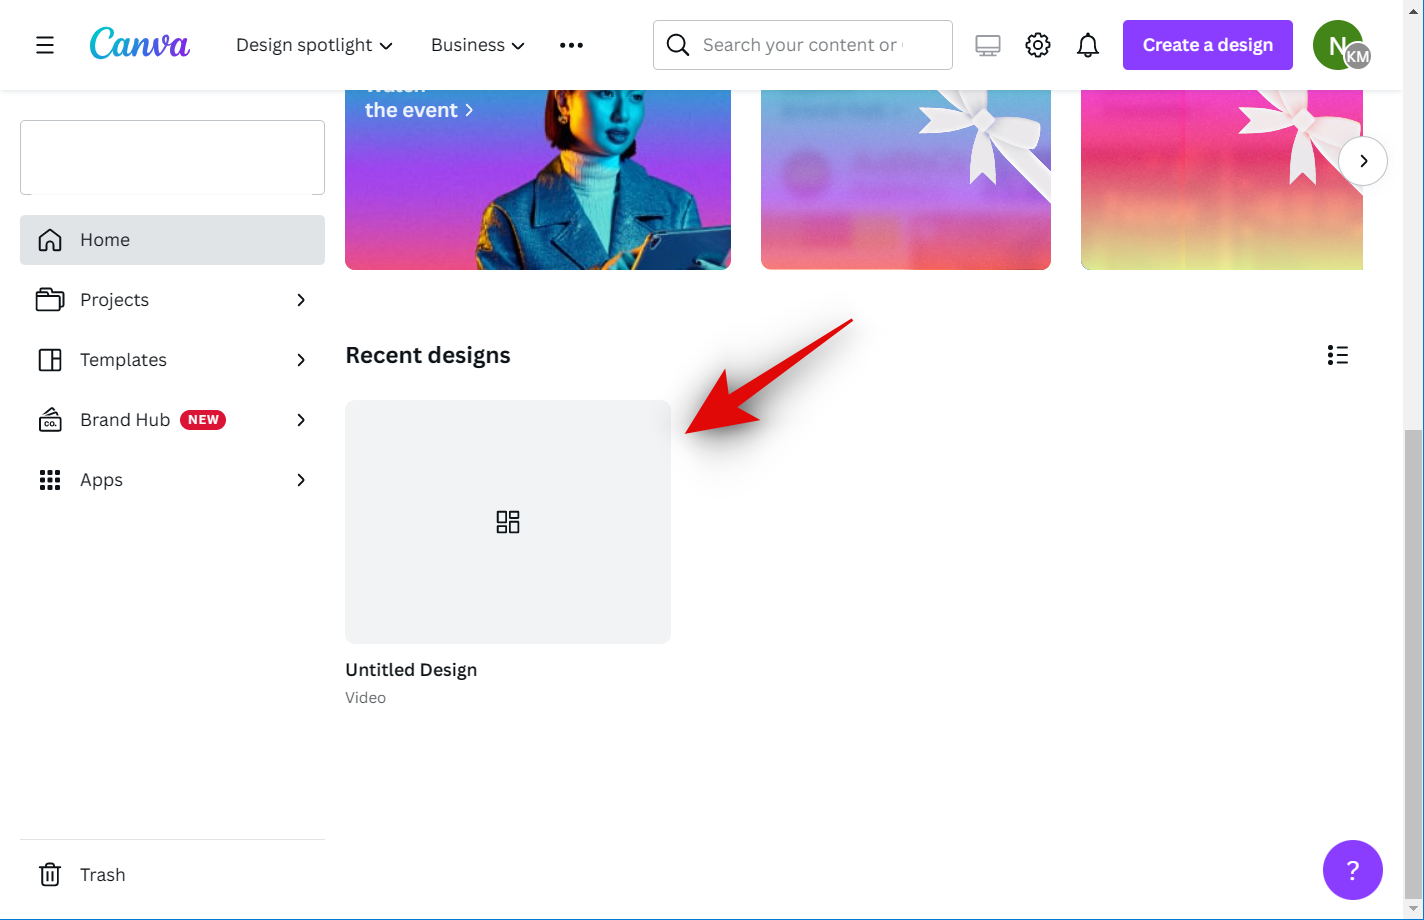
- Open Canva.com and log into your account if needed. Now click and open the project where you wish to use Beat Sync.
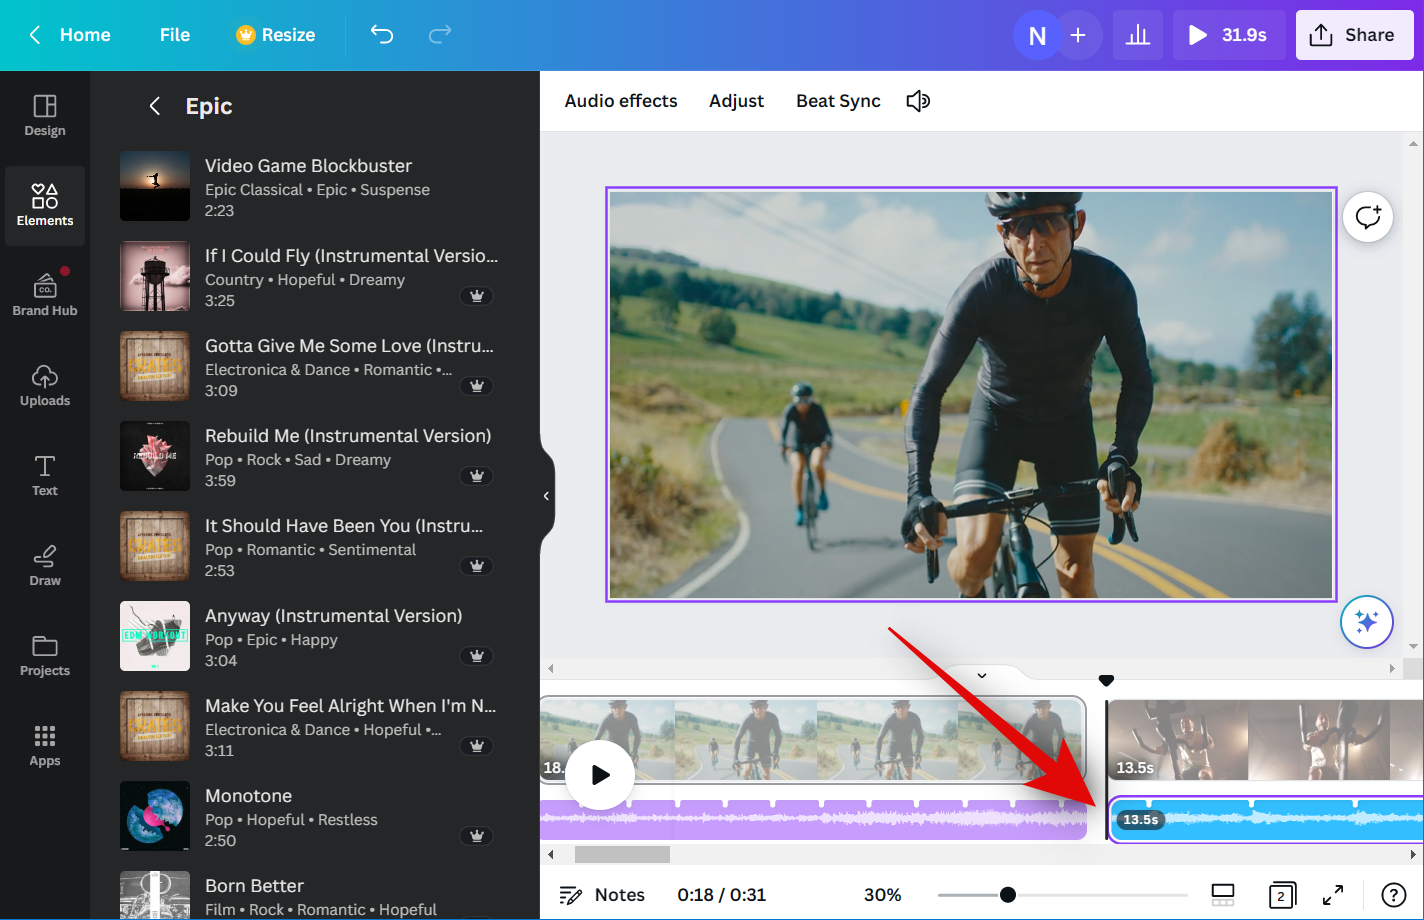
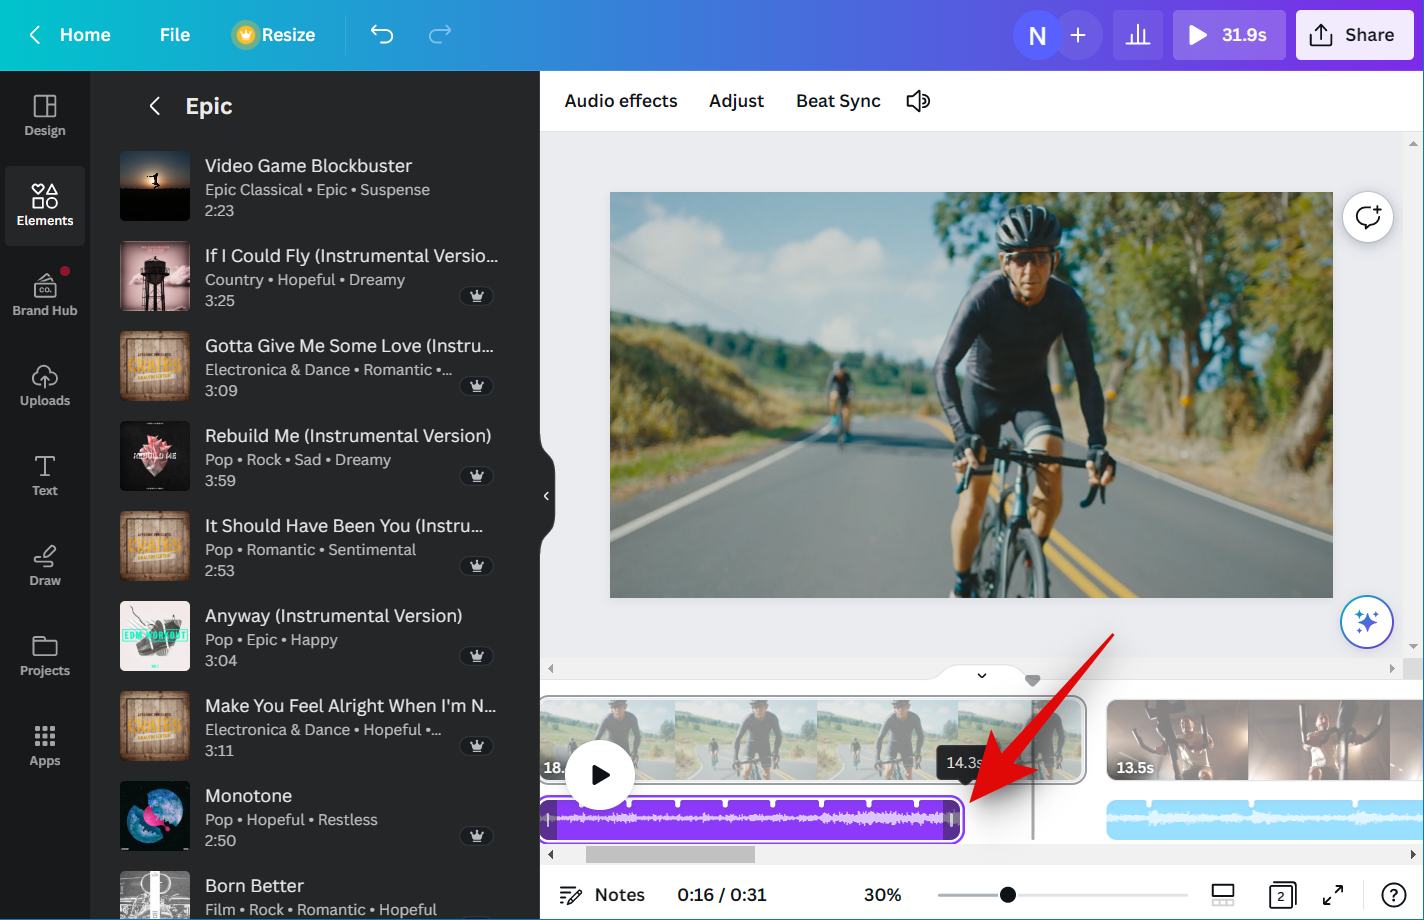
- Once the project is open, click and select an audio clip in your timeline.
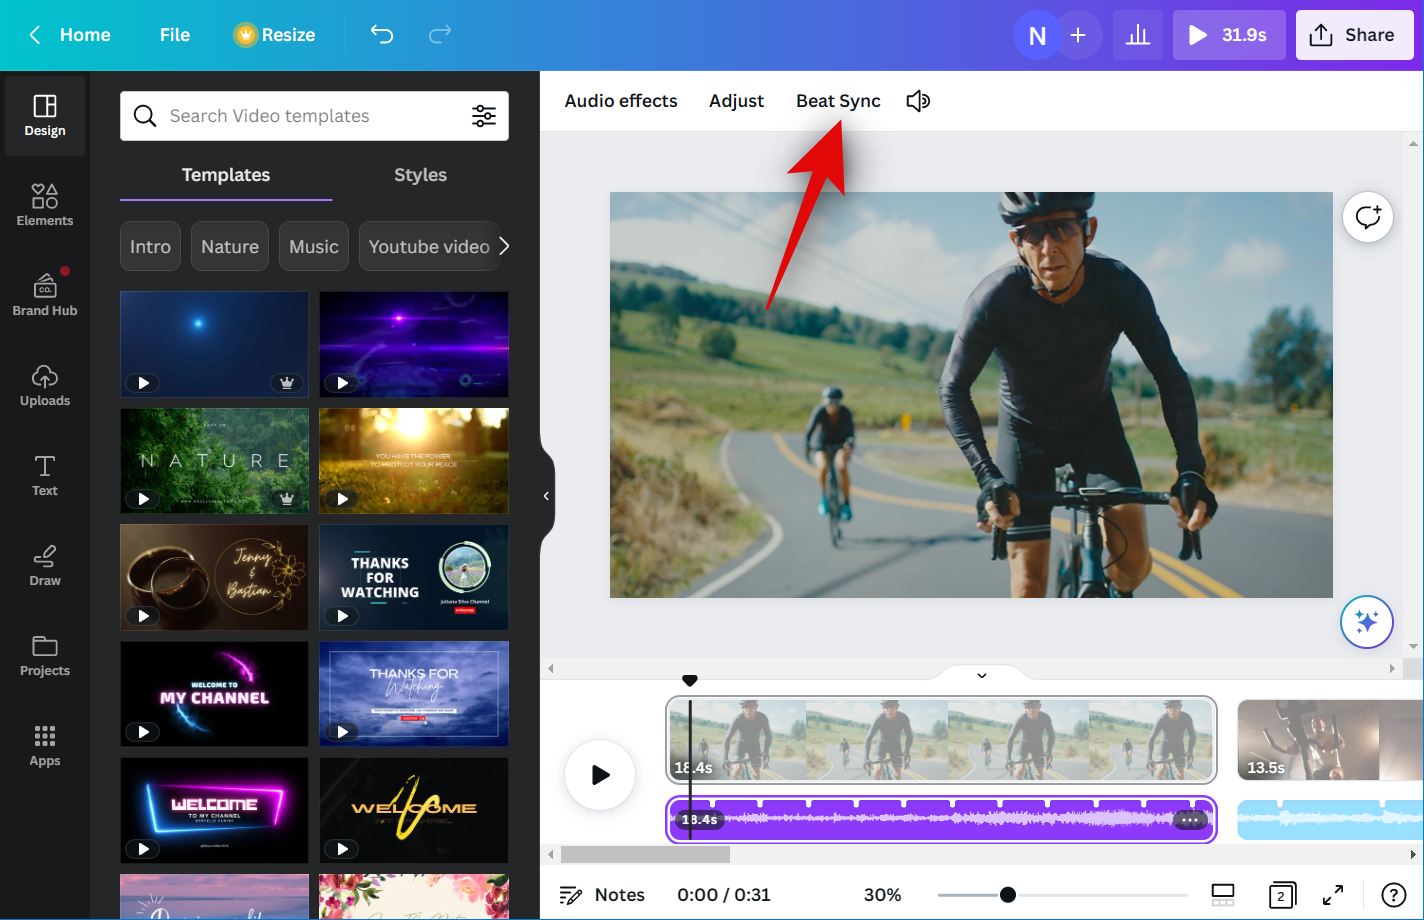
- Now click Beat Sync in the toolbar at the top.
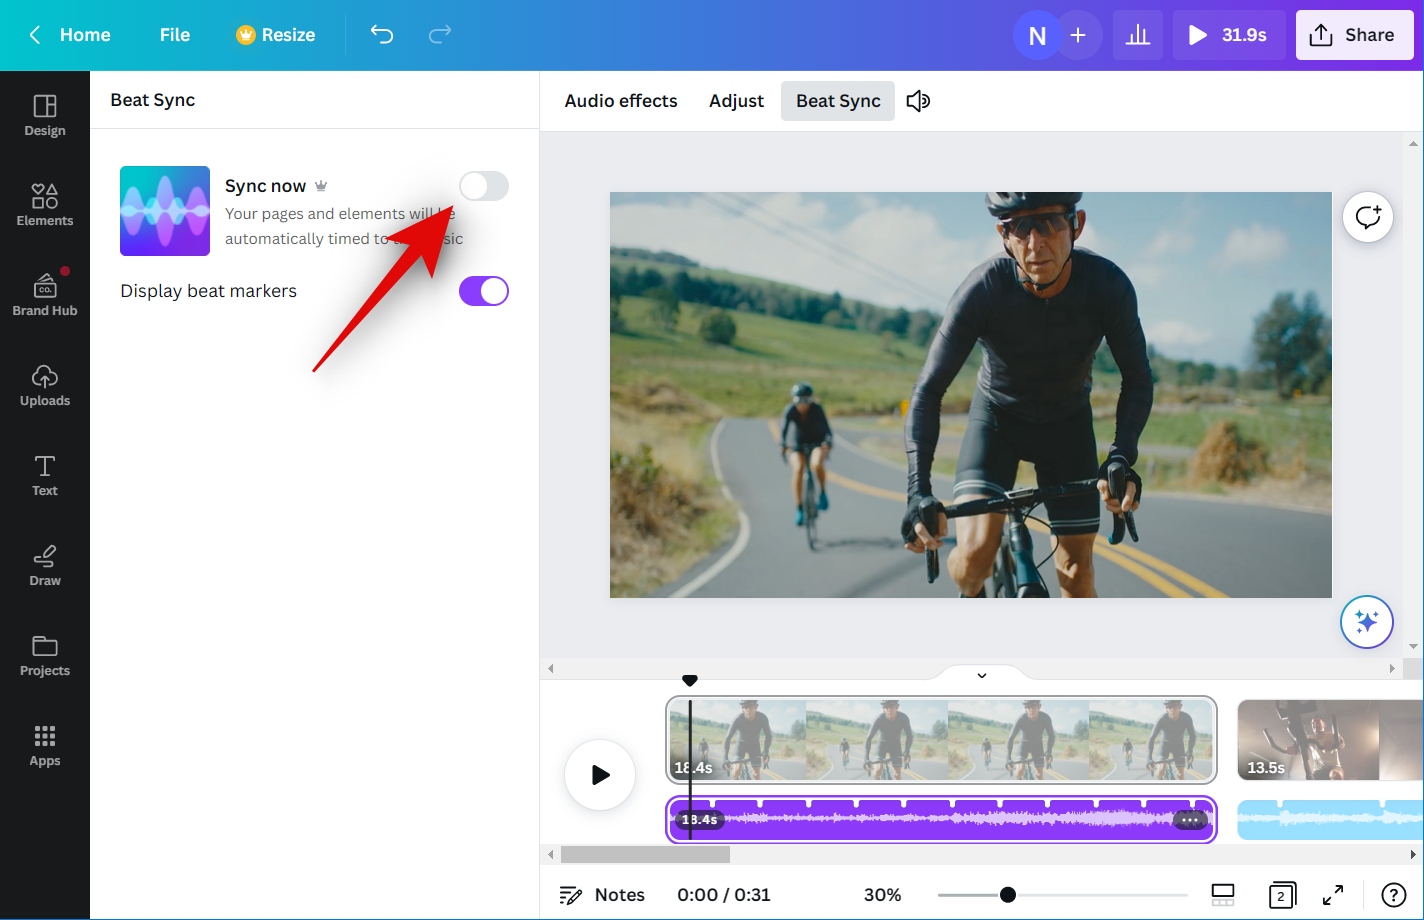
- Click and enable the toggle for Display beat markers. This will allow you to view the points in the audio that will be synced with your video for maximum immersion.
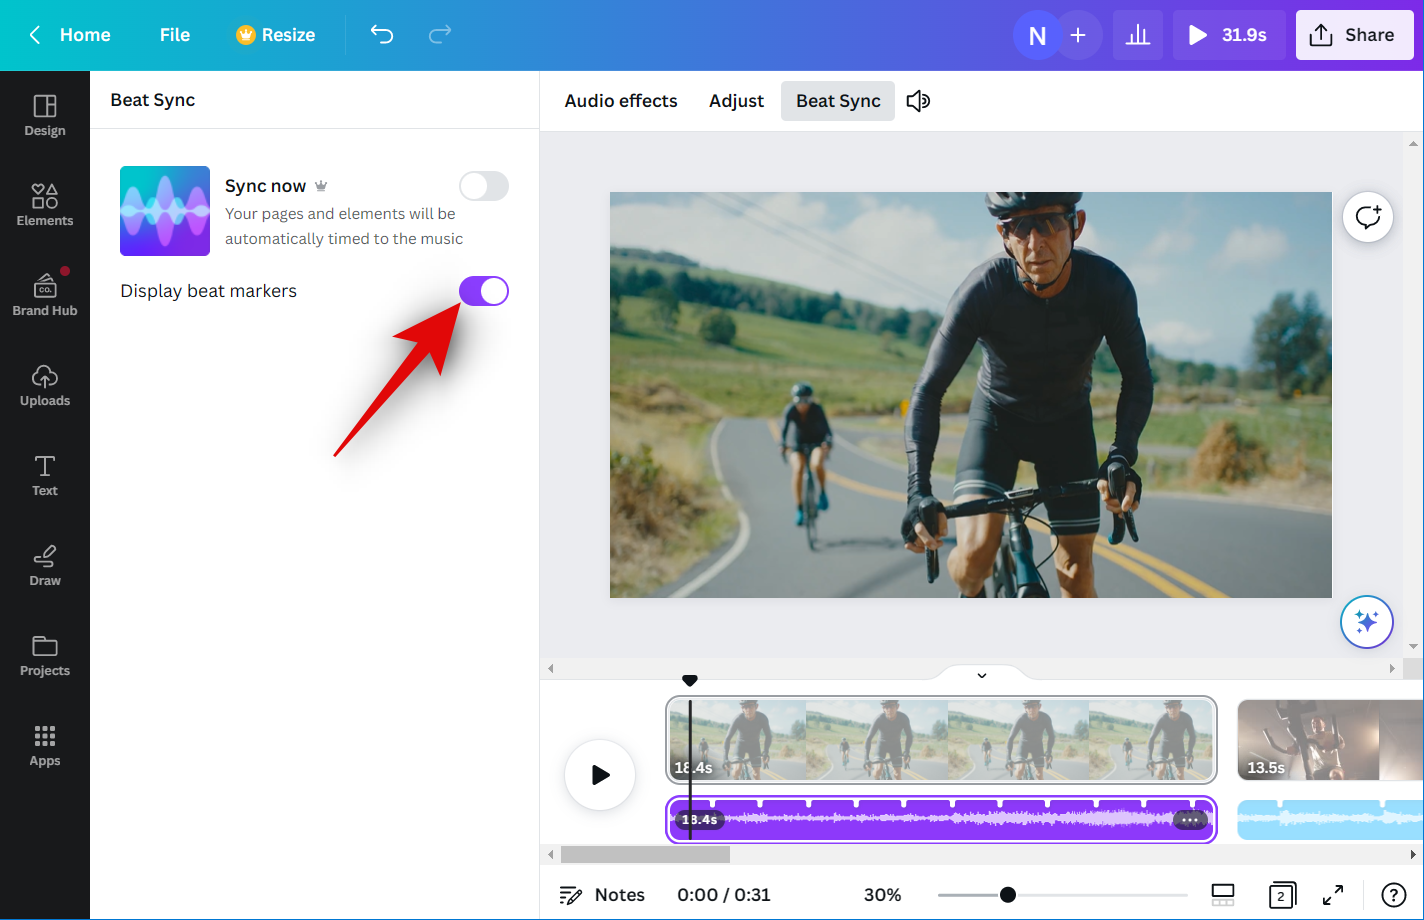
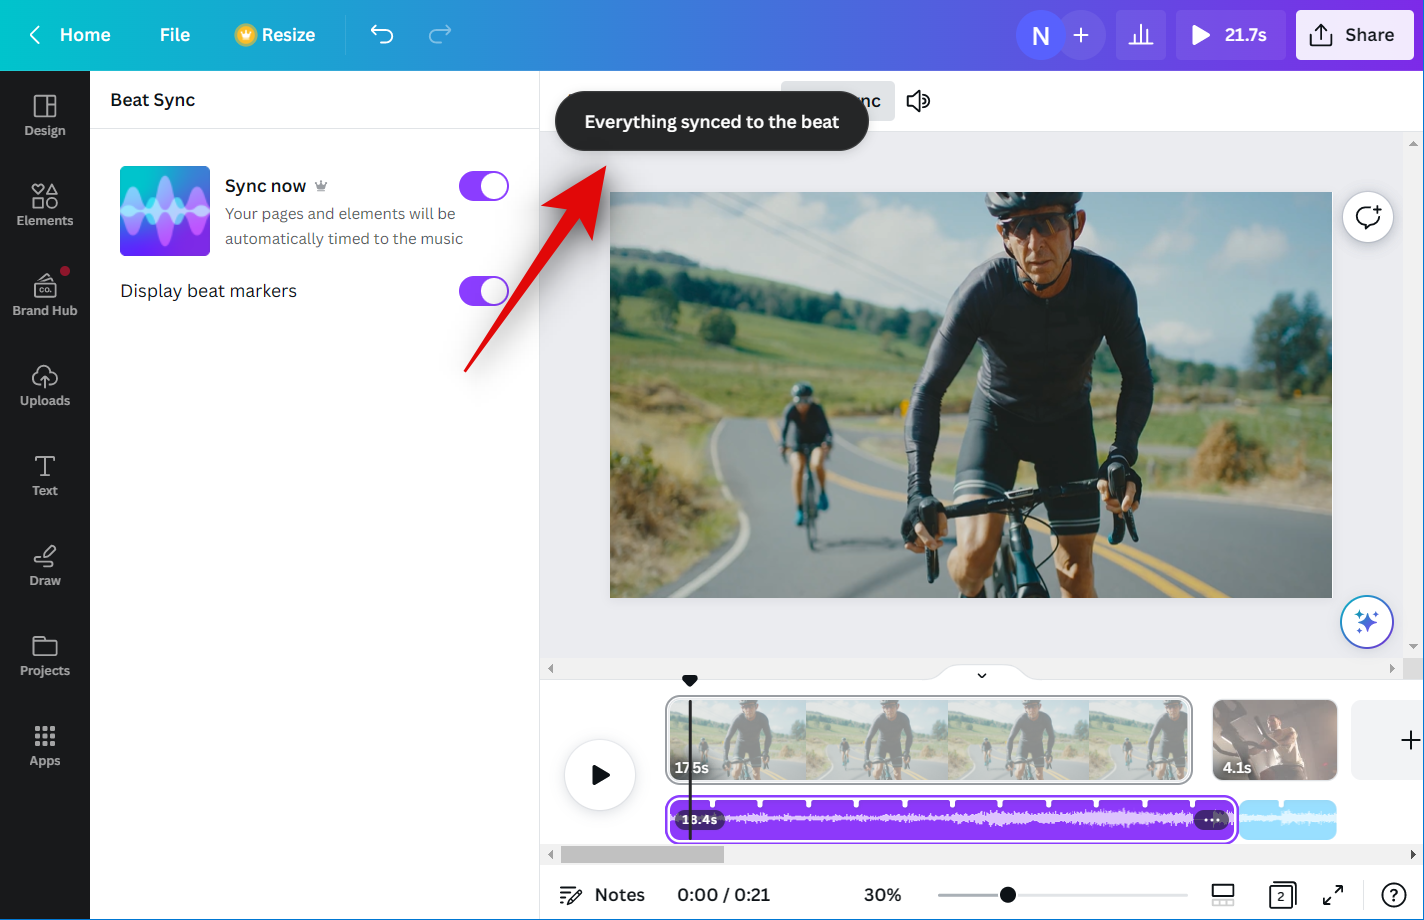
- Click and enable the toggle for Sync now.
- Your audio clips will now be synced to your video clips.
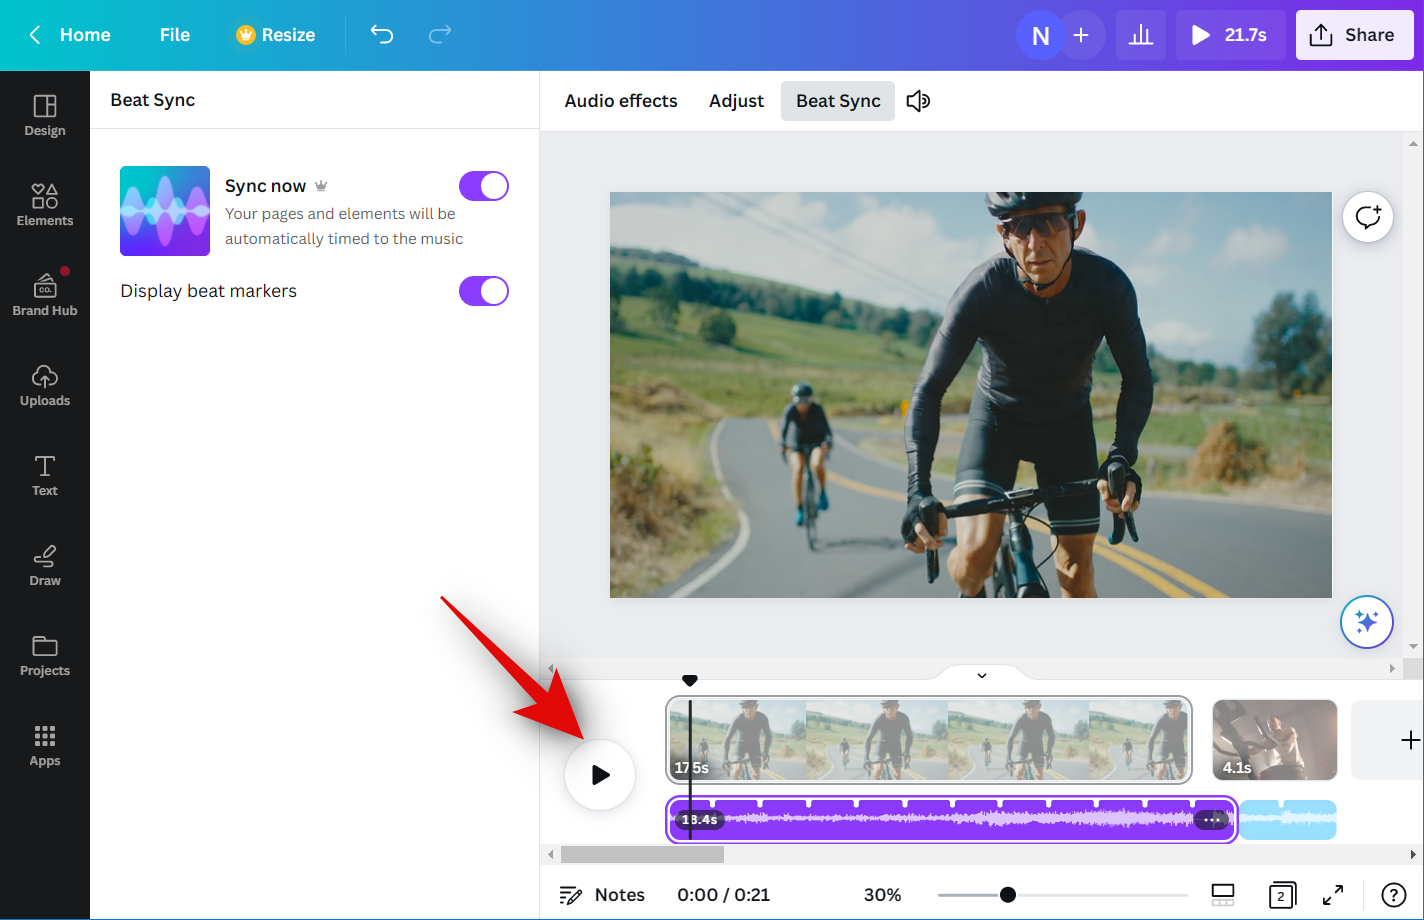
- This option will apply to all audio and video clips in your project if you have multiple added to your timeline. You can now click the Play icon to view a preview of the final video.
If you’re happy with everything, you can use the next step to finalize the necessary changes and download the video to your PC.
Related: How to Group Elements on Canva
Step 3: Finalize and download your video
- Open Canva.com and open the project where you have used Beat Sync.
- Press the Play icon at the bottom to preview your video.
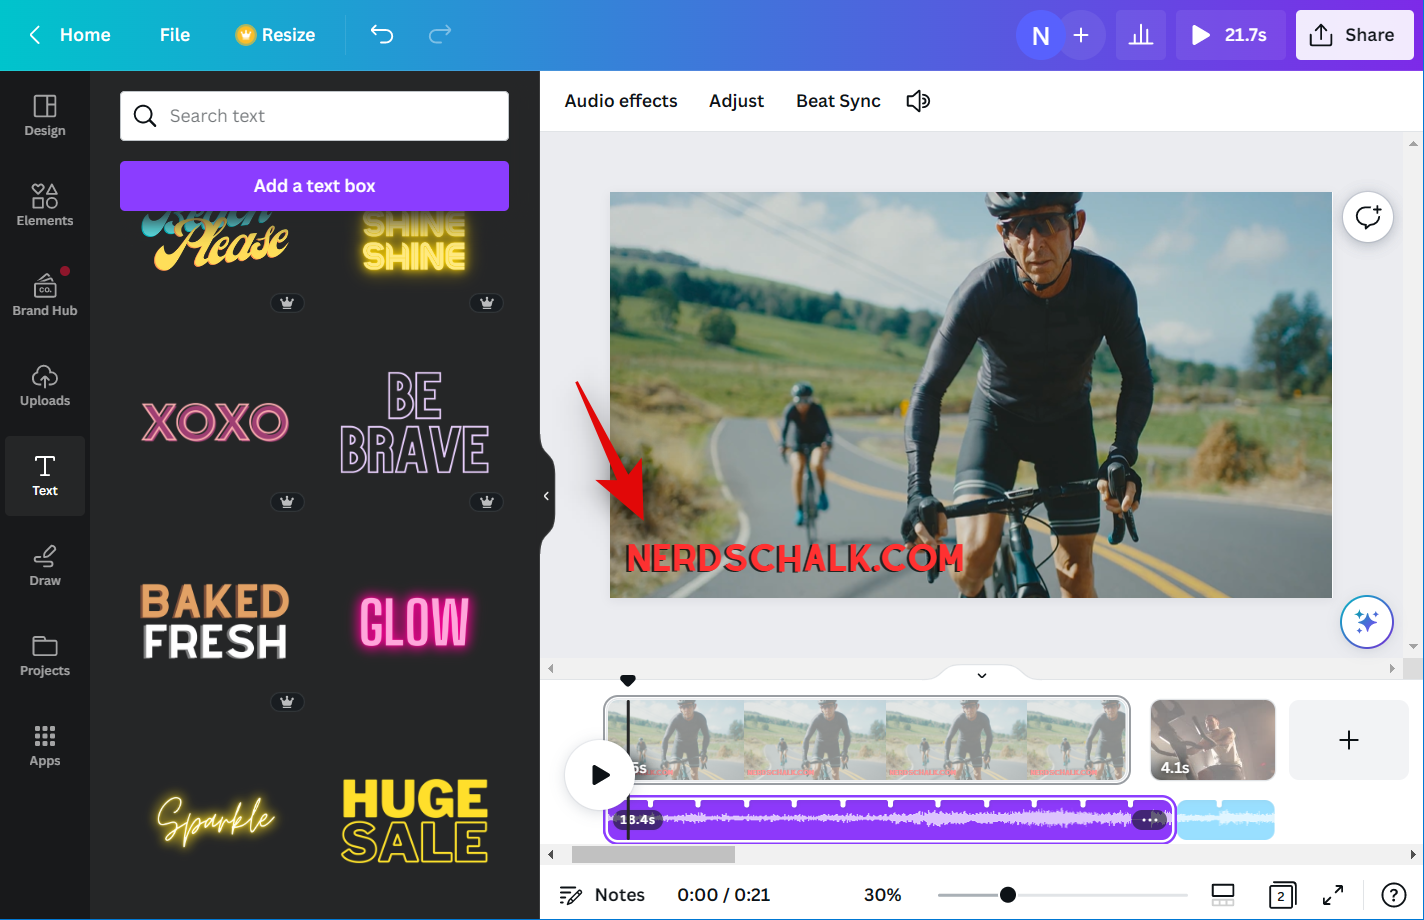
- Add any necessary elements to your video that might be needed before finalizing it. You can add graphics, images, text, and a lot more.
- Once you’re done, check your timeline to ensure there aren’t any gaps.
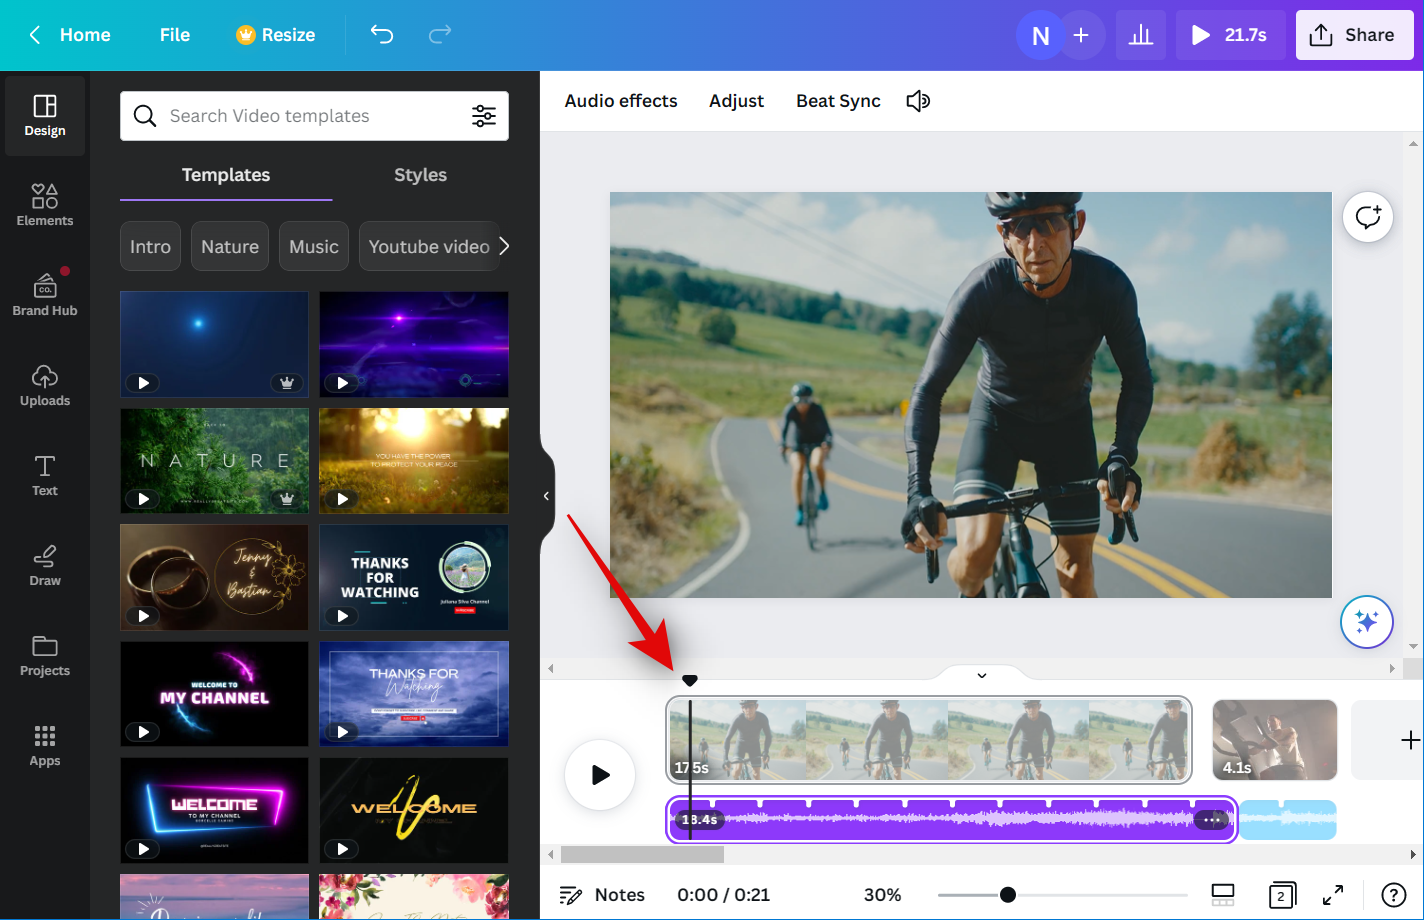
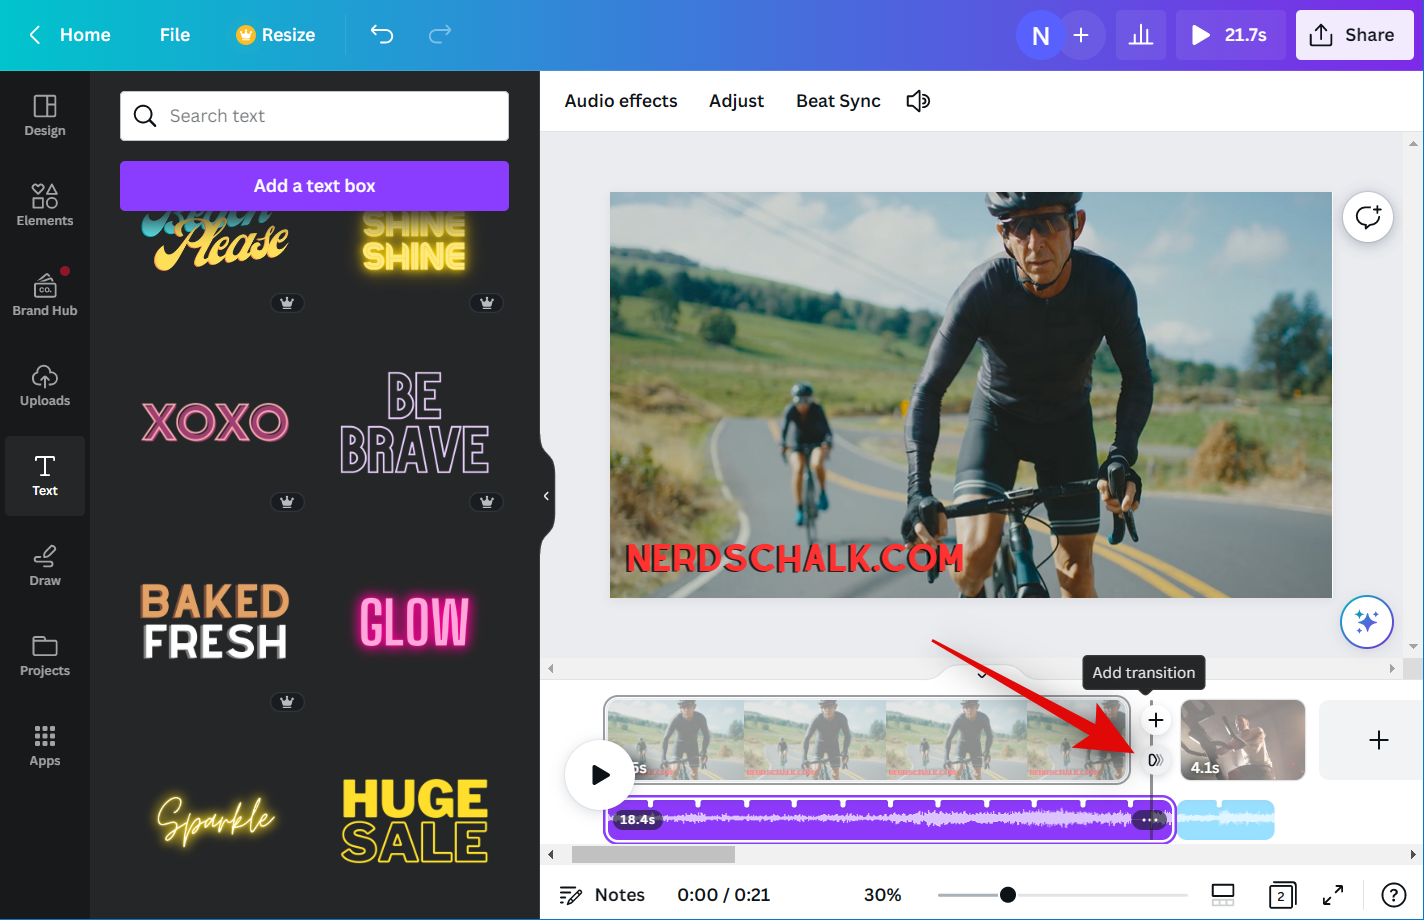
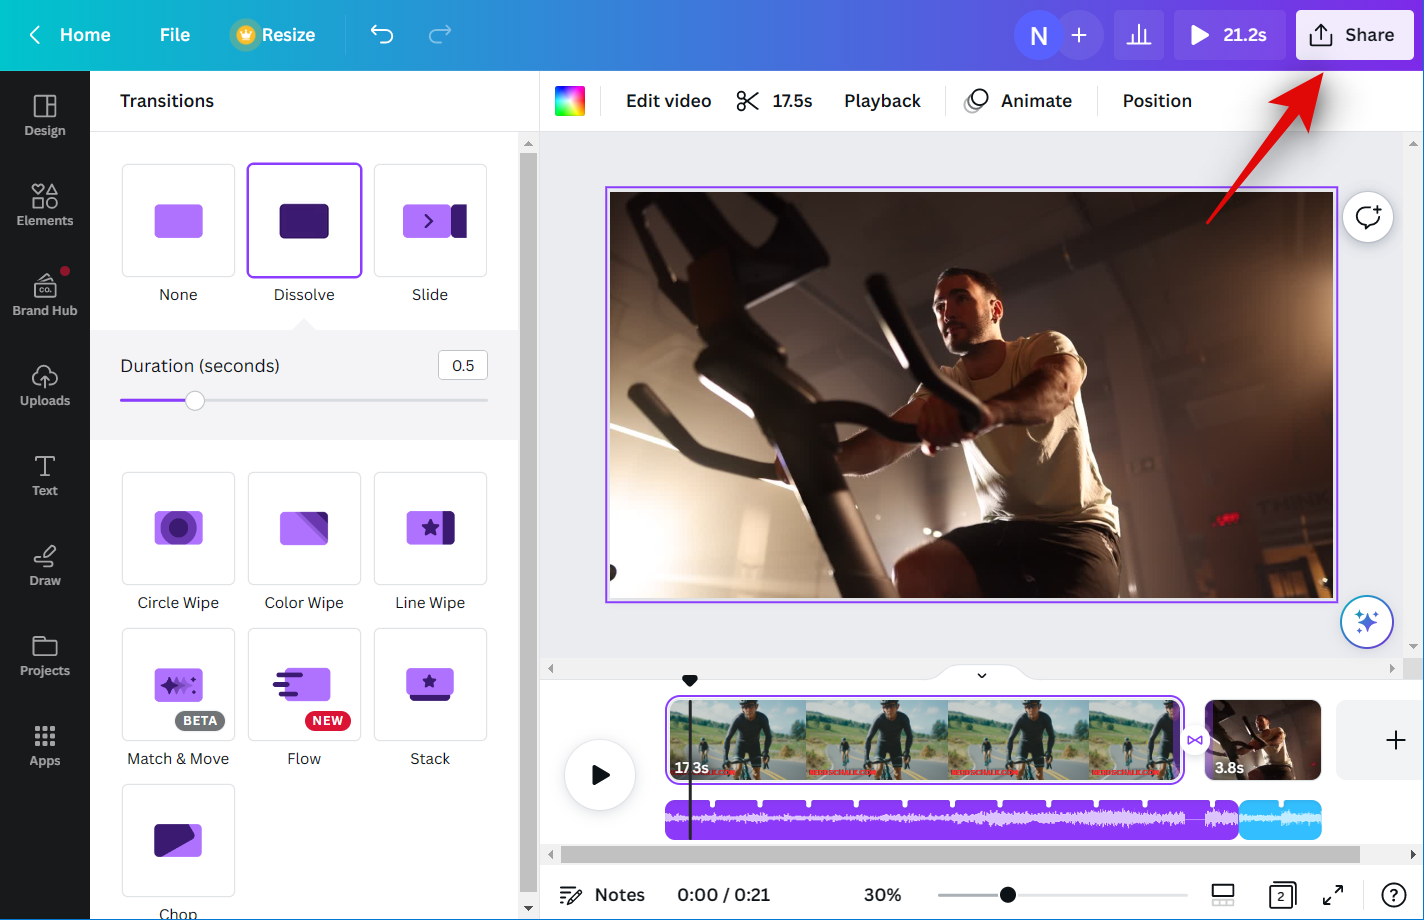
- You might want to use transitions if you have multiple clips in your timeline. Hover in the middle of two clips and click Add transition.
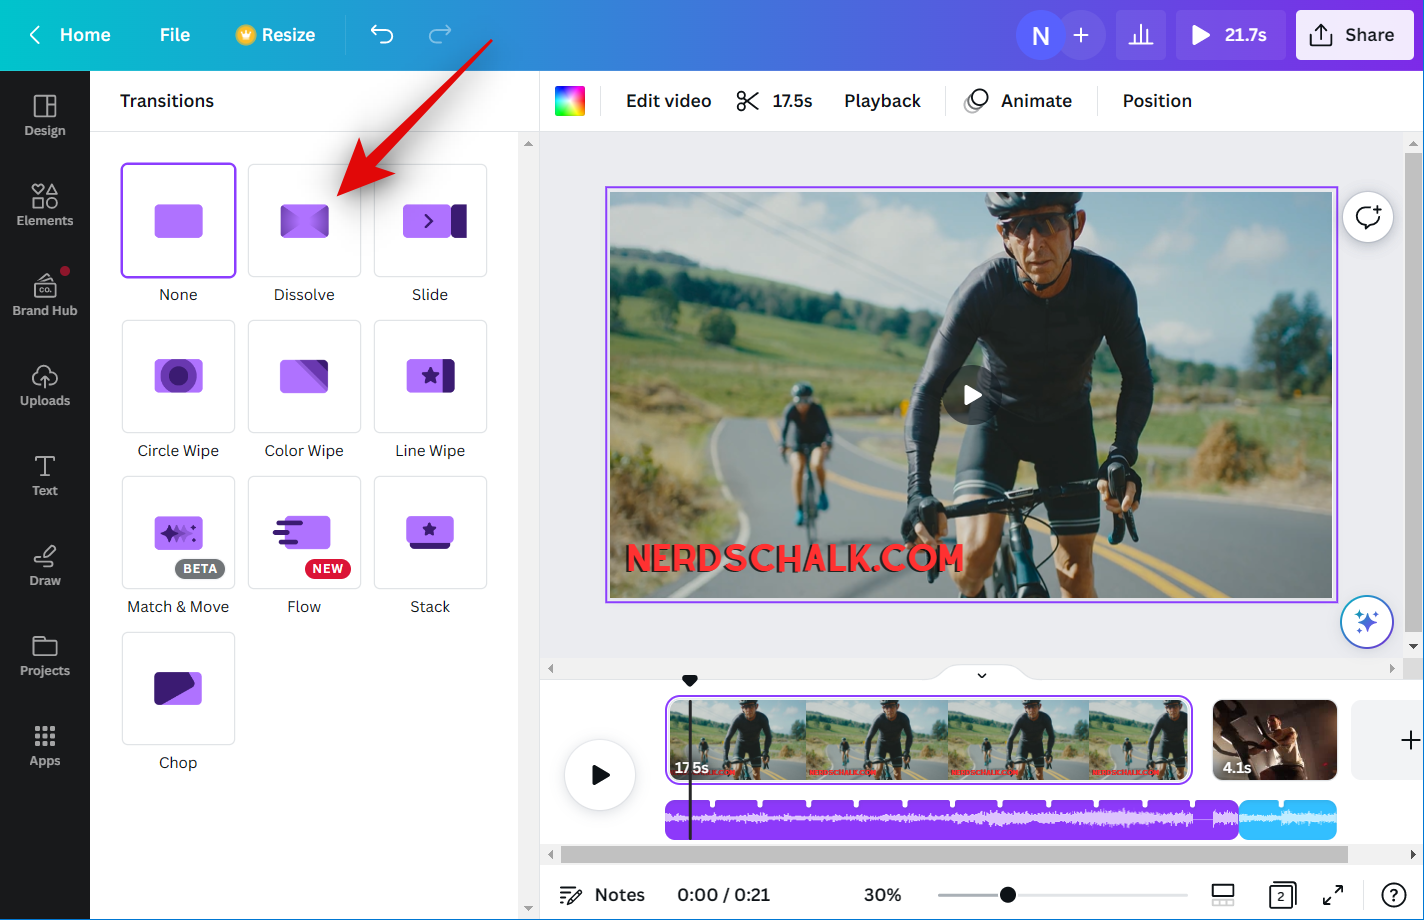
- Click and select your preferred transition from the left.
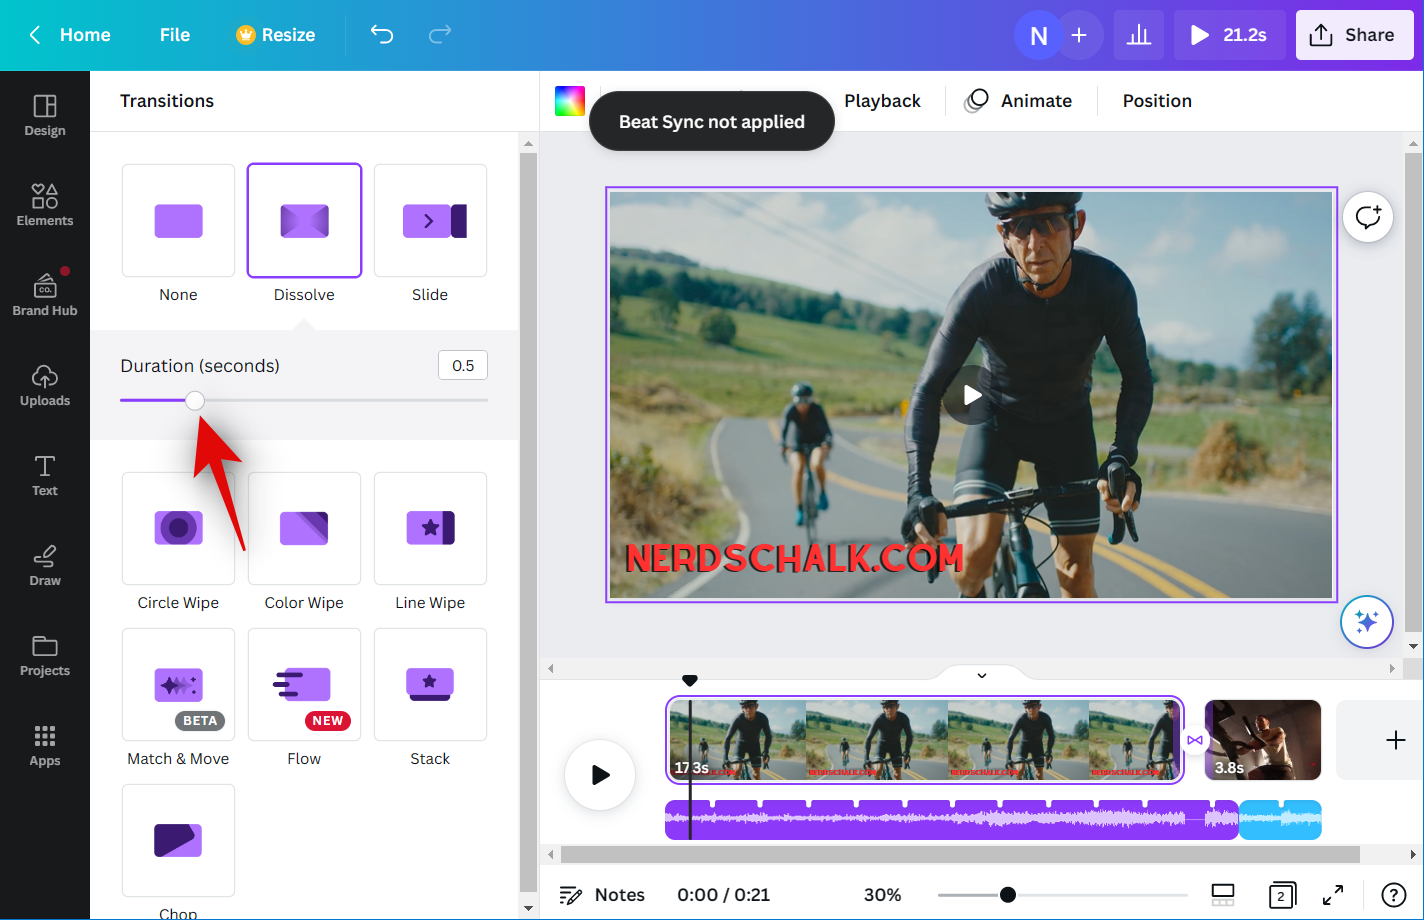
- Use the slider at the bottom to adjust the duration of your transition. Depending on the transition you choose, you might have more options at your disposal to customize other aspects of it. Repeat the steps above to add transitions between other video clips in your timeline.
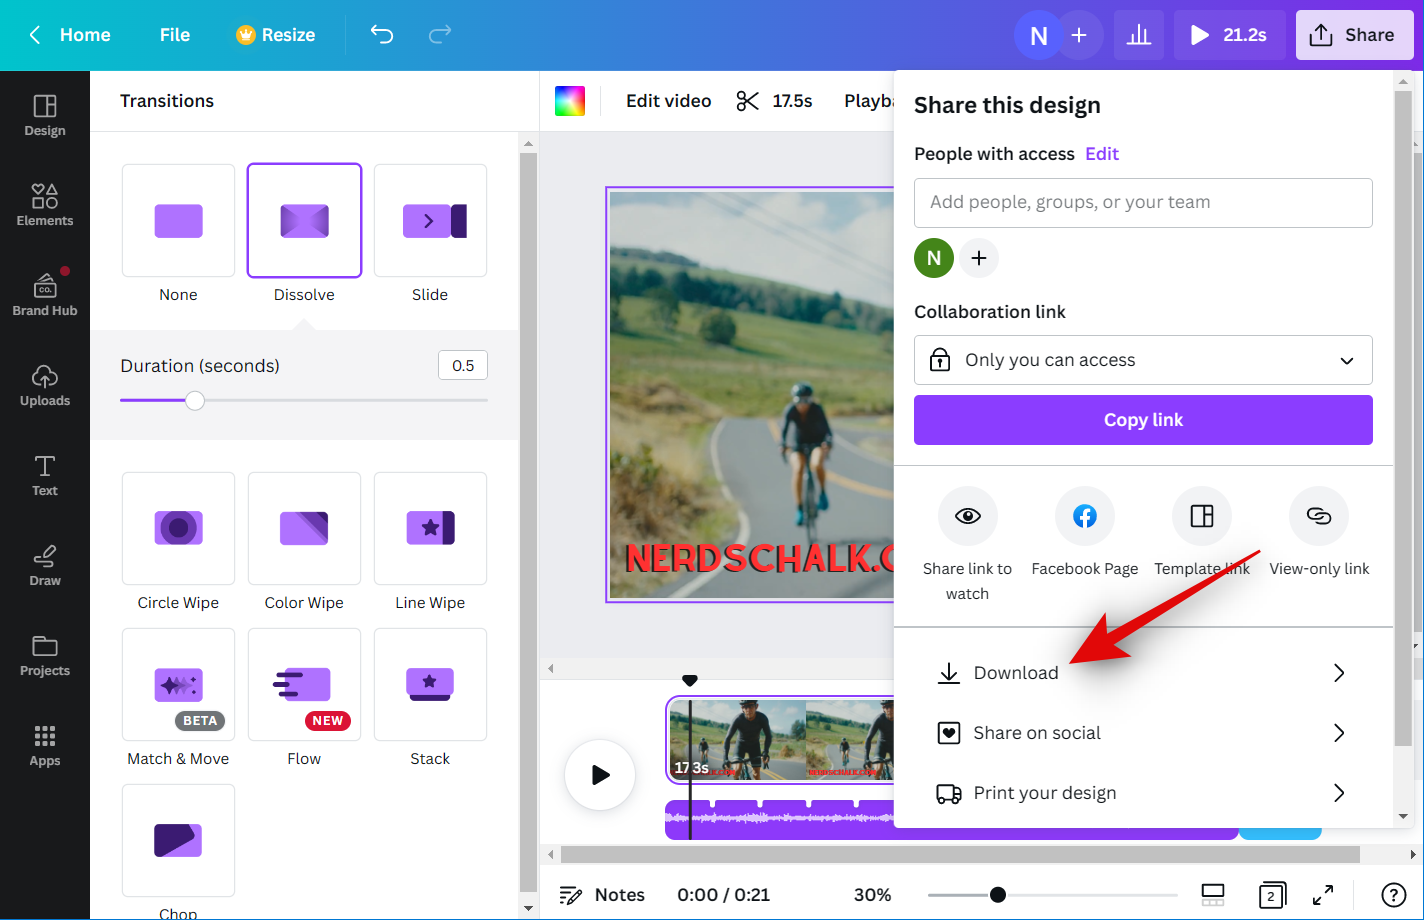
- Once you are happy with the outcome, click the Share icon in the top right corner of your screen.
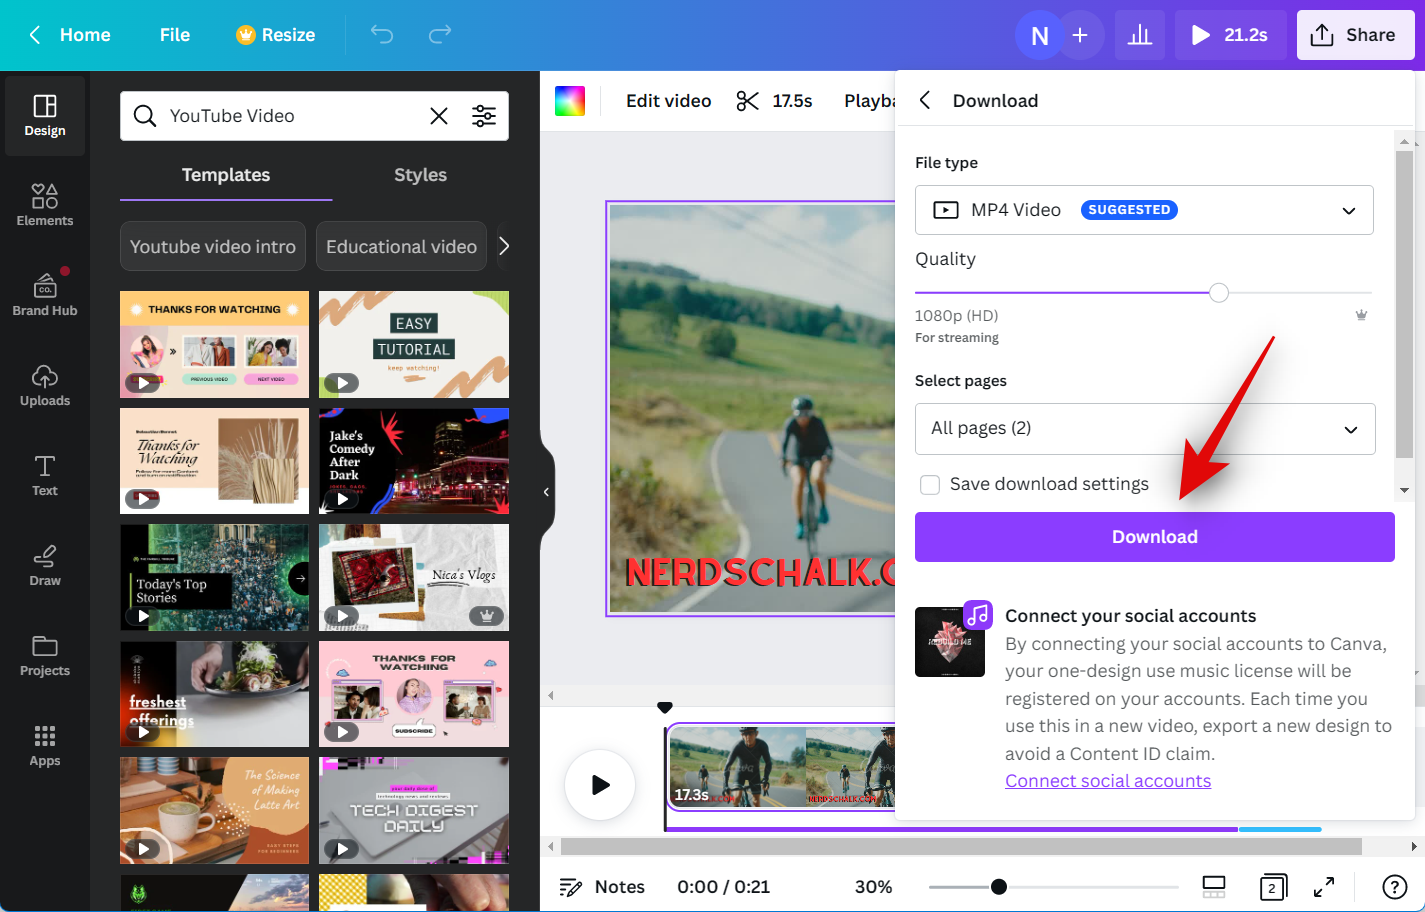
- Click Download.
- Click the drop-down menu for File type and select your preferred video format.
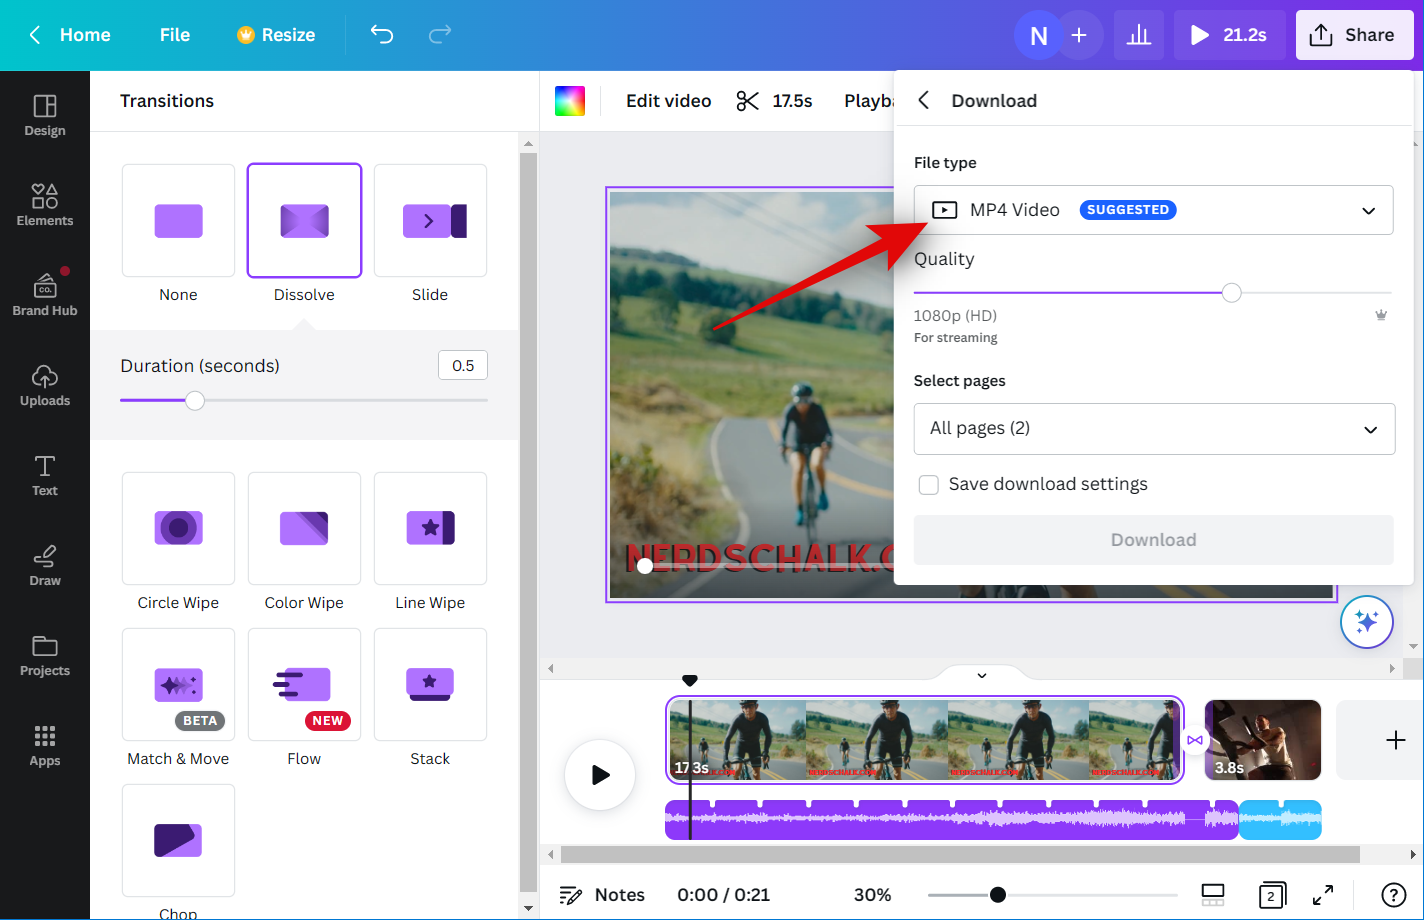
- Use the slider for Quality to adjust your video’s output resolution.
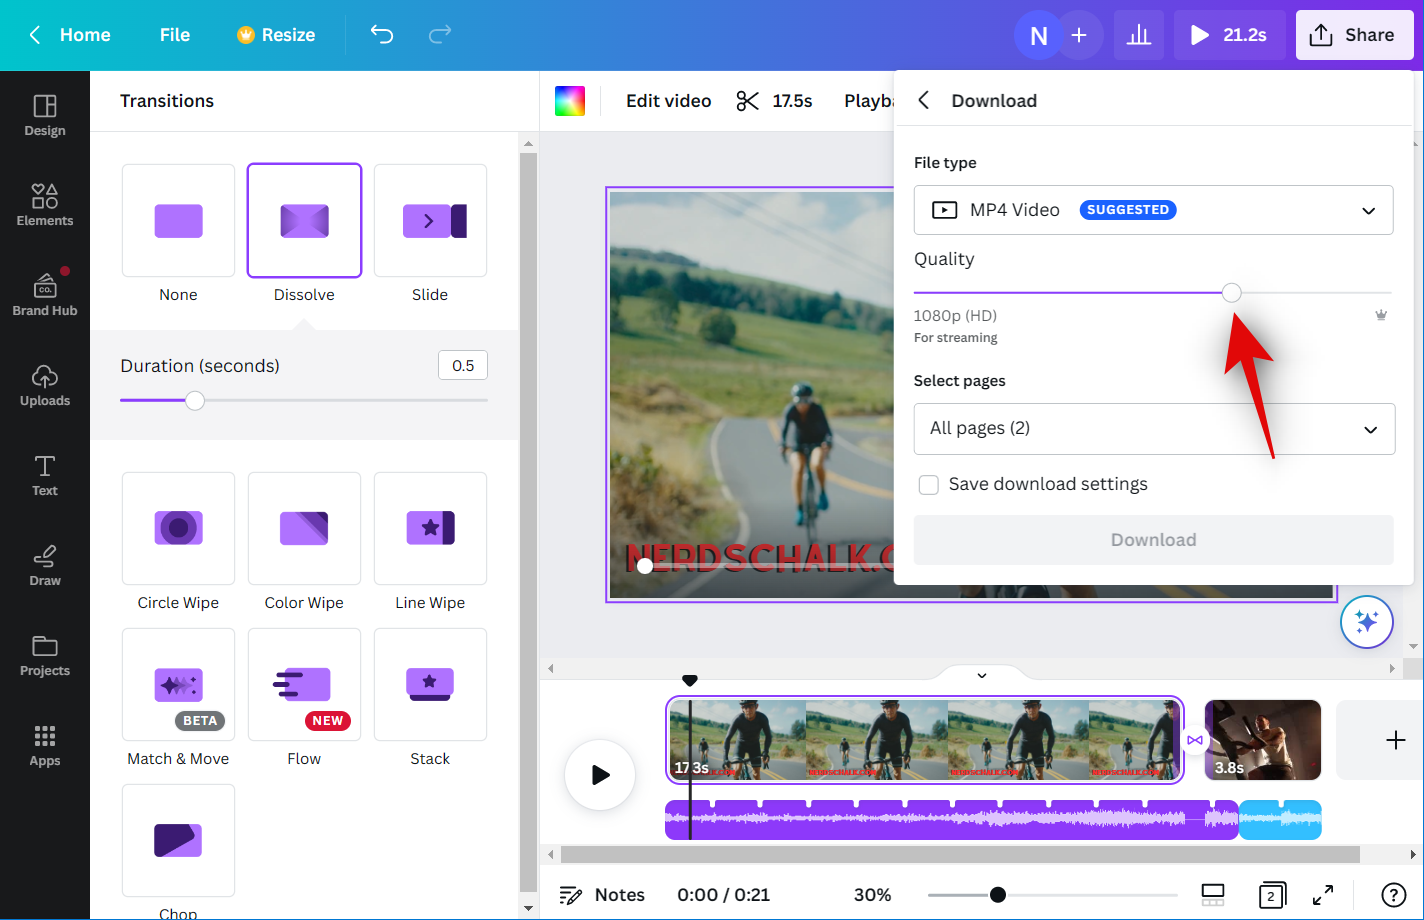
- Click Download.
And that’s it! Canva will now process and render the video. Once completed, a download will be initiated on your PC, and you can then save the video to a preferred location on your local storage.
Related: How to Curve Text on Canva
How to use Beat Sync on the Canva app [iPhone/Android]
You can also use Beat Sync when using the Canva mobile app. The Canva app has the same UI whether you use an Android or iOS device. Use the steps below to help you use Beat Sync in the mobile app.
Step 1: Create your project
- Download the Canva app on your iPhone or Android device using the App Store or Google Play Store.
- Once installed, open the Canva app on your phone.
- Now log into your account and tap the search bar at the top.
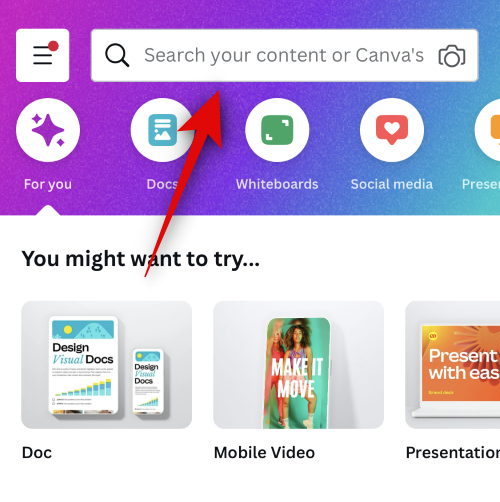
- Search for your preferred template.
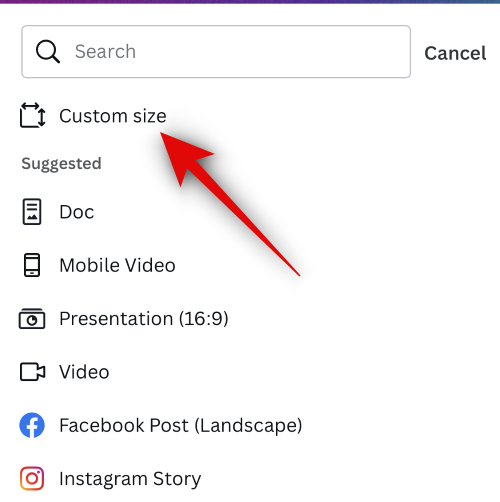
- You can also manually tap the + icon at the bottom of your screen to create a custom canvas.
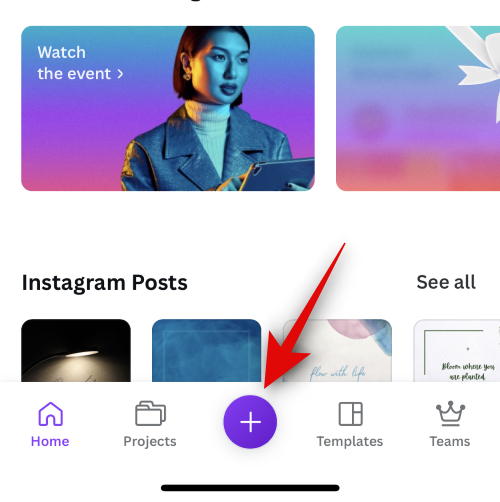
- Select Custom size to create your base canvas.
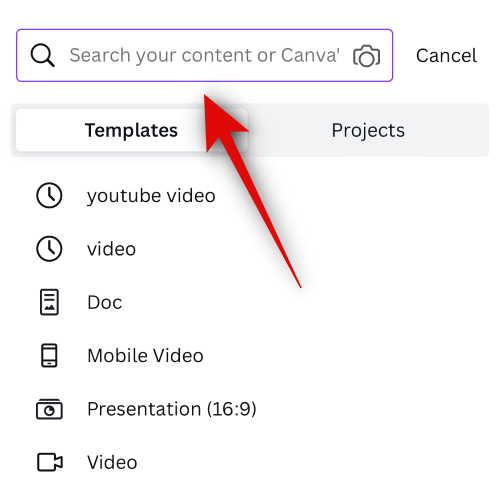
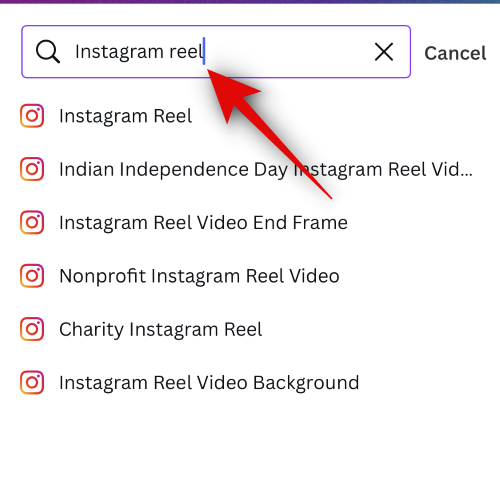
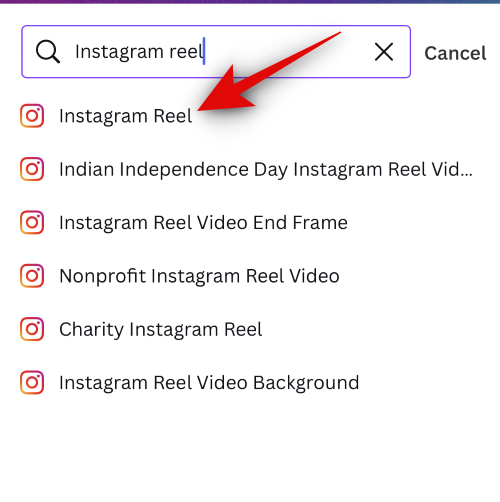
- You can also use the search bar at the top to search for your preferred template. Let’s look for an Instagram reel template for this example.
- Tap on the template once it shows up in the search results.
- Canva will now create your new project and open the Design page by default. Tap and select a design you like to use a template in your design.

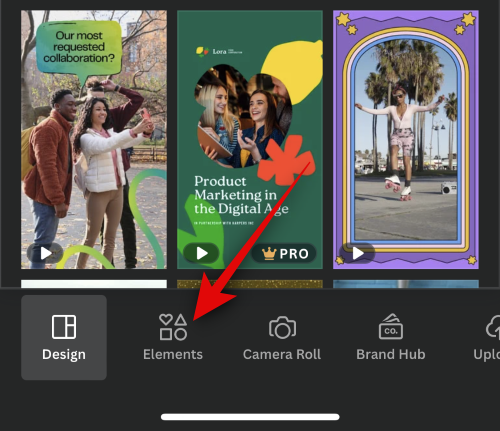
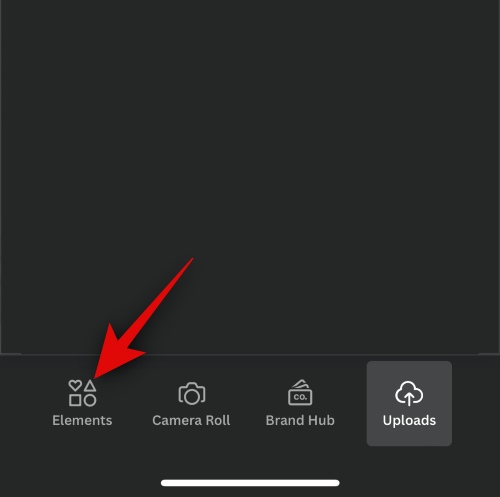
- You can also choose to create your design from scratch. Let’s create a design from scratch for this example. Tap Elements at the bottom to use stock video and audio clips offered by Canva.
- Tap See all beside Audio and Video to view all the stock clips offered by Canva.

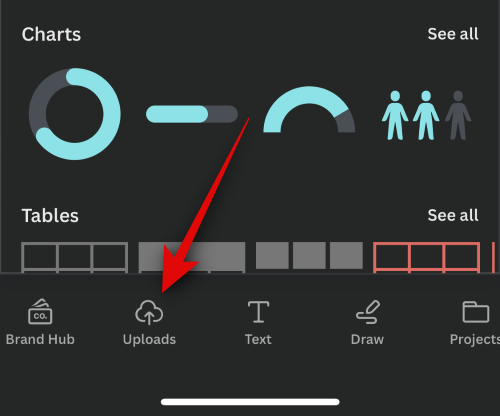
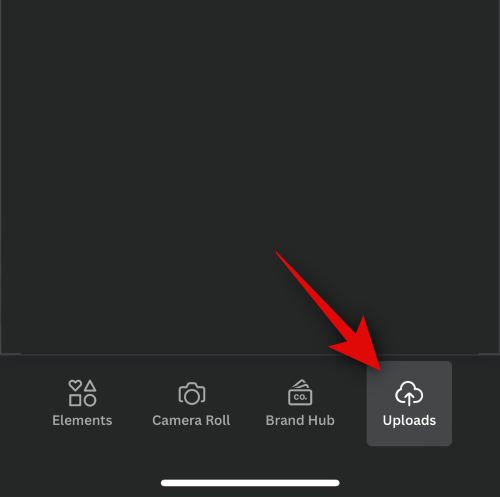
- You can also tap Uploads at the bottom to upload video and audio clips from your phone’s local storage.
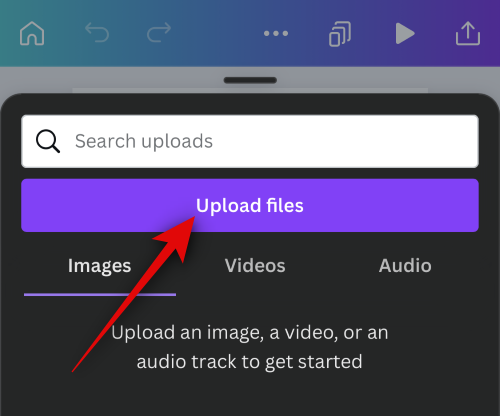
- Tap Upload files to upload your video or audio clips. You must grant the necessary permissions so Canva can access media stored on your mobile device.
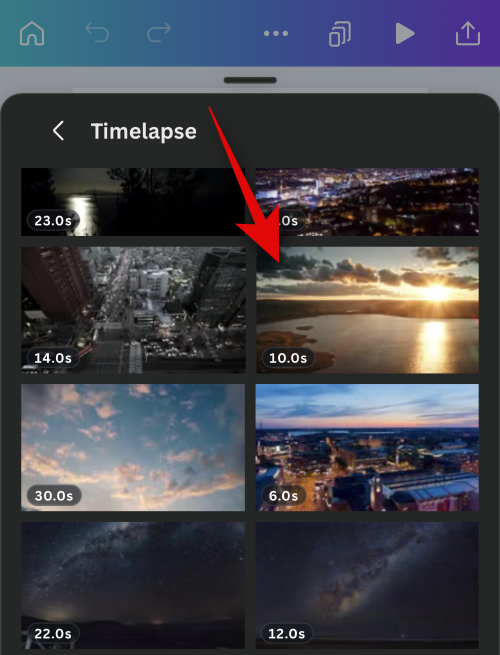
- Tap on the concerned video clip to add it to your design.
- Tap and drag the clip to reposition it on your canvas.
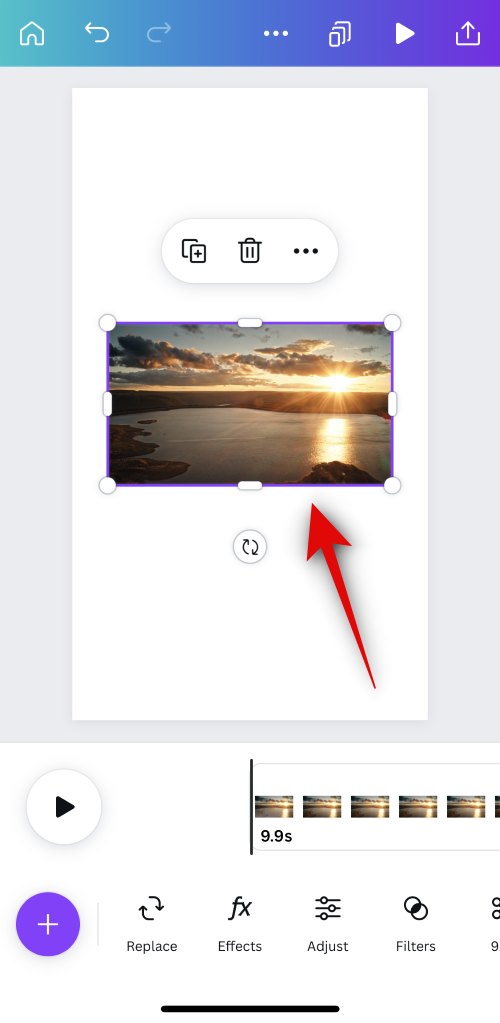
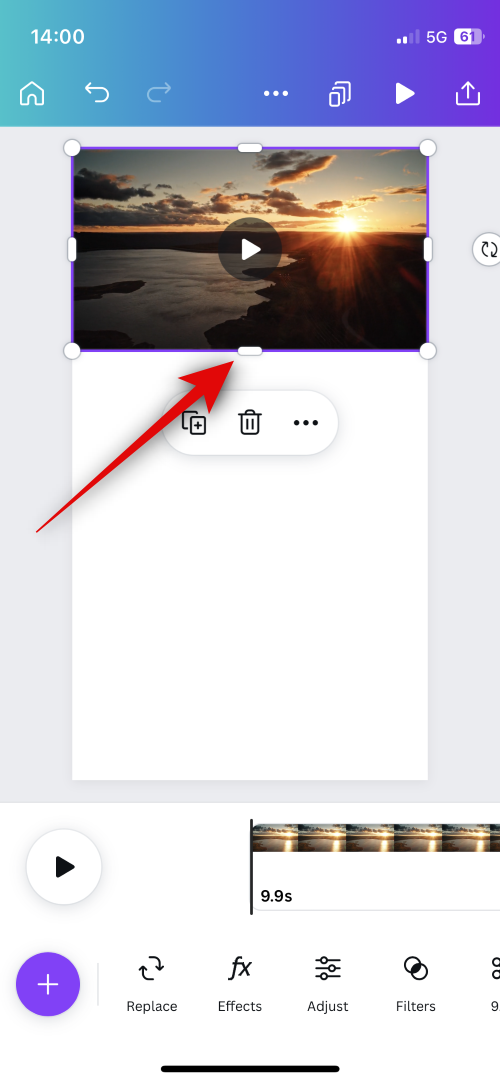
- Tap and drag one of the corners to resize your video to fit your canvas.
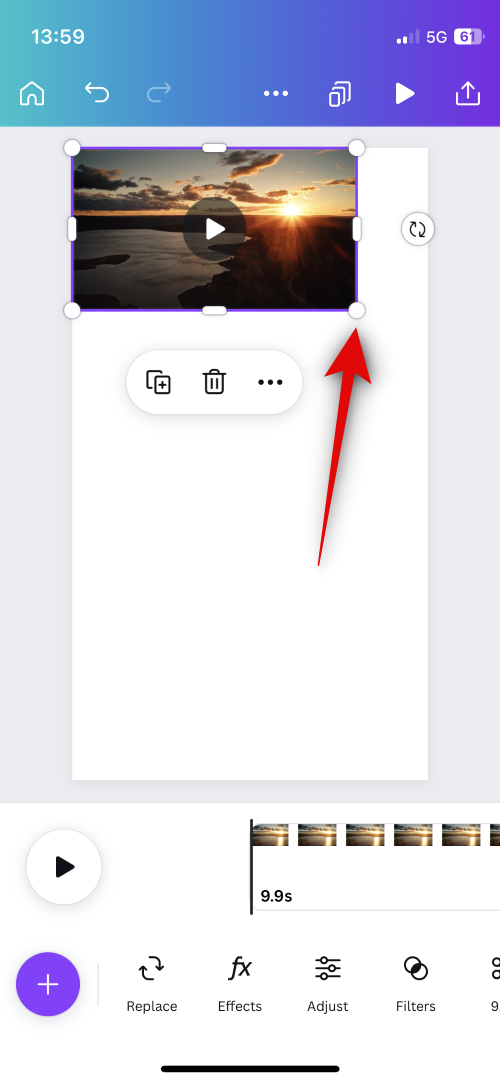
- You can also tap and drag one of the horizontal markers at the end of each edge.
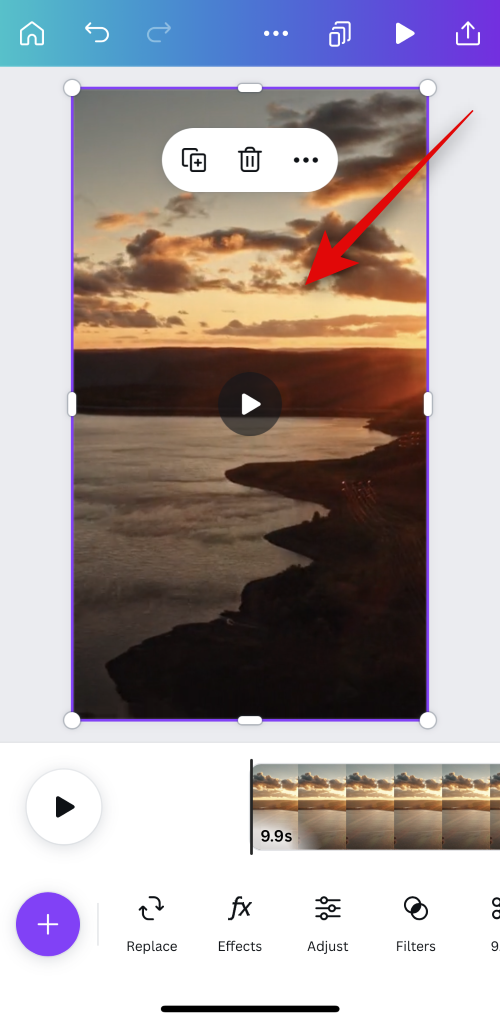
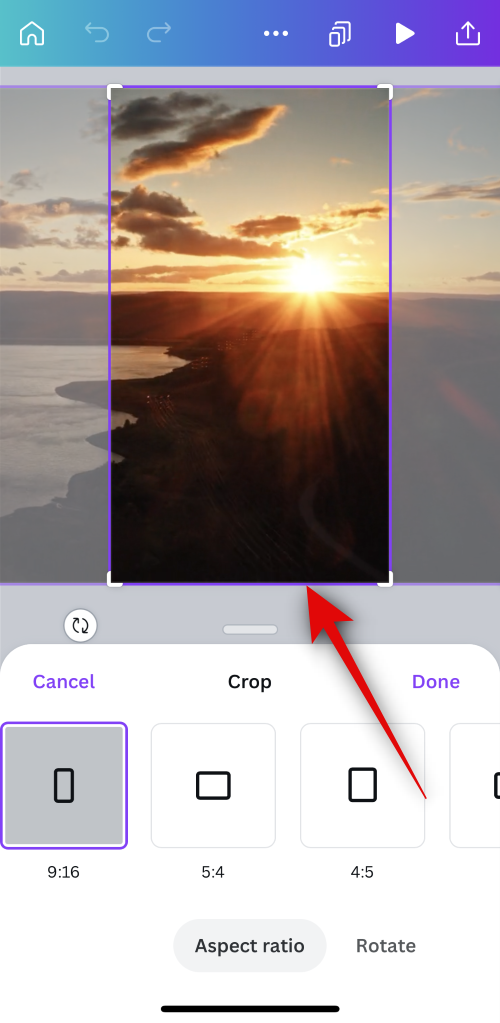
- Once you have fit the video into your canvas, double-tap on it.
- You can now change your aspect ratio and crop the video as needed.
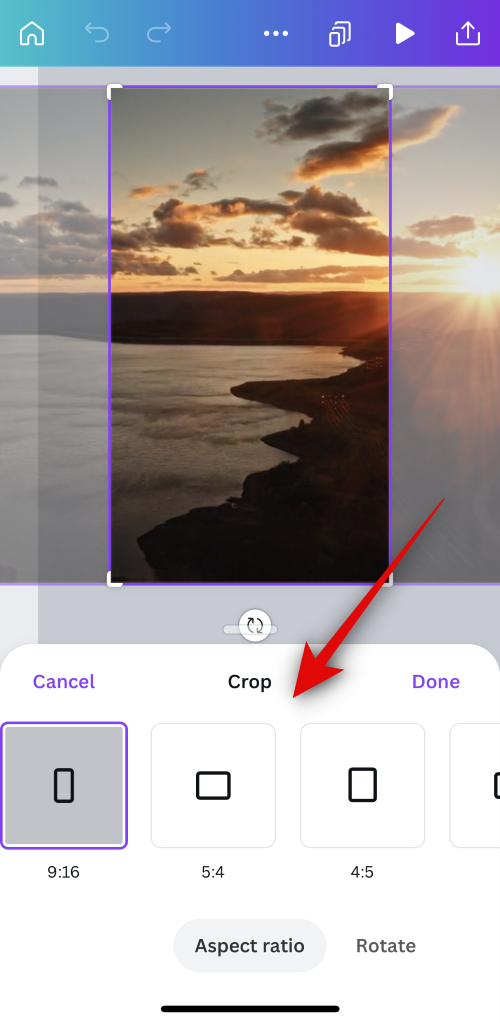
- This will also allow you to reposition the part of your video visible on the canvas. As we’re using a landscape video, we can tap and drag it to showcase the desired part of the video in our Instagram reel.
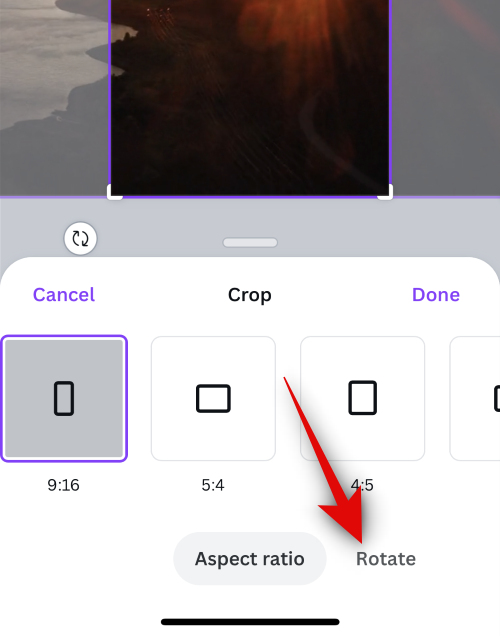
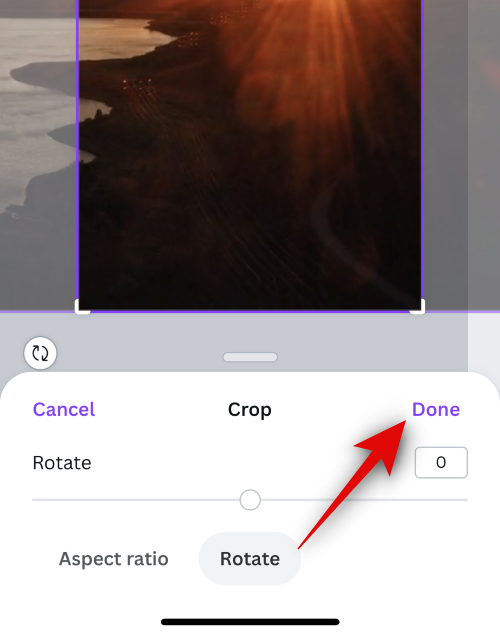
- You can also tap Rotate to rotate your video.
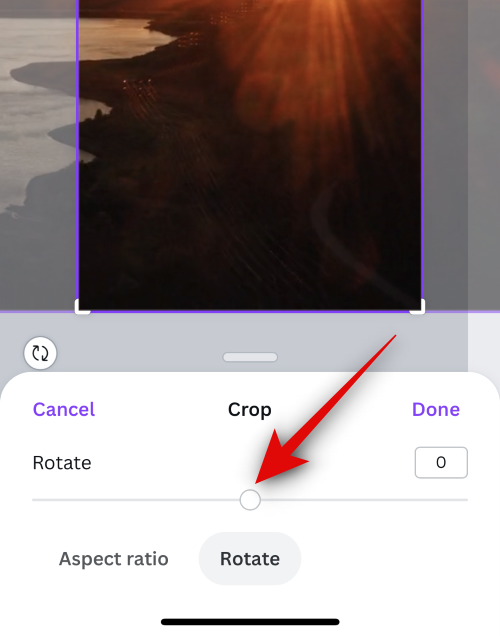
- Use the slider to rotate your video.
- You can also enter a value manually in the text box to rotate your video.
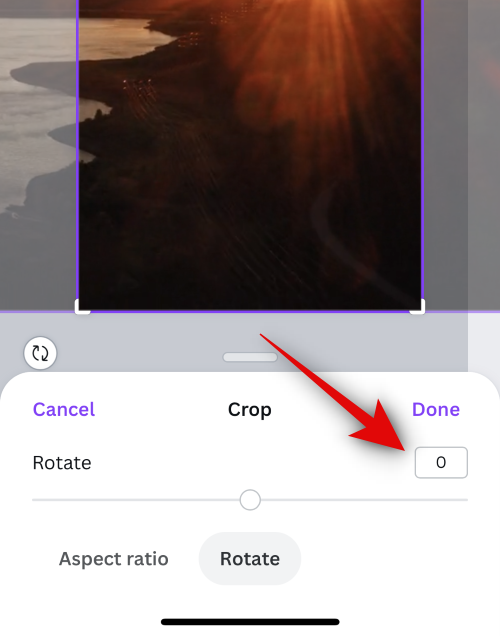
- Tap Done once you’re happy with the outcome.
- Swipe on your timeline and tap the + icon.
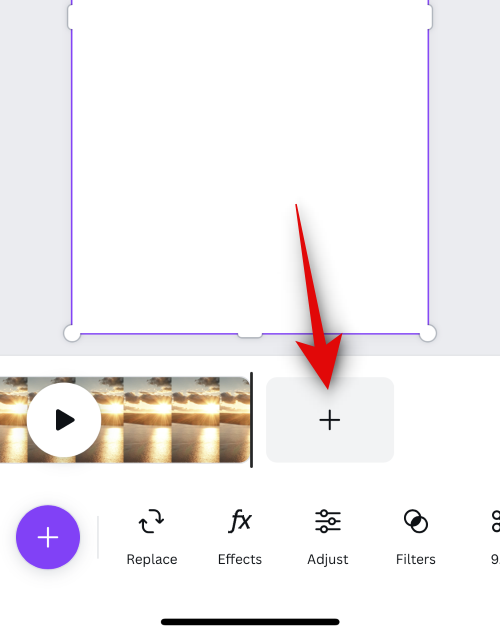
- A new page will now be added to your timeline. We can now add another video. Tap the + icon in the bottom left corner.
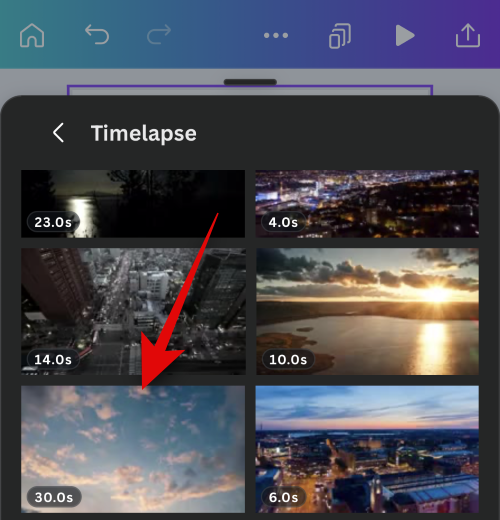
- Now use the Elements page if you wish to add a stock video. Use the Uploads page to upload and use a video from your phone, as we did above.
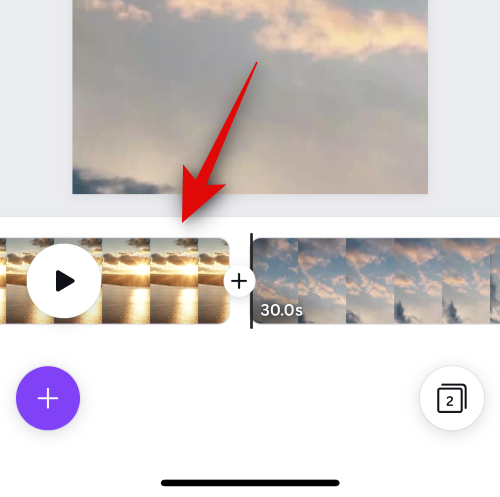
- Tap the video to place it on your new page in the timeline.
- Now reposition and resize it as we did above to fit your base canvas.

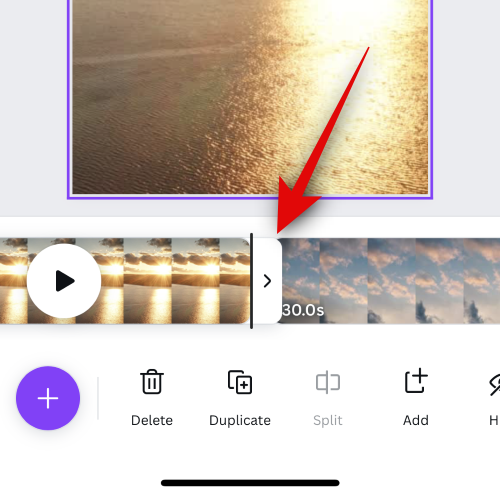
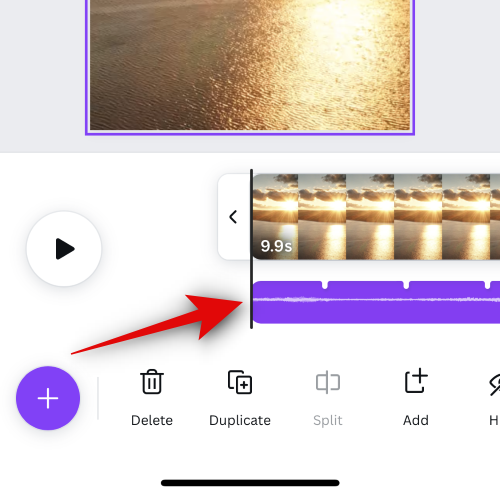
- Tap a video clip in your timeline to adjust its length.
- Tap and drag either end to change the length of your video clip.
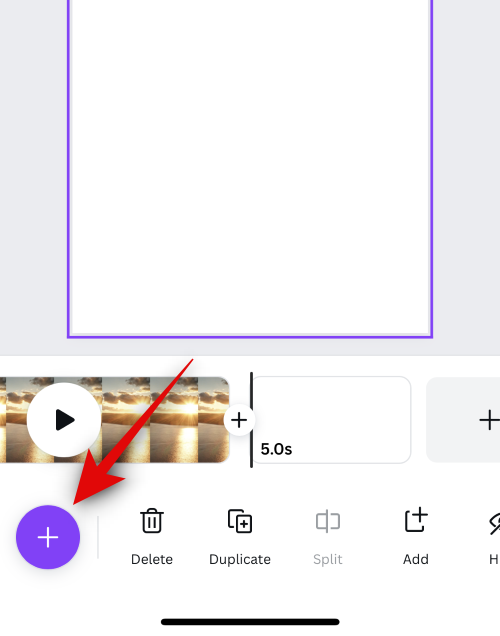
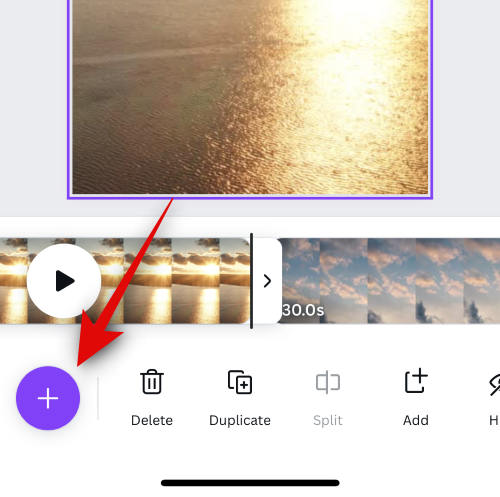
- Repeat the steps above to create your timeline and add all the video clips required for the project. Once you’re done, we can now add audio clips. Tap the + icon in the bottom left corner again.
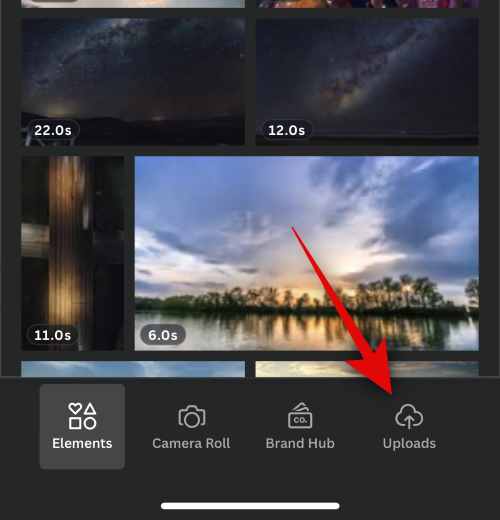
- Tap Elements to use a stock audio clip offered by Canva.
- Tap Uploads and then Upload files to upload an audio clip from your phone.
- Tap the audio clip to add it to your timeline.
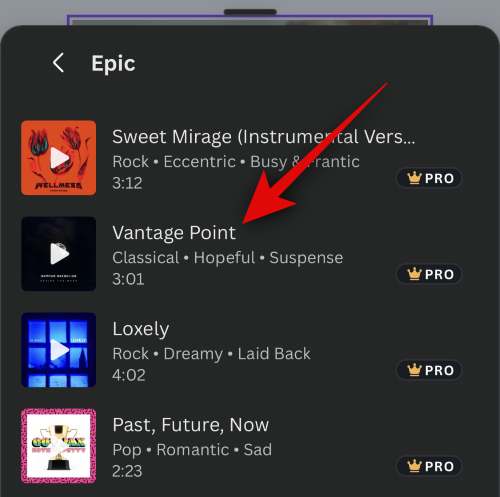
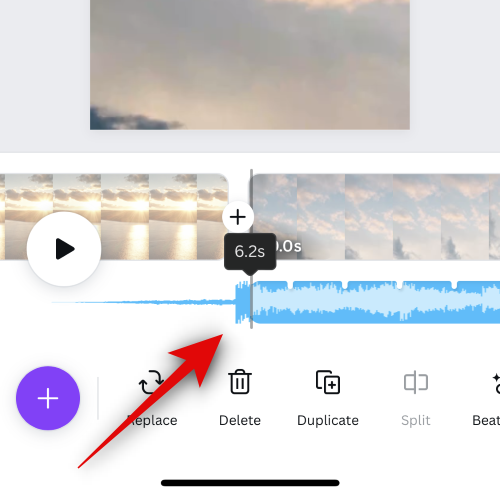
- The audio will now be added to your timeline and will enter the editing mode by default. Tap and drag on your audio clip to choose a custom starting point for your audio.
- Tap on your video clip to exit the editing mode once you’re done.

- Tap on your audio clip again to select it.
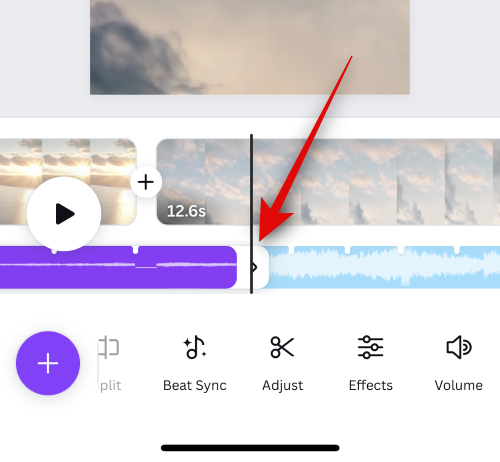
- You can now swipe on it to view its length and position in your timeline.

- Tap and drag either end to adjust the audio clip’s length in your timeline.

- Now swipe on your timeline and place the play marker where you wish to add your next audio clip.
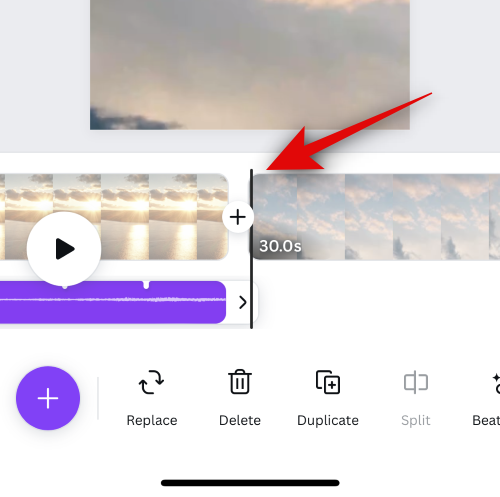
- Tap the + icon in the bottom left corner.

- Now tap and select your preferred source for the audio clip you wish to add.
- Tap on the audio clip to add it to your timeline.

- The clip will now be added to your timeline. Adjust its starting point and length as we did above to fit your project.
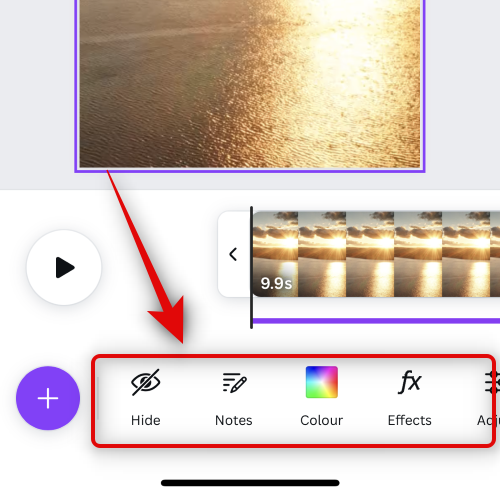
- Repeat the steps above to add all the necessary audio clips to your timeline. Once you have added all the necessary clips, perform any edits to get the perfect look for your project. Tap and select a clip you wish to edit.

- Now use the options at the bottom to edit your clips and apply effects to your project as needed.
And that’s it! You will now have created your project. You can use the next step to use Beat Sync in your project.
Step 2: Use Beat Sync
- Open the Canva app on your phone and tap on the project where you wish to use Beat Sync.
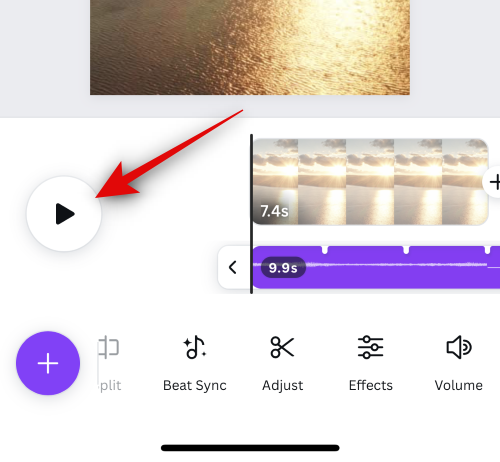
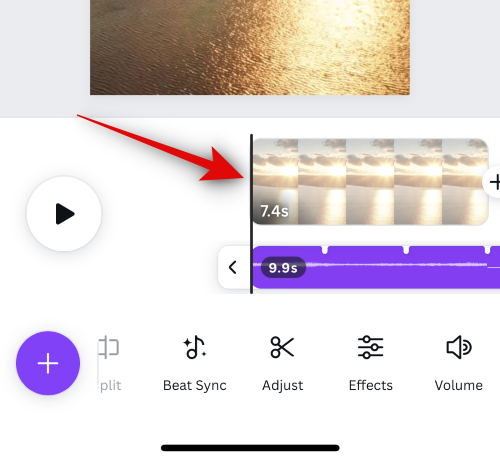
- Now tap the Play icon in your timeline to view a preview of your video project.

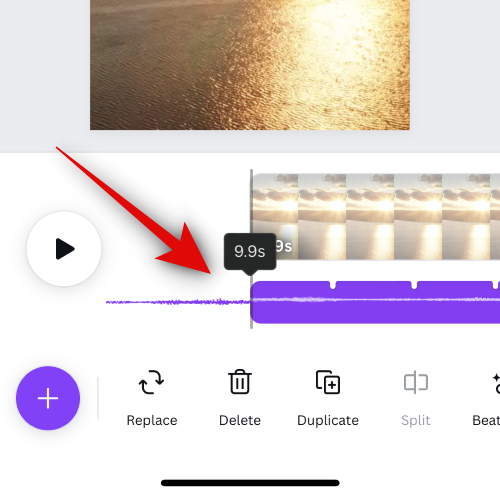
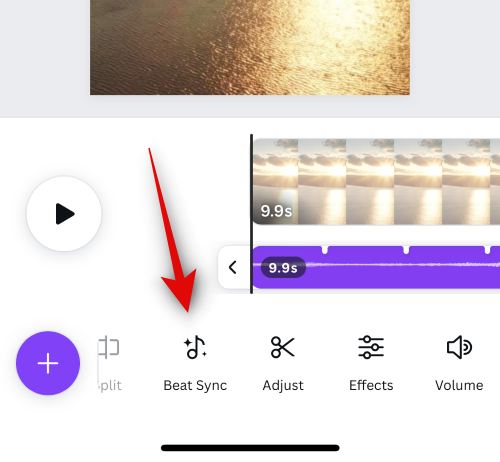
- If all seems up to mark, tap and select the first audio clip in your timeline.

- Now swipe on the options at the bottom of your screen and tap Beat Sync.
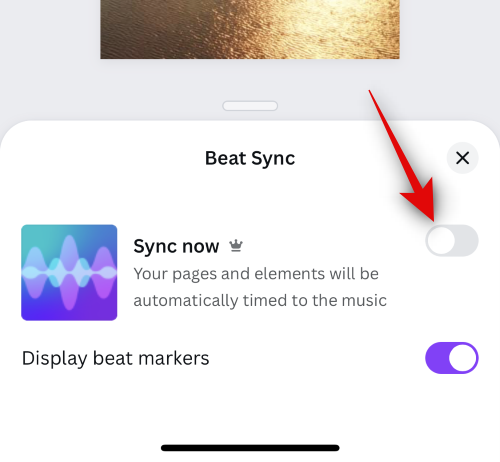
- Ensure the toggle for Display beat markers is turned on.

- Now tap and turn on the toggle for Sync now.
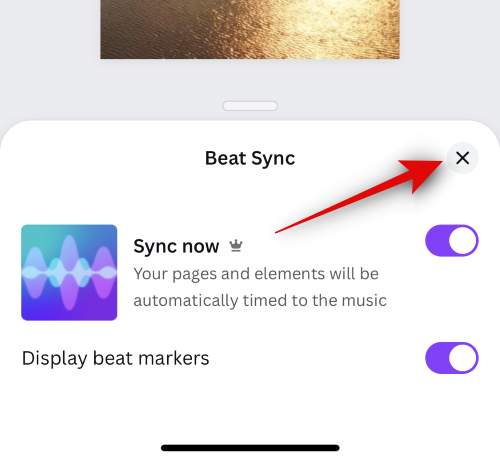
- All audio clips and video clips in your timeline will now be synced.

- Tap the X in the top right corner to close the Beat Sync page.
- Tap the Play icon again to view a preview of your synced video.
If everything seems to be up to the mark, then you can now use the next step to finalize and download your final video.
Step 3: Finalize and download your video
- Open the Canva app on your phone and tap the concerned project to open it in the app.
- Now tap the Play icon to view a preview of your synced video.
- We can now finalize your video if everything seems up to the mark. Check your timeline to ensure there aren’t any gaps between your audio clips.
- Tap and select a clip you wish to edit.
- Now use the options at the bottom to edit and apply effects to the selected clip.

- Once done, tap the + icon in the bottom left corner.
- Now add any other elements that might be needed to complete your design. You can add the following elements to your design using the options at the bottom of your screen.

Elements: Use this option to add graphics, stickers, shapes, audio clips, video clips, and more to your design.
Camera Roll: Use this option to access your phone’s image gallery and add photos and videos stored on your phone to your design.
Brand Hub: This section contains your brand assets. If you use a workplace Canva account, then you can use this section to add your company’s logo, colors, fonts, and more to your design.
Uploads: This section will help you upload and add media files from your phone. You can upload all kinds of supported files, including images, videos, audio clips, and more.
Text: This section will help you add sophisticated text designs to your design.
Draw: Use this option to use pen tools to draw in your design. - Any new element you add to your design can be tweaked and adjusted to fit your design using the options at the bottom of your screen.

- Tap and select the concerned element and then use the options at the bottom to edit it accordingly.

- If you have multiple video clips in your timeline, then you likely wish to use transitions between them. Find a gap between your video clips and tap the + icon.
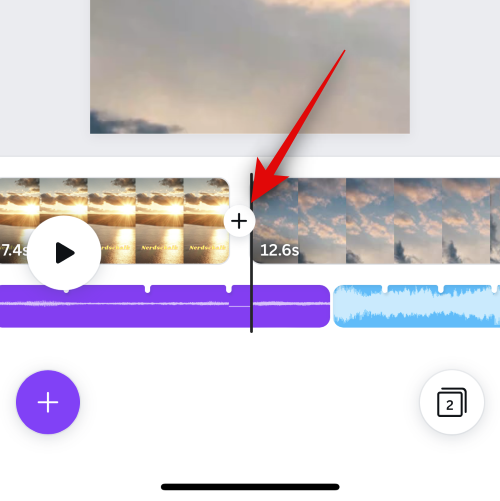
- Tap Transition.

- Now tap and select a transition you like.
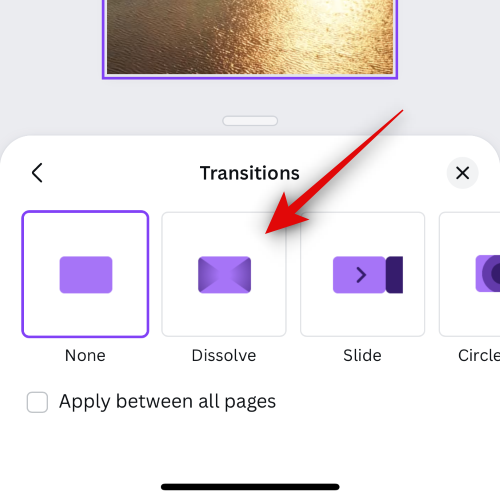
- You can also tap and check the box for Apply between all pages to use the same transition between all your video clips.

- Tap the selected transition again to view its customizable options.

- Now customize your transition as needed. These options can vary depending on the transition you use. As we selected Dissolve, we can adjust its duration using the slider.
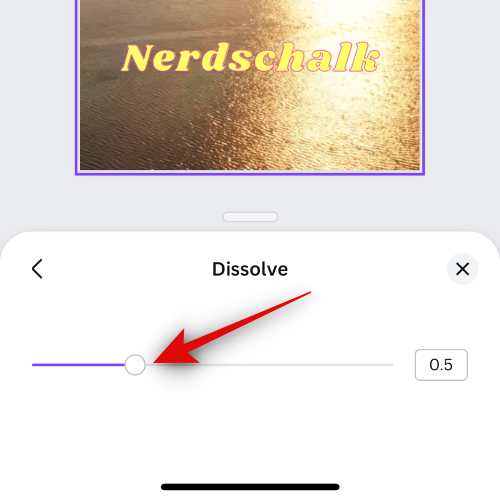
- Once done, tap the X in the top right corner.

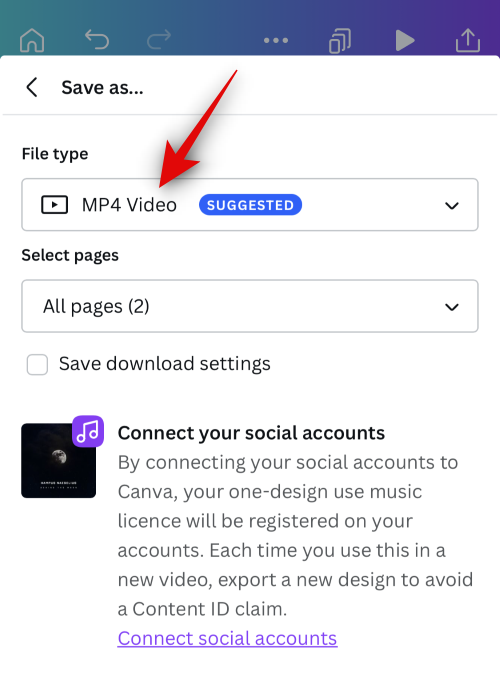
- Now repeat the steps to add more transitions to your design as needed. Once you have finalized your design, tap the Share icon in the top right corner of the screen.

- Select Download.

- Use the File type drop-down menu to select the preferred format for your project.
- Tap Download once you’re done.
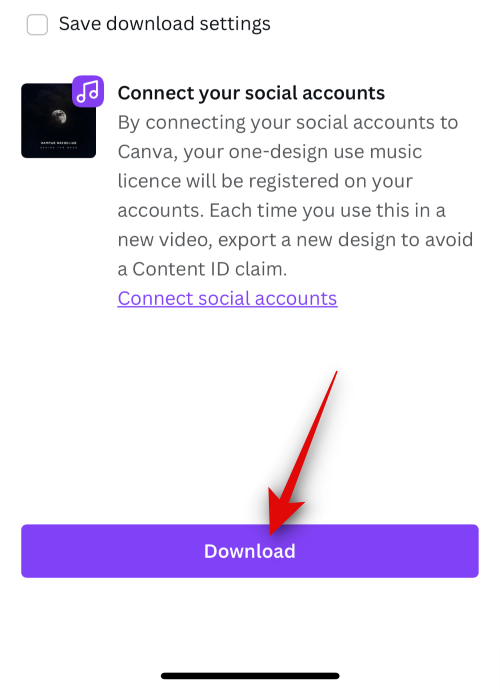
And that’s it! Canva will now process and render your video. Once done, it will be downloaded to your phone, and you can save it to your device.
Can you use Beat Sync as a free user?
Yes, you can use Beat Sync as a free user, but you must manually sync your audio and video clips. The ability to automatically sync your video and audio clips is only available for premium users. As a free user, you can use Beat Sync to enable beat markers in your audio clip, which will allow you to sync it to your video clips manually.
Related: How to do subscript and superscript in Canva
That’s all you need to know about using Beat Sync on Canva.