
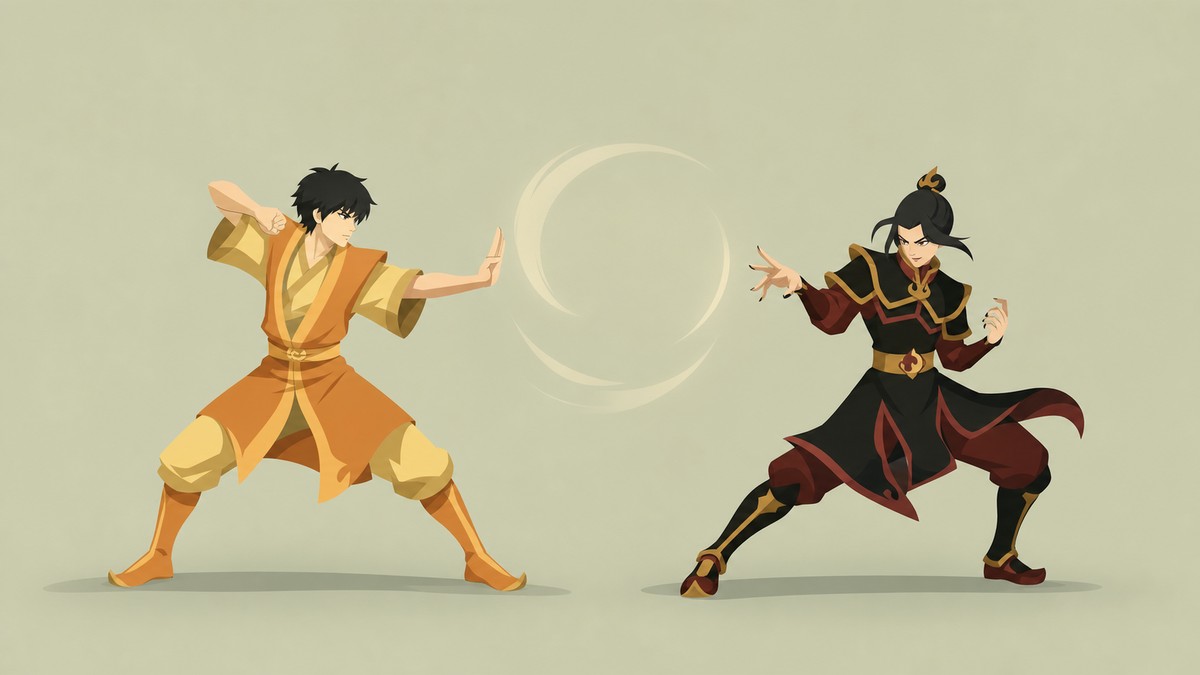
Azula’s featured combo uses the Ursa Fire Lord variation and runs from low starter into air-dash extensions, lightning wall-bounce, four grounded A hits, and her lightning super.
This Azula route is built around keeping the opponent airborne long enough for Flow dash extensions, then cashing out with lightning. Practice it in chunks first: the low starter, the launcher, the two aerial Flow pickups, the lightning wall-bounce, and the grounded super finish.
Ursa Fire Lord Azula and combo notation
| Notation | Meaning |
|---|---|
| A / B / C | The three attack buttons used in the combo strings. |
| Down B | Hold down and press B. |
| QCF | Quarter-circle forward, from down to forward. |
| QCB | Quarter-circle back, from down to back. |
| j.A, j.B, j.C | Jumping versions of the attack buttons. |
| Flow | Azula’s air dash button; neutral Flow sends her forward in the air. |
| Any two | Press any two of A, B, and C together. |
You need the Ursa variation of Azula for this featured route. This is the Fire Lord variation, and the full combo below is written for that version of her kit.
Full Azula Ursa combo route
| Part | Input |
|---|---|
| Low opener | Down B > Down C > QCF A |
| Second launcher | Down B > B > QCB any two |
| First air pickup | j.B > j.C > Flow > A > A |
| Second air pickup | j.A > j.A > Flow > A > A |
| Aerial lightning | QCF B > C > QCB C |
| Grounded finish | A > A > A > A > QCF B |
| Super | QCF A + B + C |
The route is easier to learn if you do not grind the full string immediately. Get the opener and QCB launcher clean first, then add one air-dash extension at a time before practicing the lightning ender.
How to perform Azula’s Ursa combo in Avatar Legends
This sequence carries the opponent from a low starter into two Flow pickups, a lightning wall-bounce, and Azula’s lightning super.
STEP 1/7
Start with the low opener
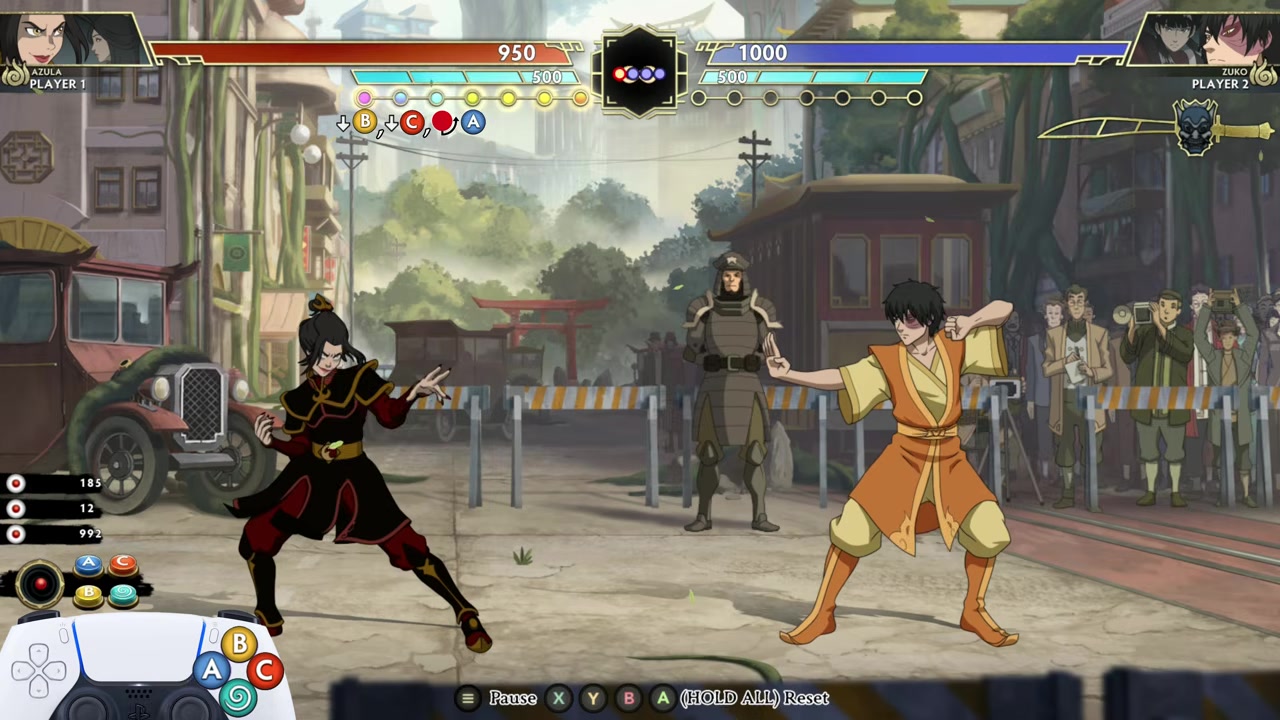
Use Down B > Down C > QCF A to begin the combo from a low confirm.
STEP 2/7
Add the second launcher
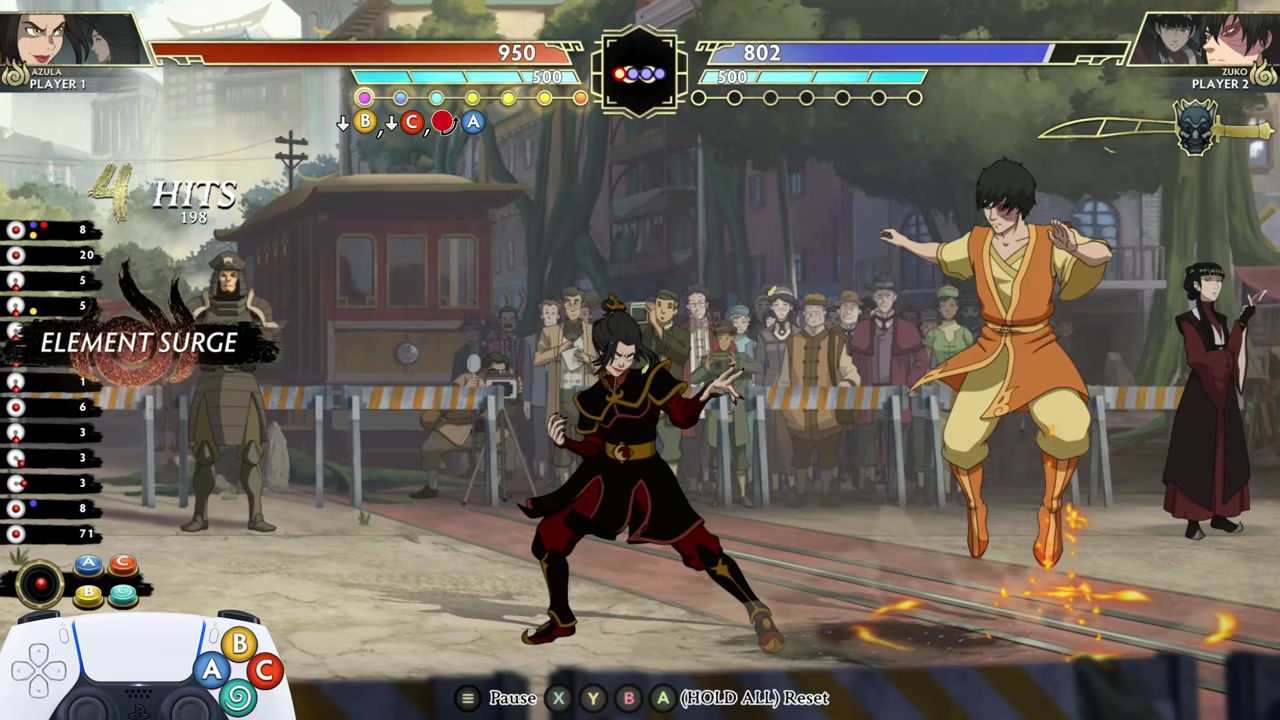
After QCF A, use Down B > B > QCB any two to pop the opponent up.
STEP 3/7
Connect jump BC into Flow AA
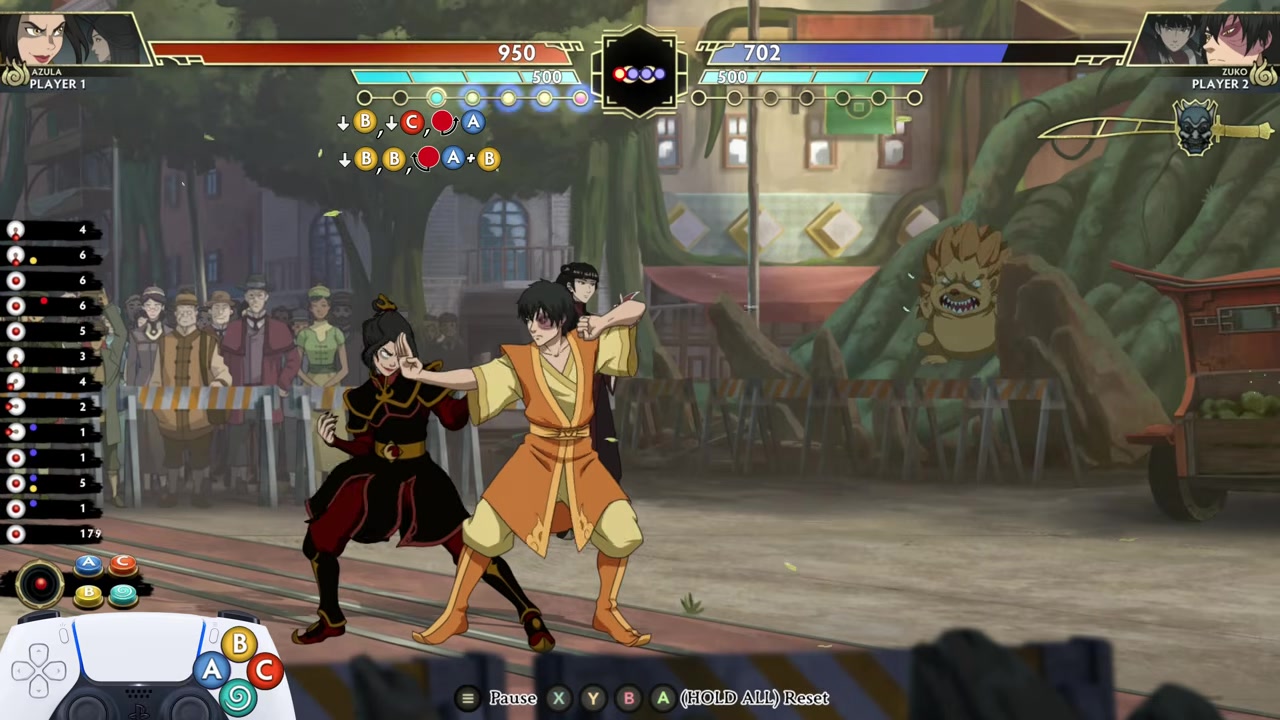
Jump in with j.B > j.C, press Flow to chase in the air, then hit A > A.
STEP 4/7
Repeat with jump AA into Flow AA
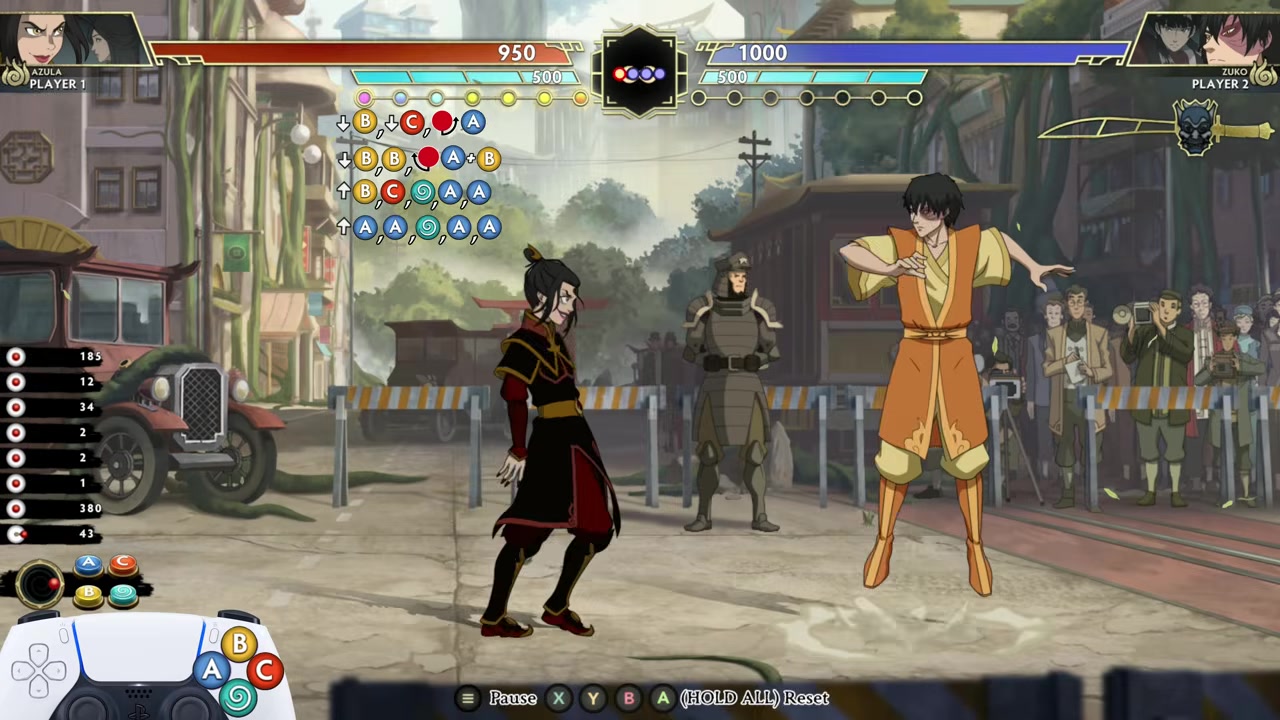
As Azula lands while the opponent is still airborne, jump again and use j.A > j.A > Flow > A > A.
STEP 5/7
Use the aerial lightning sequence
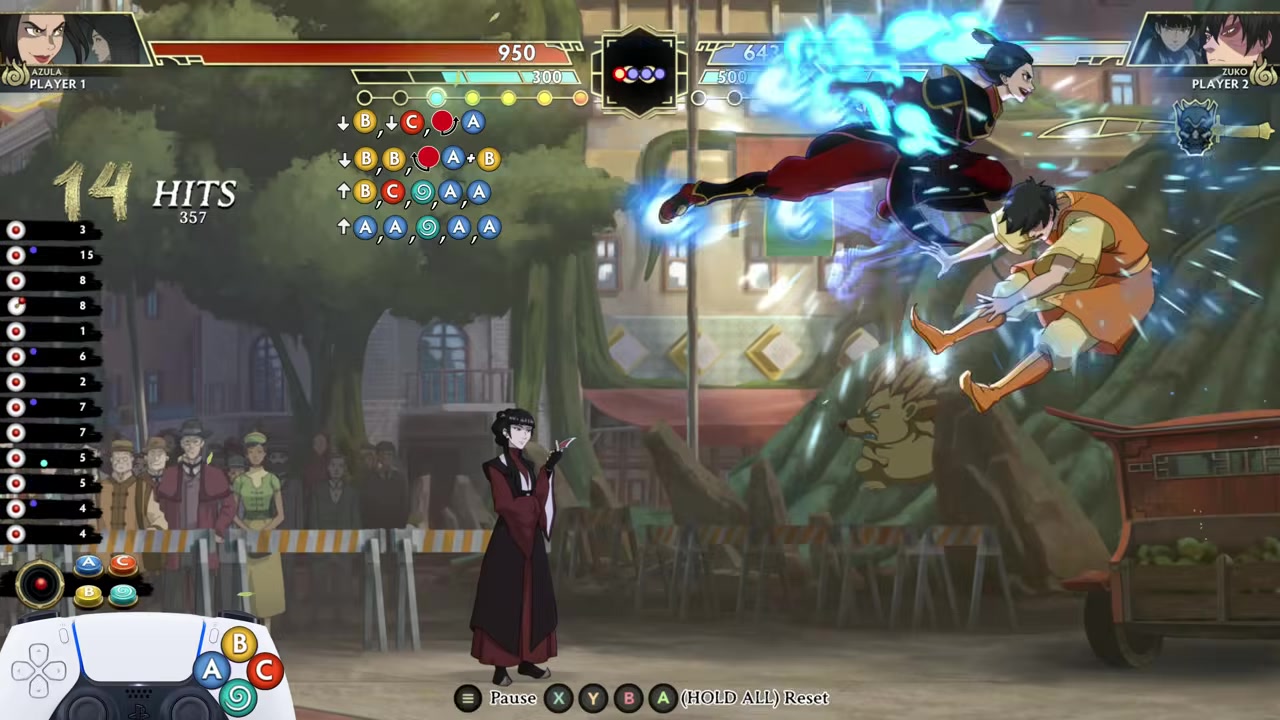
From the air, use QCF B for lightning, press C to lift the opponent, then finish the sequence with QCB C.
STEP 6/7
Finish the grounded A string
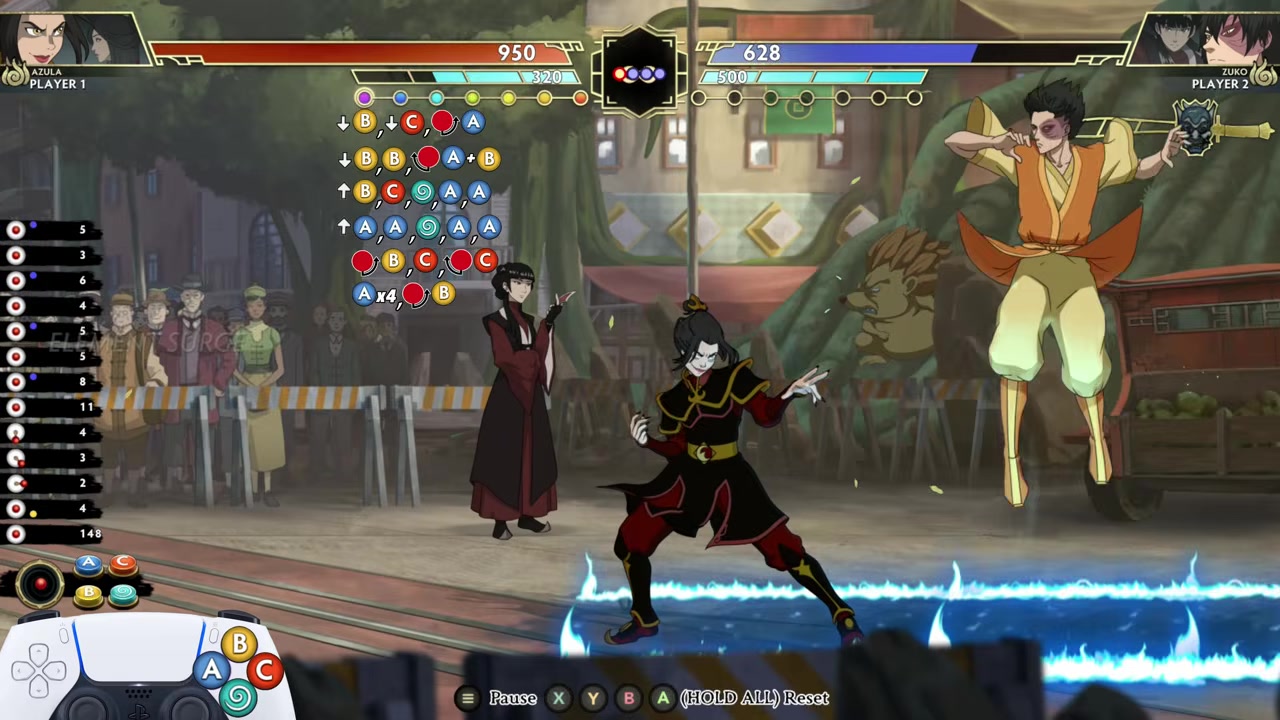
After QCB C, hit A four times on the ground and cancel into QCF B.
STEP 7/7
Cancel into lightning super
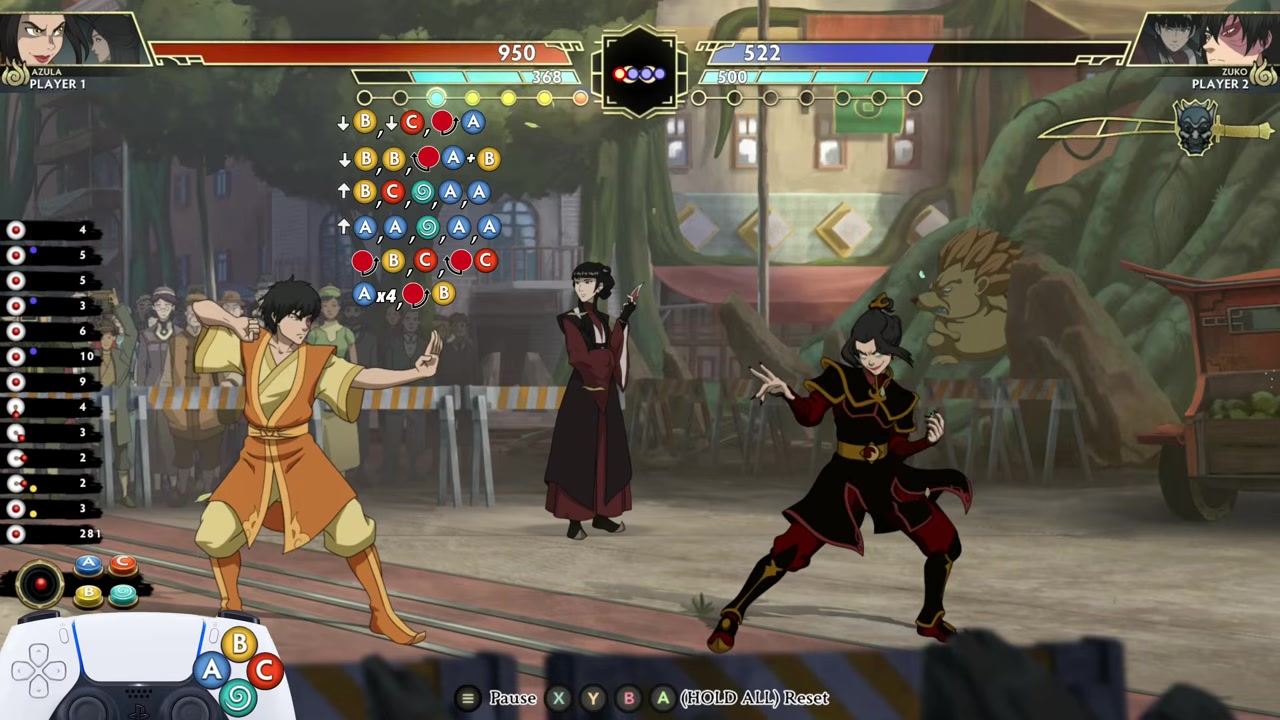
End the route with QCF A + B + C once the final QCF B connects.
Video help
Azula combo timing for air pickups and lightning
The first major drop point is right after the QCB any-two launcher. Jump early so Azula is already airborne, but do not press j.B > j.C immediately; let the opponent hang for a beat so the later Flow A > A still lines up.

Practice from Down B > B > QCB any two through the first Flow A > A before adding the rest of the combo.
The other tight spot comes after the final Flow A > A. Jump into the lightning section, then delay QCF B slightly so the lightning catches the opponent at the right height before C and QCB C.
Other Azula combo routes to practice
| Combo | Input |
|---|---|
| Simple midscreen BNB | 5A > 5B > C~214B > 5B > 5A > 5B > 5C~214B |
| Ground-to-air EX Prodigious Flash | 5A > 5B > 5C~214EX jc j.A, j.B, j.C > 5A > 5B > 5C~214B |
| Air-dash combo | 5A > 4B > 4C~214EX jc j.5A > j.5B > 9D > 5A > 5B > 5C > 5A > 5B 5C~214B |
| High-execution corner fireball loop | 5A > 5B > 5C > 214A, B! > 5A > 5B > 5C > 214EX dlj.b > 236B > j.5A > 9j.5A > j.5B > 236B > j.5A > 9j.5A > j.5B > 6D > j.5A, j.5C > 5A > 5B > 5C > 214A, B! |
| Midscreen metered big-damage combo | 5A > 5B > 5C, 214A, B! > 5A > 5B > 5C, 214EX, jc > j.5A > j.5B > j.6D > j.5A > j.5C, 5A > 5B > 5C > 214A, B! |
Once the Ursa route feels stable, branch into Azula’s broader combo tree. These are separate practice paths, not extra pieces of the featured procedure above.
The corner loop is the lab monster here: it uses repeated 236B fireballs, wall-bounce notation, and multiple air movement cancels. The shorthand dlj.b is not defined in the route notation, so learn the cleaner BNB, EX pickup, and air-dash route before spending serious time on that version.
Azula playstyle and first practice goals
Azula is a high-execution combo character who gets real reward from special cancels, air mobility, and clean routing. Her damage looks flashy, but the practical grind is less glamorous: stable confirms, controlled Flow use, and air-dash spacing that keeps her close without making the next hit arrive too early.
Start with the simple midscreen BNB, then move into the ground-to-air EX Prodigious Flash route and the air-dash combo. Save the corner fireball loop for later, when Flow management and jump timing already feel automatic.
Frequently Asked Questions
Does this Azula combo require the Ursa Fire Lord variation?
Yes. The featured combo is for Ursa Fire Lord Azula, so selecting a different Azula variation means you should treat this exact route as non-transferable.
What does Flow do in Azula’s combo?
Flow lets Azula dash in the air so she can stay attached to the airborne opponent after j.B > j.C and after j.A > j.A. In this route, it is the glue between the launchers and the lightning sequence.
Why does the Jump B C part keep dropping?
It usually drops because j.B > j.C is hitting too soon after the launcher. Azula should already be in the air first, then the attacks should connect after the opponent has floated for a brief moment.
What does Azula’s lightning super do besides damage?
Azula’s lightning super drains the opponent’s Flow meter. It also leaves lightning on the ground afterward, adding more damage if the opponent gets up into it; rolling still takes extra damage, but less than standing into the effect.
Which Azula combo should beginners learn first?
Learn the simple midscreen BNB first because it teaches Azula’s normal string into Prodigious Flash without forcing the harder air-dash and corner-loop timing right away.






Leave a Reply