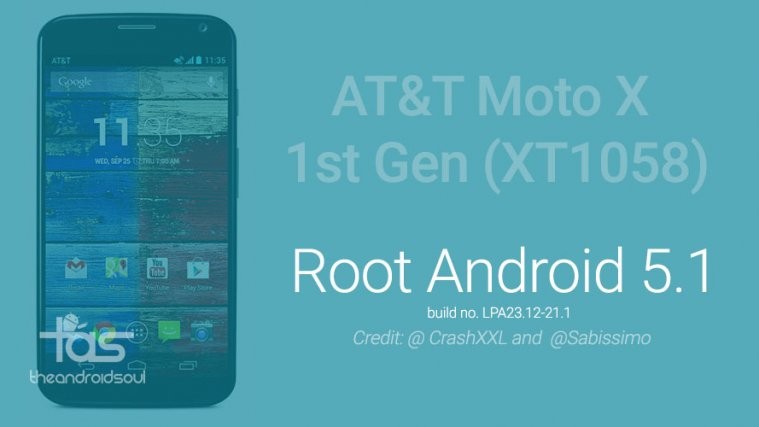
AT&T Moto X users who are on Android 5.1 update have lot to cheer for today. Thankfully, the 5.1 update can now be rooted, and we’re talking exact software version here, which is LPA23.12-21.1. Yes, it’s the same update that’s been suspended now. Do you smell that too? Is the exploit discovered for root access the very reason AT&T pulled the update after distributing it to 1/3rd of total devices already?
If you are already on LPA23.12-21.1, and want root, we would suggest you to not update to newer version as root access might be hard to achieve on upcoming upgrades. For now, let’s see how to root AT&T Moto X on 5.1 using the latest trick. Credit for this goes to CrashXXL, thanks a lot! Also, we’ve to thank Sabissimo for reporting it.
We’ve seen some 5.1 root tricks already — remember Droid Turbo 5.1.1 root, or the AT&T Moto X 2nd Gen 5.1 root — but those require you to be rooted already on Android 5.0 using Mofo, which isn’t the most preferred way as it costs $20. Moreover, if you are updated to 5.1 already via OTA or firmware, you couldn’t root on 5.1, as your bootloader has already been updated and Mofo can’t do its magic anymore.
The 5.1 root we have here is very tricky, and isn’t your simple on-click-root solution. You have to go through installation Python, and be able to install QHSUSB_DLOAD drivers manually too. The guide below (under development right now) covers everything but don’t expect it to be an easy pie.
How to Root AT&T Moto X on 5.1
Downloads
- Root patch | File: Root_ATT_XT1058_5.1_LPA23.12-21.1_cid1.rar (45.8 MB)
- QHSUSB_DLOAD driver | File: windows_drivers_QHSUSB_DLOAD.zip (180 KB)
- Python | File: python-2.7.9.msi (17.4 MB)
- Pyserial | File: pyserial-2.7.win32.exe (264 KB)
Supported devices
- AT&T MOTO X 1st Gen, model no. XT1058
- Don’t try this one any other device of Motorola or any other OEM!
Warning: Warranty may be void of your device if you follow the procedures given on this page. You only are responsible for your device. We won’t be liable if any damage occurs to your device and/or its components.
Backup your Android. Backup important files stored on your device before proceeding with the steps below, so that in case something goes wrong you’ll have backup of all your important files.
Step by step Guide
1. Make sure your AT&T Moto X (XT1058) is updated to 5.1, with build no. LPA23.12-21.1 — it’s a must! If not, then either install this 5.1 OTA using its guide (easy method), or this firmware using RSDLite software.
2. Download the four files from above. This includes Root patch, Python, Pyserial and QHSUSB_DLOAD driver.
3. Install ADB and Fastboot drvier.
4. Install Motorola Moto X driver.
5. Install Python and Pyserial software on your PC. Double click on python-2.7.9.msi first to install python, and then on pyserial-2.7.win32.exe to install Pyserial. upon installing Python, you should have a folder Python27 in your C Drive.
6. Extract the root patch file (Root_ATT_XT1058_5.1_LPA23.12-21.1_cid1.rar) using 1-zip software to any folder on PC.
7. Transfer the extract file from root patch to Python27 folder in C drive.
8. Reboot your Moto X into Fastboot mode. Do this:
- Power off your device and wait for 5-10 seconds until the device is fully switched off.
- Press and hold Power and Volume down together for like 5-6 seconds and then release the buttons — you should see bootloader mode, with AP Fastboot Flash Mode written at the top.
9. Connect your Moto X to PC, and don’t disconnect until asked to.
10. You will have the BLBROKE.bat file in your Python27 folder. Double click on it to run it. This will flash the sbl2.mbn file on your device. This will cause the device to power off. You will see black screen, and won’t be able to power on the your AT&T Moto X. Don’t worry though, let’s fix this on next few steps.
11. Extract the QHSUSB_DLOAD driver file (windows_drivers_QHSUSB_DLOAD.zip) to any folder on your PC. You will need to install driver in step 12 below.
12. Open device manager on your PC. Make sure Moto X is connected to PC.
13. If you are on Windows 8, 8.1 or newer version, you need to disable Driver Signature Enforcement. Here’s how that is done. Don’t do this if you are on Windows 7 or older version.
- On your PC, restart your PC, but while clicking on restart button hold the shift key.
- Windows will get you restart option, choose Troubleshoot, and then Advanced options, then Start Settings, and then click on Restart.
- Now, select option 7 ‘Disable Driver Signature Enforcement’. Use the appropriate key as mentioned on that screen. Let PC restart thereafter.
14. You will see a QHSUSB_DLOAD device in ‘device manager’. Install QHSUSB_DLOAD driver now, manually. Here’s how.
- Right click on the QHSUSB_DLOAD device.
- Select Update driver software…
- Click on the option ‘Browse my computer for driver software’.
- Click on Browse button on next window.
- Now, select the folder where you have all the content of QHSUSB_DLOAD driver file from step 11 above. Click on OK then.
- Click on Next.
- Windows will look for QHSUSB_DLOAD driver and when it finds it, will begin to install it. Wait till it’s done.
- Windows may tell you that drivers aren’t properly signed. Well, ignore that and install the drivers and continue.
15. Once you have got the QHSUSB_DLOAD driver installed, your Moto X can be flashed with root. Just run the root.bat in Python27 folder. Your AT&T Moto X is being rooted now. Wait till the process is finished — it could take 15-20 minutes. When done, your Moto X has been successfully rooted. Your device will restart automatically, and system will start optimizing apps — a very time consuming process.
16. If you want Xposed framework on your Moto X, download the APK installer file here, and the install the app manually.
Done! Btw, double chop gesture to start flashlight is already available in Moto app. Try it, it’s sexy! Your AT&T Moto X 1st Gen is rooted and also has busybox installed.
Don’t forget to thanks the developers mentioned in 2nd para above as they deserve recognition of their efforts for making this possible. Right?


Unlocked bootloader?
Unlocked bootloader?
Unlocked bootloader?
I have LPA23.12-21.7 , do i have to downgrade to …21.1 or i can do it anyways? i tried to install build LPA23.12-21.1 via OTA but there is something wrong and the istallation is aborted.., can you please tell me what i should do?
I have LPA23.12-21.7 , do i have to downgrade to …21.1 or i can do it anyways? i tried to install build LPA23.12-21.1 via OTA but there is something wrong and the istallation is aborted.., can you please tell me what i should do?
Have the same question as Leo. Would it work on LPA23.12-21.7
Have the same question as Leo. Would it work on LPA23.12-21.7
me too
me too
I tried this method because some problem my device Display goes to black how to turn on please help me my device is moto x 2013 ATT USA brand
I tried this method because some problem my device Display goes to black how to turn on please help me my device is moto x 2013 ATT USA brand