Android 4.2 – the latest flavor of Jelly Bean is just 3 days away, and almost at our doorsteps now. It will debut on the Google Nexus 4 smartphone and the Nexus 10 tablet, and will also be released to all variants of the Nexus 7 on November 13th, with the Samsung Galaxy Nexus coming up later thereafter.
Android 4.2, as we have already seen in our preview article, boasts of quite a few impressive new features and enhancements, the gesture-based swipe keyboard, the Photo Sphere functionality in the camera, revamped gallery and various other other everyday apps like the desk clock and access to quick settings built right into the notifications panel to name a few.
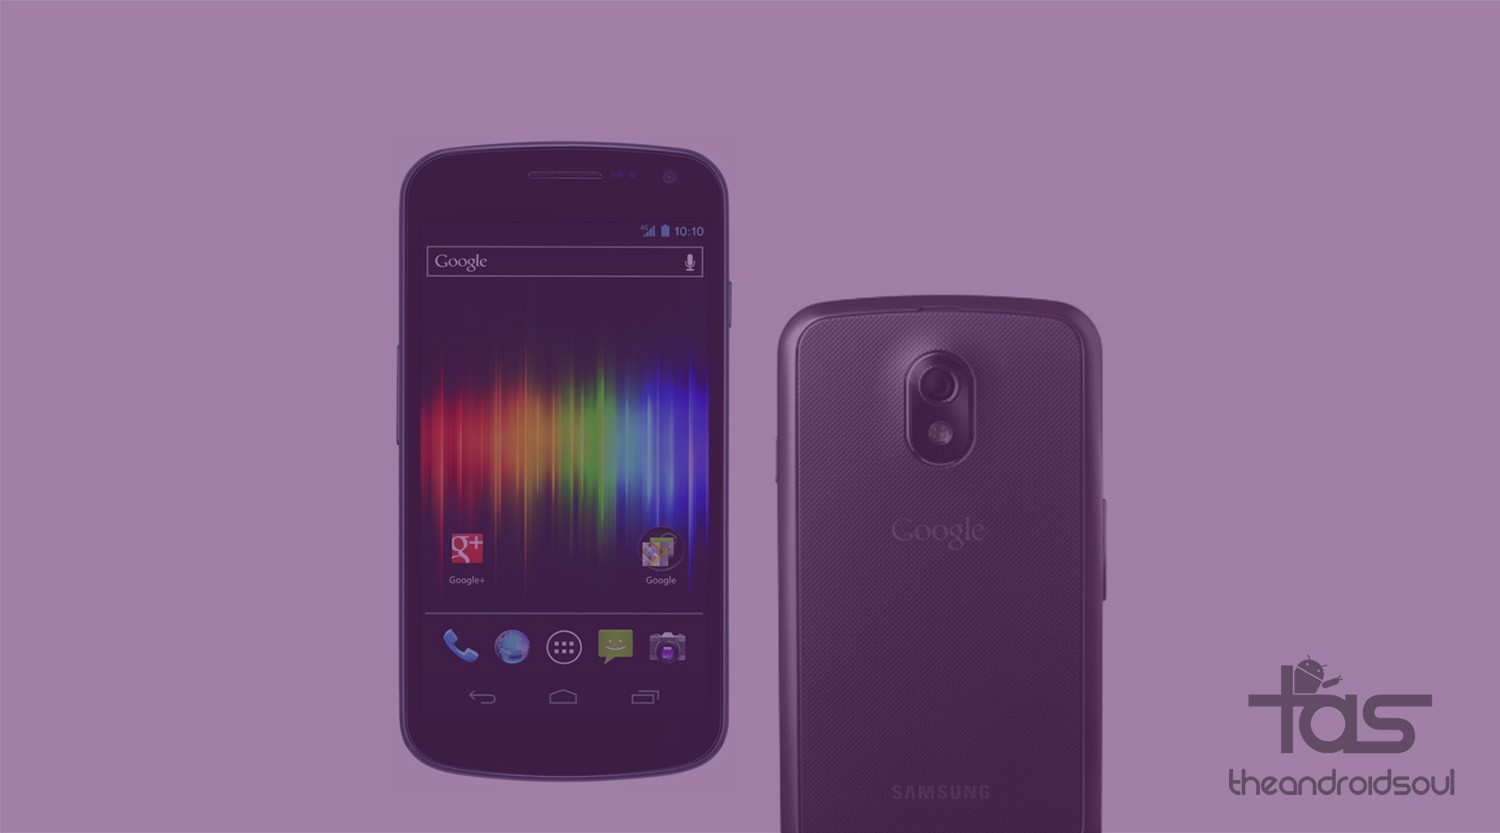
While it is more than certain that the Galaxy Nexus would be getting the official update to 4.2, there is no specific dates mentioned by Google just as yet. Though we reckon, it will be sooner rather than later, as it is one of the very, very few devices out there, which has already been updated to Android 4.1.2.
Android 4.2 apks like the new camera, desk clock and the new Gmail app have already been pulled from a Nexus 4 system dump, and outed for use on the Galaxy Nexus a while ago. Now recognized XDA developer drewgaren, has released a combo build using the Android 4.2 JOP24G build from the Nexus 4 system dump and the latest official Android 4.1.2 JZO54K build from the Galaxy Nexus.
While this is really just a test build, and may not really qualify as a pure 4.2, it certainly makes the cut as a partial port and contains a majority of Android 4.2 JOP24G files including all Android 4.2 GAPPS. Quoting drewgaren, the build runs fantastically and is better than ever. I guess the only way to find out if that is true is by flashing it on the Galaxy Nexus- So shall we?
Compatibility
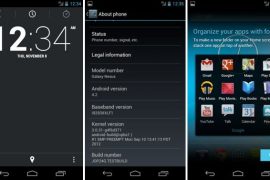
This ROM and the guide below are compatible only and only with the International GSM Galaxy Nexus, model number i9250. It’s not compatible with Verizon/Sprint variants or any other device. Check your device model in Settings » About phone.
Warning!
The methods and procedures discussed here are considered risky and should not be attempted unless you know exactly what you’re doing. If any damage occurs to your device, we won’t be held liable.
How to install the Android 4.2 – 4.1 Combo-build on Samsung Galaxy Nexus
- Make sure your Galaxy Nexus is rooted and has a custom recovery like TWRP or CWM installed. You can use this handy step-by-step guide.
- This method will wipe all data on your device completely, and restore it back to factory state. To be sure you do not lose any data, backup your Apps and important data — bookmarks, contacts, SMS, APNs (internet settings), etc. This Android backup guide should help you. The SD card contents will also be wiped, so make sure that you have backed up what is required.
NOTE: Don’t forget to note down your network’s APN settings, which are required to make mobile data work. Go into Settings » More » Mobile Networks, click on the APN that is in use, then note down the setting for each field. While APN settings should be automatically restored from network, in the event that does not happen, you can always enter them manually to make mobile data work. You can also find your APN details → here. - Download the Android 4.2 test build to your PC. Mirror 1 | Mirror 2 | Mirror 3
- Copy the downloaded zip file from Step 3 to the SD card on your Galaxy Nexus (do not extract it)
- Disconnect your phone from the PC and switch it off completely.
- Turn off the phone and boot into TWRP/CWM recovery. To do this, press and hold the Volume Up + Volume Down + Power buttons together till the screen turns on. Then, scroll to the Recovery mode option using the volume buttons, then select it using the Power button to restart in recovery.
- Now, tap on Backup, make sure the System, Data and Boot boxes are checked, and slide the blue circle button at the bottom to the right to start backing up your current ROM. This way you can restore it later, if something does not work out with the new ROM. After backup is complete, go back to the main menu by clicking the home button at the bottom left of the screen.
- Next from the Main menu, Tap Wipe, then select Factory Reset and confirm wipe on the next screen. Now Tap Cache from the Wipe menu and confirm wipe on the next screen. Once done, Tap Dalvik Cache and again confirm wipe on the next screen. Once done, press the back button to go back to the main menu.
- Now from the main menu, tap Install, and on the next screen navigate to the DG4.2testbuild.zip file you transferred to your phone in Step 4, and select it. Slide the blue circle on the next screen to start the installation.
- The Android 4.2 test build will now start getting installed. Wait till the installation is complete, and then tap the Reboot button on the TWRP main menu, and then Tap System to reboot your Galaxy Nexus into the OS
- Initial boot may take slightly longer than usual, so please be patient.


