What to know
-
There are six total upgrades tied to biobeds: four inventory expansions and two quick‑tool expansions.
-
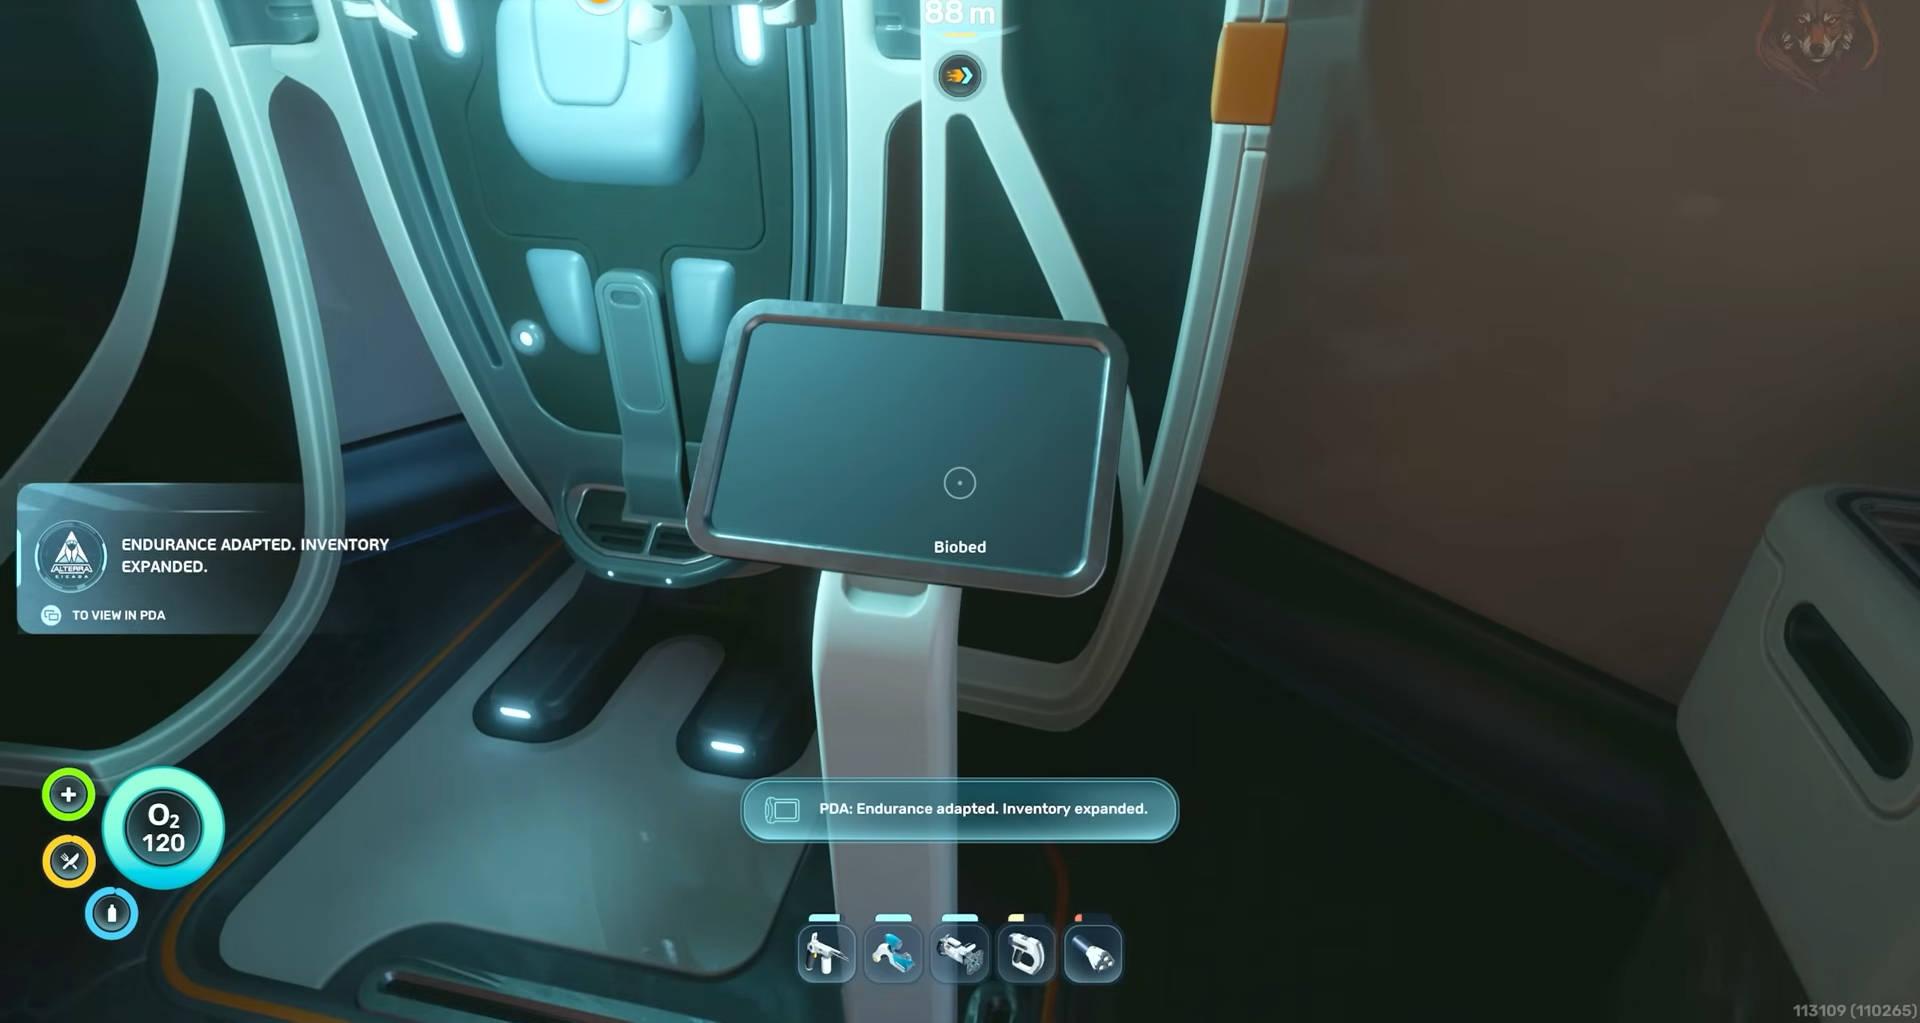
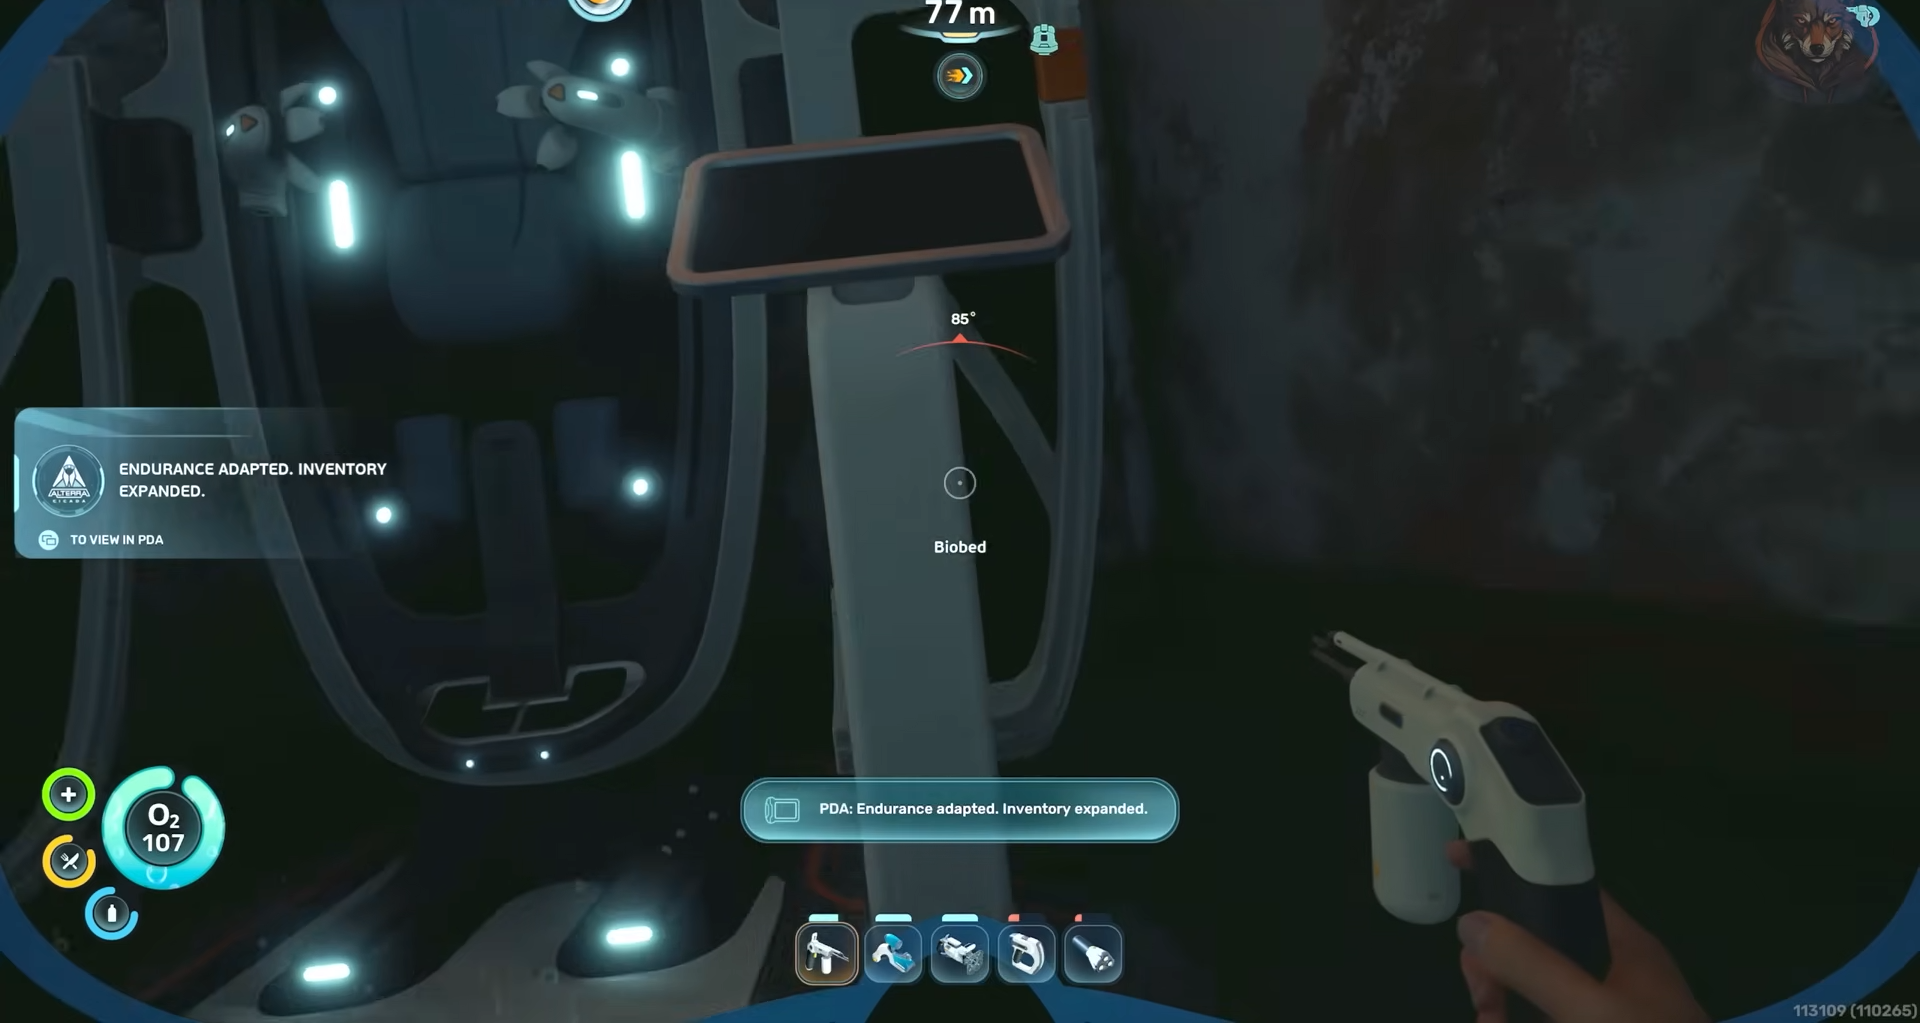
Each upgrade is permanent once you interact with the terminal beside the biobed.
-
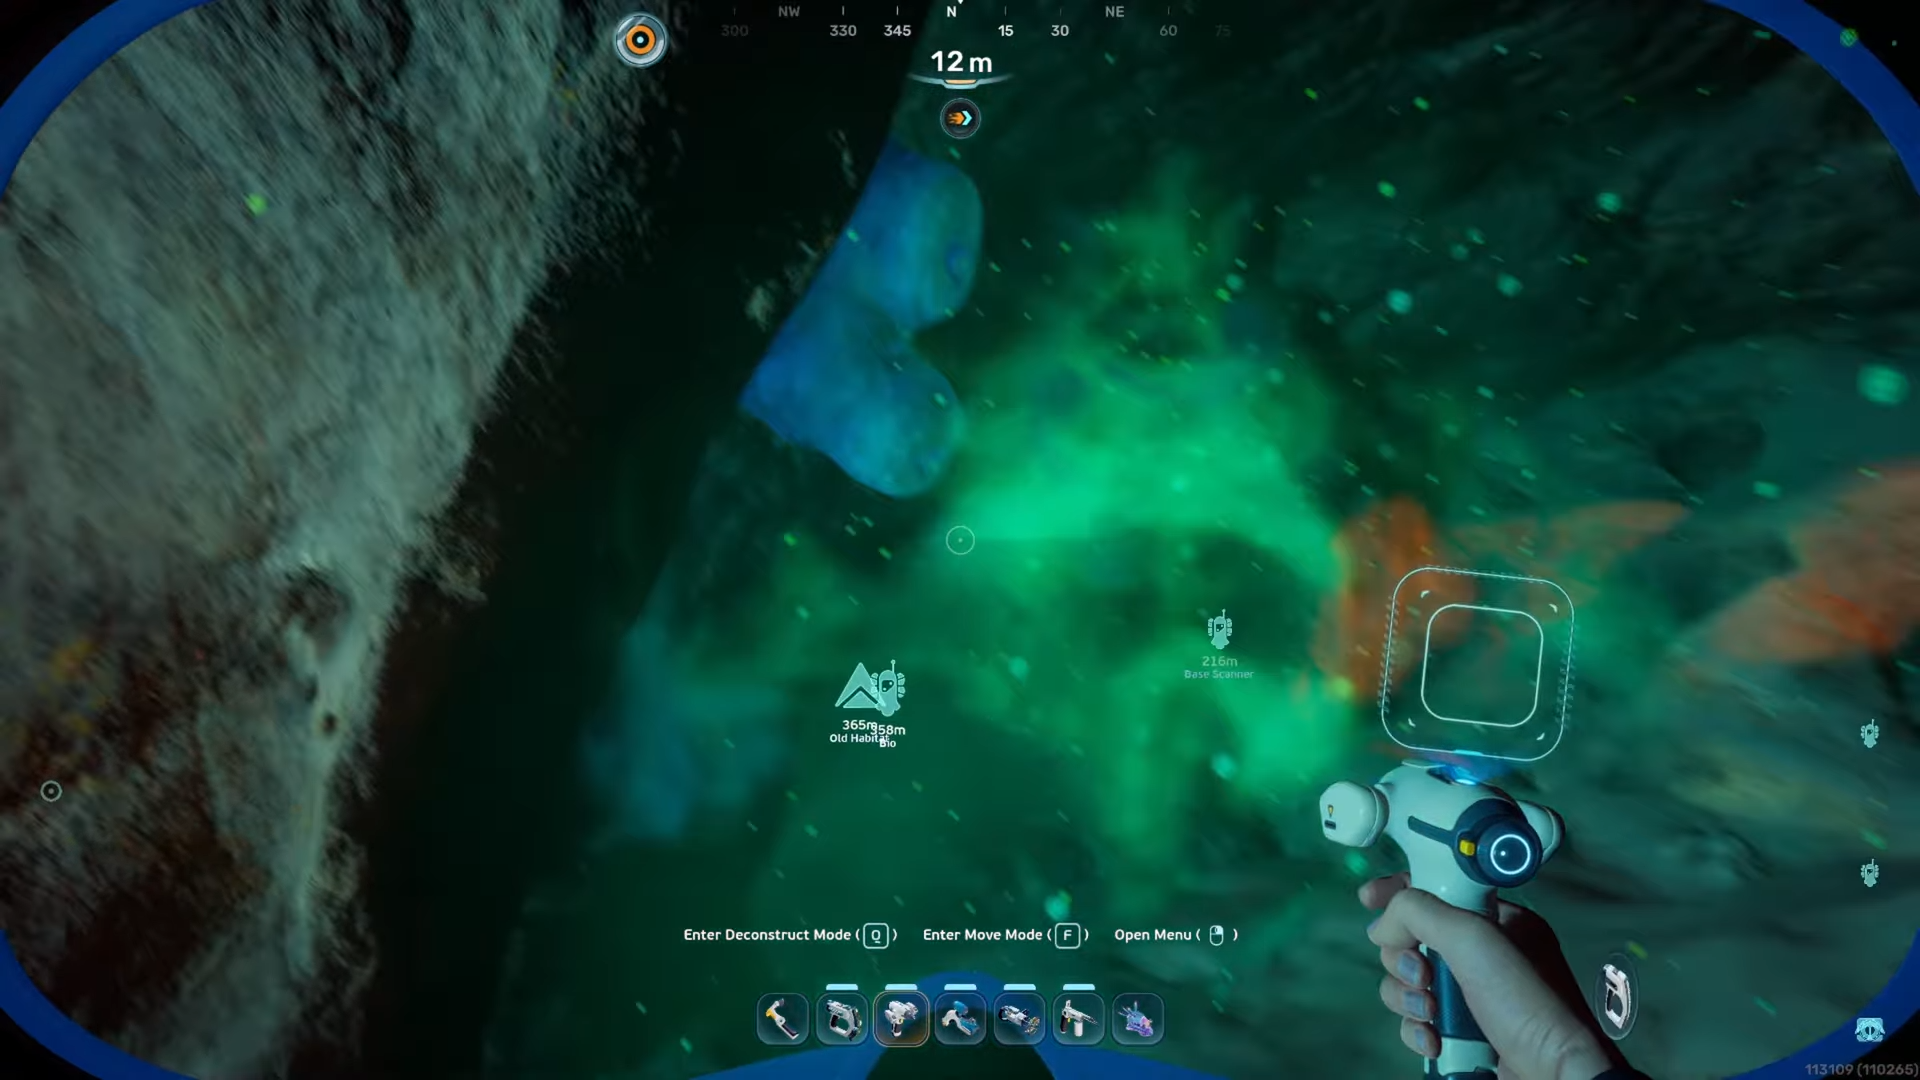
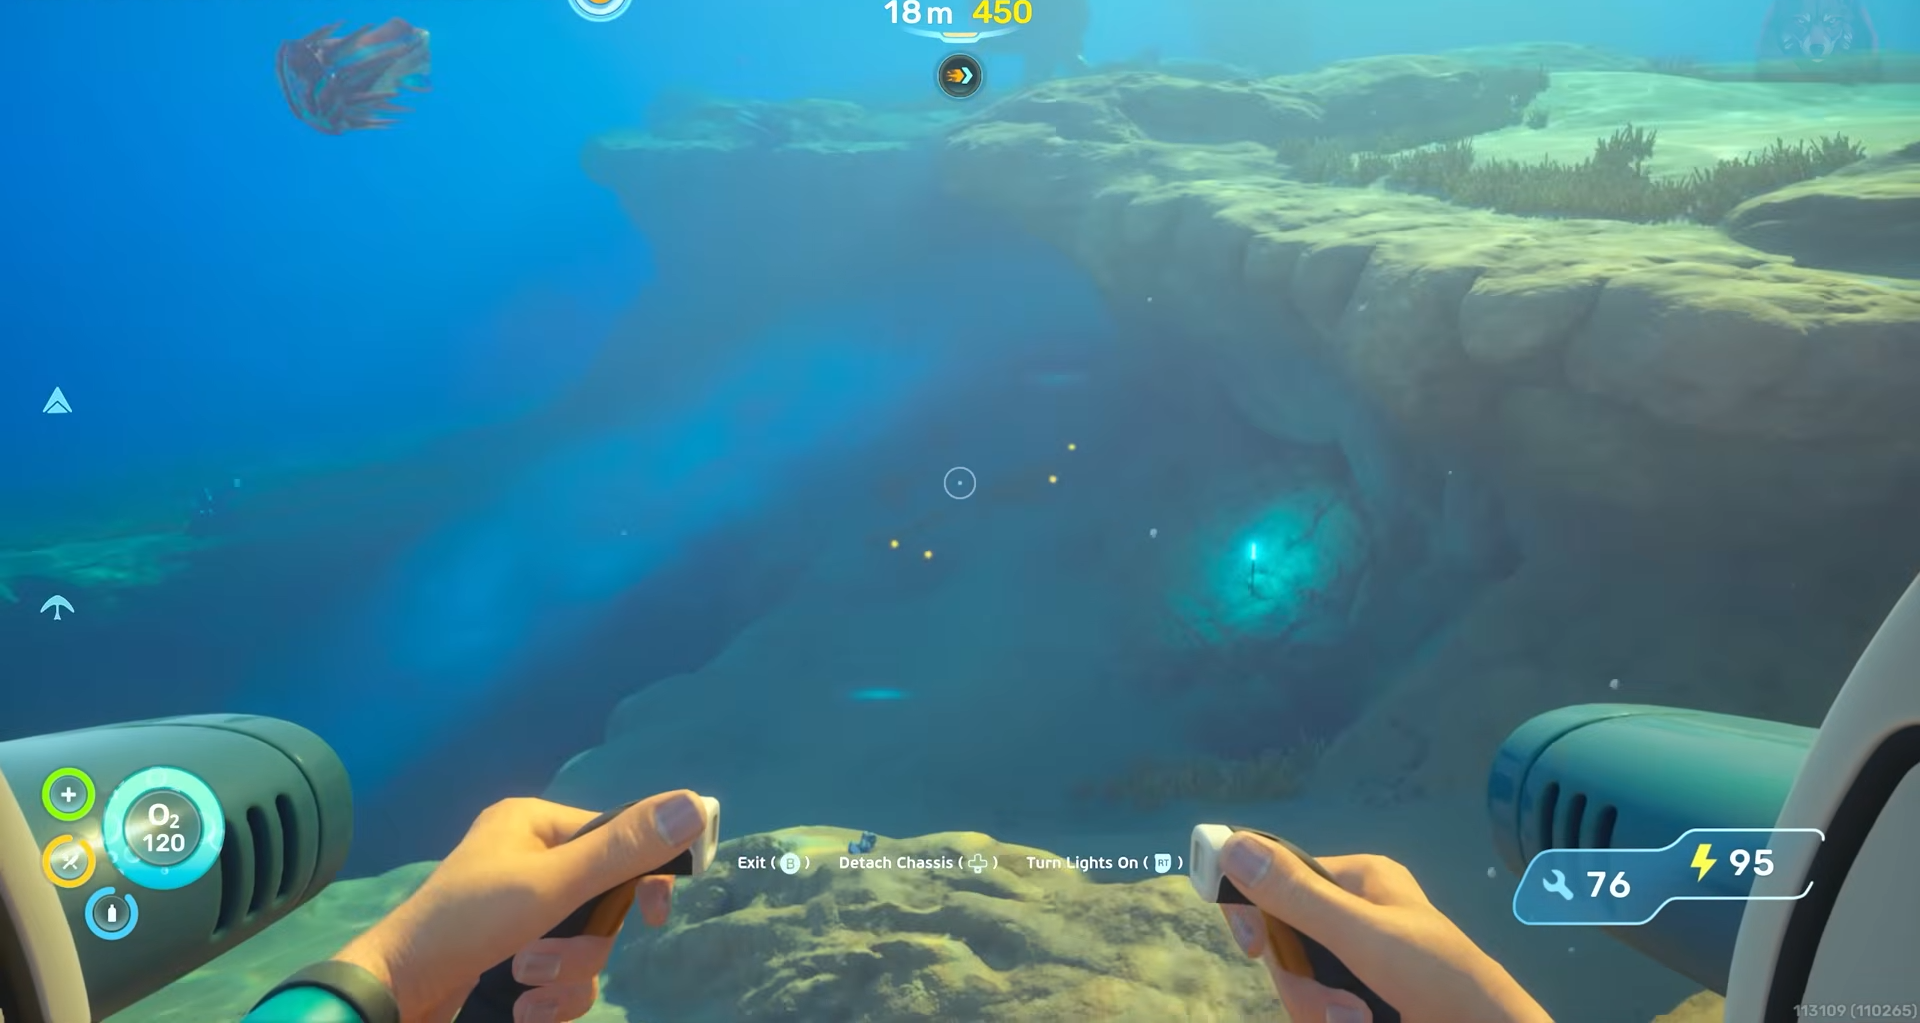
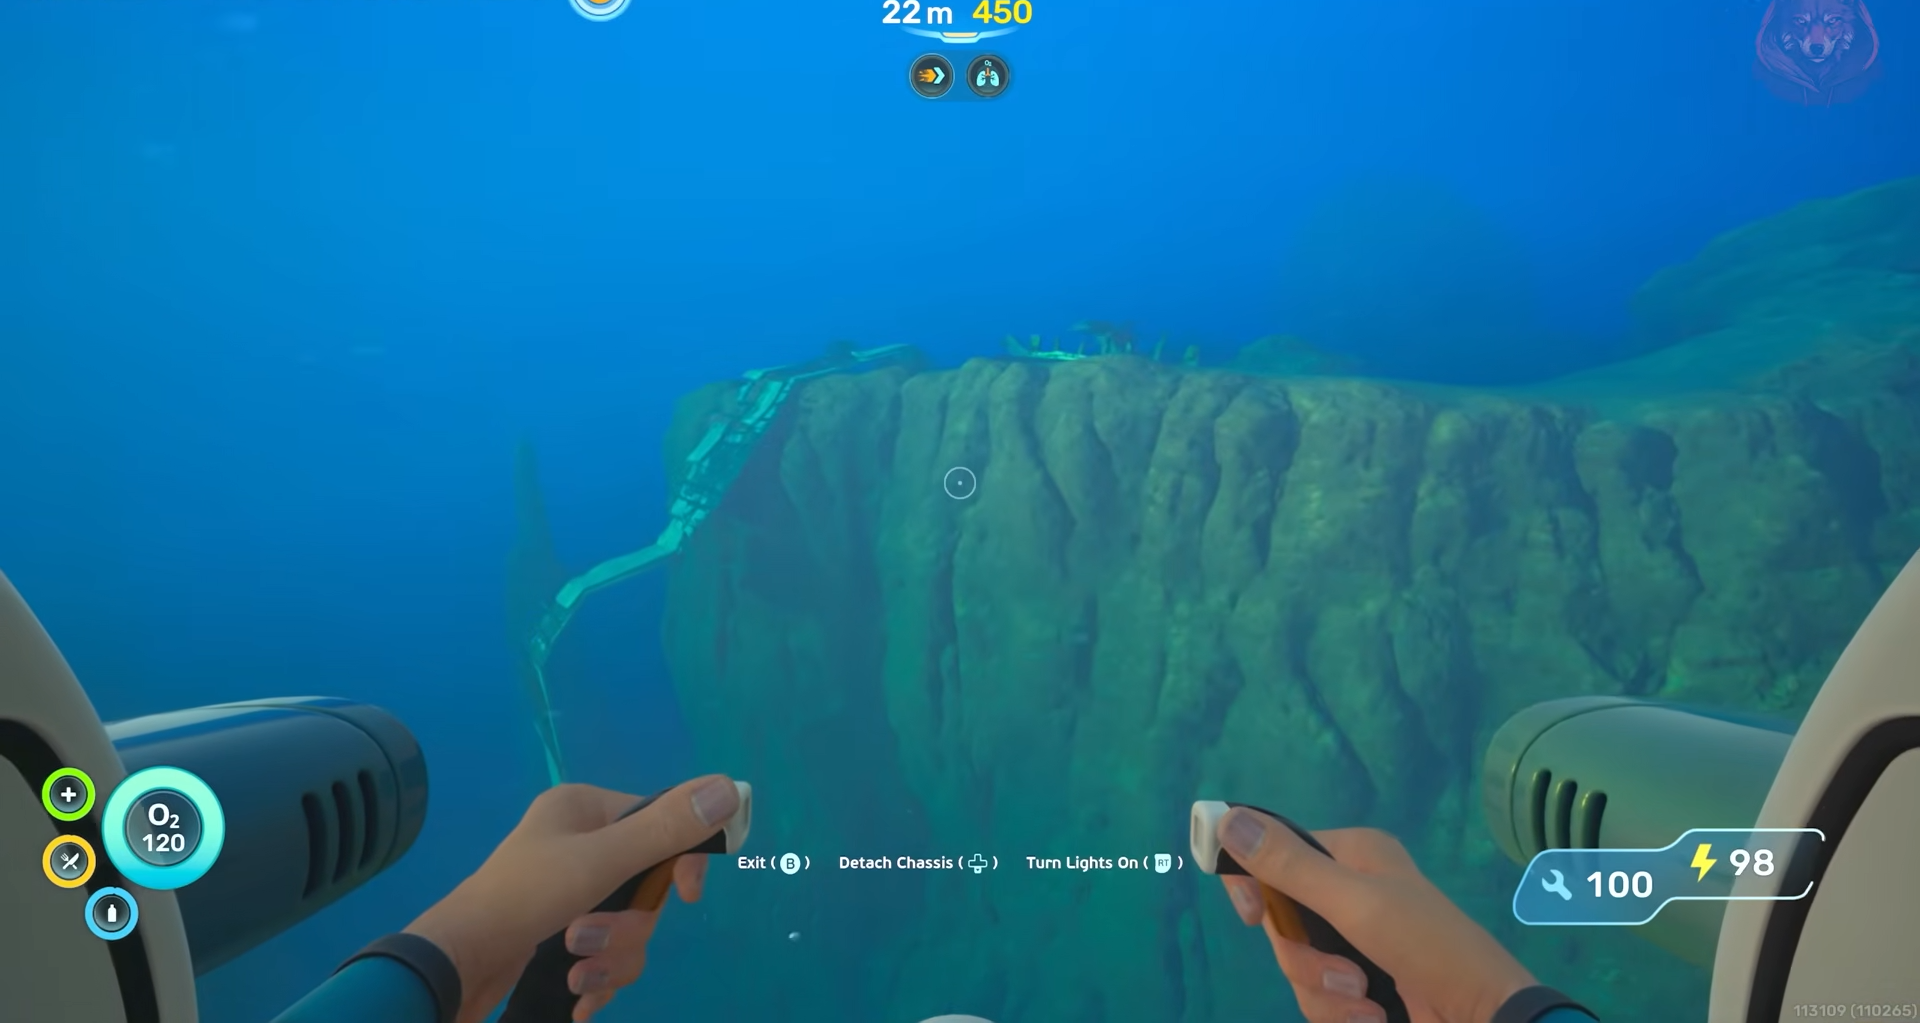
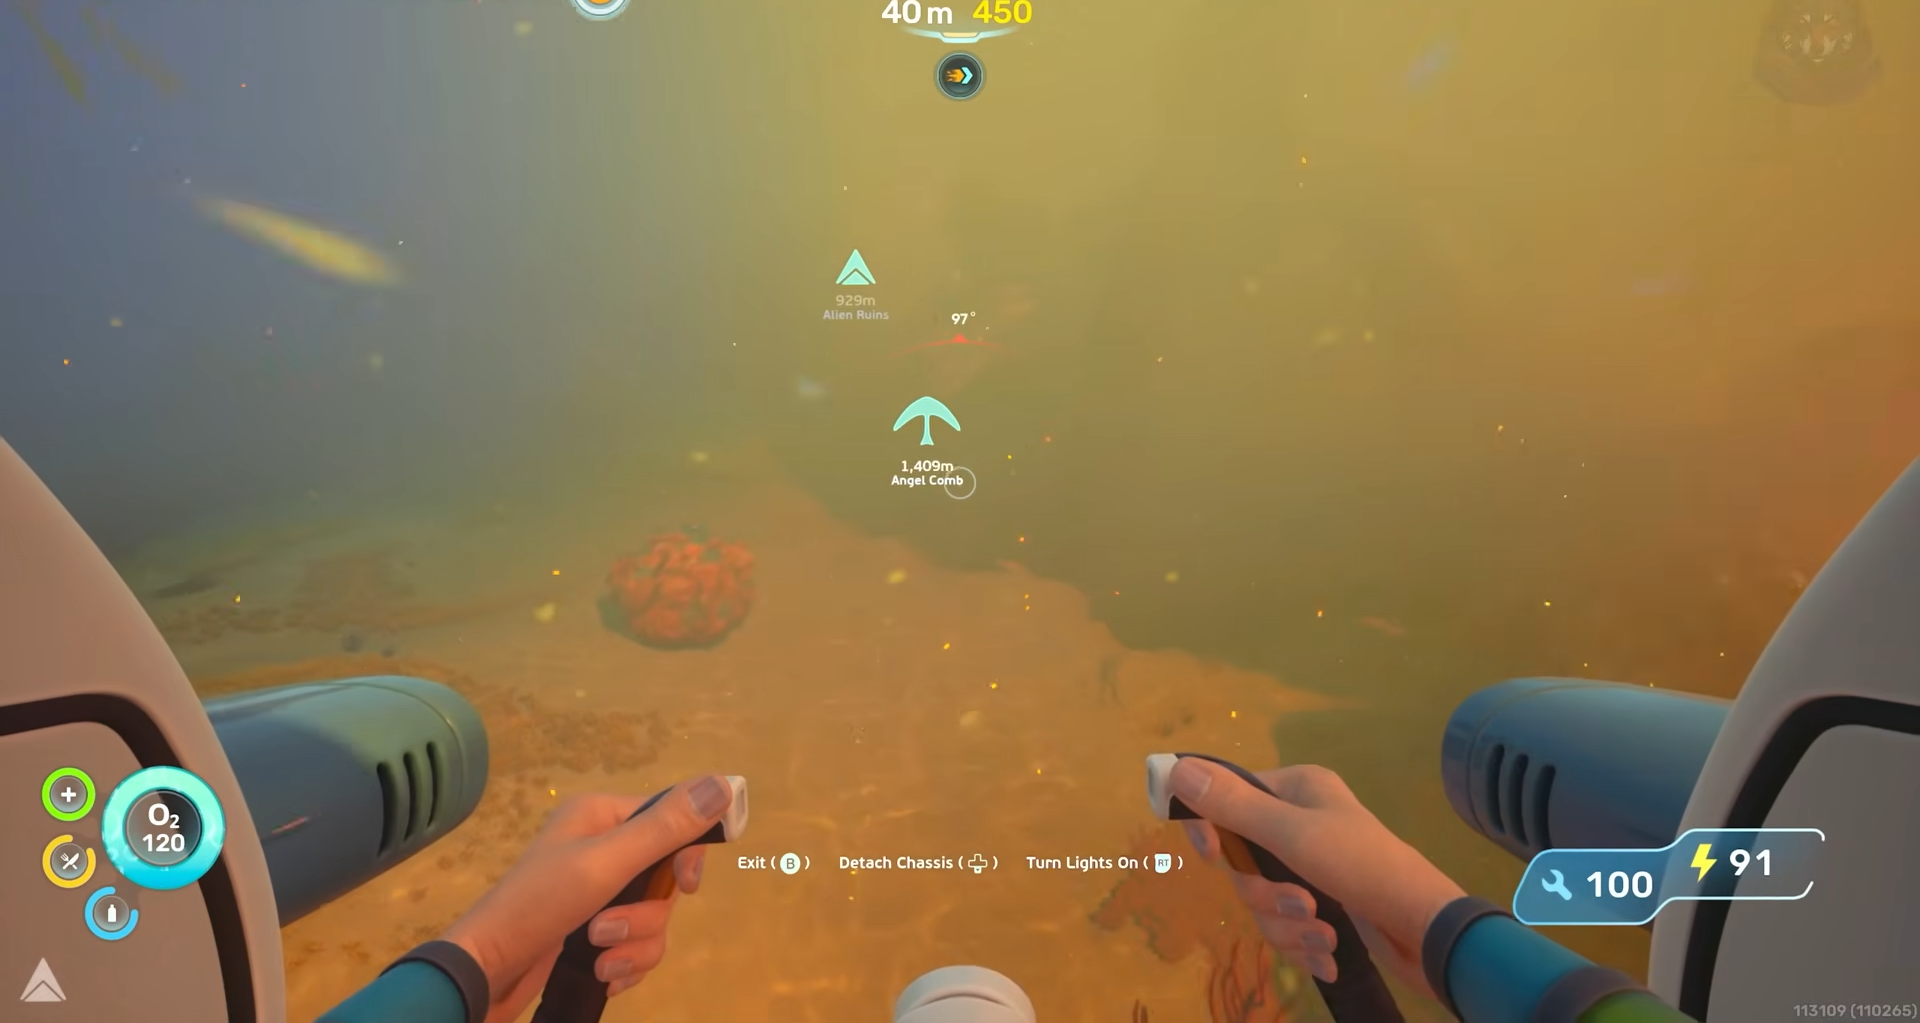
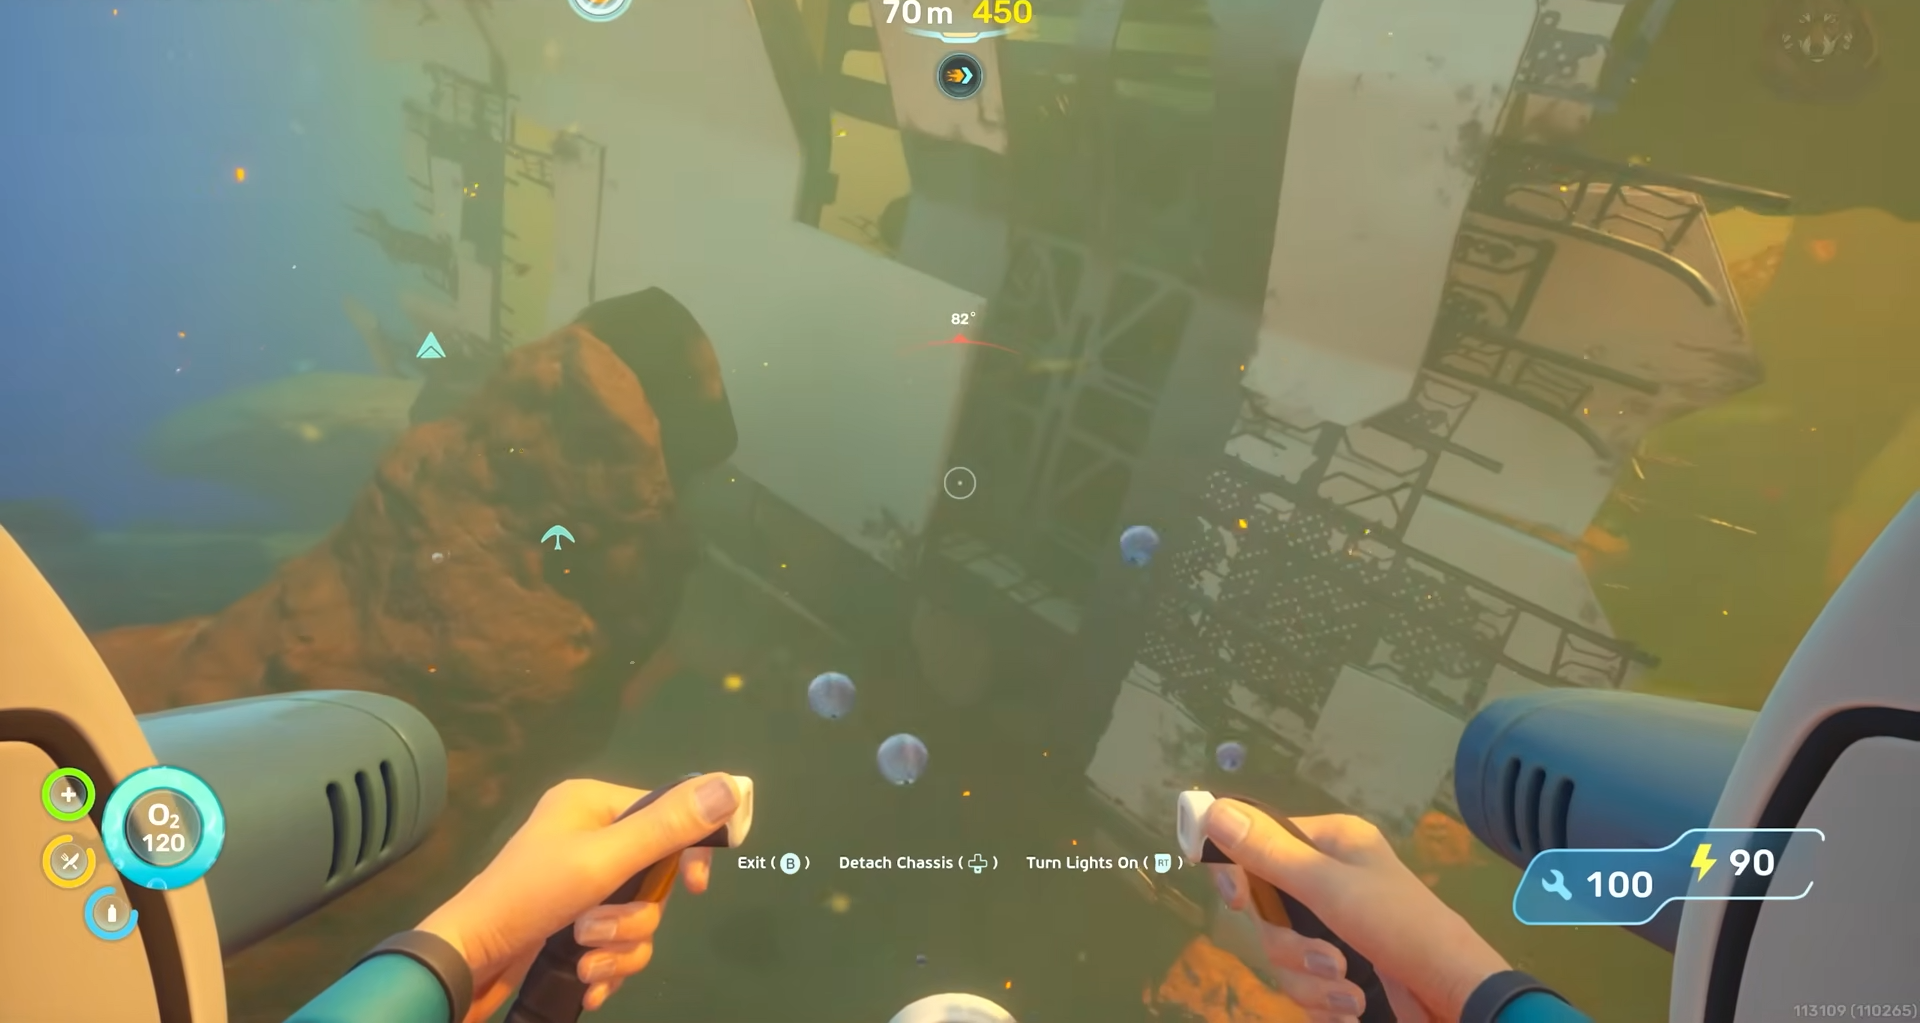
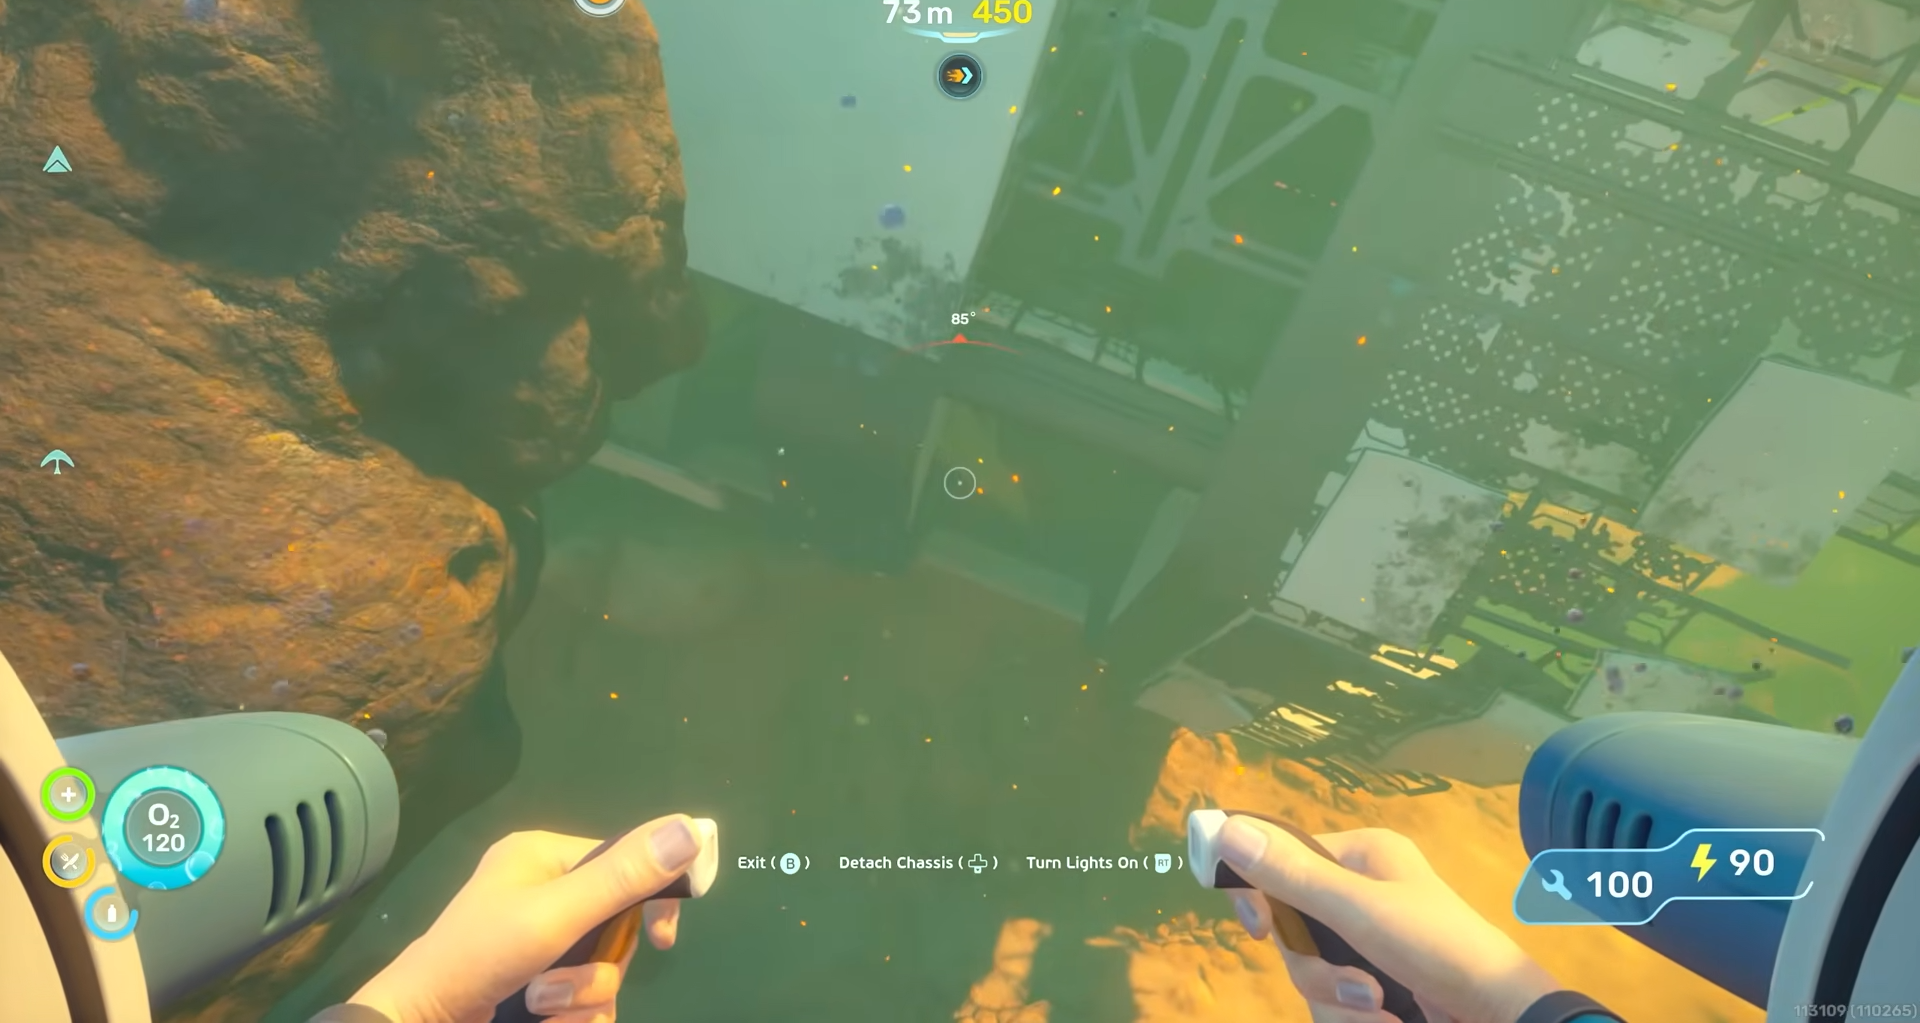
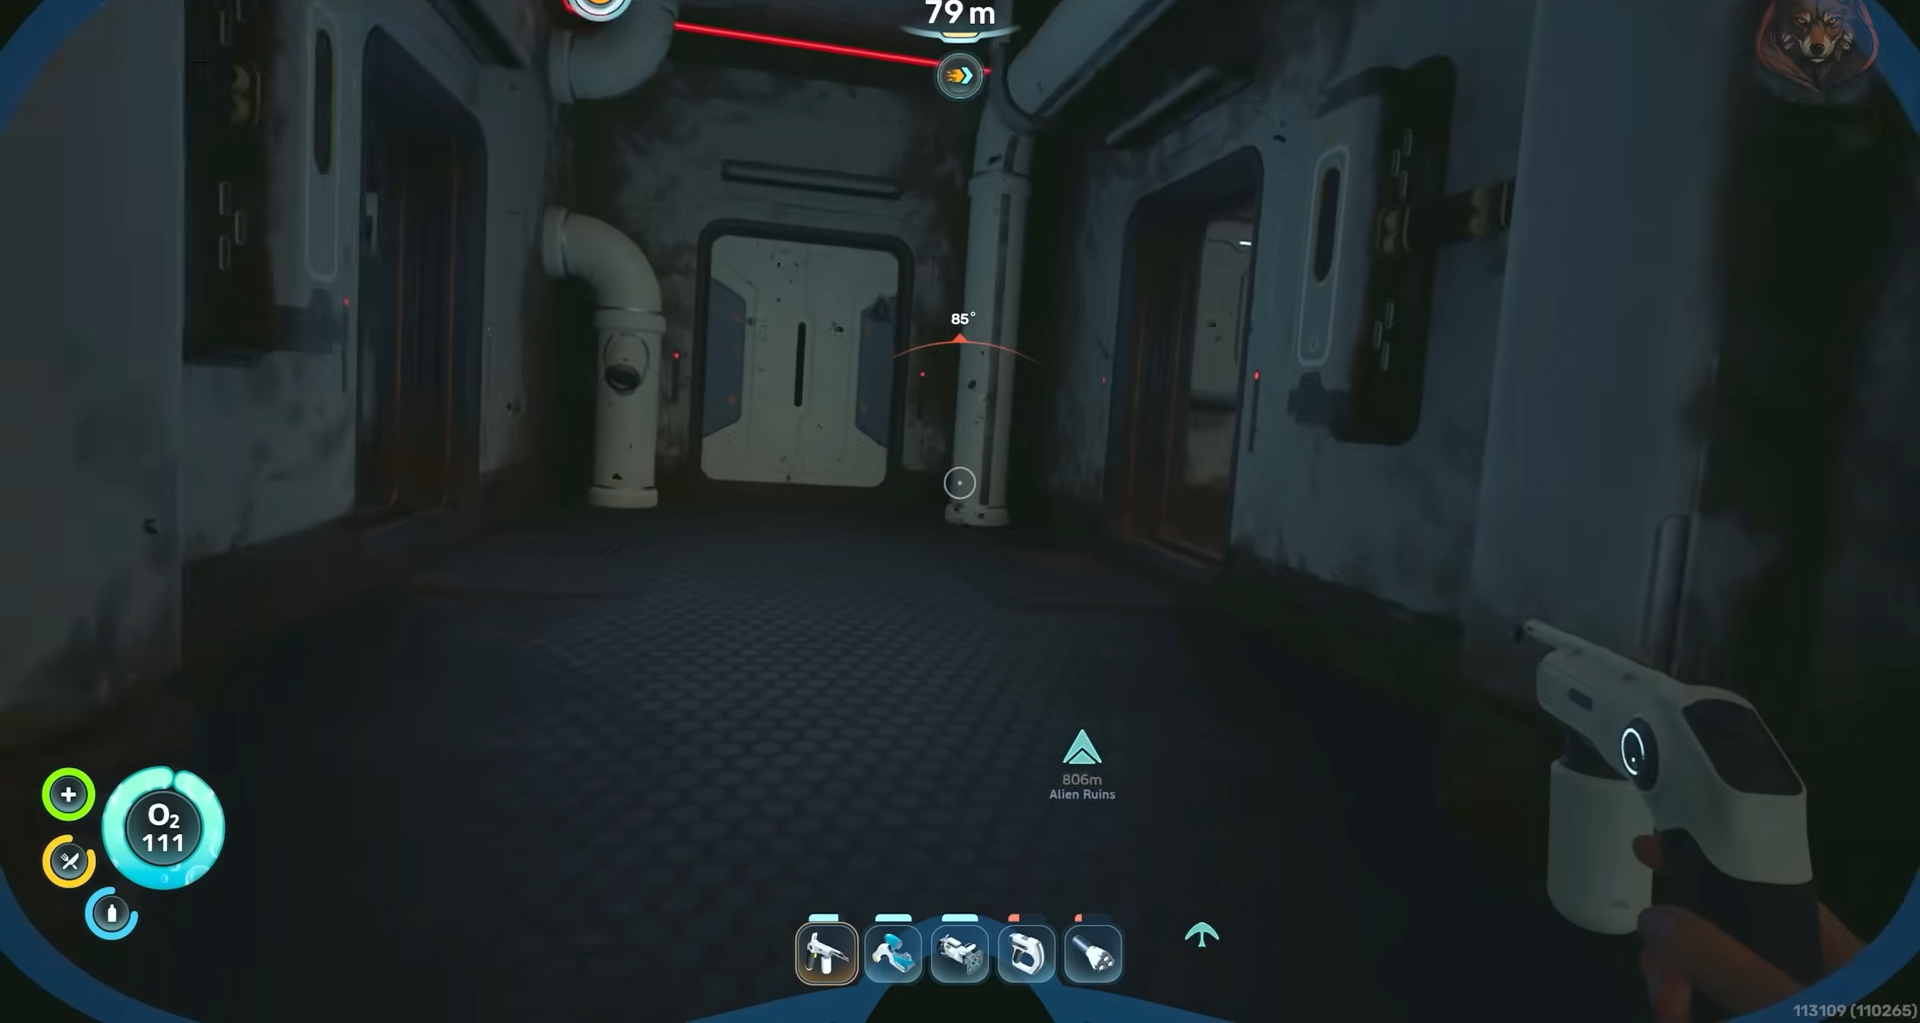
Most are clustered near the starting zone, but a couple require heading farther out in different directions.
-
Always keep some air or a rebreather ready, because several upgrades sit in deeper caves or along drop‑offs.
Inventory expansions in Subnautica 2 are tied to specific biobed terminals inside abandoned colony outposts or small bunkers rather than generic crafting. Reaching these terminals presumes you have at least basic stamina and depth tolerance, which the game usually arms you with early on through story prompts and gear. The first few inventory expansions close to the life pod are the most important for easing early‑game resource hauling and salvage runs.
Quick‑tool expansions function similarly but boost the number of tools you can hot‑swap while swimming, which is especially useful for explorers constantly toggling between cutters, scanners, and lights. Both types of upgrades are one‑time; once you interact with a terminal, you cannot respec or reclaim that expansion slot, so spacing them out over your exploration path is more efficient.
All Inventory and Quick-Tool expansion upgrade details
Inventory expansions – locations
Inventory Expansion 1
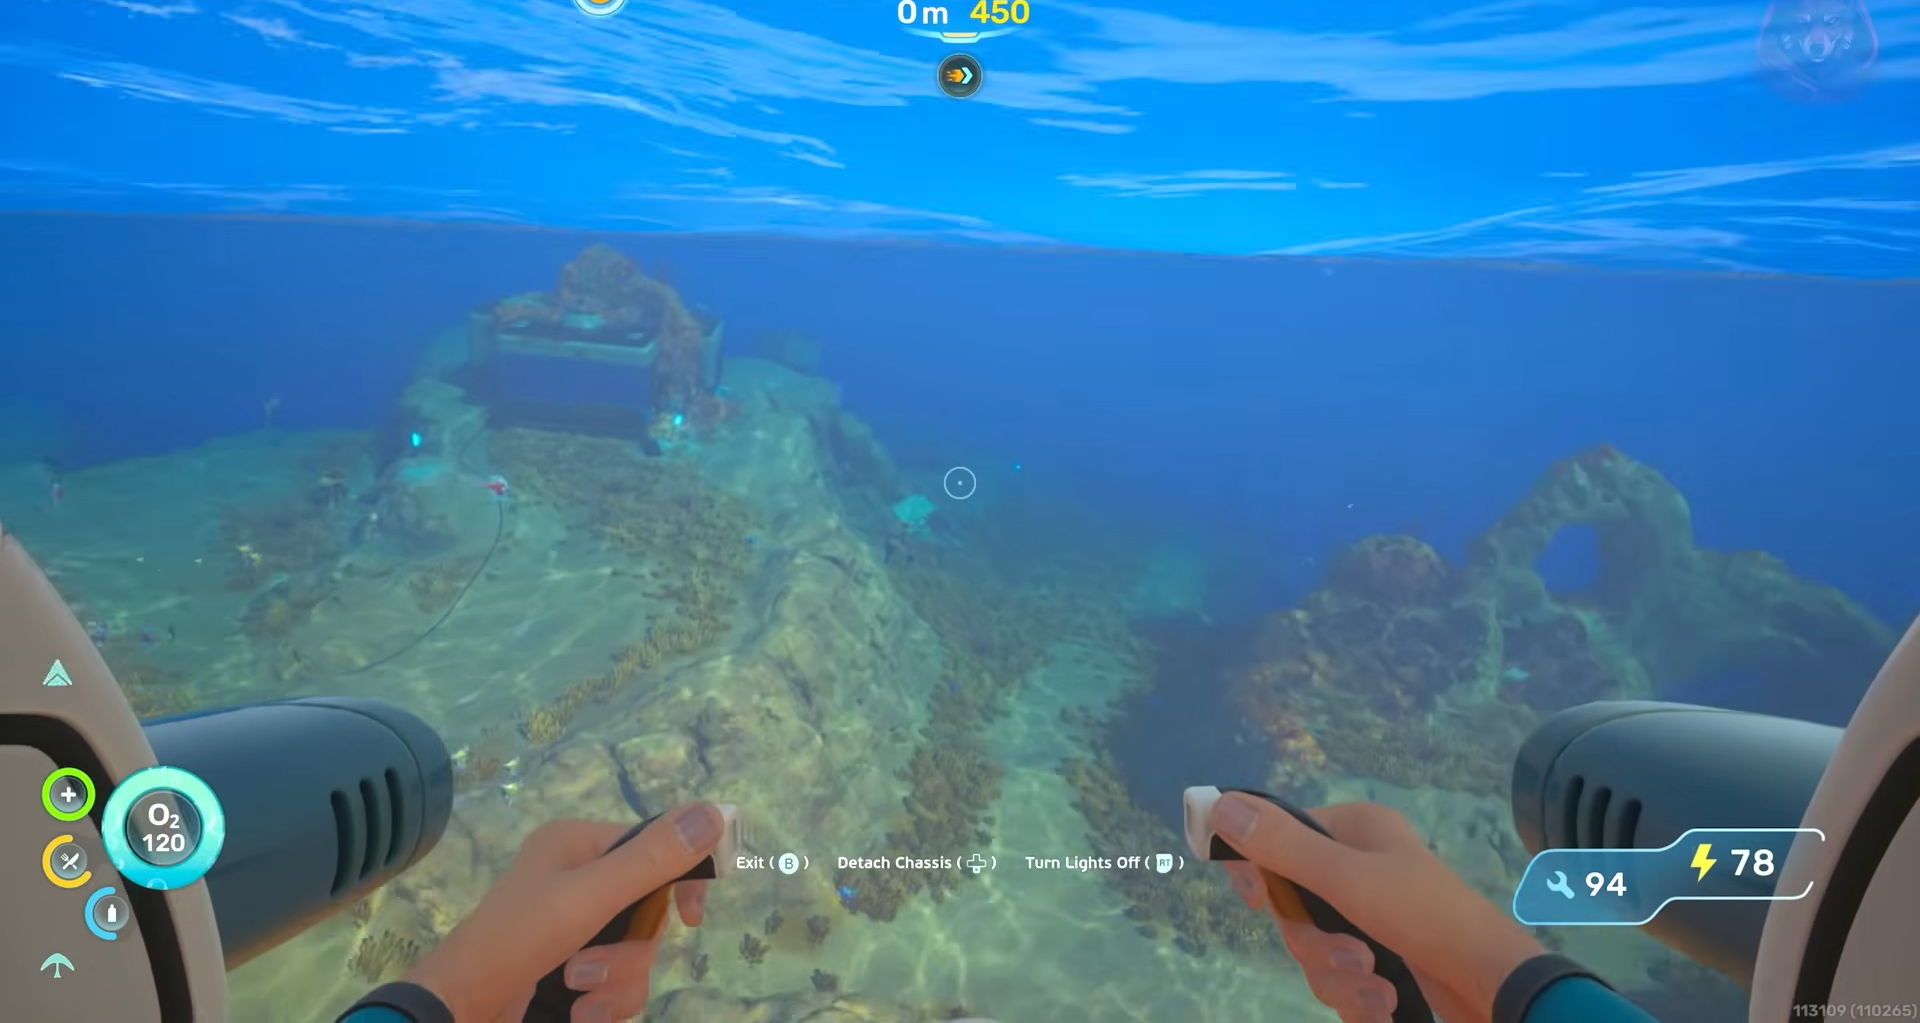
When starting out, you can grab the first inventory expansion very quickly by heading southeast from the life pod.
Skirt the welcome center area. Just behind that structure you will see a tall stone pillar breaking the surface.
Drop down the side of it and look for the cave entrance at the base.
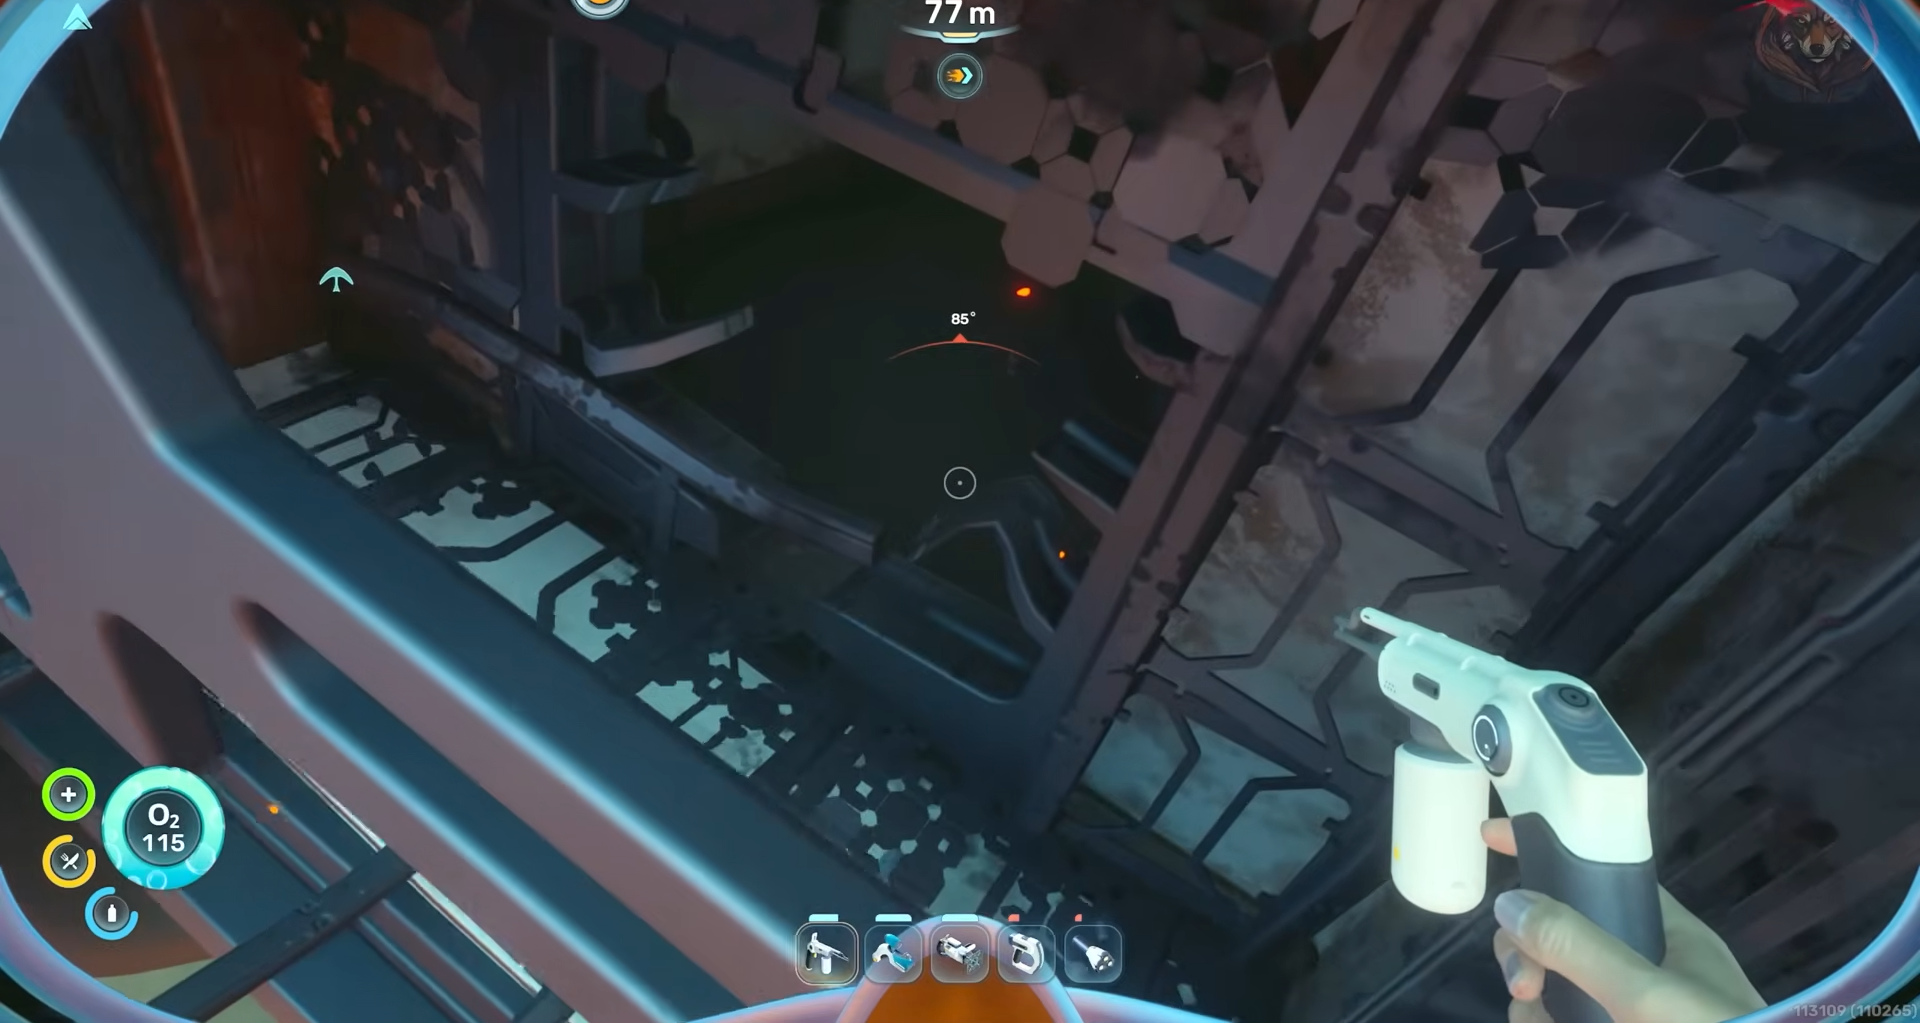
Once you are inside the pillar’s cave, swim around along the bottom.
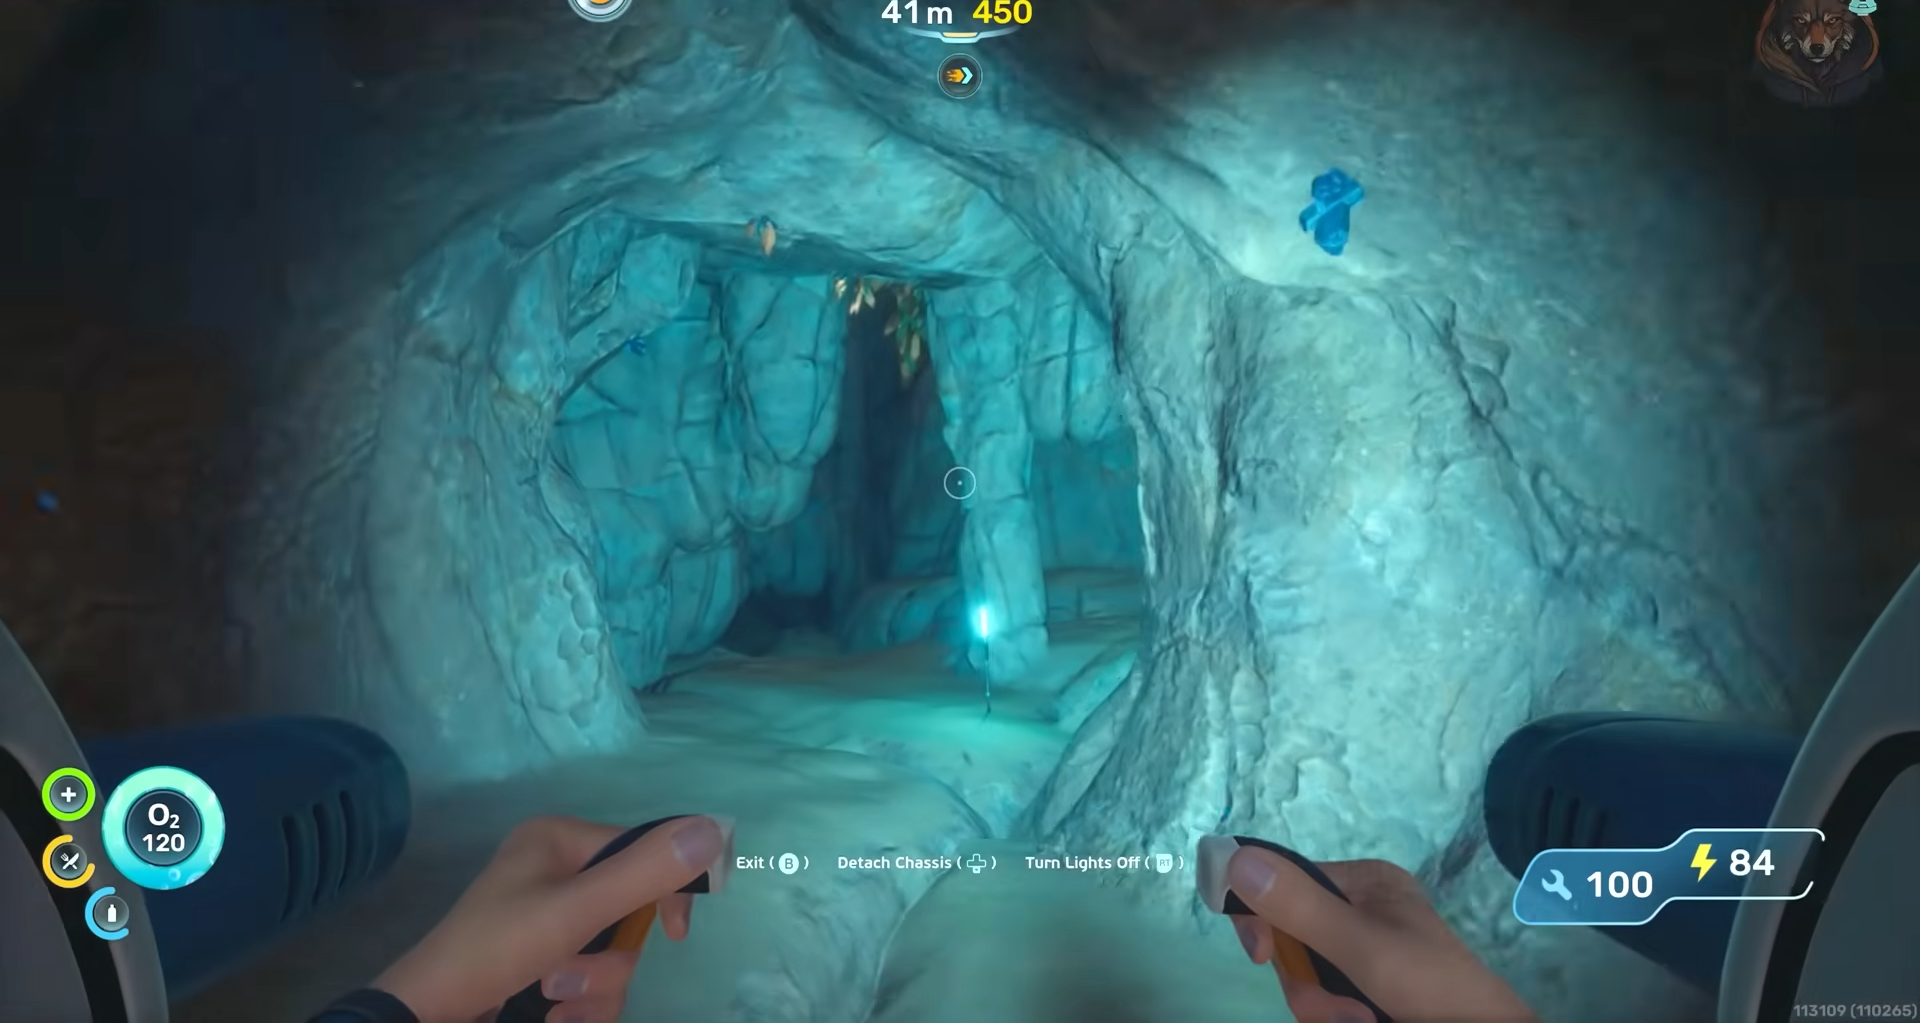
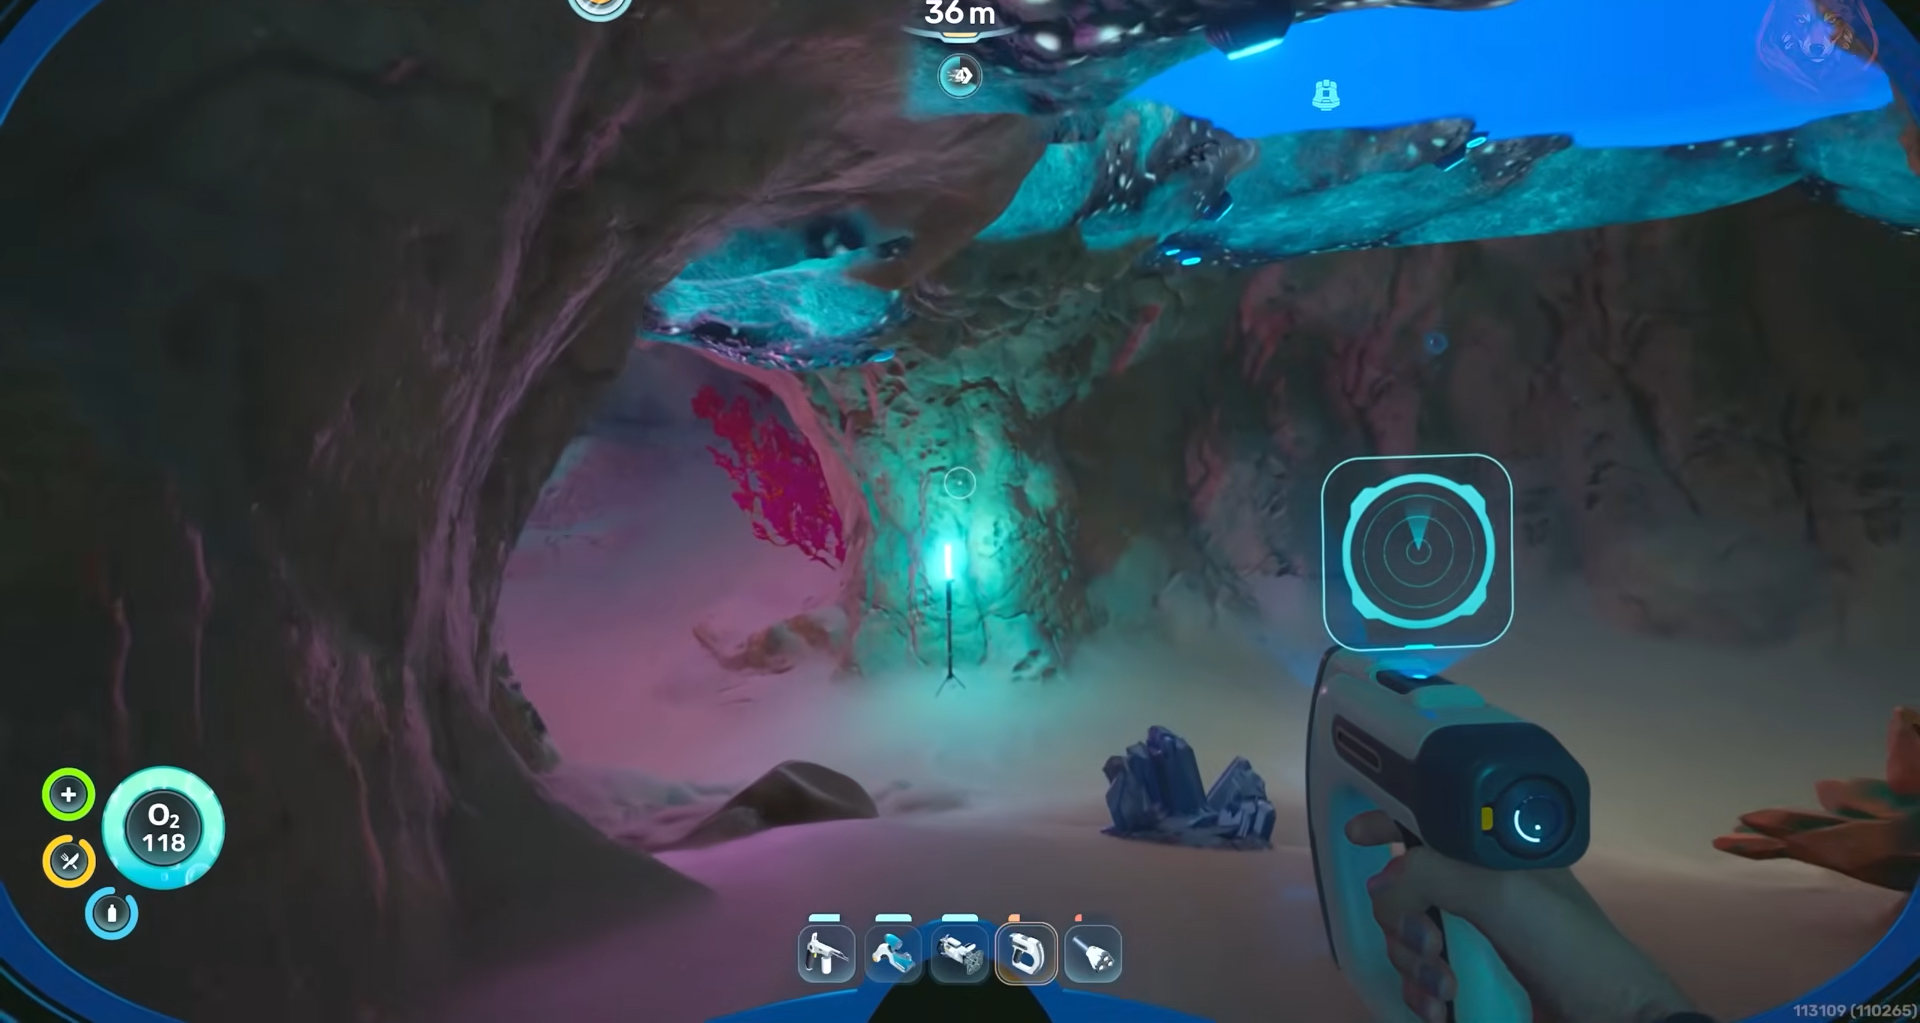
You will find a circular opening that leads into a small room with air.
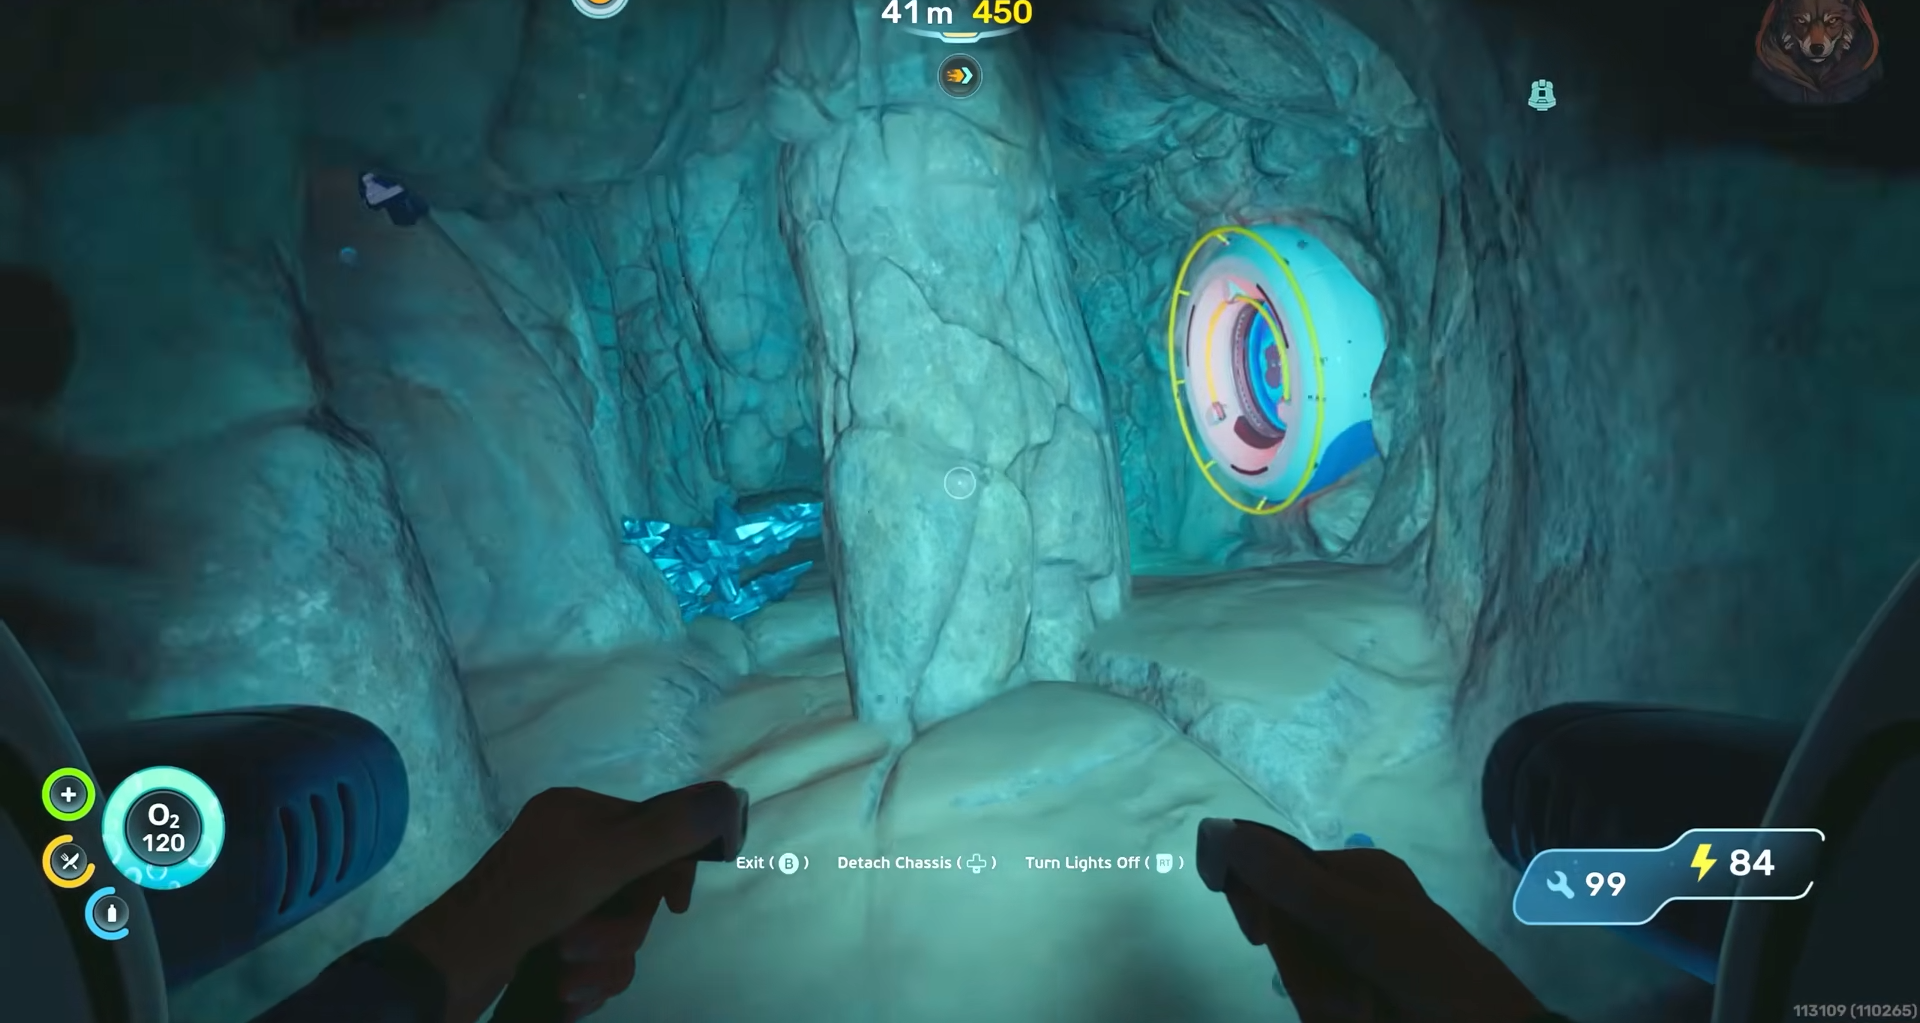
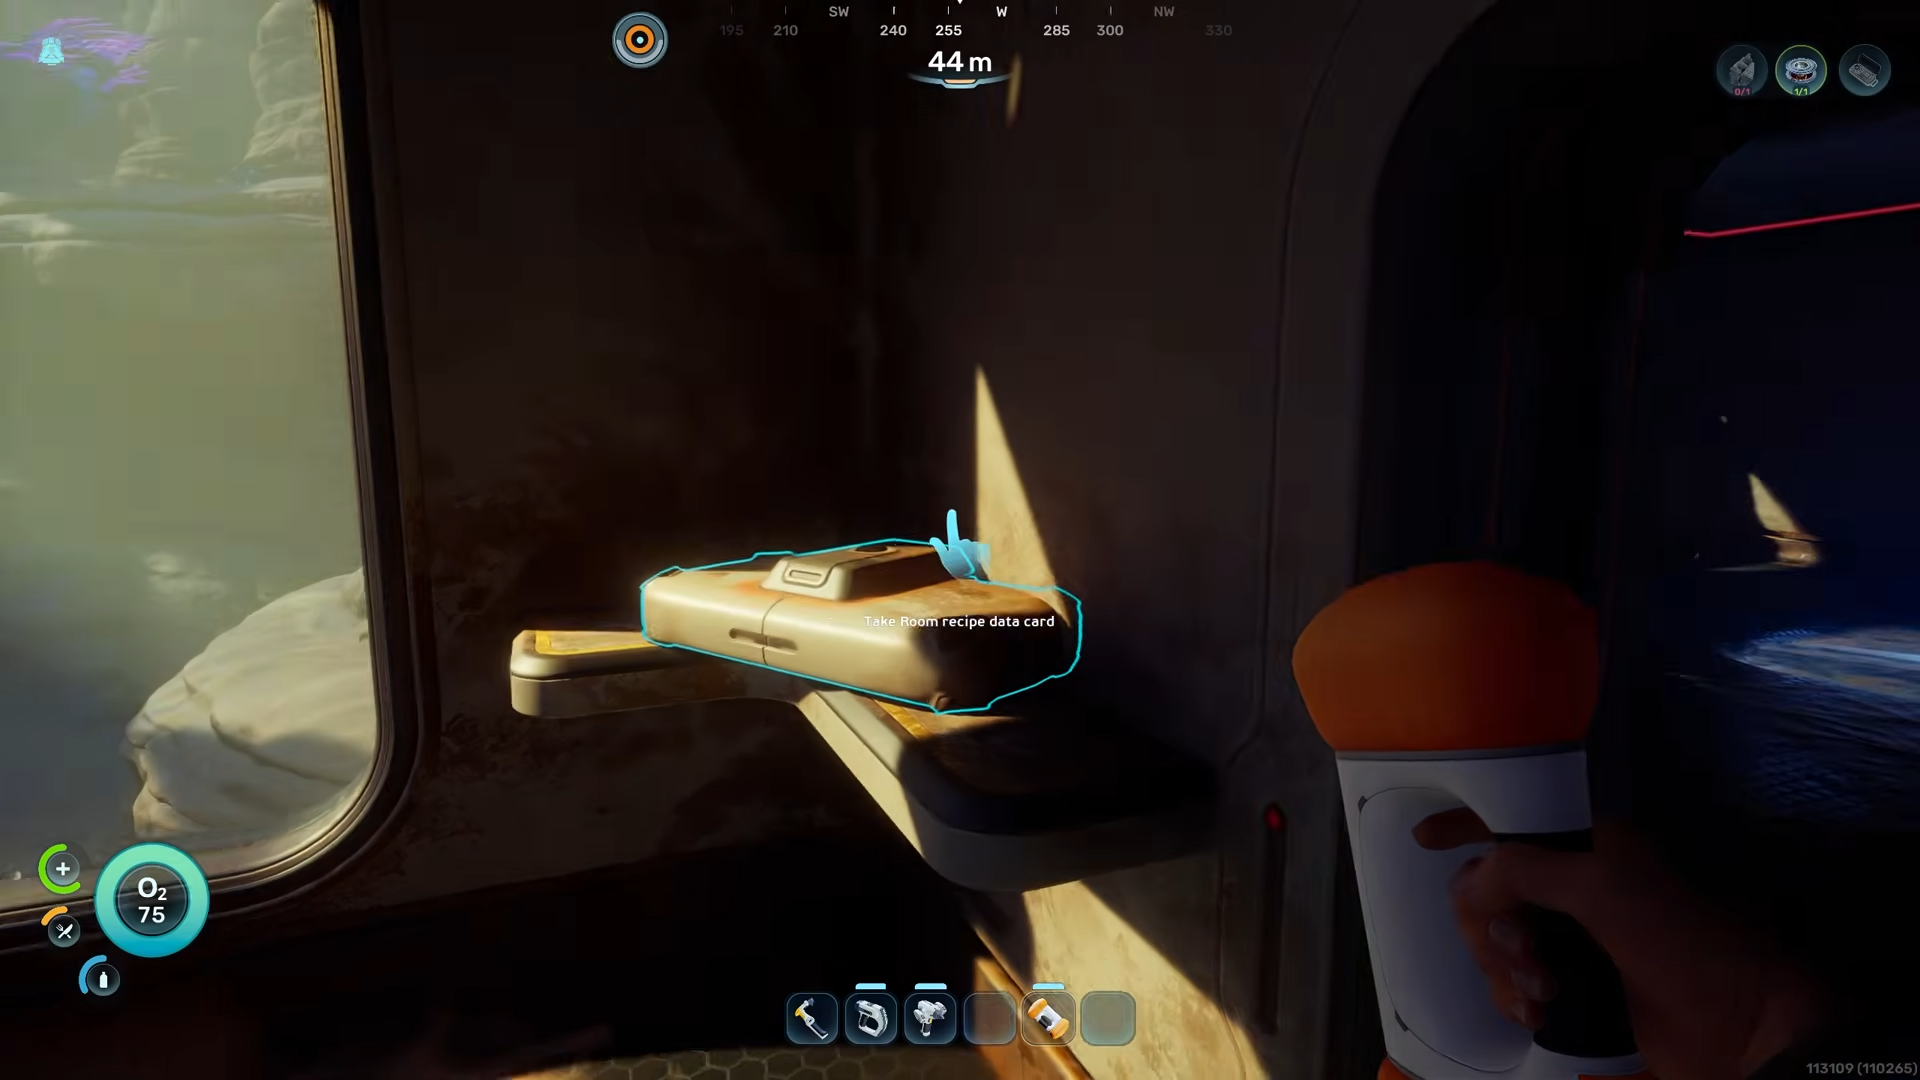
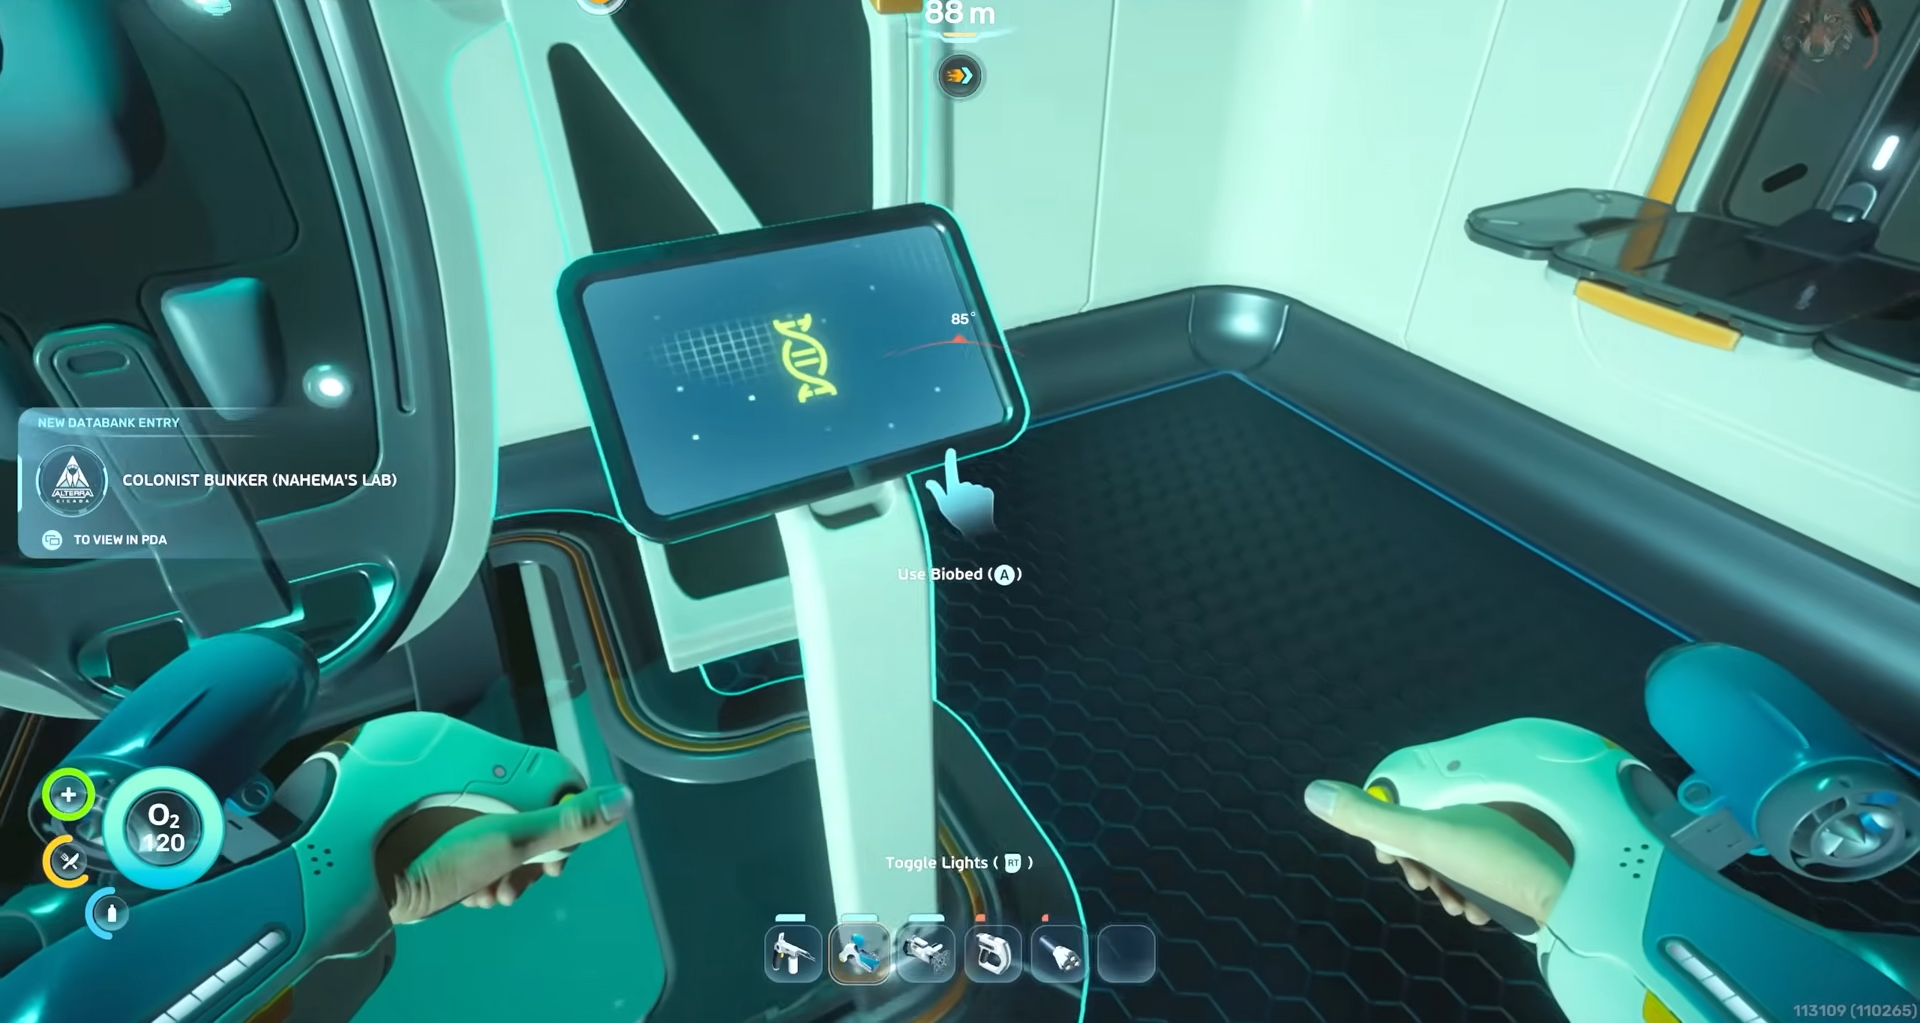
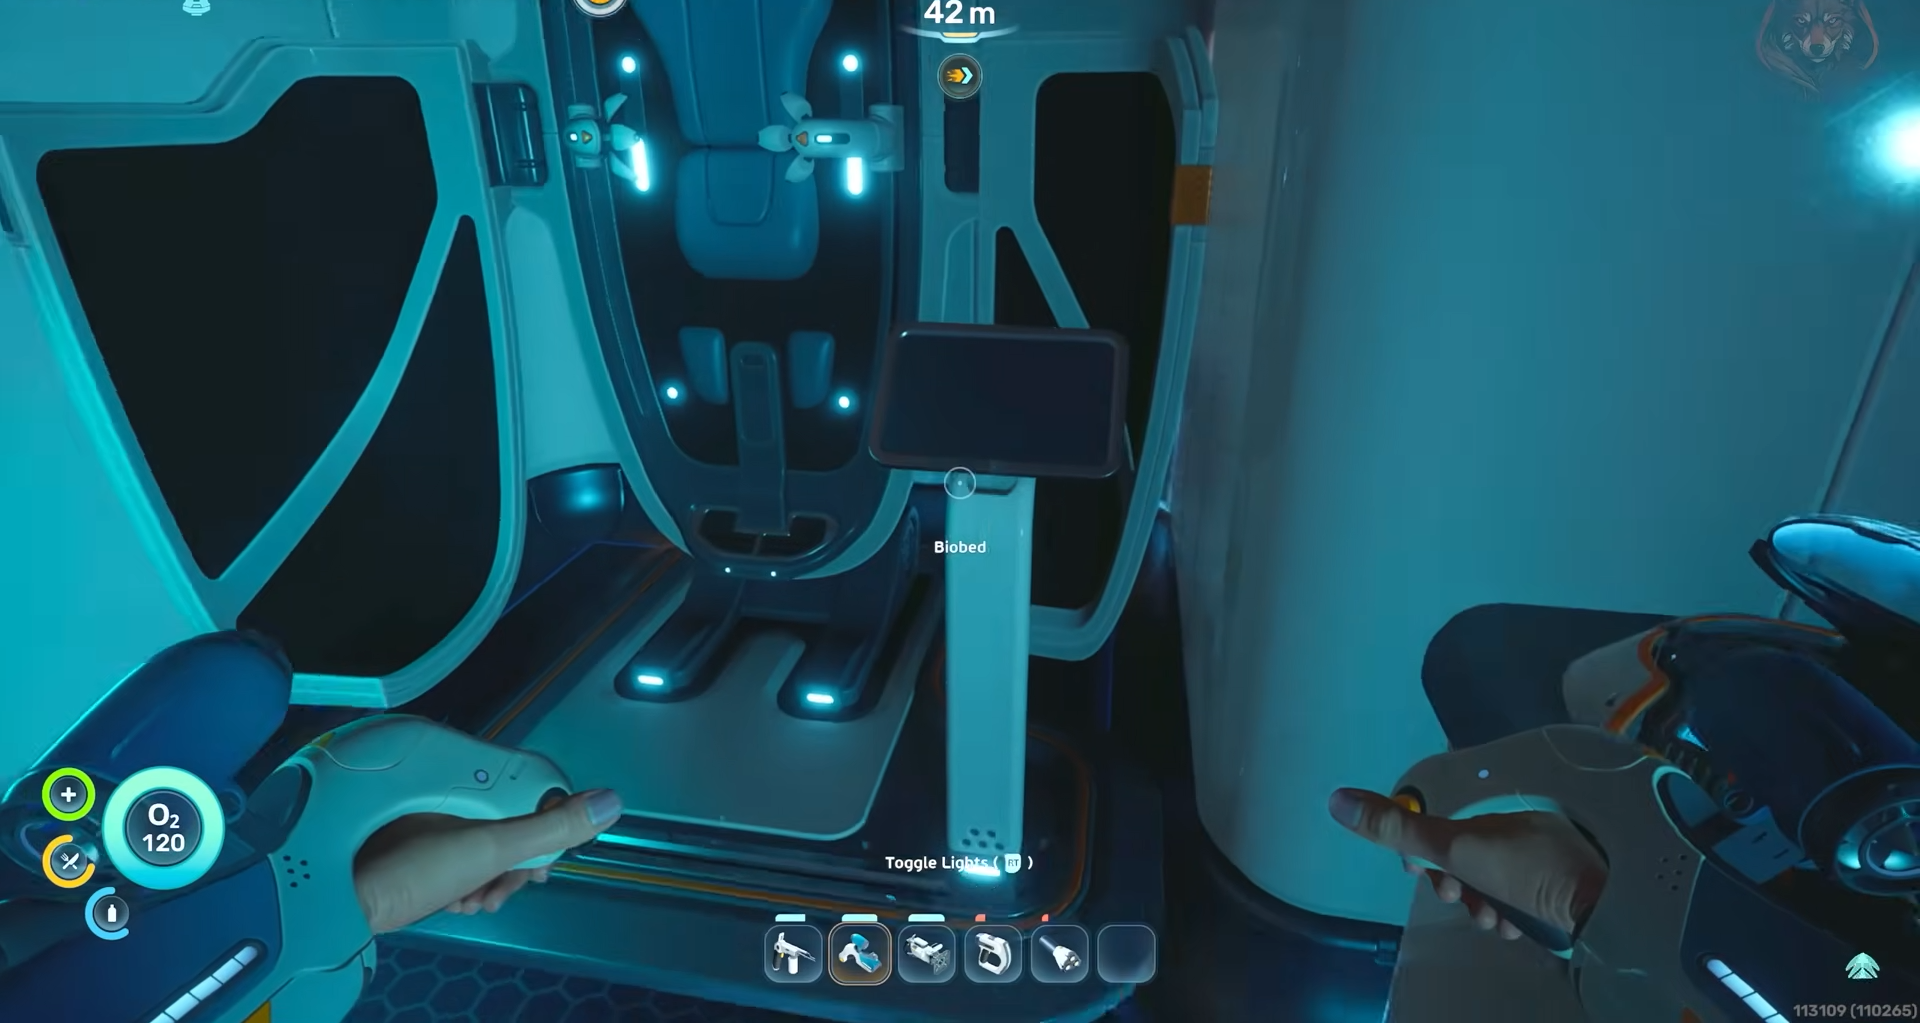
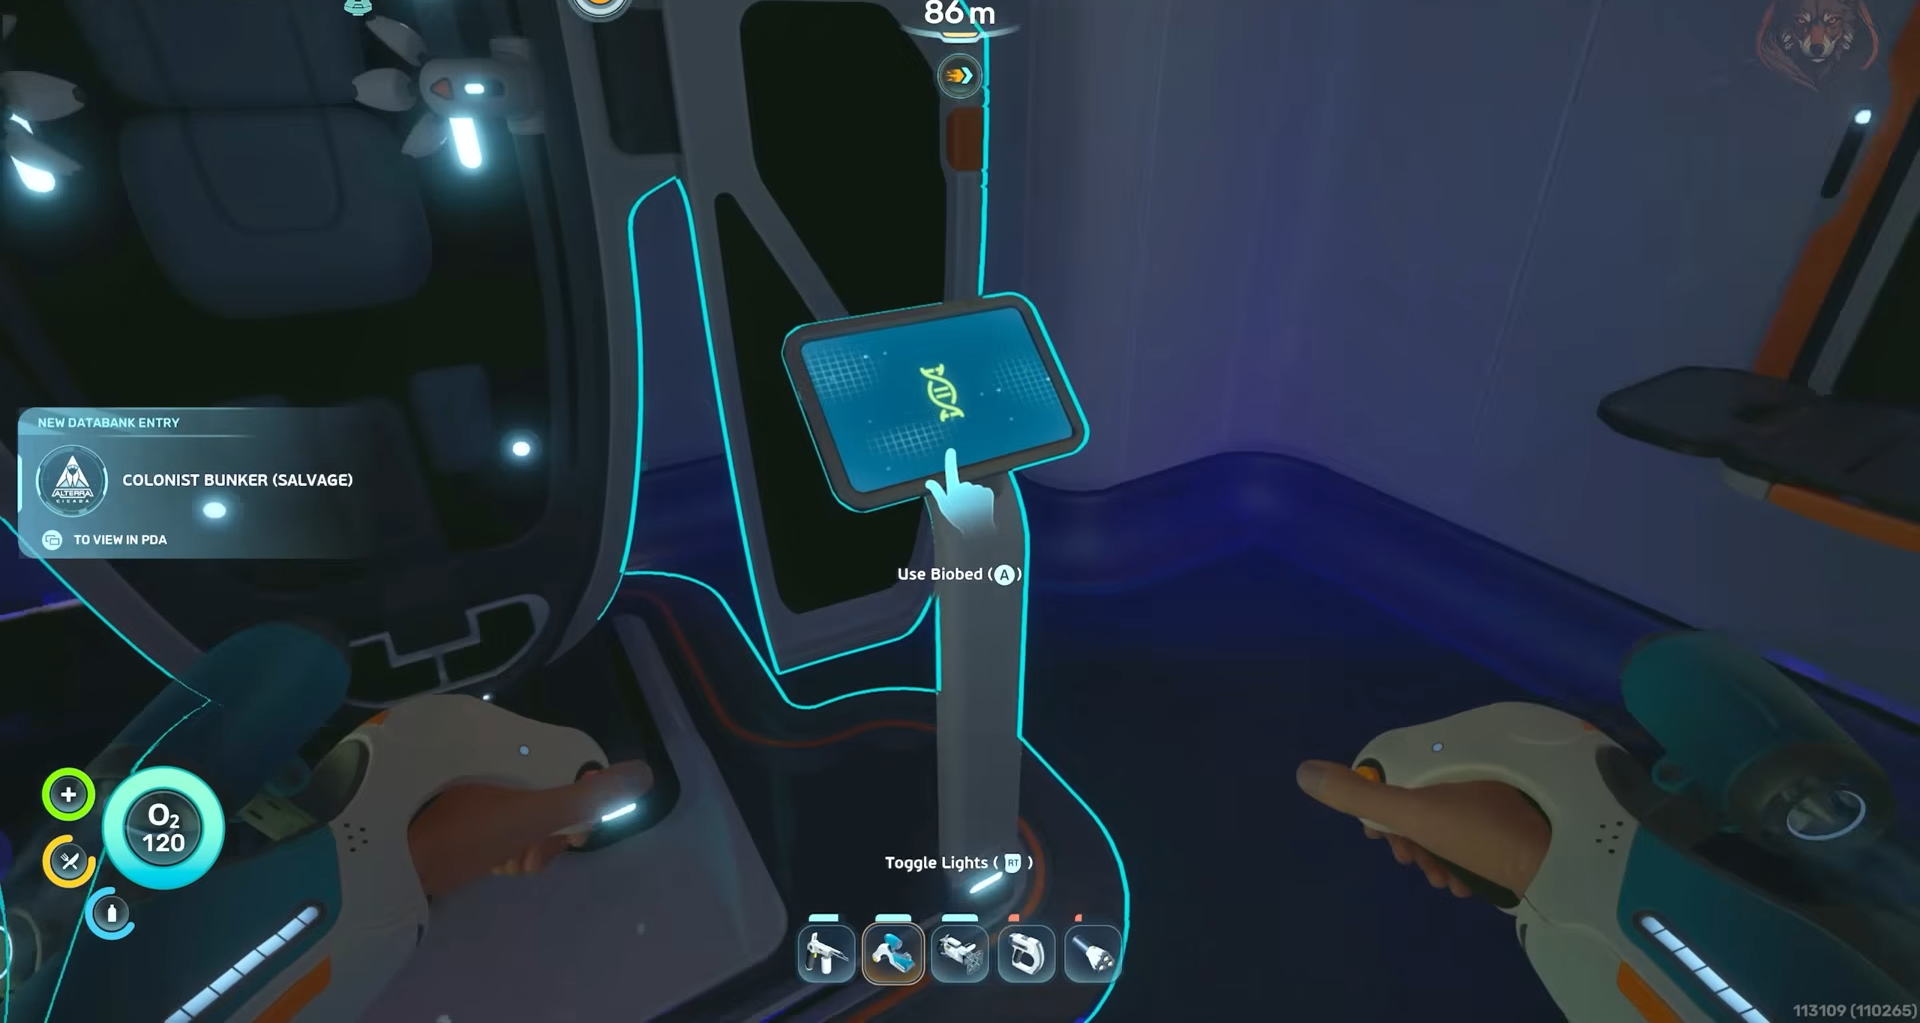
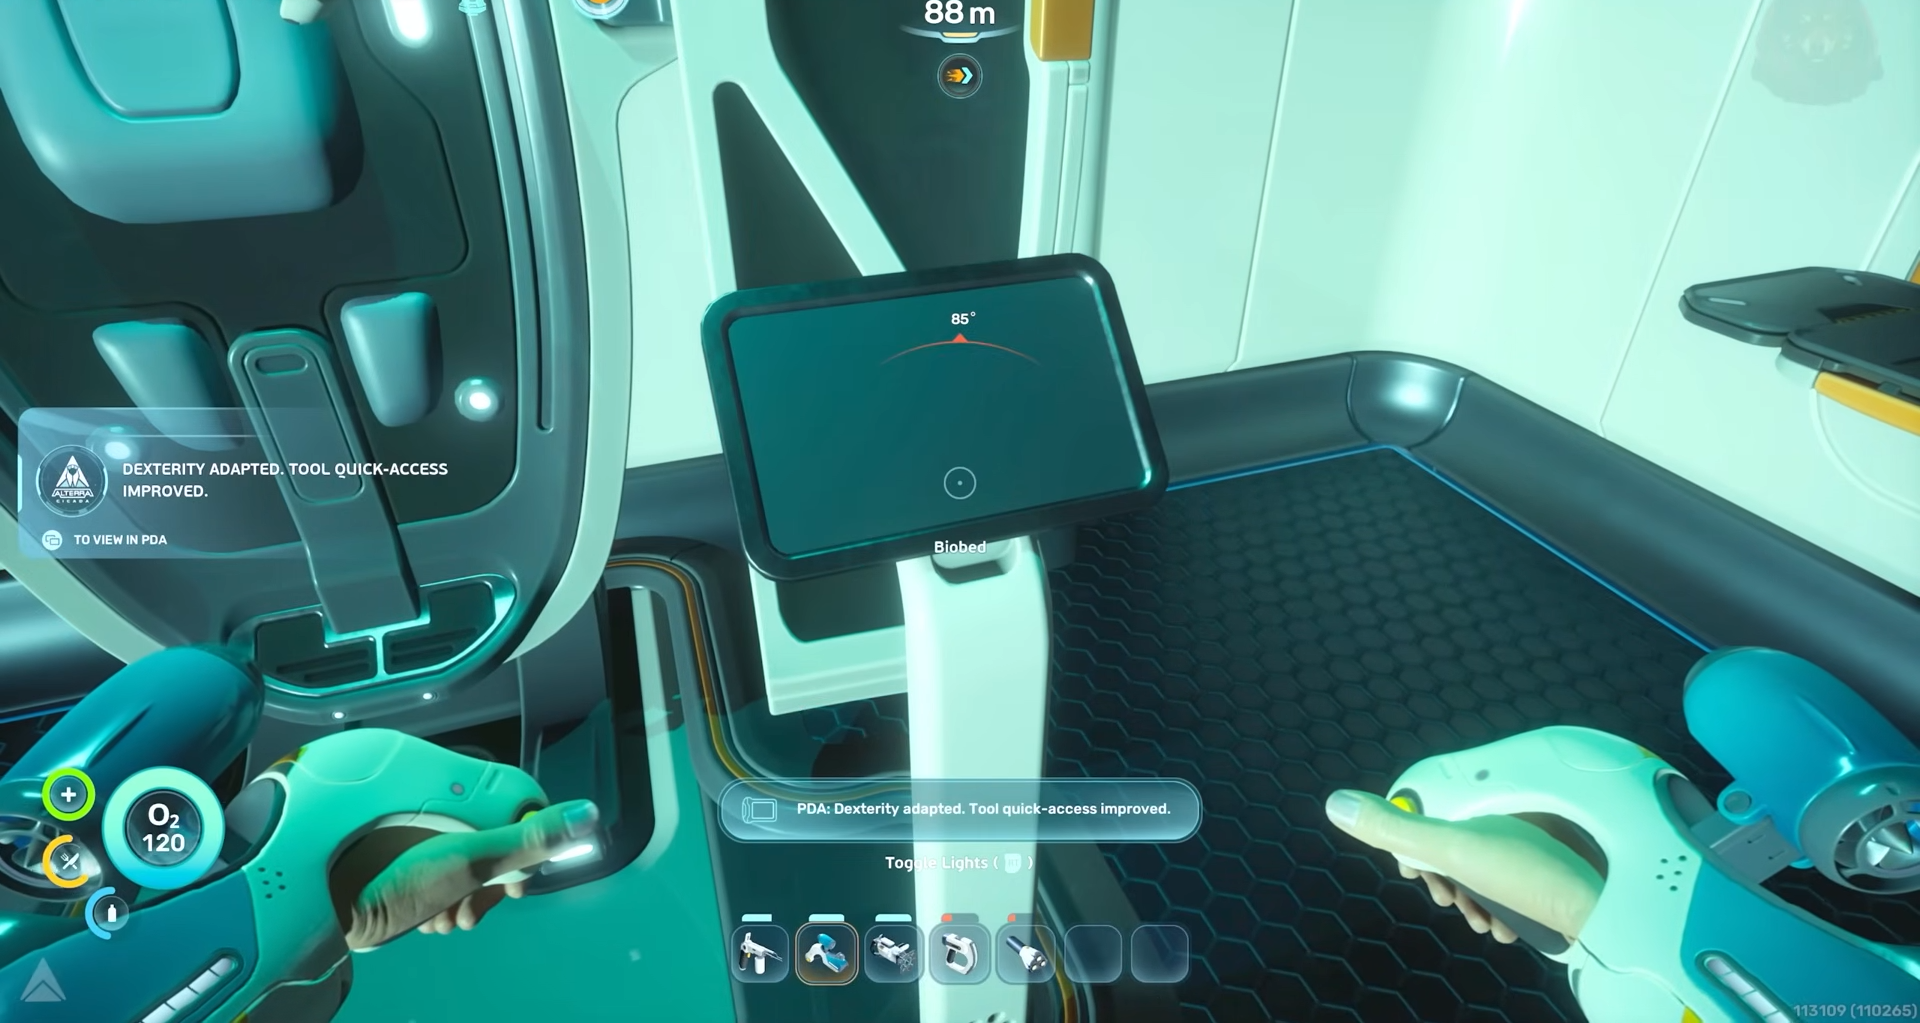
There’s a biobed at the far end. Interact with the terminal by the biobed to lock in the first inventory expansion.
Inventory Expansion 2
For the second inventory expansion, leave the life pod and head almost straight out in front of the entry.
Then skirt the side of the coral that hides the nearby shipwreck or salvage.
Look for a hole in the reef where water funnels down; ride that current into a deeper cave.
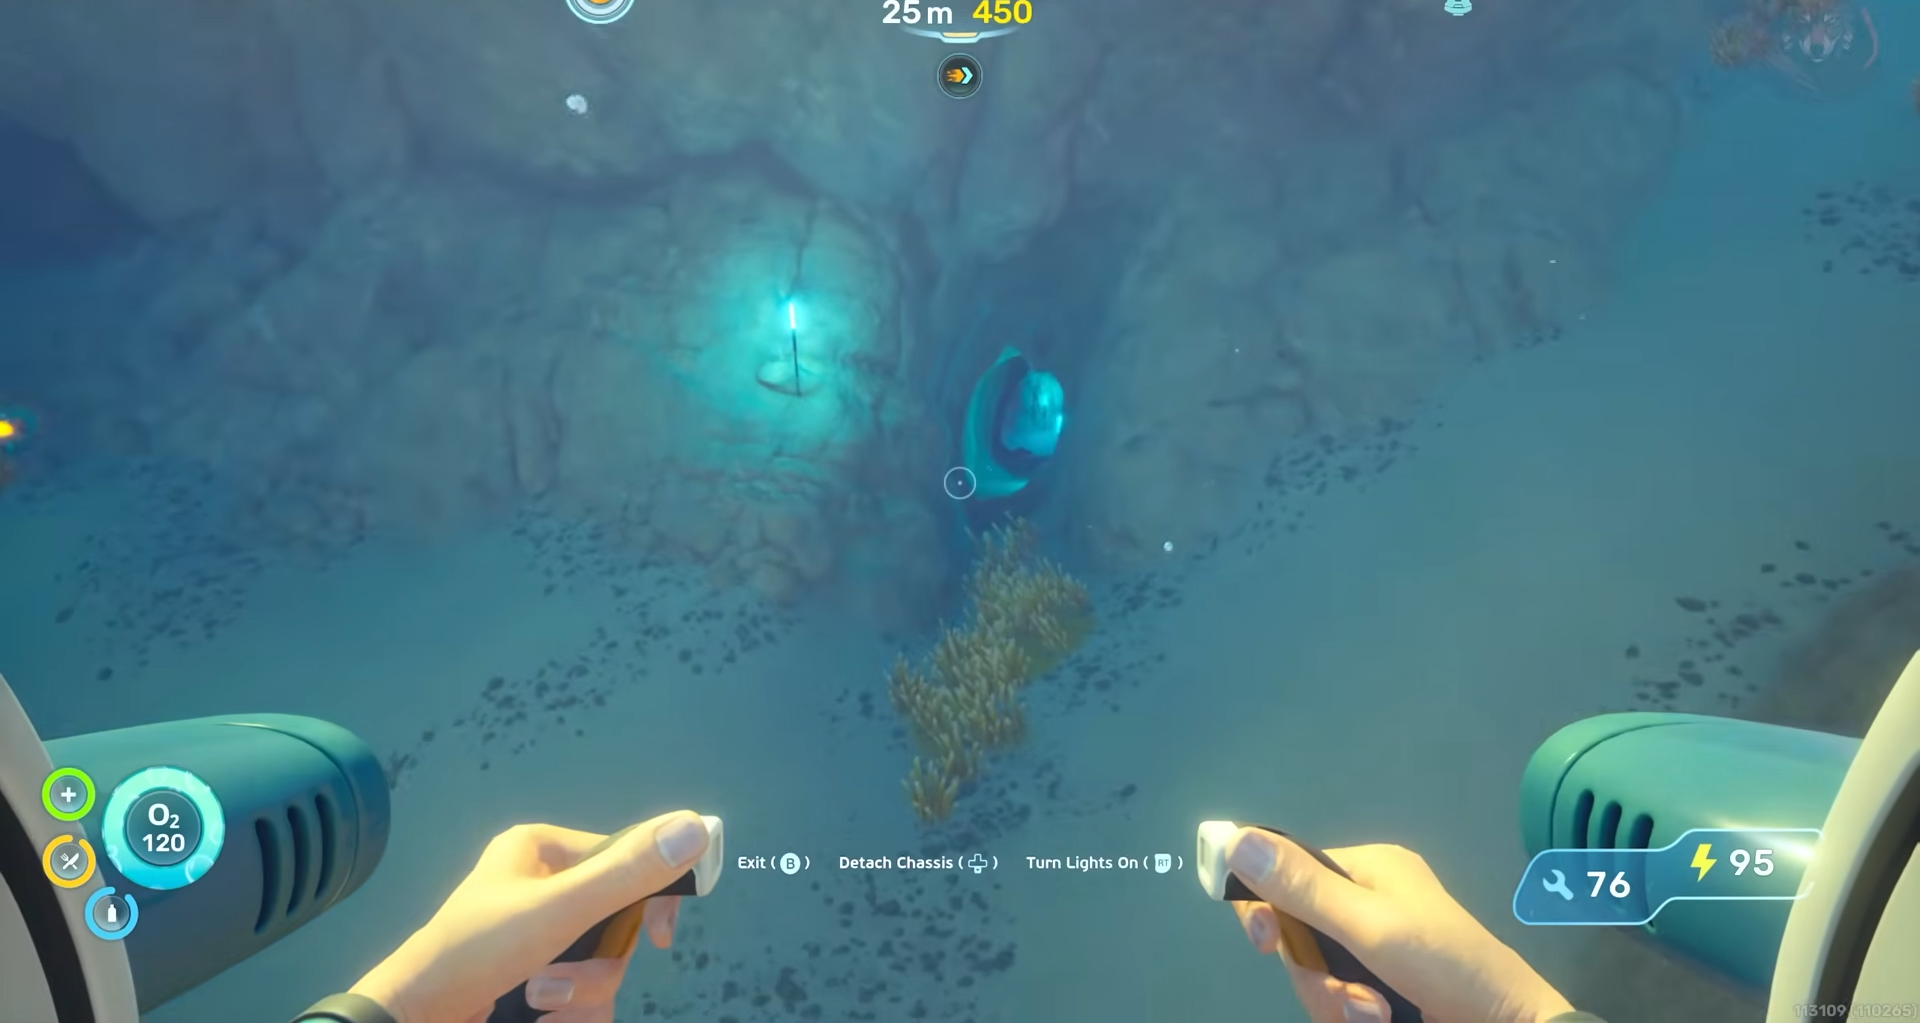
Once you land in the cave system, orient northeast and follow the line of small lights planted along the tunnel.
They form a clear path that curves into a second room.
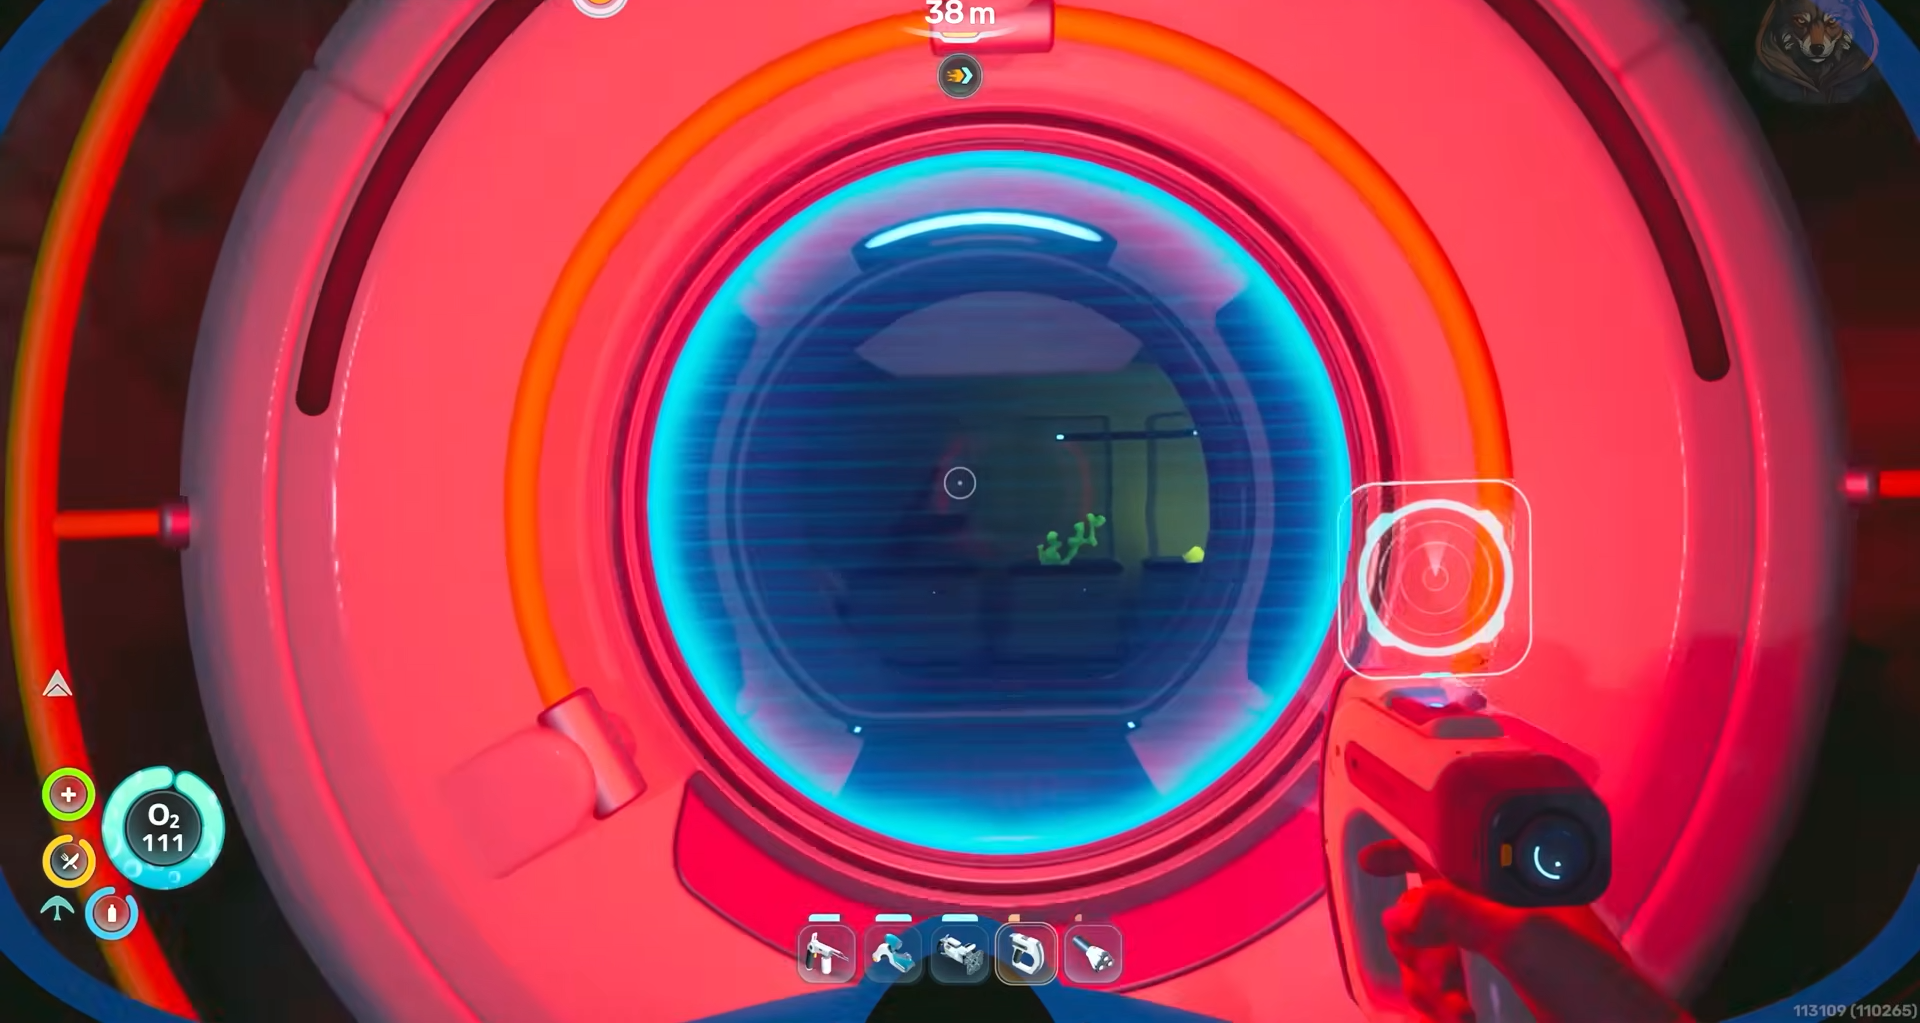
At the back of this chamber, you will find the biobed with its terminal, which unlocks the second inventory expansion when you interact with it.

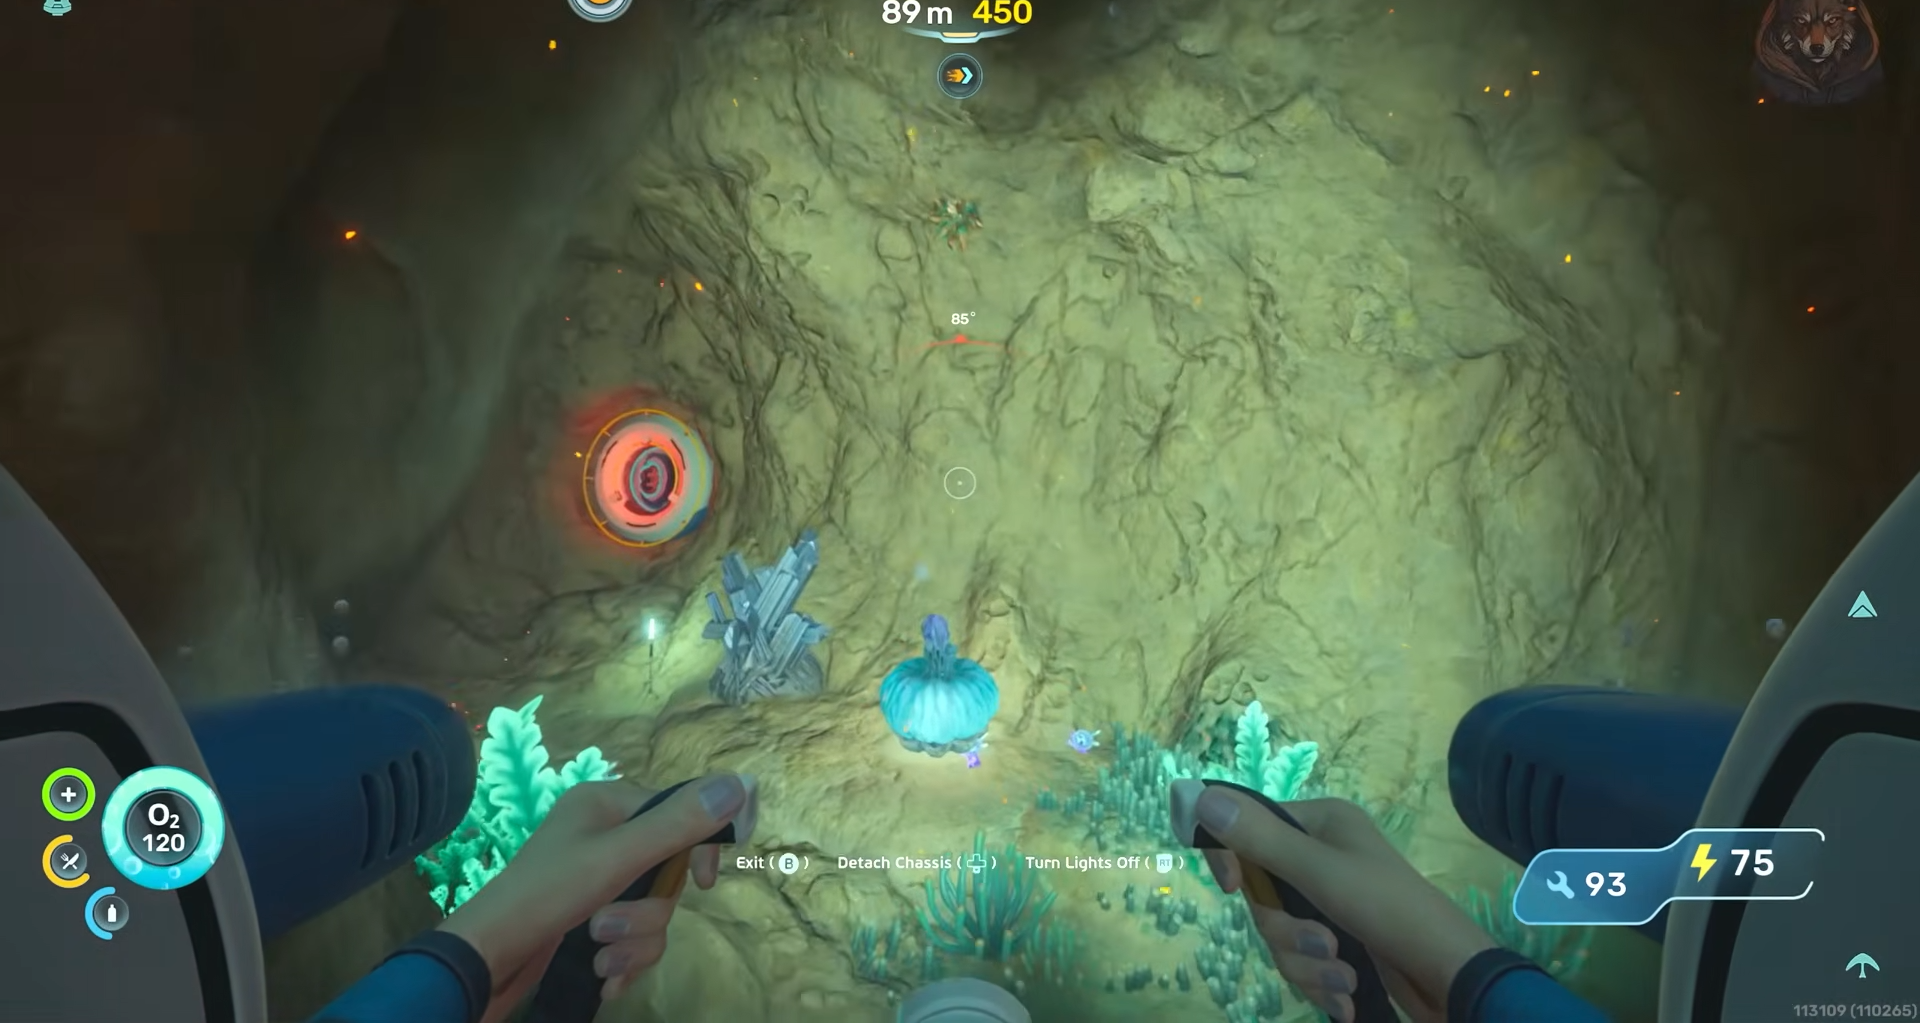
Inventory Expansion 3
The third inventory expansion sits when you swim north from the life pod, inward toward the main silver‑gathering zone.
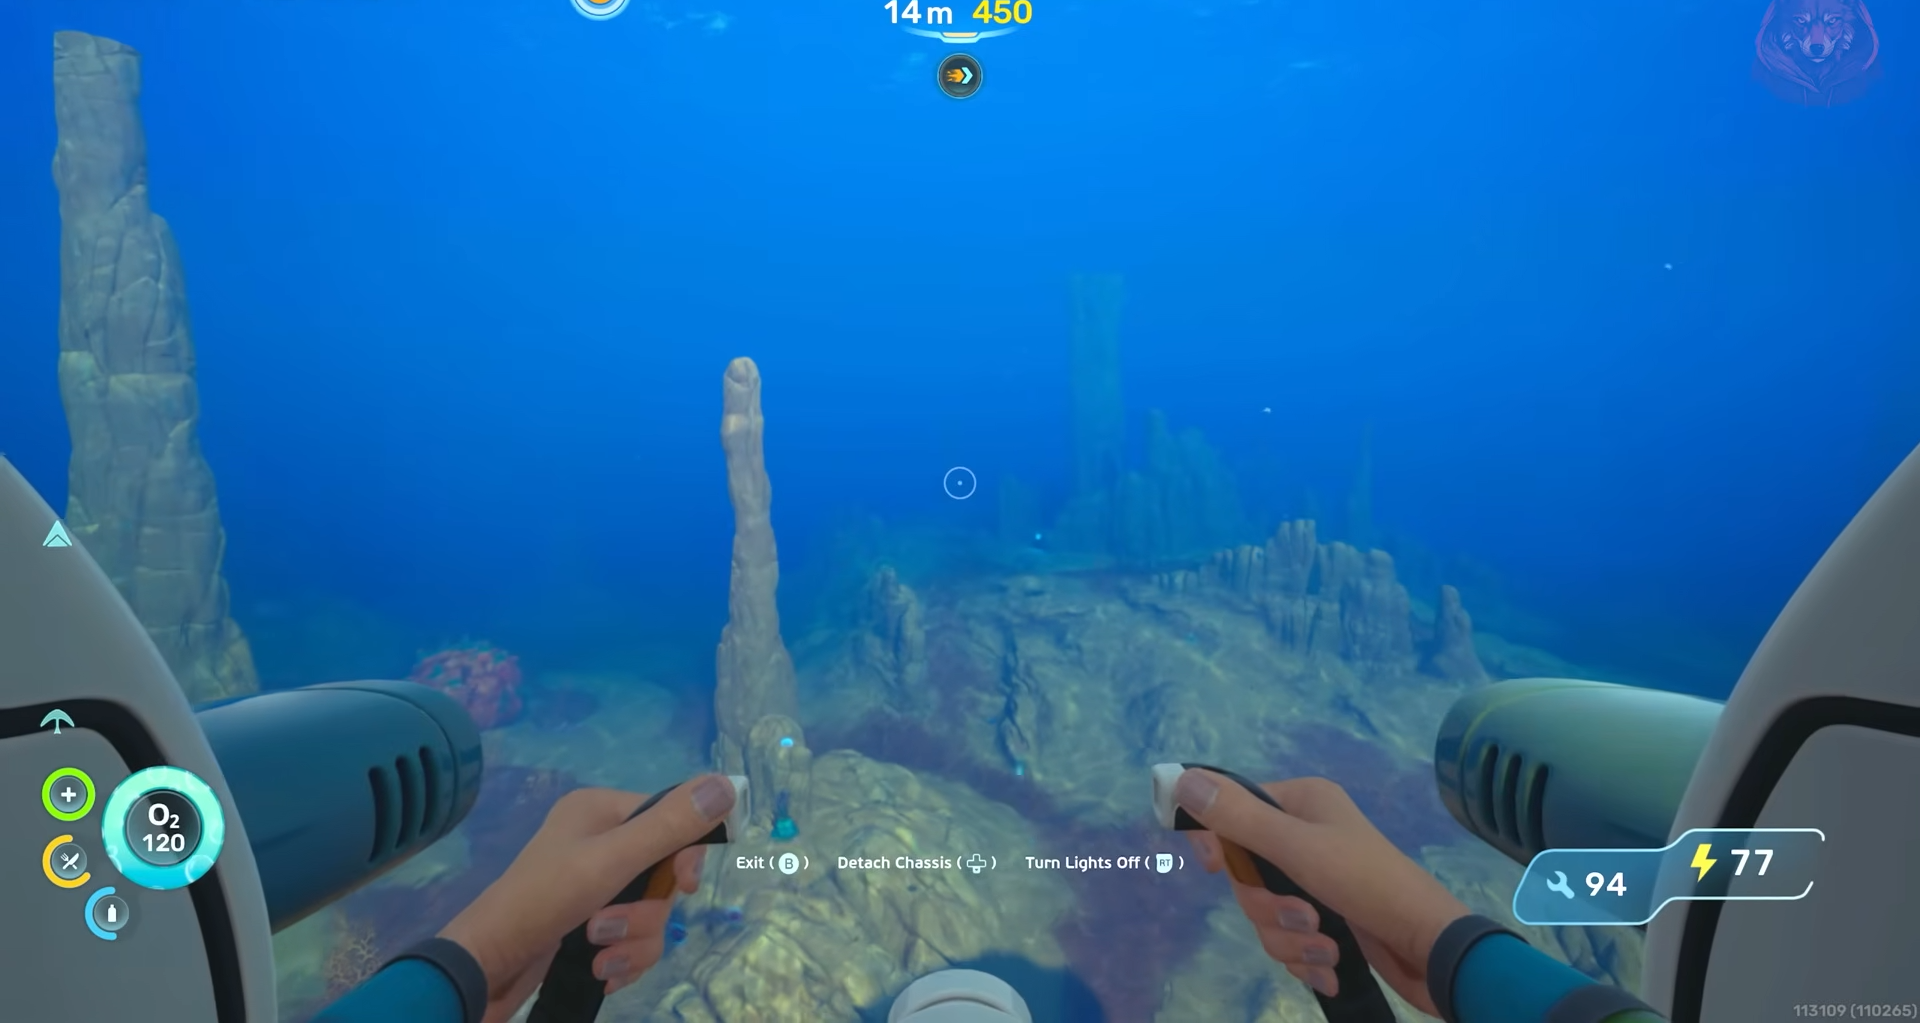
As you move north, keep an eye out for a massive circular rock that looks like it has been split down the middle by a crack.
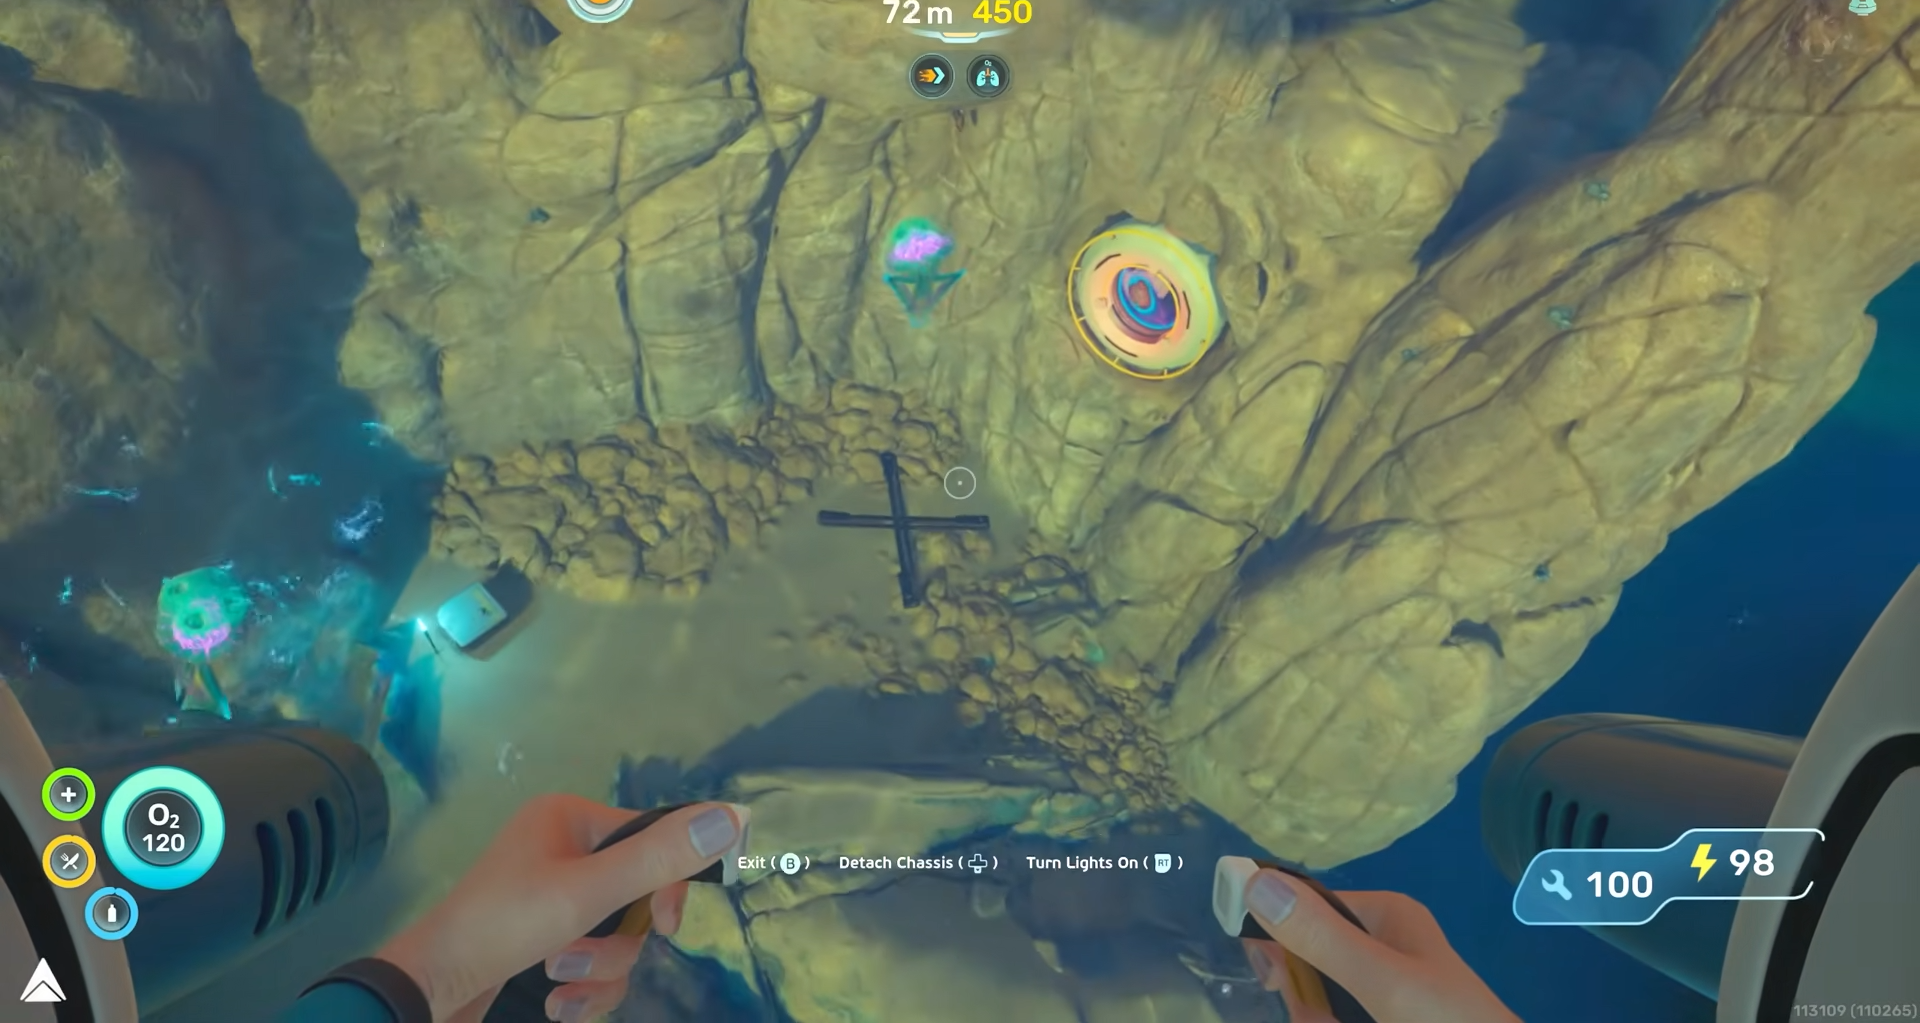
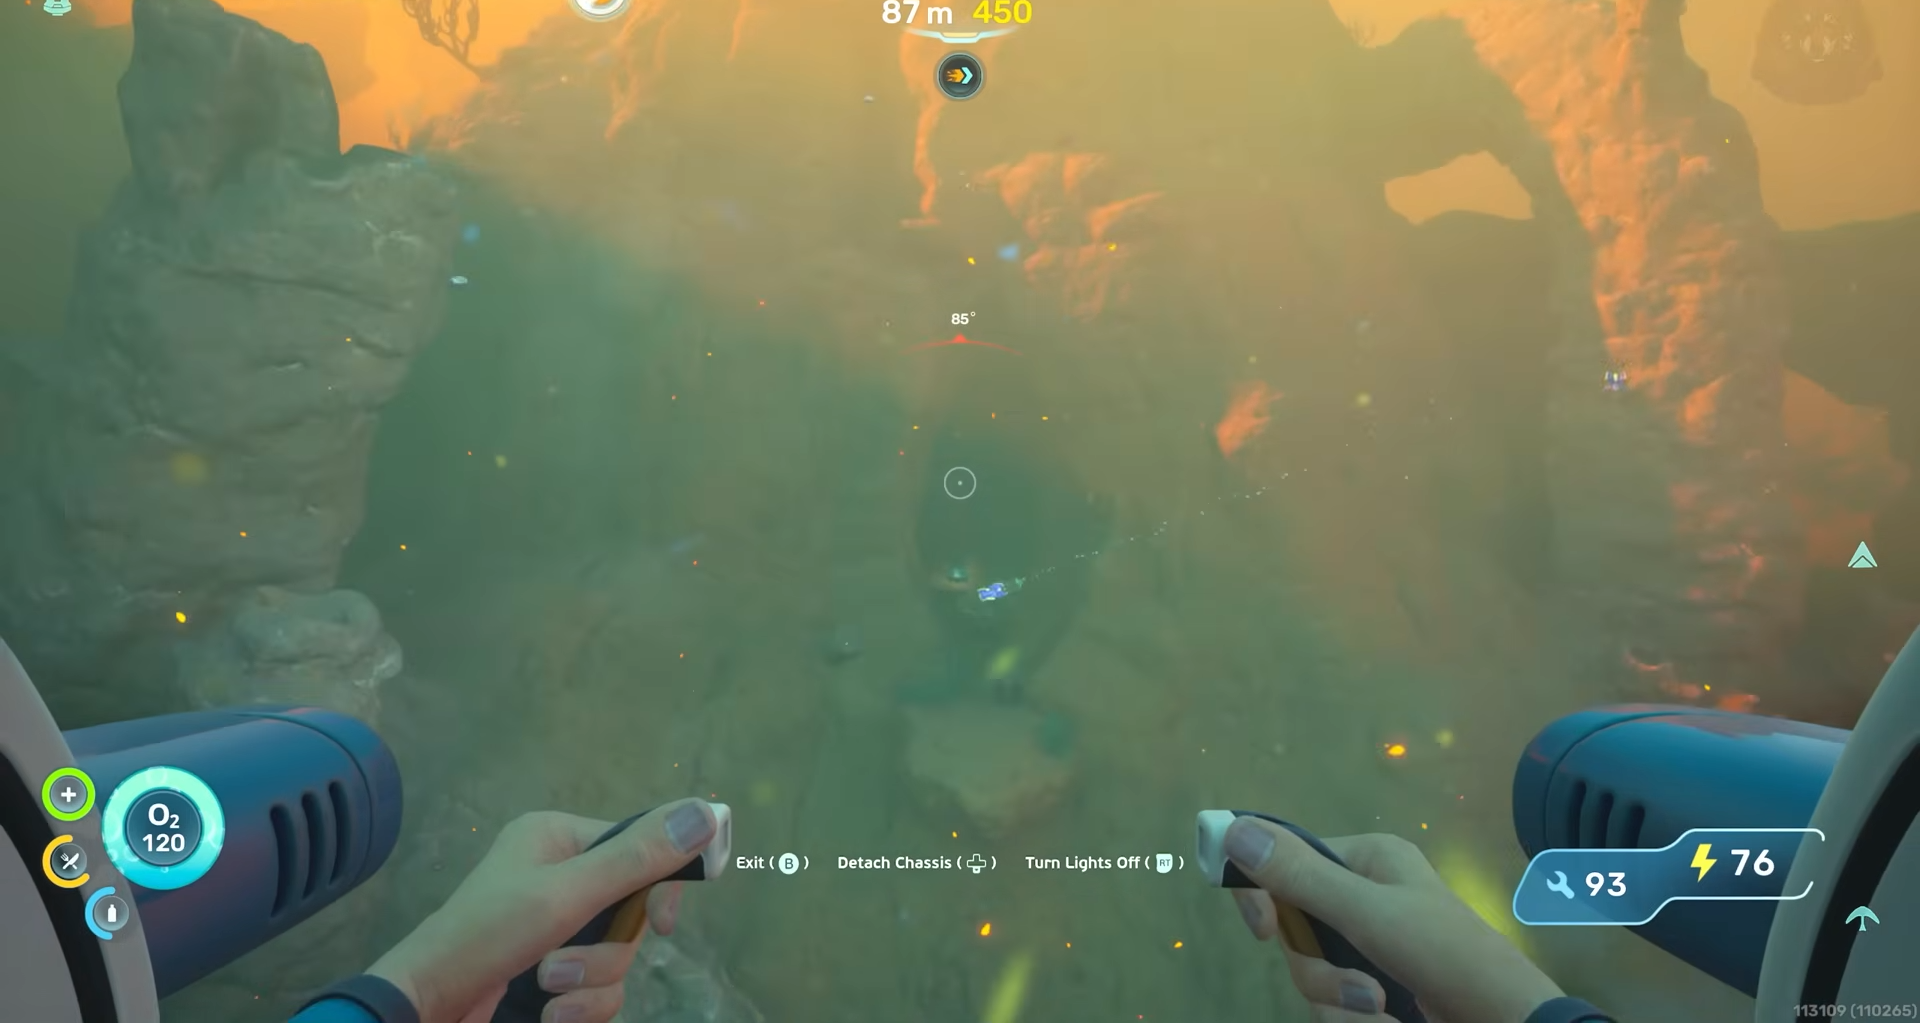
Dive into the cave system at the base of this rock and work your way down until you reach depths around the mid‑80s; the entrance into the bunker is near that depth.
Once inside, follow the curves of the cave floor and any internal lighting until you find the biobed room; the terminal there grants the third inventory expansion.
Inventory Expansion 4
The fourth and final inventory expansion is to the southwest of the life pod, along the edge of a major drop‑off.
After exiting the pod, head southwest and keep to the contour of the shelf where the safe shallows drop off into deeper water.
Look for a noticeable current spilling over the edge and then stay just past it, hugging the cliff wall.
As you descend, you should spot a faint blue glow at the bottom of the wall.
The actual entrance to the bunker is directly across from that light source in the side of the cliff.
Swim down into that opening, follow the short passage.
And interact with the terminal by the biobed to pick up the fourth inventory expansion.
Quick‑tool expansions – locations
The quick‑tool expansions are two additional terminals that function similarly to the inventory‑expansion ones, just with different on‑screen effects tied to your hot‑bar.
Quick‑tool expansion 1

The first quick‑tool expansion terminal appears in a small outpost.
It is positioned along a separate exploration route but still reachable.
When you reach its biobed room, you will see the terminal off to one side.

Interacting with it will boost the number of tools you can keep ready in your quick‑access bar.
Quick‑tool expansion 2
The second quick‑tool expansion is placed in a more distinct bunker, a later‑game outpost that feels more isolated than the early hubs.
It is best approached after you have already activated the first four inventory expansions and the first quick‑tool terminal, so you can combine the trip with other resource runs.
The room is clearly marked by familiar biobed layout and a glowing terminal.
Interacting with it grants the final tool‑slot expansion, rounding out the full six‑upgrade set.
If you want to keep your inventory and tool loadouts optimized, it is best to activate the inventory expansions early and scatter the quick‑tool expansion visits as you naturally explore new outposts instead of rushing everything in one go.
Rewards from completing all six upgrades
With expanded capacity, you can backload entire loadouts of tools or large quantities of materials in a single dive, which makes your early game feel less grindy and more focused on progress. The extra quick‑bar slots let you keep your scanner, cutting tool, and defense items on hand without constantly cycling through menus, which is especially handy during tight cave navigation or when you are being chased by predators.