What to know
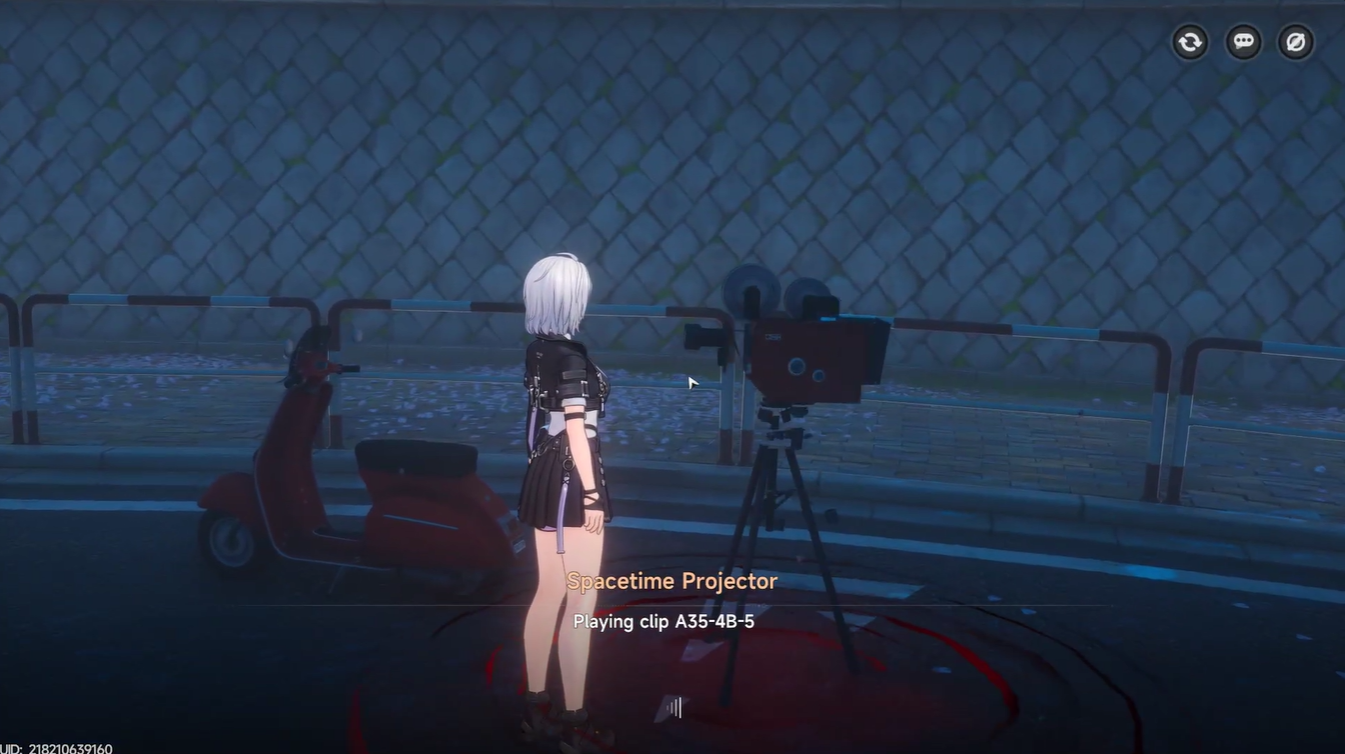
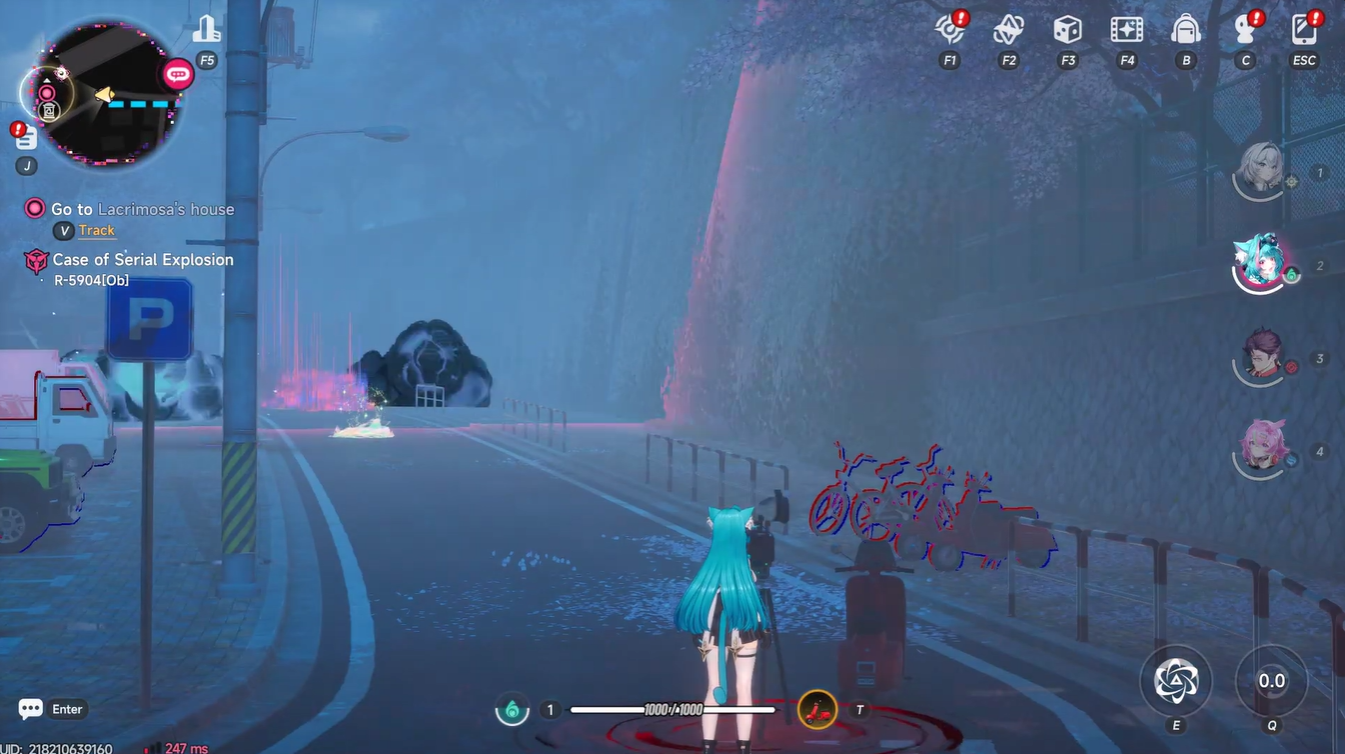
- Spacetime Projectors appear as tripod devices with a red aura along roads.
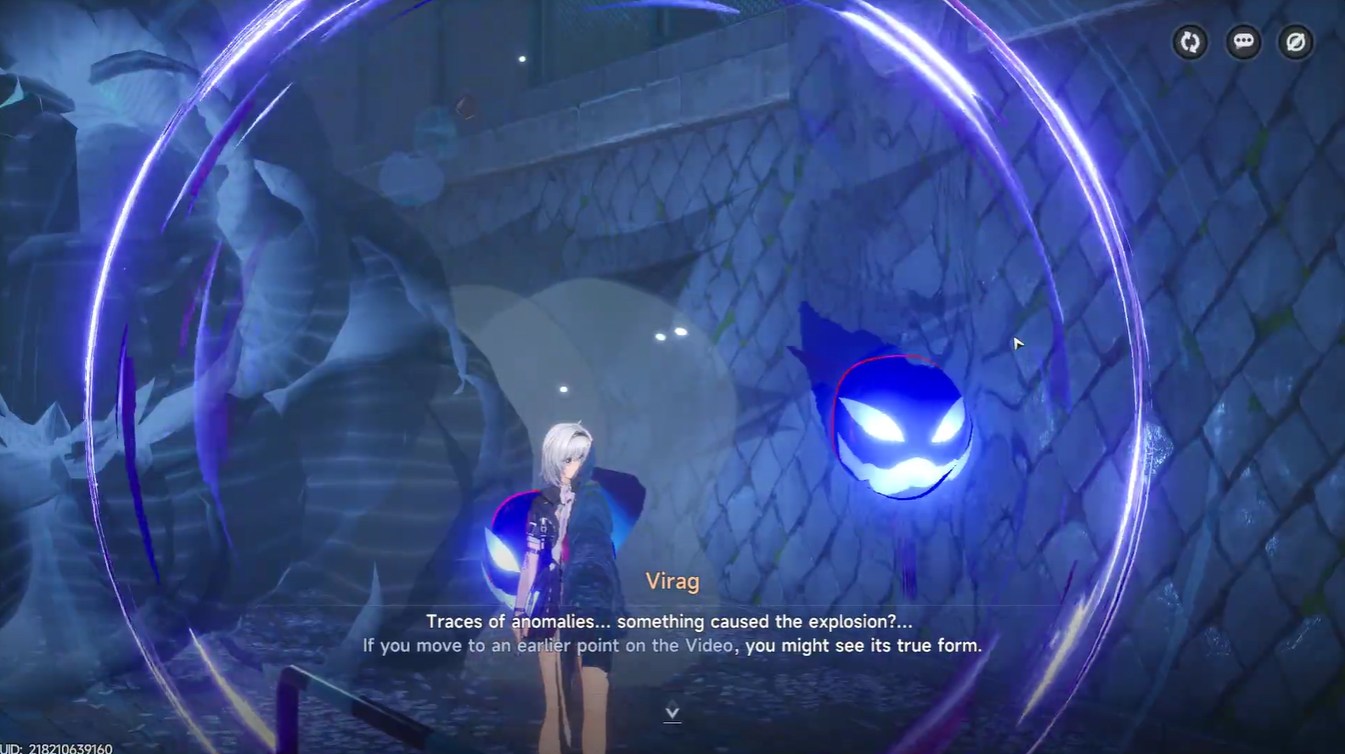
- Each puzzle plays an accident video with multiple hidden clues.
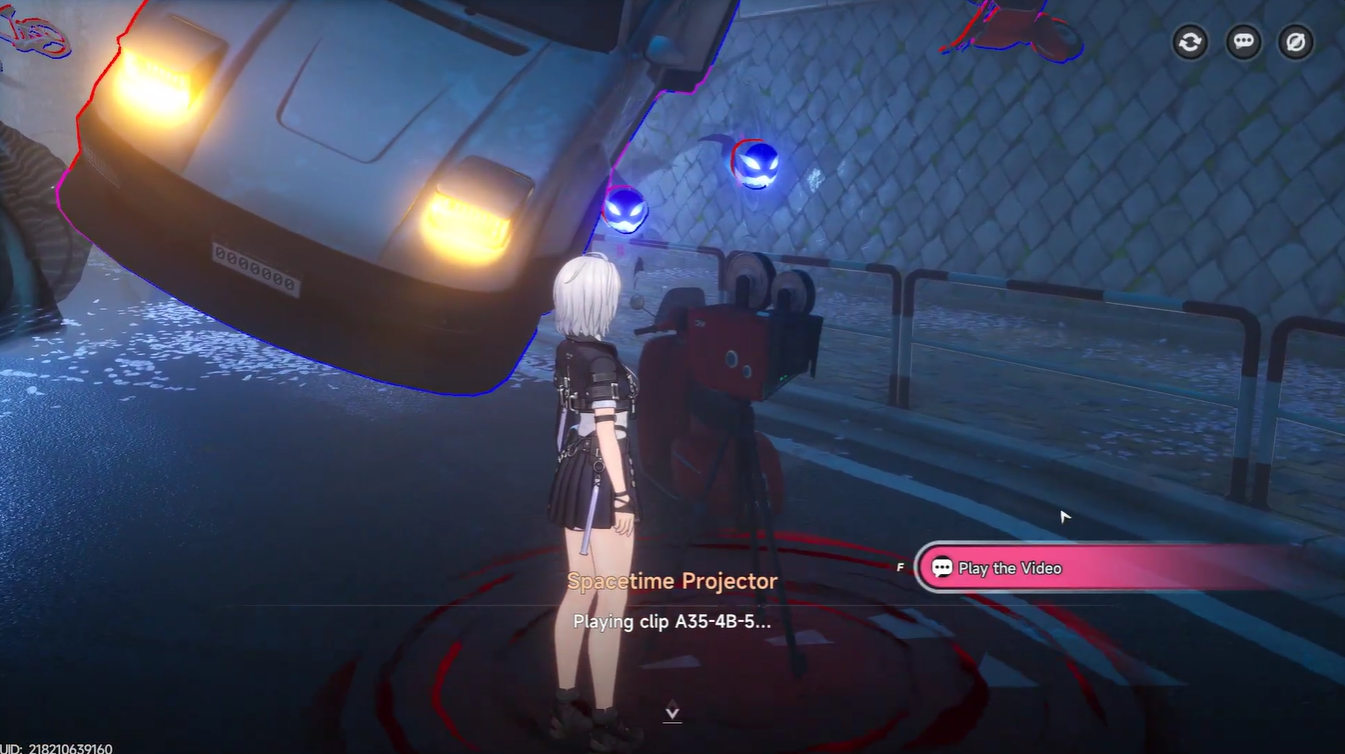
- Clues are marked by red blocks on the video timeline.
- You must locate and interact with transparent orbs to complete the puzzle.
Spacetime Projector puzzles in Neverness to Everness focus on observation and timing rather than combat. As you explore, these devices let you replay fragments of past incidents, turning you into an investigator. You’ll need to carefully pause, scan, and interact with subtle visual elements to uncover every clue hidden in the scene.
NTE Spacetime Projector puzzles details
| Aspect | Details |
|---|---|
| Puzzle Type | Investigation / Replay-based |
| Device Appearance | Tripod stand with red aura |
| Clue Indicators | Red blocks on timeline |
| Interaction Method | Transparent orb interaction |
| Total Clues | Usually 3–4 per replay |
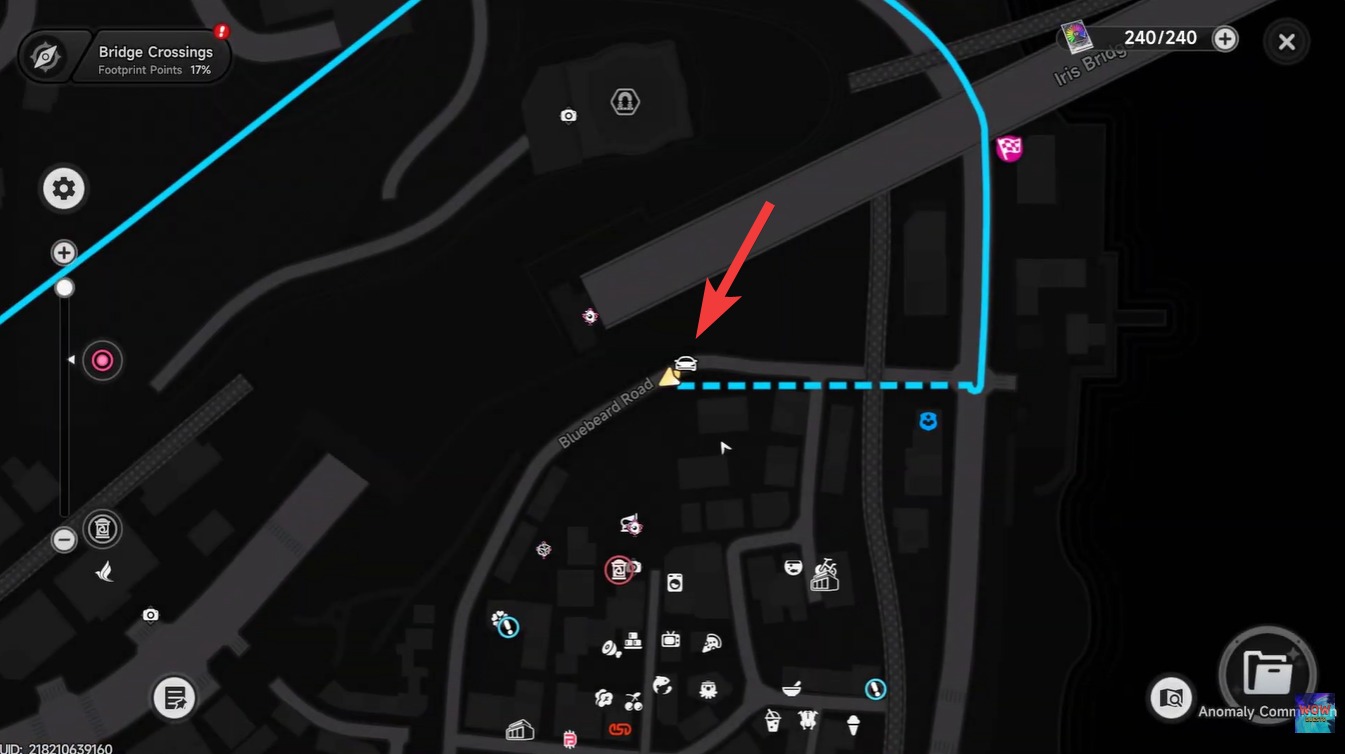
| Example Location | Bluebear Road, Bridge Crossing |
| Rewards | Currency, materials, upgrade items |
Locations of Spacetime Projector puzzles
These puzzles are commonly placed along roads and open exploration routes, often tied to past incidents in that area. One confirmed example is located at Bluebear Road in the Bridge Crossing region, where the projector sits in plain sight. If you’re actively exploring instead of fast traveling, you’ll naturally come across these devices more often.
How to complete Spacetime Projector puzzles in NTE
Step 1
Approach the Spacetime Projector, identified by its tripod structure and reddish aura. This visual cue confirms that the puzzle is active.

Step 2
Interact with the projector to begin the accident video playback. The scene will play automatically, showing a recorded incident.
Step 3
Focus on the video timeline and identify red blocks along the progress bar. These blocks mark the exact moments where clues are hidden.

Step 4
Scrub or move the playback to each highlighted red segment. You can manually adjust the timeline to jump directly to these key moments.

Step 5
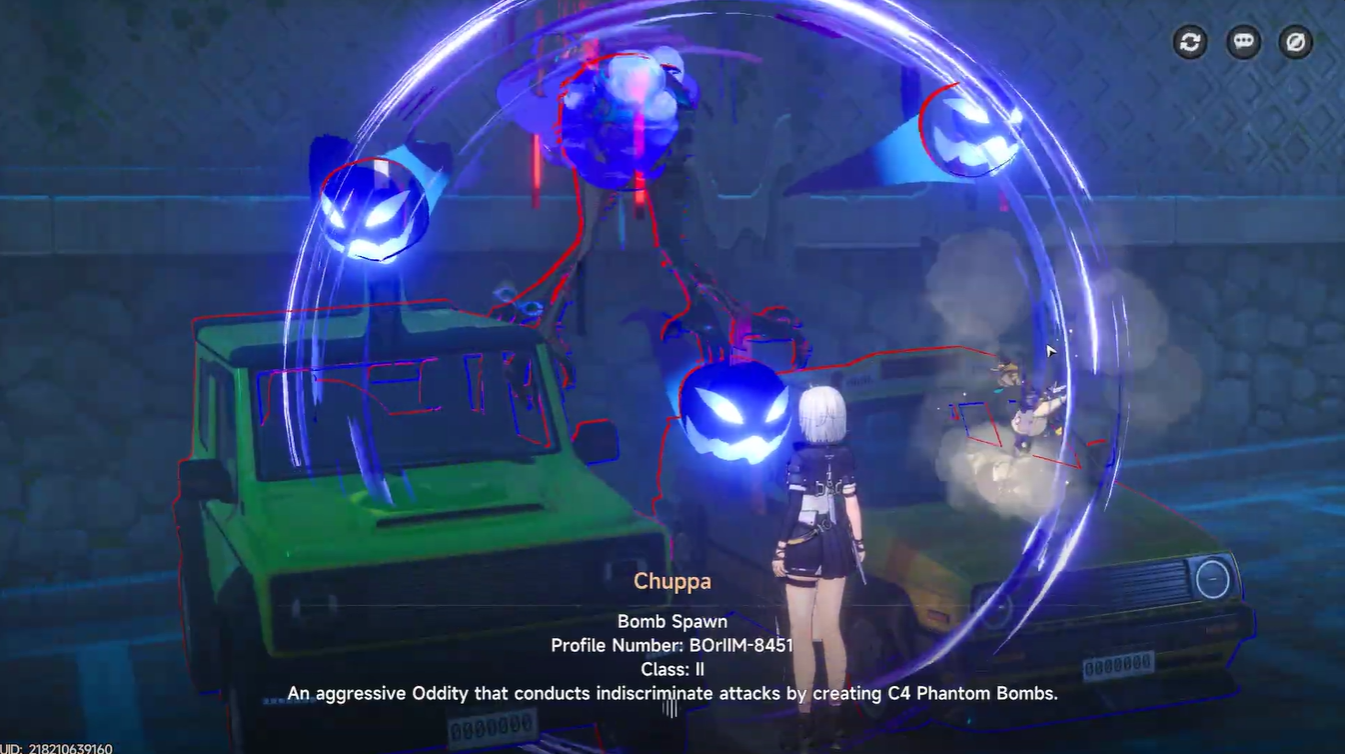
Scan the environment carefully when the video reaches a marked segment. Look around the scene rather than focusing only on the center.
Step 6
Locate the transparent orb that appears near the clue location. These orbs can be subtle and blend into the environment, so adjust your camera if needed.
Step 7
Interact with the orb to investigate the clue. Each successful interaction counts toward puzzle completion.
Step 8
Repeat the process for all remaining red-marked timestamps. Most puzzles contain around three to four clues.
Step 9
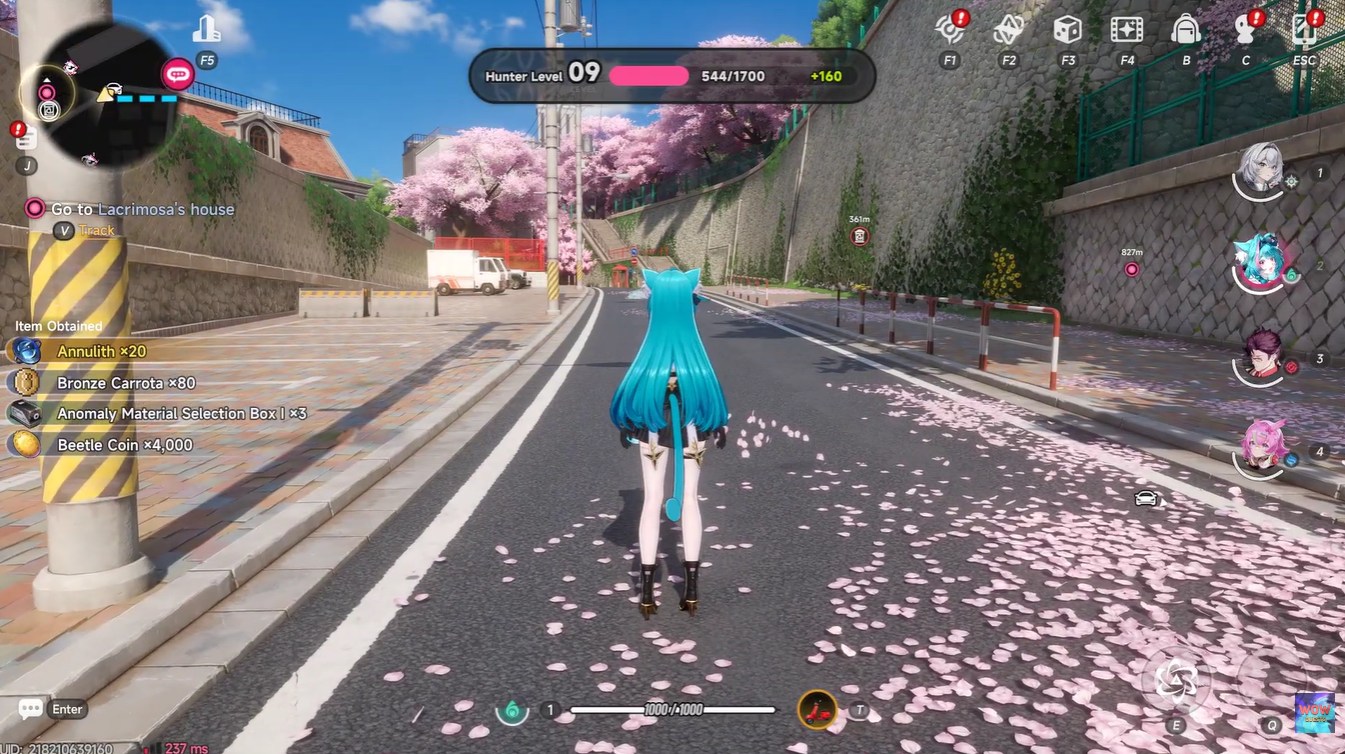
Complete all clue interactions to finish the puzzle and receive rewards instantly.
Rewards you get after solving the puzzle
Completing a Spacetime Projector puzzle grants a mix of upgrade materials and currency, making them worth your time during exploration.
| Reward | Quantity |
|---|---|
| Annulith | ×20 |
| Bronze Carrota | ×80 |
| Anomaly Material Selection Box I | ×3 |
| Beetle Coin | ×4,000 |
| Fons | ×8,000 |
| U-00NE | ×15 |
These puzzles are quick, repeatable sources of valuable resources that support your progression. Since they don’t require combat, they also serve as a relaxing break between intense encounters while still rewarding you efficiently. Over time, consistently completing them can significantly boost your resource stockpile.
Spacetime Projector puzzles reward patience and sharp observation more than anything else. Once you get used to spotting red timeline markers and scanning for transparent orbs, you’ll be able to complete them quickly and efficiently during your exploration routes. Make it a habit to stop at every projector you find, and you’ll steadily build up valuable materials without extra effort.