What to know
- Lunatic unlocks after finishing the campaign once on any difficulty and must be played on a New Game, not New Game+.
- Enemies hit harder, have more health, and are more aggressive, but you can print fully upgraded weapons from the Shelter early.
- Your highest priority upgrades are health, Hugh’s damage, and Diana’s hack damage; weapon‑level upgrades matter less.
- The big challenge is bosses, which have huge health pools and demand tight timing on hacks, dodges, and critical‑shot setup.
Pragmata’s Lunatic difficulty turns the already tough campaign into a punishing but very fair test of how well you’ve mastered Diana’s hacking system and your own positioning. The “easy method” is less about short‑cuts and more about upgrading the right attributes, using the right weapons, and playing around the AI’s patterns instead of straight‑up brawling.
How Lunatic difficulty works
Lunatic exists purely as a second‑playthrough mode, so you have to complete the main story once before seeing it as an option. In this mode all regular enemies are tougher, hit more accurately, and often cluster more aggressively, while hazards and environmental damage also scale up.
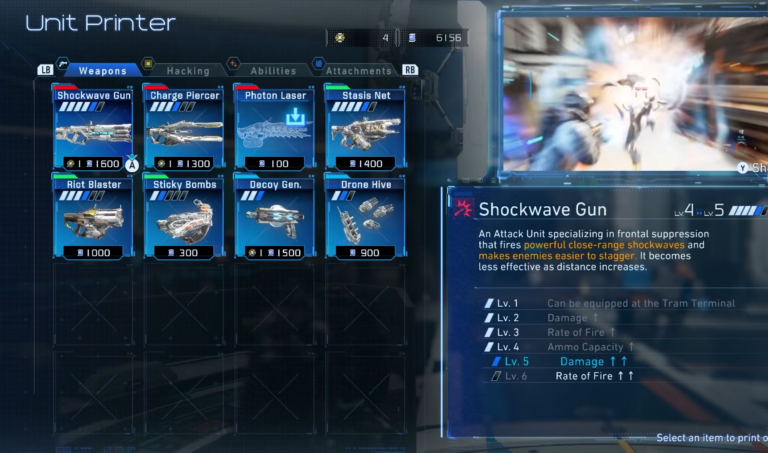
The upside is that Lunatic brings new weapon‑upgrade tiers and lets you start printing higher‑level versions of your favorite guns from the Shelter, which makes the early levels feel far less punishing once you’re geared up. This is key to the easy‑method approach: you are not meant to brute‑force every fight, but to mid‑game with tools that trivialize lower‑tier enemies and free up your attention for the hard bits.
Lunatic Difficulty details
| Aspect | Lunatic specifics |
|---|---|
| Availability | Unlocks after first clear; must start a New Game, not New Game+. |
| Enemy behavior | More aggressive, higher health, more clustered fights. |
| Upgrades and gear | Start with higher weapon tiers and extra upgrade paths. |
| Resource availability | Safe‑Boxes, Lunafilament, Pure Lunum still scale; farm early. |
| Boss encounters | Massive health; require optimized hacks and sustained DPS. |
Prep before Lunatic
Before you launch the Lunatic run, make sure you are comfortable with the core combat loop: aiming, dodge‑rolling, and using Diana’s hacking grid. On your first playthrough, focus less on extreme efficiency and more on learning when to hack, when to dodge, and how to read enemy tells.
Take note of where you struggled the most; those same rooms or bosses will be the main roadblocks on Lunatic. If you had a favorite weapon or loadout, jot down its upgrade path and preferred perks so you can prioritize it during your Lunatic print‑queue.
Core Lunatic strategy
On Lunatic, the worst thing you can do is treat every fight like a Standard‑difficulty shootout. Instead, lean hard into Diana’s hacking tools and use your weapons only to finish off weakened enemies or land critical shots. Here are the main pillars of the easy‑method approach:
- Use Diana’s Cleansing ability as a reflex; it clears static tiles and corrupted filaments that slow your hacks and drain Diana’s Overdrive, so you can chain hacks more smoothly.
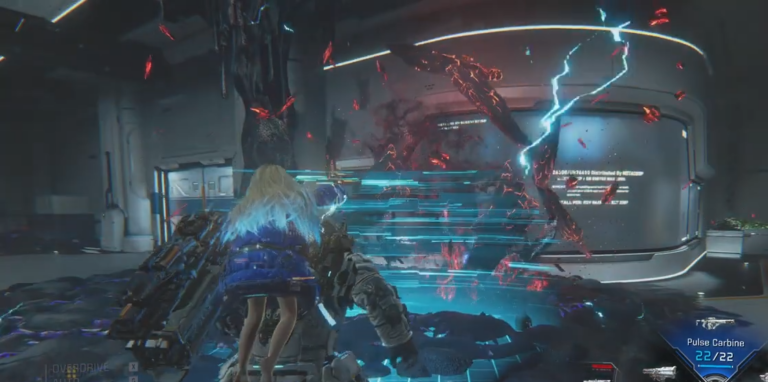
- Always pass through blue tiles and, when possible, Construct‑type blue tiles that increase hack‑duration or damage, so each hack lasts longer and does more.
- Save yellow‑type modules (Decode, Multihack, etc.) for elite or mini‑boss enemies, where the extra duration or debuff can swing a hard encounter.
- Actively look for purple tiles that enable Critical Shots; once you sync a purple‑path, realign your aim and fire immediately for massive damage.
Using cover and positioning
On Lunatic, going in‑your‑face too early often leads to being overwhelmed by multiple enemies plus environmental hazards. The easy‑method approach is to hang back, use cover, and let Diana hack one or two key targets first, then peel them off with your gun while the rest try to re‑position.
When advancing, move in short bursts, always planning an escape route. If you see a red‑warning‑sign‑heavy hack grid, it is often better to skip the hack, re‑dodge to safety, and wait for a cleaner window.
Upgrades and builds that simplify Lunatic
Not all upgrades are equal on high difficulty. The easy‑method route focuses on survivability first, then on supporting Diana’s hacking power, and only then on raw weapon damage.
Priority upgrade list
- Health: max‑out your health bar as early as possible so you can survive mis‑timed dodges and overlapping enemy attacks.
- Hugh’s damage: improves gun damage across the board, which matters more than per‑weapon weapon‑levels.
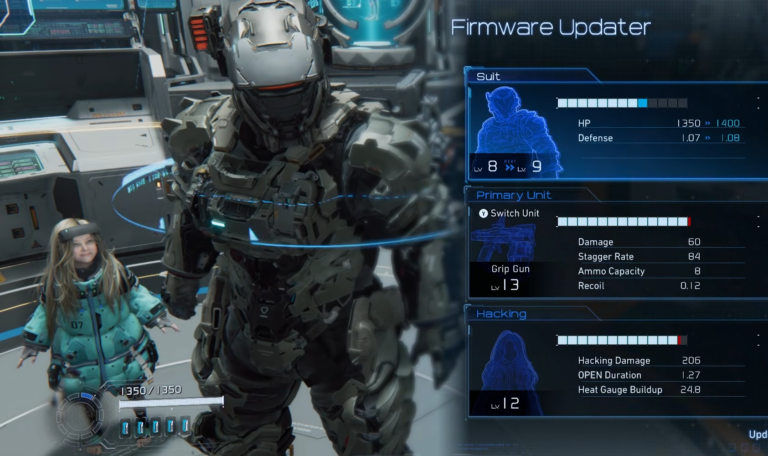
- Diana’s hack damage: makes hacking more lethal, especially against shielded or armored units, which are common on Lunatic.
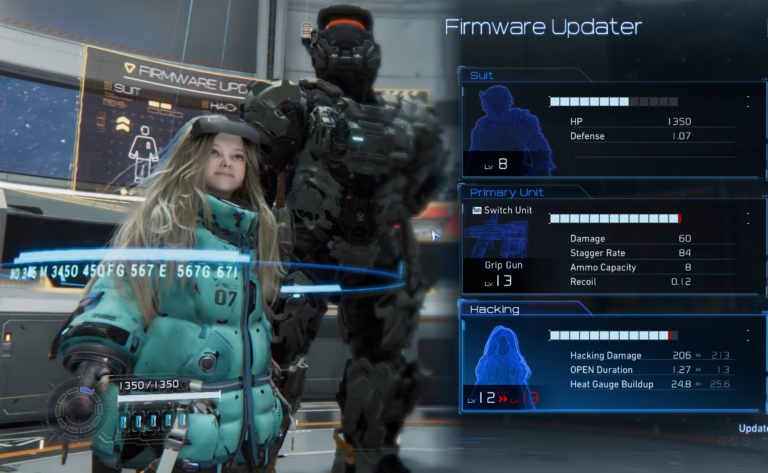
- Diana’s Overdrive pool and recharge: this lets you chain hacks more often and stay in the fight longer without relying purely on your gun.
For actual weapons, prioritize your whatever‑slot weapon that can unleash big damage or debuffs (sticky bombs, auto‑hacking, etc.) and print it at the highest tier your budget allows.
Example loadout choices (easy‑method friendly)
- One high‑utility weapon: for example, a unit that auto‑hacks or drops sticky bombs, since these reduce the mental load of managing Diana’s grid in hectic fights.
- One pure‑damage weapon: a straightforward gun with high DPS for clean‑up once hacks have softened everything.
- One support weapon: a shield or AoE debuff unit that can buy safety in tight rooms or against groups.
You do not need to max every weapon; instead, pick two or three that fit your playstyle and upgrade them to the top of the tree, then live mainly through those.
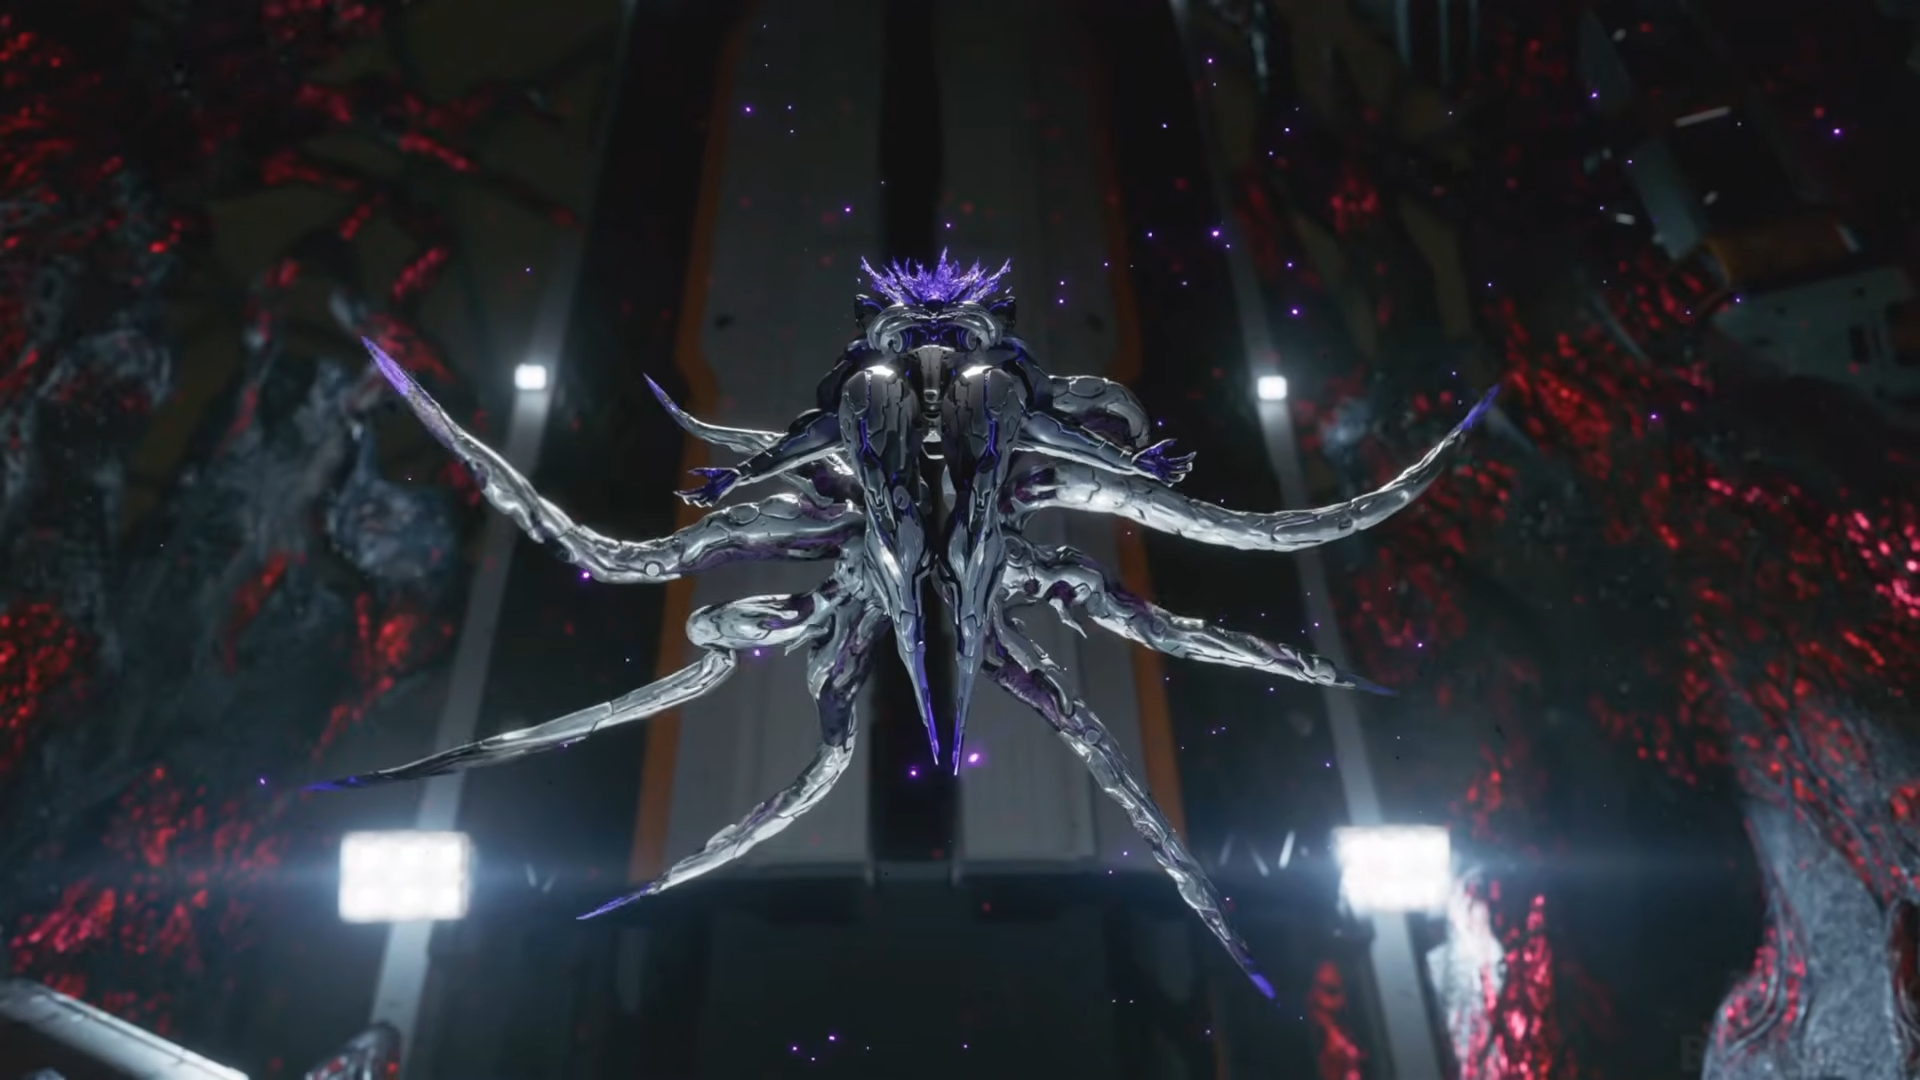
How to tackle Lunatic bosses
Bosses are where Lunatic truly bites, since their health pools balloon and their attack patterns leave little room for sloppy positioning. The easy‑method approach is to treat every phase as a rhythm‑game: you hack, dodge, re‑position, then hack again, with your gun used only to extend good windows.
General boss‑fight tactics
- Right before a boss, print the best weapon you can afford and stock up on any useful modules that extend hack duration or increase damage.
- Start the fight by safely hacking once or twice to lower its health and debuff its abilities, then fall back to dodge‑heavy play until it telegraphs an exploitable phase.
- When you see an opening (such as a boss exposing a weak point or staying in place), use Diana’s grid to route through purple tiles if possible and land a Critical Shot; this can shave off a huge percentage of its bar.
Example: Luna Digger‑style fights
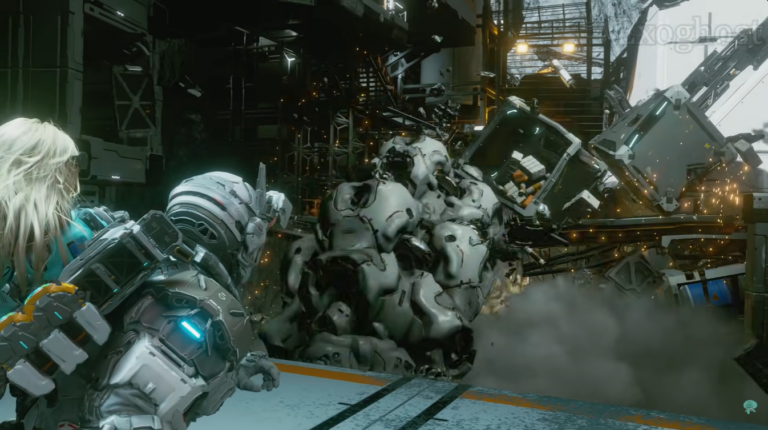
Late‑game burrowing or phase‑shifting bosses like the Luna‑Digger‑type enemies follow a predictable pattern: they vanish, then reappear briefly vulnerable.
- Stay in the middle or slightly off‑center of the arena, facing the direction where the boss usually emerges.
- As it starts to surface, aim at its visible weak point and start the hack immediately, trying to route through blue and, if available, purple tiles.
- Once the hack is in motion, switch your aim to the weak point and fire everything you have while the hack is active; this bursts its health and often staggers its next attack.
- If the hack fails or you get hit, re‑dodge to the safest side, wait for the next surfacing, and repeat with a simpler, faster path (blue + green only if purple is too risky).
Following this pattern keeps you alive and lets you steadily eat into the boss’s health without panicking.
Where to farm resources on Lunatic
Because Lunatic makes every fight harder and longer, you want to bank resources early so you can print and upgrade your chosen weapons and attributes. Safe‑Boxes, Pure Lunum, and Lunafilament drops are proportional to difficulty, which means farming low‑risk areas can pay off well.
Easy‑method farming spots
- Earlier challenge missions or training‑sim missions that repeatable, such as the 10th challenge mission, where you can rinse and repeat to farm Lunafilament quickly.
- Certain side‑areas that have dense enemy spawns but minimal complicating hazards (no moving platforms, no tight‑timed explosions); these let you hack multiple enemies in one go and rake in materials.
Whenever you see a room with a high‑level Safe‑Box or a Pure Lunum cache, prioritize claiming it early so you can print at least one top‑tier weapon before hitting the first major boss gauntlet.
Stay calm on Lunatic
The easiest‑method approach also hinges on your mindset: you are not trying to clear every fight in one perfect run, but to chip away at the difficulty with smarter choices over time. If you die, unbunch your shoulders, re‑examine your loadout, and decide whether you need more health, a better weapon, or simply cleaner inputs.
Save frequently, and on Lunatic, take the extra second to re‑calibrate your aim and rethink your positioning instead of blindly charging. Each death on this mode is a lesson in “what hacked earlier” or “what stopped dodging sooner,” and once you internalize those patterns, the difficulty starts to feel manageable.