What to know
- Toward the Nest is a multi-stage puzzle quest involving traversal, power mechanisms, and platforming.
- You must activate multiple energy systems to unlock the Spire of Soaring.
- Precision movement abilities like aerial control and force jumps are essential.
- Preparation before the final boss (Crowaller) significantly improves your chances.
The Toward the Nest quest stands out as one of the more mechanically demanding sequences in Crimson Desert, combining exploration, puzzle-solving, and combat preparation. As you progress through this questline, you will navigate underground caverns, manipulate ancient devices, and ultimately activate the Spire of Soaring to unlock the final confrontation.
Below is a quick glance at everything you need to know before diving deeper.
| Aspect | Details |
|---|---|
| Quest Name | Toward the Nest |
| Region | Spire of Soaring Area |
| Objective | Activate the Spire and reach Crowaller |
| Core Mechanics | Puzzle solving, traversal, energy alignment |
| Difficulty | Moderate to High |
| Key Abilities | Force Palm Jump, Aerial Control |
| Final Encounter | Crowaller Boss |
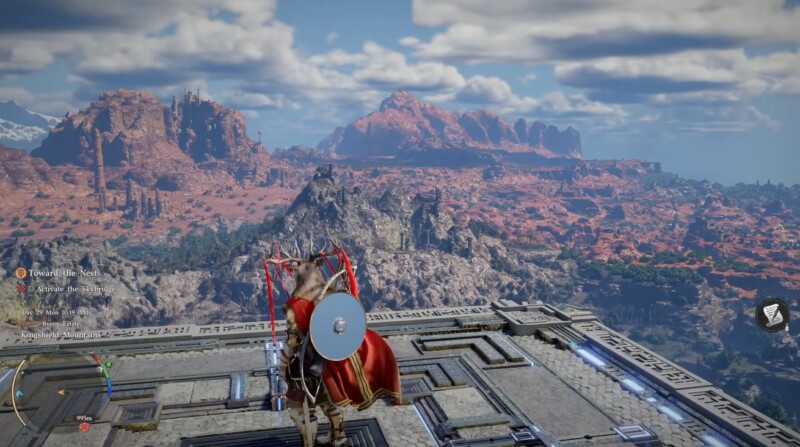
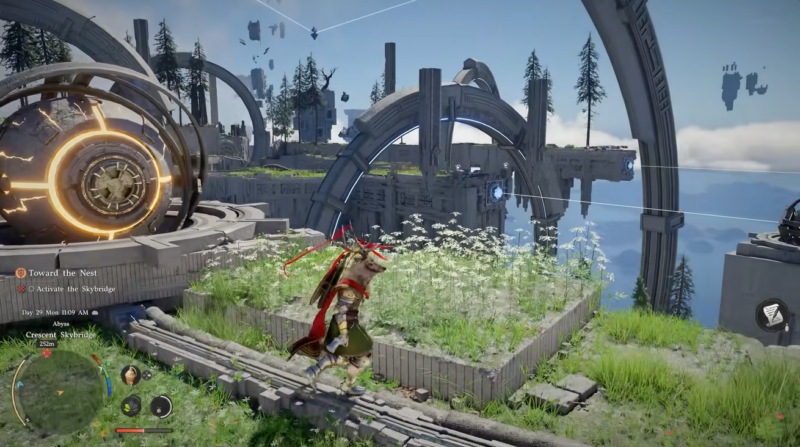
Your journey begins by heading toward the marked cave that leads underground toward the Spire of Soaring. As you descend, you will quickly notice that standard traversal is not enough. You are expected to actively use your aerial movement abilities to glide across gaps and maneuver through vertical spaces.
The cave layout is intentionally layered, encouraging you to experiment with height, momentum, and controlled descent rather than simply walking forward. If you rush here, you may miss ledges or fall into lower sections, forcing unnecessary backtracking.
How to complete Spire of Soaring objective and activating Abyss in Towards the Nest
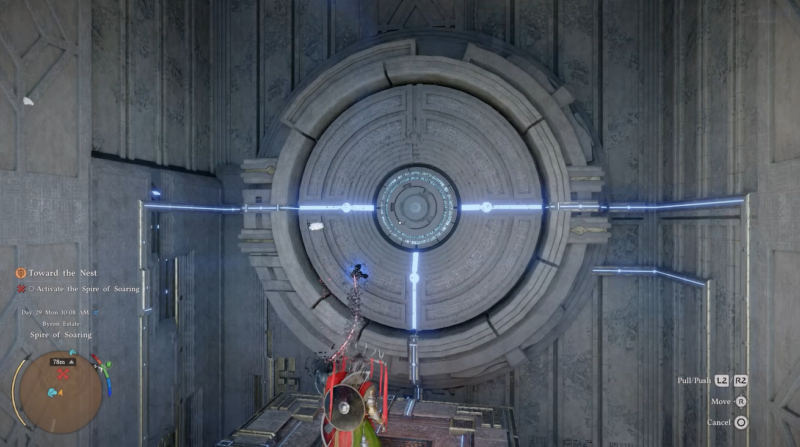
A – Solving the first power mechanism puzzle
The first major obstacle is a circular power device that must be aligned correctly to restore energy flow. This puzzle introduces the core mechanic used throughout the quest.
Step 1
Interact with the circular mechanism and observe the broken energy flow. You will see disconnected segments that need alignment.
Step 2
Rotate the rings using Axiom Force until the energy lines form a continuous path. The correct configuration allows power to travel seamlessly through the device.
Step 3
Confirm activation once the energy stabilizes, unlocking the next section of the path.
This puzzle is straightforward but teaches you to read visual energy cues carefully, which becomes more complex later.
B – Aligning the second mechanism and activating the elevator
The second puzzle builds on the first but adds spatial awareness and camera control into the mix. Here, alignment depends heavily on your viewing angle.
Step 1
Position your camera so that all three lines appear aligned from your perspective. This is not just rotation—it is perspective-based alignment.
Step 2
Adjust the mechanism while maintaining that visual alignment. Slight camera shifts can disrupt the illusion, so move carefully.
Step 3
Once aligned correctly, the system activates and powers the elevator.
The elevator sequence that follows is not just visual spectacle—it marks your transition into the upper spire puzzle zone.
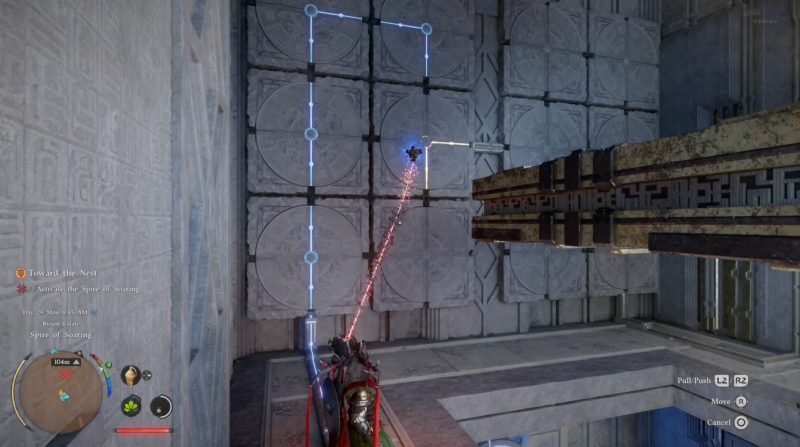
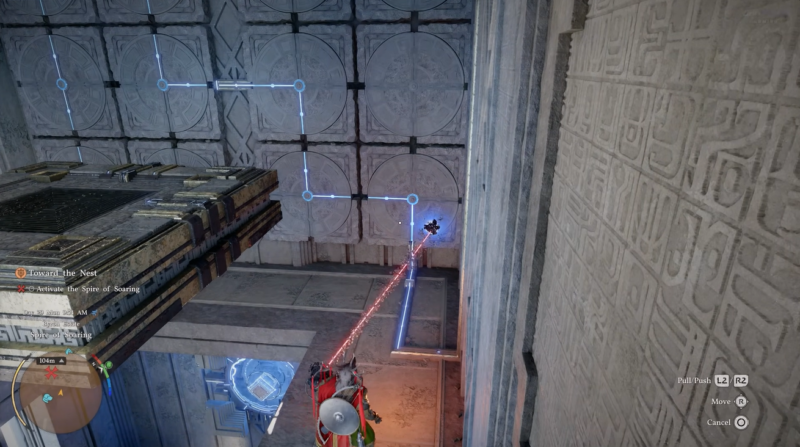
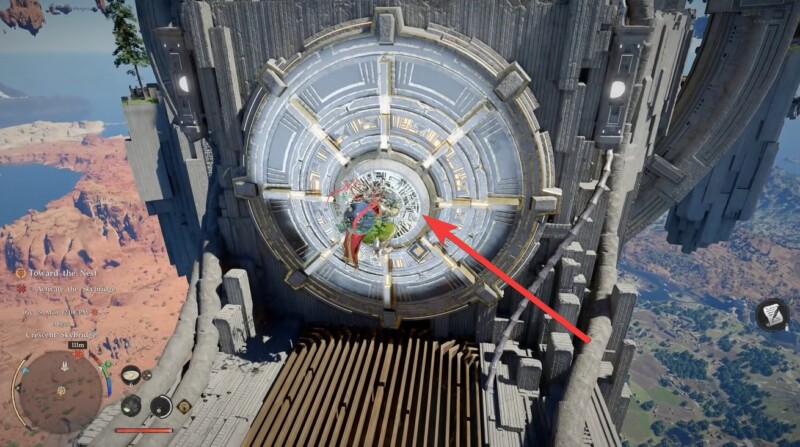
C – Activating the three energy orbs in the upper section
This section is where traversal and puzzle-solving truly merge. You must connect three energy orbs to their respective nodes while navigating hazards.
Step 1
Locate each orb platform and identify the corresponding blue energy node. These are usually positioned across gaps or elevated terrain.
Step 2
Use Force Palm Jump and aerial control to reach each platform. Timing and stamina management are crucial here.
Step 3
Carry or connect the orb to its node to activate it. Each successful connection powers part of the spire.

Step 4
Avoid the purple hazard zones scattered around the platforms. These drain your health quickly and can interrupt progress.
This stage tests both your precision and patience, especially if your stamina upgrades are limited.
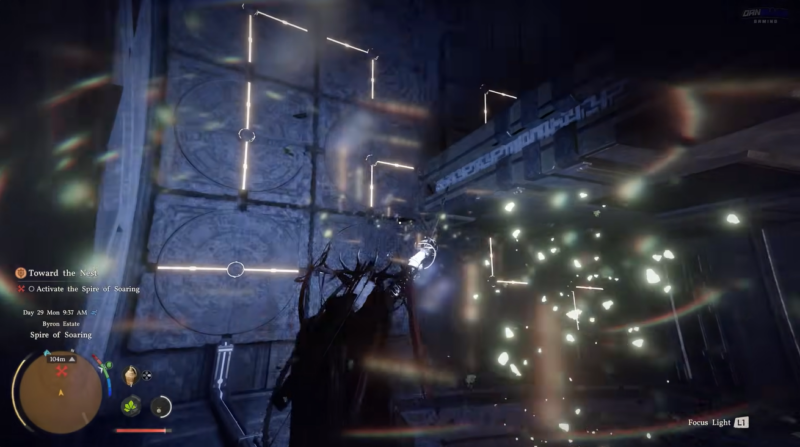
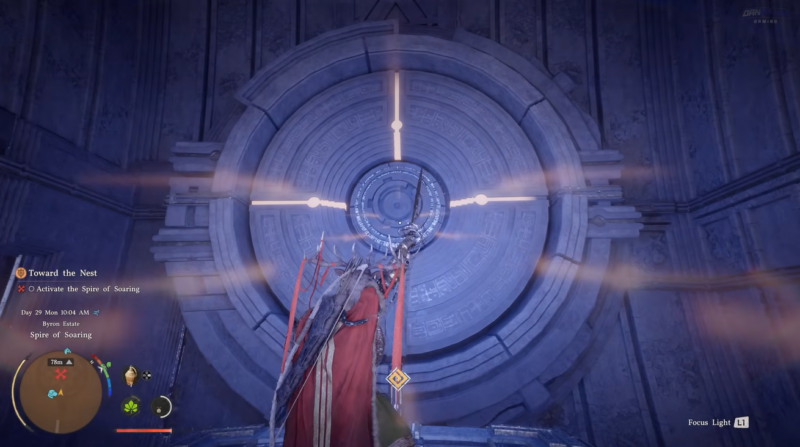
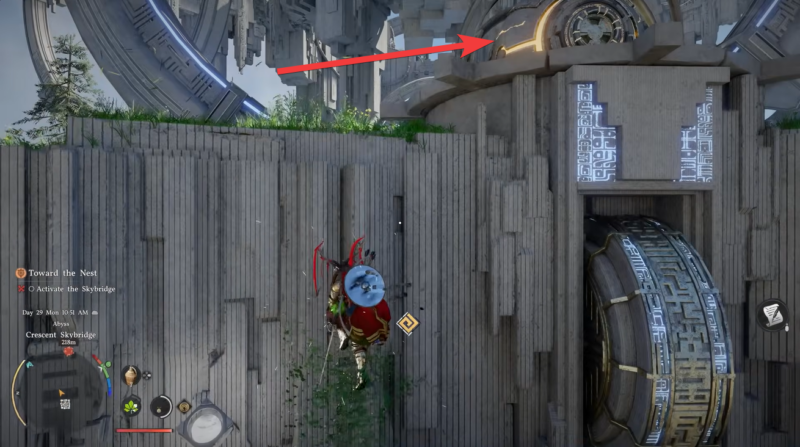
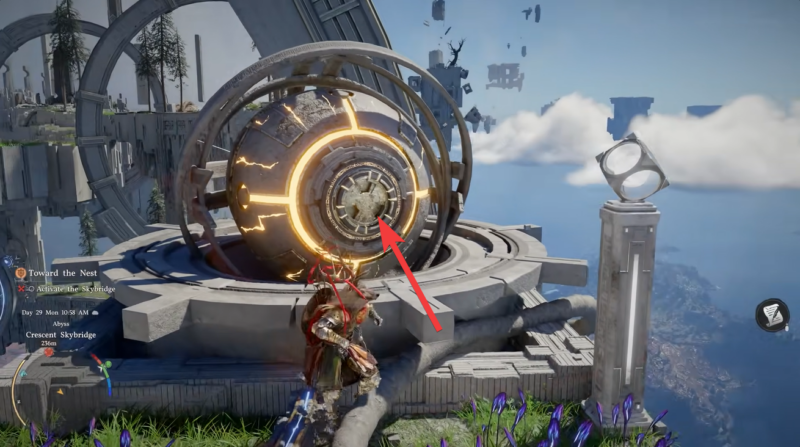
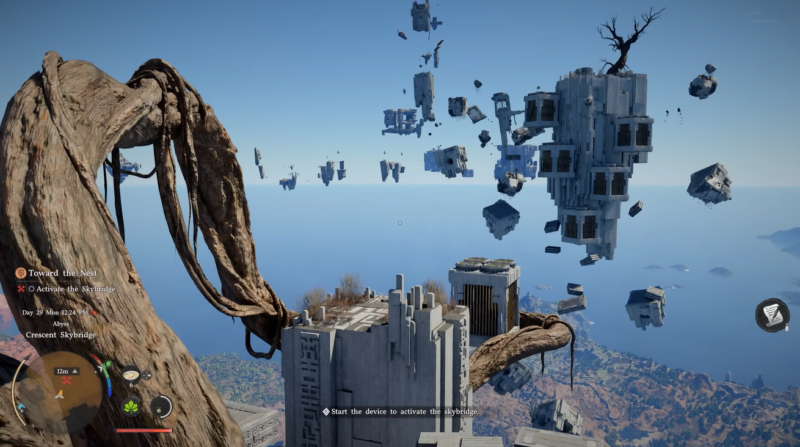
D – Unlocking the skybridge with the final mechanism
After activating all three orbs, you will gain access to the final control device. This mechanism serves as the last gate before the boss encounter.
Step 1
Interact with the final device once all prior systems are active. Use Force Palm and restore the Abyss.
Step 2
Trigger the activation sequence, which stabilizes the entire spire system. Collect you Abyss Artifact and complete the Abyss.
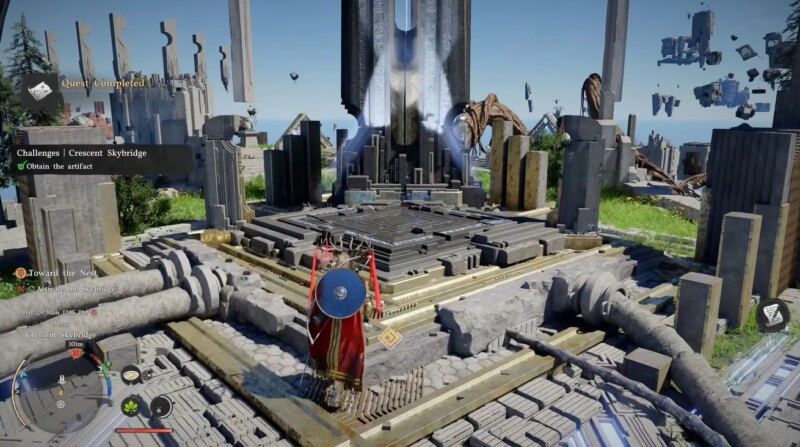
Step 3
Move further towards the nexus. Activate the nexus by rotating it clockwise.
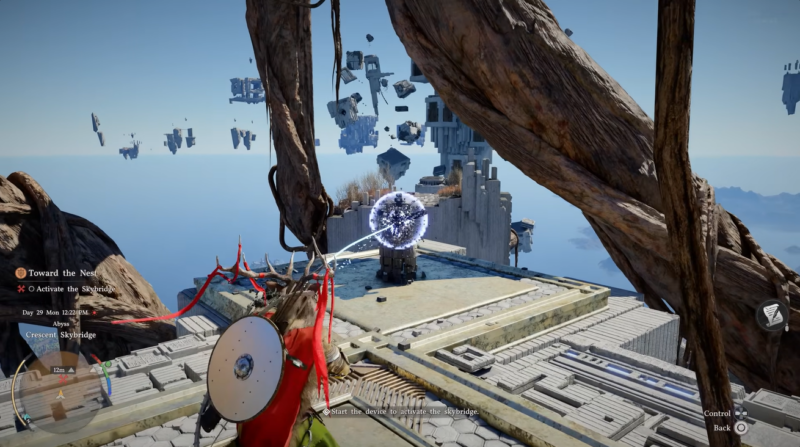
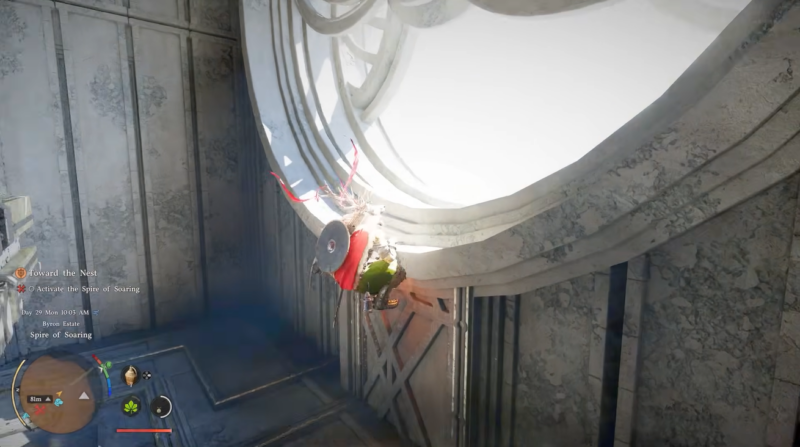
Watch as the skybridge forms, creating a direct path forward.
E – Preparing for the Crowaller boss encounter
Before crossing the skybridge, it is strongly recommended that you prepare thoroughly. While the game allows immediate progression, doing so unprepared can make the fight significantly harder.
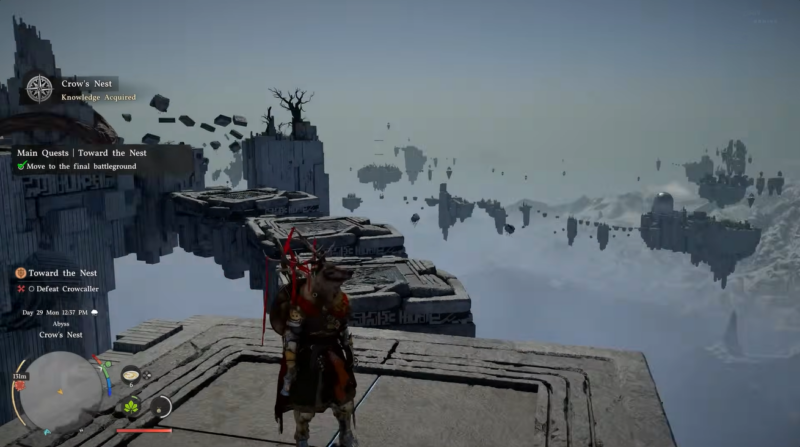
You should consider returning briefly to restock healing items, upgrade gear if possible, and cook food buffs that enhance stamina or damage resistance. The Crowaller fight is designed to punish careless players, especially those entering with low resources.
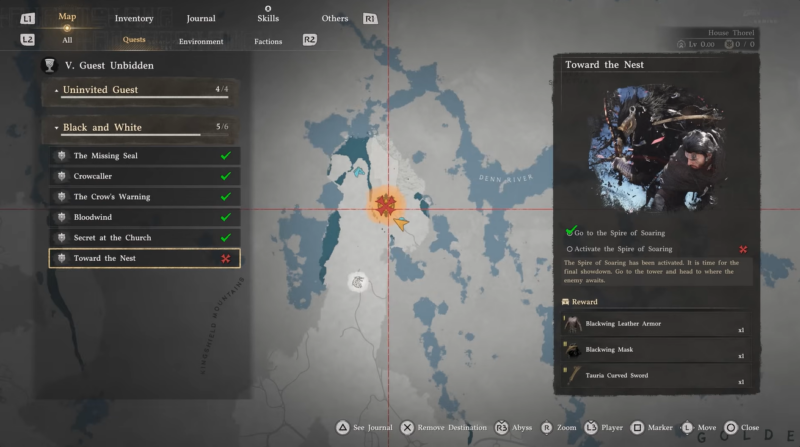
Spire of Soaring – Towards The Nest rewards overview
| Reward | Type | Value |
|---|---|---|
| Blackwing Leather Armor | Armor | Defensive upgrade |
| Blackwing Mask | Gear | Bonus stats |
| Tauria Curved Sword | Weapon | High damage melee |
These rewards are particularly valuable for mid-to-late progression, offering both survivability and offensive improvements.
How to defeat the Crowcaller boss in Crimson Desert
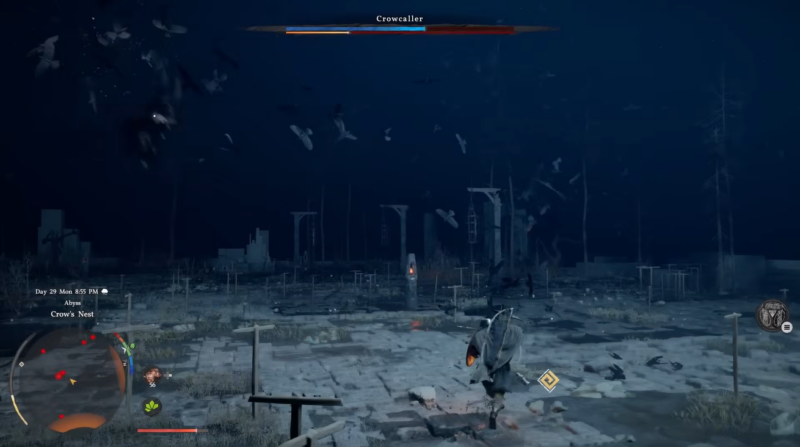
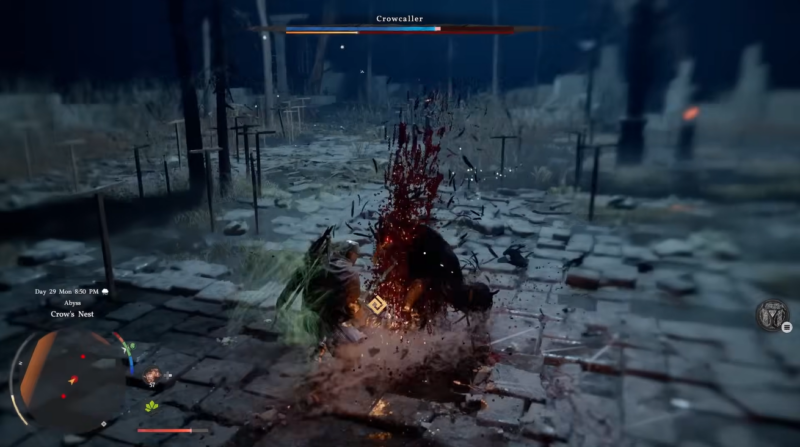
The Crowcaller boss fight in Crimson Desert is an early skill-check encounter that tests your mastery of parrying, mobility, and stagger mechanics. Unlike slower enemies, Crowcaller relies on fast melee chains, aerial dive-bombs, and teleport-style attacks, forcing you to stay alert and avoid overcommitting. Once you understand his phase patterns, the fight becomes far more manageable. Here are a few core combat tips for Crowcaller boss fight:
- Use Grappling for Stagger: Best way to win is stacking stagger via grapples, then burst damage while he’s stunned.
- Master Parry Timing: Crowcaller is weak to well-timed parries due to his fast melee chains.
- Watch the Dive-Bomb: He jumps → dodges mid-air → slams down; number of dodges increases each phase.
- Jump vs Shadow Dance: Use aerial mobility (double/triple jump) to avoid his teleport strikes.
- Don’t Overcommit: His speed punishes greedy combos—hit only during clear openings.

Crowcaller – All 3 phases explained
| Phase | Key Attacks | What to Do | Openings |
|---|---|---|---|
| Phase 1 | Fast melee combos, Cross Slash | Focus on parrying and timing blocks | After parry → grapple + combo |
| Phase 2 | Dive-bomb (double aerial dodge), Shadow Dance | Keep moving, jump/dodge aerial attacks | After landing from dive-bomb |
| Phase 3 | Rapid combo chains, triple dive-bomb | Hold shield often, play defensively | Block → immediate grapple → stagger |
Toward the Nest is a defining quest that blends multiple gameplay systems into a single, cohesive experience. From carefully aligning energy mechanisms to executing precise aerial maneuvers, you are constantly pushed to engage with Crimson Desert’s mechanics at a deeper level.
By the time you activate the Spire of Soaring and step onto the skybridge, you are not just progressing the story—you are proving mastery over the game’s core systems. Taking the time to prepare before the Crowaller fight ensures that this challenging sequence ends on a strong note rather than frustration.