What to know
- “Short Break at the Mirror” completes by resting at the correct Mirror landmark trigger zone, not by reaching a generic resting spot.
- The most common issue is the break not registering due to unstable footing or being slightly outside the interaction zone.
- Completing it is usually fastest when bundled into a normal route segment rather than treated as a dedicated trip.
- If completion fails, a small reposition and a full, uninterrupted rest typically resolves it.
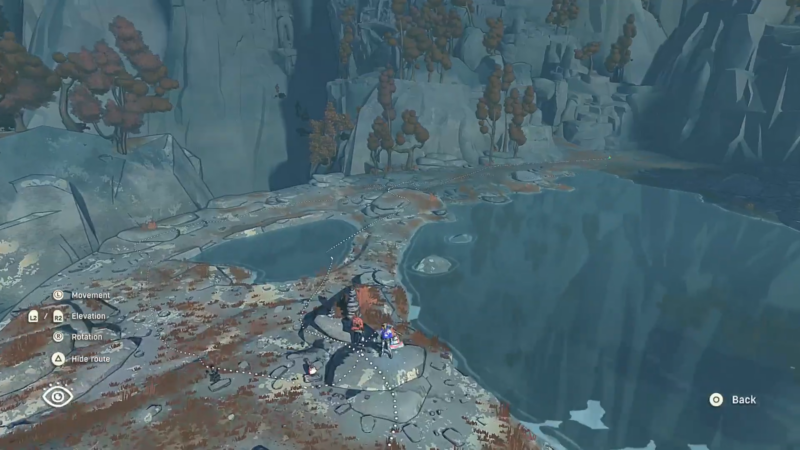
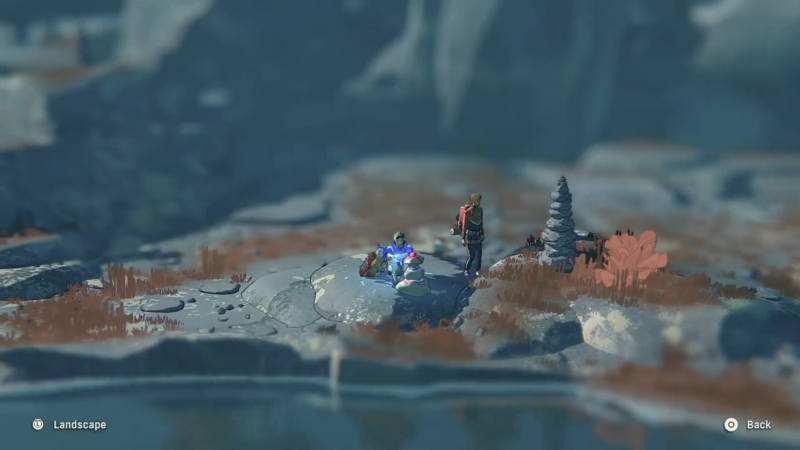
In Cairn, this objective is a short interaction task built around reaching the Mirror landmark area, stabilizing the character, and performing a proper “short break” long enough for the game to register completion. The challenge is rarely the climb itself; it’s more about clean positioning and making sure the rest state is allowed to fully finish.
Mirror break objective quick reference
| Item | Quick details |
|---|---|
| Quest/objective | Short Break at the Mirror |
| Objective type | Rest interaction at a landmark trigger zone |
| Usual completion condition | Short break completes while standing in the Mirror’s valid zone |
| Most common failure point | Break cancels early or doesn’t register because position is slightly off |
| Fastest workaround | Step away, re-center on stable ground, then repeat the break without canceling |
How to complete Short Break at the Mirror
Step 1
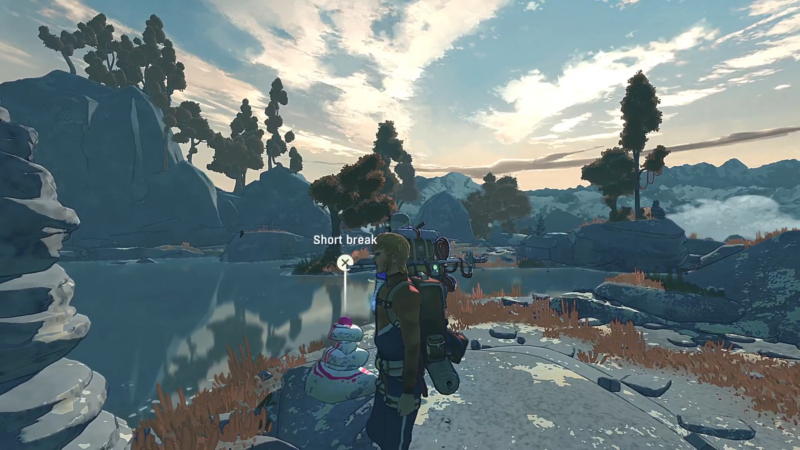
Reach the Mirror landmark area and slow movement before the final approach so the character isn’t recovering mid-step.
Step 2
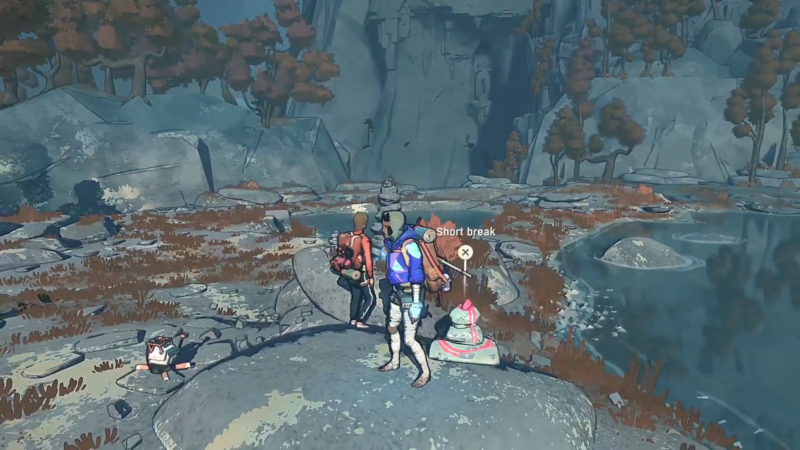
Stop on stable terrain near the Mirror, then wait a moment for the character to fully settle (no sliding, no balance recovery).
Step 3
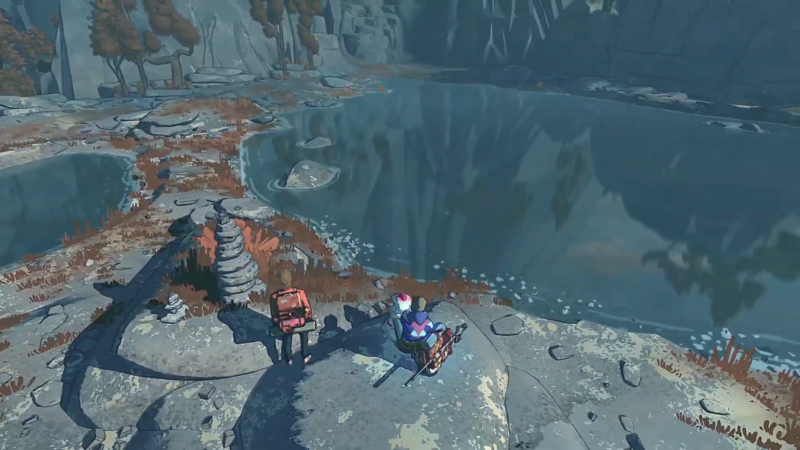
Trigger the short break/rest interaction and allow the full rest action to complete before moving again.
Step 4
If the objective doesn’t complete immediately, take a few small steps to re-center (left/right, slightly forward/back) and retry the short break.
Step 5
After it registers, pause briefly, then continue the route carefully to avoid accidental slips that can waste the recovered stamina.
How to make the rest reliably register at the Mirror
Small landmark objectives in Cairn can behave like “tight zones,” where the break only counts on a specific patch of ground. A short break can appear available in multiple nearby spots, but only one position may count for the objective.
Use these habits to make the trigger consistent:
- Approach the Mirror area with a stamina buffer; arriving exhausted increases micro-slips and forced recovery animations.
- Prioritize flat, stable footing over proximity; being slightly farther away but stable often works better than being close on a slanted surface.
- Let the animation/state complete; canceling early or moving at the last moment can prevent the completion flag from setting.
Troubleshooting when it won’t complete
| Problem | What it usually means | What to do next |
|---|---|---|
| Break option appears, but objective won’t clear | Wrong patch of ground; not inside the exact trigger | Walk a short semicircle around the Mirror, stop on each stable patch, and retry |
| Break starts but stops quickly | Terrain instability, stamina recovery, or minor sliding | Move to flatter ground, wait to fully settle, then try again |
| No break prompt near the Mirror | Approaching from the wrong side or not close enough to the landmark zone | Re-approach from a slightly different angle and scan nearby ledges |
| Objective clears inconsistently across attempts | The “valid zone” is narrow and easy to step out of | Use minimal stick movement, confirm stable footing, then rest again |
Route planning notes that keep the objective efficient
If the Mirror landmark sits on a route that also includes other small objectives, scenic points, or resupply opportunities, it’s typically best to clear the break objective during that pass. The main time loss comes from backtracking to the Mirror after moving on, especially if the return path forces extra stamina use or a riskier descent.
A simple rule: treat the Mirror break as a “checkpoint stop,” complete it the first time the landmark is reached, then move forward rather than postponing it.
Thanks for reading this guide all the way through. If it improved your understanding or helped you complete something, let us know below. You can also ask any follow-up questions—we enjoy interacting with readers and are always happy to provide further clarification.