With the coronavirus pandemic dragging on for an indefinite period of time, Minecraft has emerged as an entertaining game for users of all ages. The Microsoft-owned game has managed to achieve over 50 million downloads since it was made available for free in March for educators.
The game requires you to mine resources and use them to create worlds of your choice from ground zero, defend your base from enemies, and try and find newer elements that you can use for your world. Since it involves breaking stuff and creating even more complex items, you might want to zoom in on certain scenes to use blocks and tools in a better fashion.
The following guide will help you zoom in when playing Minecraft on your PC.
1. Use low field of view
Minecraft allows you to change what’s visible on the screen by adjusting your Field of View or FOV. The higher the FOV value, the more things you’ll see in your view. If you select a lower FOV value, you will be able to get a zoomed-in view of your world. You can thus zoom in on your Minecraft screen adjusting field of view to a lower value.
Step 1: When inside the Minecraft window, press the Esc key on your keyboard to get to the Game menu.
Step 2: Inside the Game menu, click on the Options box.
Step 3: In this screen, you can adjust your field of view by sliding the tool inside FOV to the left.
Sliding the FOV to the left will show you lesser details by zooming in.
Step 4: After setting a certain FOV value, click on Done at the bottom of the Options screen to save the changes and then hit ‘Back to Game’.
Your Minecraft window will now be zoomed in.
2. Use the macOS Accessibility option
While adjusting your FOV does give you some kind of a zoomed-in effect on Minecraft, you can also use macOS’ Accessibility settings to give you a better zoom option. Here you are using an accessibility shortcut to manually zoom in and out of your Minecraft window.
Step 1: Open System Preferences from the dock at the bottom or using Spotlight.
Step 2: Click on Accessibility.
Step 3: On the left sidebar, click on Zoom and check the box adjacent to ‘Use scroll gesture with modifier keys to zoom’.
By default, the Control key is assigned to be used as the modifier key to zoom in on a screen.
Step 4 (Optional): To change the modifier key, click on the down arrow adjacent to the box under ‘Use scroll gesture with modifier keys to zoom’ and select your modifier key of choice – Option key, Command key, or Control key.
Step 5: Head over to the Minecraft window, hold the modifier key that you chose and scroll up and down on the screen to zoom in or out.
You will now be able to press and hold the modifier key and scroll up with your mouse to zoom in on Minecraft.
3. Use the OptiFine Mod
Here’s all you need to know about using Optifine Mod to zoom in Minecraft.
How to install Optifine mod on Windows, macOS and Linux
Step 0: In order to use the OptiFine Mod, you’ll need to download and install the Java SE Development Kit 14 for your PC from the links given below.
Follow the instructions given on the installer to successfully install Java SE on your PC.
Step 1: Download the OptiFine Mod for Minecraft on your PC. For the mod to work with the latest version of Minecraft, head over to the OptiFine Mod page and click on ‘Preview versions’ at the top which will now show the latest preview build for Minecraft version 1.15.
Step 2: Open the .jar file corresponding to the OptiFine Mod and click on Install. After the installation is done, press OK. This will install the OptiFine Mod as a module inside Minecraft.
Step 3: Open the Minecraft launcher.
Step 4: Check if the OptiFine Mod has been loaded on to the game. If it has, you will see Optifine inside a box at the bottom on the left-hand side of the Play button.
If you don’t see it, tap on the box next to the Play button (which will likely read ‘Latest release’) and select Optifine.
Step 5: Click on the Play button inside the Minecraft launch and load a game.
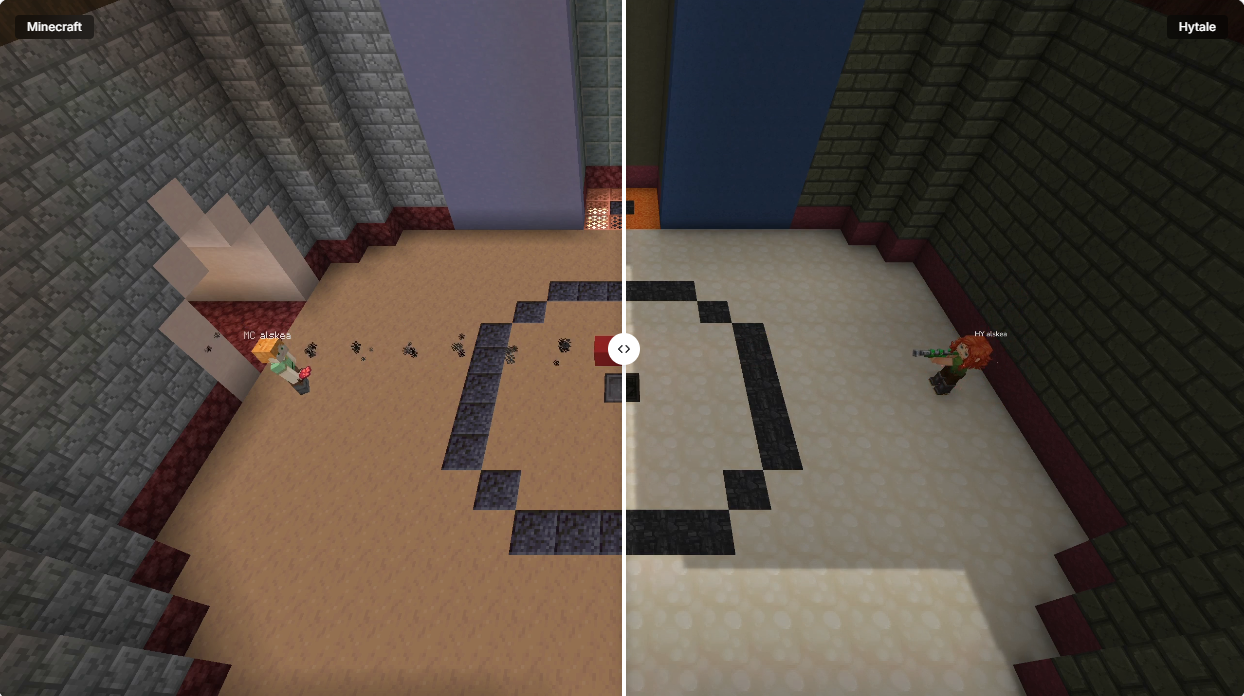
Step 6: When playing the game, press and hold the ‘C’ key on your keyboard to zoom in to a scene or object that’s located in the center of your screen. You can press the key whenever you want to zoom in at a given time. The zoom effect will look something like this:
That’s it! You have successfully enabled the OptiFine mod inside Minecraft to zoom in on your gameplay.
How do you change the hotkey for zoom
You can change the hotkey if you installed OptiFine Mod within the game’s settings while playing the game. You can do so by following the steps below:
Step 1: When on the gameplay screen, press the Esc key on your keyboard and click on the Options button inside the Game Menu.
Step 2: Inside the Options menu, click on the Controls button.
Step 3: Scroll down and find the section labeled ‘Miscellaneous’ and set a hotkey for the Zoom function. By default, this key is set as ‘C’, you can change this to whichever key on your keyboard.
Note: The key that you set here should not have previously been set as a shortcut for another function inside the game.
OptiFine not loading on Minecraft launcher? Try this
If the OptiFine Mod is not appearing inside the Minecraft launcher, you will have to load it manually. You can do so by following the steps below:
Step 1: Open the Minecraft launcher on your PC.
Step 2: Click on the Installations tab at the top and hit the ‘+ New’ button at the top.
Step 3: Inside the ‘Create new installation’ window, select OptiFine as your choose release and click on Create.
Optifine should be available as an option inside the Installations tab and you can start playing the game with the new mod by clicking the Play button adjacent to Optifine.
Is OptiFine still not working?
Since the “OptiFine 1.15.2 HD U G1 pre18” is a preview release. There’s a likelihood that the version might not work for you if you’re on the latest build of Minecraft. In case you’re still using Minecraft version 1.14 or older, then you can download and install the relevant OptiFine Mod for your version from OptiFine’s download page.
4. Use zoomed-out maps instead
Besides using the zoom functionality, you might also want to use maps for navigating inside Minecraft with ease. When playing in survival mode or with other players, maps can be a handy tool to let you see your surroundings, prevent you from getting lost, and defend your home when the time comes.
How to create a map inside Minecraft
You can create a map when playing Minecraft and use it to get a zoom-out view of your world.
Step 1: Collect the items required to create a Map. These include sugar cane (to create paper), a compass, and a crafting table.
Step 2: To create 9 pieces of paper, you need to open the crafting table, place 3x sugar canes each in the bottom left, bottom center, and bottom right squares and tap the paper icon on the right box. After the paper is created, move it to the inventory.
Step 3: Now we can proceed to create a map. Inside the crafting grid, place the compass in the middle square and paper in all the other remaining squares.
Step 4: Select the yellow paper from the right box and move it to your inventory. Your map is now ready and you can use it to navigate around your world.
Step 5: You can use the map by selecting it in the Equip bar at the bottom of the game screen and then right-clicking (pressing and holding on mobile) on your mouse.
Note: The map will look empty after you first create it and will only fill up after you add it to the Equip bar and move around your world.
How to get a zoomed-out map in Minecraft
After you create a map, you will notice that it is set a certain zoom value. You can, however, enable a more zoomed-out map on Minecraft by expanding it to contain a larger view of your world. To get a zoomed-out map, follow the instructions below:
Step 1: Make sure you have created a map of your world from the method above and collect 32 pieces of paper. You need 32 pieces because you can create a zoomed-out view of your map in 4 levels and you need 8 pieces of paper at every level.
Step 2: Open your crafting table, add your map to the center square.
Step 3: Move a piece of paper to the rest of the squares inside the crafting grid. 
Step 4: Select and move the resulting map to your inventory.
Step 5: Repeat the steps further by placing the newly made map at the center every time you want to zoom out.

You can achieve maximum zoom by repeating the steps (Step 1 to Step 4) 3 more times (after the first time), which will create 2048×2048 blocks. You can equip the map and walk around your world to register all of its elements and landmarks.
Did the above guide help you zoom in when playing Minecraft on your PC? Let us know if we missed anything in the comments below.


