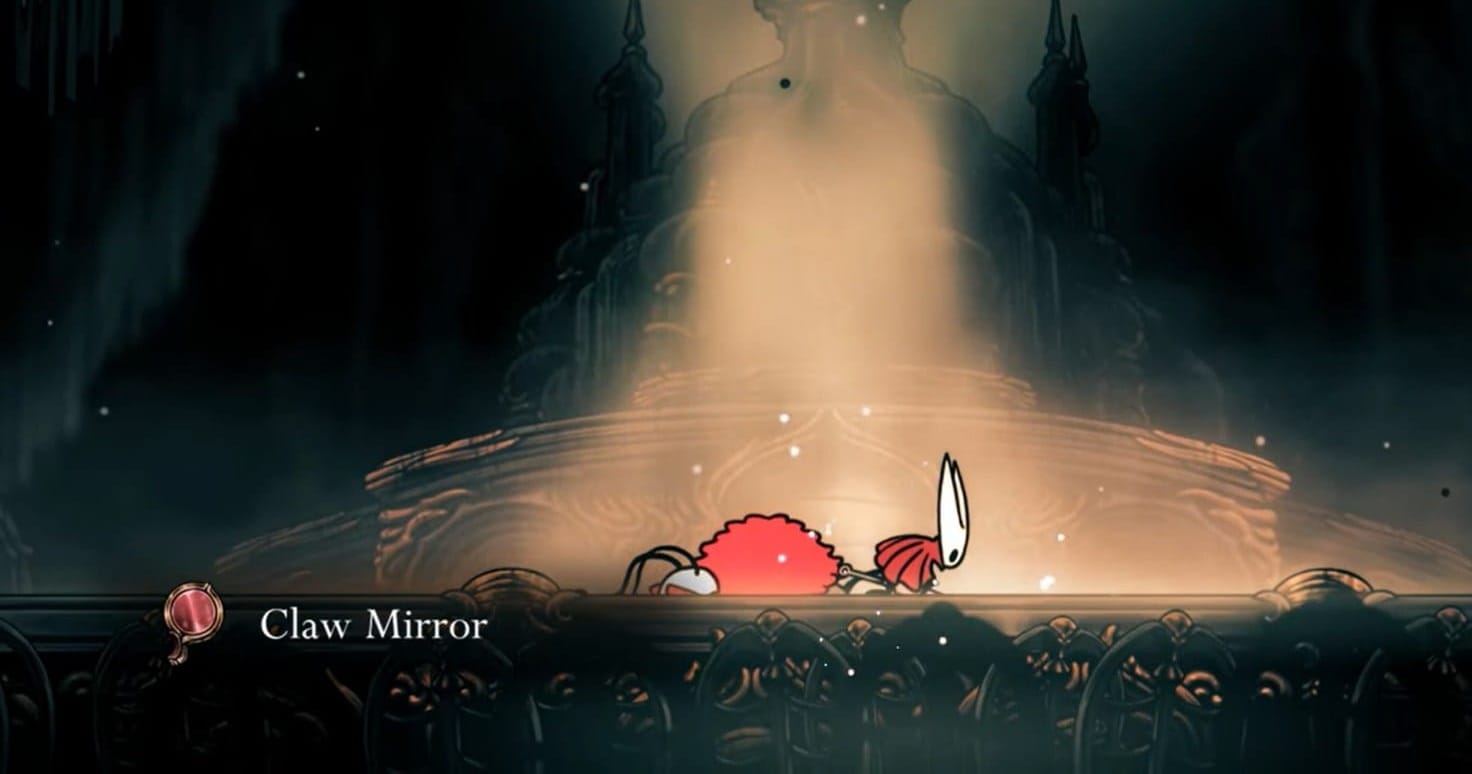
Defeat Trobbio on The Stage, equip the Claw Mirror to emit damaging flashes when you bind and heal.
- What to know
- What the Claw Mirror is and why players pick it up
- At-a-glance stats (table)
- How to reach the Stage in Whispering Vaults (short route summary)
- How to obtain the Claw Mirror (step-by-step)
- How Trobbio behaves in the fight (quick patterns to watch)
- How to use Claw Mirror effectively in combat (tactics and combos)
- Quick troubleshooting and common questions
- Claw Mirror in build examples (short)
- Claw mirror — quick wrap-up
What to know
- Claw Mirror is a blue (defensive) tool that triggers a damaging blast when you bind/heal.
- It drops from the Tormented Trobbio boss on The Stage, a sub-area of Whispering Vaults.
- The Stage / Trobbio encounter only becomes available as you progress (after the Cogwork Dancers / into Act 3).
- Best used as crowd-control while you bind/heal; pairs conceptually with tools/crests that change binding behavior (e.g., Multibinder).
A quick, practical guide: below you’ll find exactly where to go, what you need to unlock the fight, a detailed step-by-step route to reach and beat Trobbio, and how to equip and use the Claw Mirror effectively in combat.
What the Claw Mirror is and why players pick it up
Claw Mirror is a Blue (defensive/passive) tool that, when equipped, emits a damaging flash around Hornet as part of the bind/heal action — effectively turning a defensive moment into a short-area offensive burst that can punish nearby foes. This effect is automatic while the tool is equipped in a crest slot.
At-a-glance stats (table)
| Property | Details |
|---|---|
| Item name | Claw Mirror |
| Slot color | Blue tool (equip to crest) |
| Where to find | The Stage — Whispering Vaults |
| Dropped by | Tormented Trobbio (boss) |
| Access requirement | Area is reachable after progressing through Cogwork/Choral Chambers / Act 3 progression in the story. |
| Main effect | Emits a damaging burst when you bind/heal (crowd damage around you) |
How to reach the Stage in Whispering Vaults (short route summary)
The Stage sits inside the Whispering Vaults area (connected to the Choral Chambers / Cogwork Core region). The sub-area that contains the Stage is normally inaccessible early — progress through the Cogwork Dancers / Choral Chambers and then move into the Cogwork Core / Whispering Vaults to find the path that leads to The Stage. Some routes involve a lever or door trigger to enter the arena.
How to obtain the Claw Mirror (step-by-step)
Step 1
Reach the part of the map containing the Choral Chambers → Cogwork Core → Whispering Vaults. If you don’t have the Whispering Vaults map yet, pick it up from the central shaft/map room as you explore.

Step 2
Progress story content until the Stage becomes available — notably, defeating the Cogwork Dancers / clearing the relevant Choral Chambers sequence or otherwise advancing into Act 3 opens the route to Trobbio’s arena.

Step 3
Navigate to the Stage entrance inside Whispering Vaults (the Stage tends to sit on the lower-left / basement area of the Vaults in many map layouts). Some walkthroughs mention a lever in the rafters or a stage door you need to trigger from a nearby room — activate whatever switch/lever opens the Stage entrance.

Step 4
Enter The Stage — the boss fight begins as you step in. Prepare for Trobbio’s patterns (tornado/spin, fireworks, trapdoor/underground pops) and bring tools/crests that help you survive and punish openings. Recommended pre-fight loadouts: Threadstorm skill, Pollip Pouch / Flea Brew combos, Ascendant’s Grip for wall refuge, Magnetite Dice for damage mitigation.

Step 5
Defeat Tormented Trobbio — it drops the Claw Mirror on victory. After the fight, pick up the dropped item/corpse and it will be added to your inventory (or appear at the room’s corpse where items are normally found).

Step 6
Equip the Claw Mirror to a blue tool (crest) slot at a bench/equipment screen. It works passively: whenever you bind/heal, you emit the damaging flash. Tweak your crest/equipment to match the enemies you expect to fight.
How Trobbio behaves in the fight (quick patterns to watch)
- Tornado/spin attacks that spawn whirlwinds — keep mobile and punish after the spin.
- Firework/explosion patterns marked ahead of time — read the indicators and dodge out.
- Trapdoors/open floor mechanics — Trobbio can pop up or use trapdoors to change elevation; use aerial tools or pogo attacks to punish.
How to use Claw Mirror effectively in combat (tactics and combos)
- Heal/pressure trade-off: you can safely use binding (healing) as a short offensive window — the Claw Mirror’s flash damages nearby foes while you’re vulnerable.
- Pair with Multibinder: Multibinder increases the amount healed but lengthens the binding time. Equipping Claw Mirror + Multibinder can let you stay in the bind long enough to both heal more and apply repeated area damage.
- Pair with area-effect skills/tools: tools like Flea Brew + Pollip Pouch or Silk skills that create AoE can combine well — while you bind and radiate damage with Claw Mirror, other AoE effects continue to pressure the enemy.
- Quick use tip: bait enemies into range before you bind so that the flash hits them as you recover.
Quick troubleshooting and common questions
- “I can’t find The Stage”: re-check that you’ve defeated the Cogwork Dancers / progressed through the Choral Chambers and explored exits from Cogwork Core; some routes require activating switches or using lifted bridges.
- “Does the Claw Mirror trigger only on full heal?” No — the tool triggers on the bind/heal action itself (the animation), not only on a full restoration.
Claw Mirror in build examples (short)
| Playstyle | Why Claw Mirror fits |
|---|---|
| Defensive healer | Use Multibinder + Claw Mirror to maximize single big heals while dealing damage to nearby adds. |
| Hit-and-run / poke | Equip Claw Mirror for quick healing windows that also punish melee swarms; combine with Threadstorm for area control. |
| Boss-specific | Against bosses with minion waves or predictable openings (like Trobbio’s trapdoor windows), Claw Mirror adds extra chip during your heals. |
Claw mirror — quick wrap-up
Claw Mirror is a straightforward, reliable Blue tool: you defeat Tormented Trobbio on The Stage (Whispering Vaults) to get it, then equip it to convert your binds into short-area damage bursts. It’s especially useful when you expect clustered enemies or when you want your healing windows to chip and control space — just be mindful of when you commit to a bind.