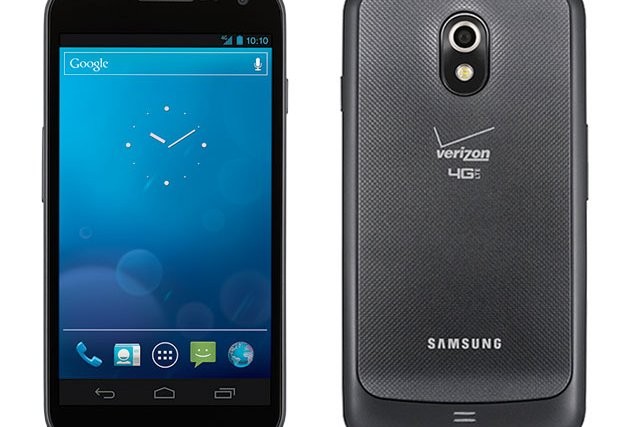
It’s been quite a long time since the Android 4.0.4 update came out for the international Galaxy Nexus, but Verizon Nexus users are still waiting for the update to hit their devices. Android 4.0.4 brings much-needed performance and stability improvements to Ice Cream Sandwich, so it’s quite an important update. Rumors are currently going on that the update is to be released soon, but in case you don’t want to wait, you can update to it right now, as the update has been available unofficially for quite a long time.
We have covered the procedure to update to Android 4.0.4 on the Verizon Galaxy Nexus before, but that method was quite complex. This new procedure here is much easier and will have your phone updated to Android 4.0.4 in no time.
Warning! This manual procedure to update requires you to have an unlocked bootloader, which voids the warranty. So if you’re not comfortable with that, it’s best to wait for the update to get released officially.
Read on to find out how you can update your Verizon Galaxy Nexus to Android 4.0.4 IMM76K.
Compatibility
This ROM and the guide below are compatible only and only with the Verizon Galaxy Nexus CDMA/LTE, model number i515. It’s not compatible with any other device. Check your device model in Settings » About phone.
Warning!
The methods and procedures discussed here are considered risky and you should not attempt anything if you don’t know completely what it is. If any damage occurs to your device, we won’t be held liable.
How to Update Verizon Galaxy Nexus to Android 4.0.4
- Important! You must unlock the bootloader on your Nexus. You can use this tool for unlocking the bootloader. You will lose all installed apps and data, including the data on the SD card by unlocking the bootloader, so make sure you backup everything — apps, bookmarks, contacts, SMS, APNs (internet settings), etc. This Android backup guide would help you.
- Download the 4.0.4 update file.
Download Link | Alternate Link | Filename: 12f767e7a5d0.signed-mysid-IMM76K-from-ICL53F.12f767e7.zip - After downloading the file in step 2, rename the file to update.zip (replace 12f767e7a5d0.signed-mysid-IMM76K-from-ICL53F.12f767e7 with update). Then, copy it to the SD card on the phone. Make sure to copy it to the root of the SD card i.e do not put it inside any folder.
- Check what Android version is currently installed on your phone by looking in Settings » About phone under Android version.
- Enable USB Debugging on the phone from Settings » Developer options.
- Download the Galaxy Nexus Toolkit.
Download Toolkit | Filename: Galaxy Nexus ToolKit v6.2.exe - After download the toolkit, do the following:
- Double-click on the Galaxy Nexus ToolKit v6.2.exe file to start the installation of the Toolkit.
- In the installation program, simply keep clicking on Next till the installation finishes, then press Close at the end to start the Toolkit.
- Turn off the phone. Then, enter fastboot mode. To do that, hold the Volume Up + Volume Down keys while powering on the phone. You will enter Fastboot mode (the screen will say Start in big green letters). Then connect your phone to the computer once you are in fastboot mode.
- Now, in the Toolkit window that showed up after step 7, we need to select the correct option corresponding to the Android version on your phone. Type 8 if your phone’s current Android version is 4.0.1, 9 if it’s 4.0.2, 10 if it’s 4.0.3, or 11 if it’s Android 4.0.4, then press Enter to proceed.
- On the next screen, type 9 then press Enter. On the next screen, type 1 to reboot the phone into ClockworkMod recovery.
- Now, on the phone, select install zip from sdcard, then select apply /sdcard/update.zip. Select Yes – Install apply /sdcard/update.zip on the next screen to confirm installation of the update.
- After the installation is complete, select go back followed by reboot system now to reboot the phone.
Congratulations, your Verizon Galaxy Nexus has been successfully updated to the latest Android 4.0.4 update, IMM76K. Let us know how it works for you, in the comments below.


