

AI image generators are a great and easy way to generate images for various projects, whether it’s for your social media platform or a website. You can generate simplistic images with single subjects, or choose to generate chaotic and artistic scenes that would otherwise require significant CGI and effort.
Furthermore, AI image generators can manipulate existing images and apply cool and interesting effects to them. If you have been on social media platforms lately, you might have noticed users posting images where their real-life photos have been turned into sketches in a 3D art style. You can also generate similar images by using various AI image generators available out there. Here is a comprehensive guide to help you turn your real-life photos into interesting sketches.
How to turn a picture into a drawing using AI [3 ways explained]
There are tons of AI tools that you can use to turn your photos and pictures into drawings. We will be covering Nightcafe and Instapainting for this guide. However, we have also listed a few alternatives so you can find and use an AI that best fits your current needs and requirements.
Method 1: Using Nightcafe
Our first recommendation is Nightcafe. Nightcafe is completely free and easy to use, which ensures that you can turn your photos into sketches with a few simple clicks. Follow the steps below to help you along with the process.
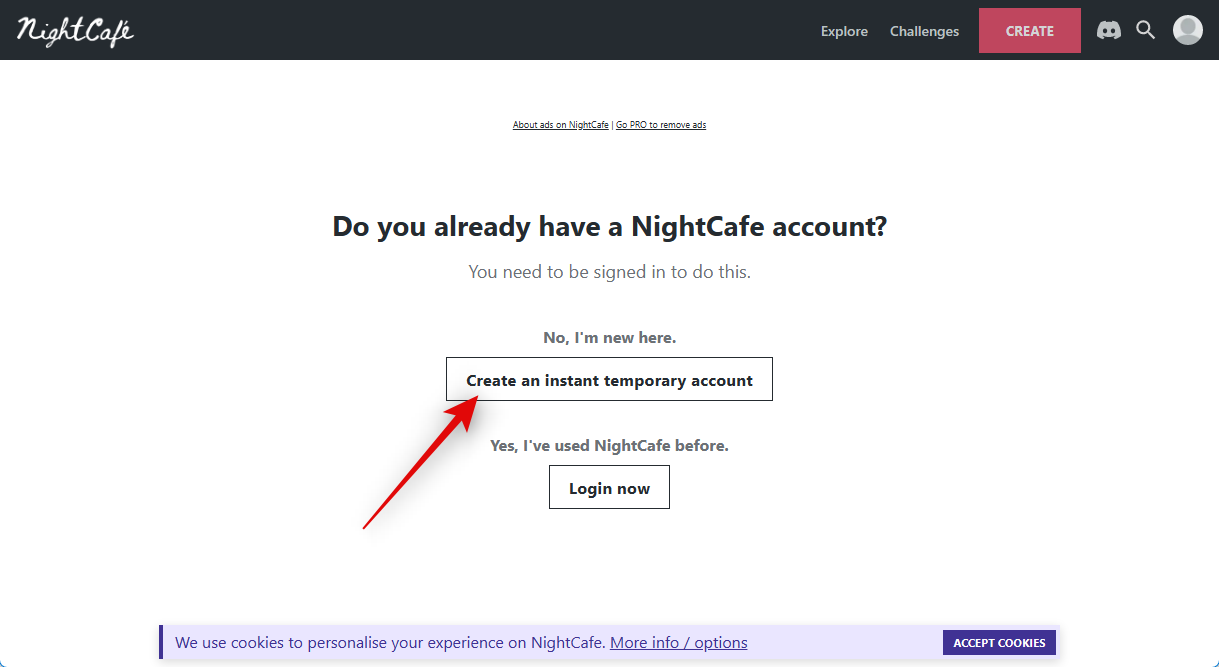
Visit https://creator.nightcafe.studio/create/style-transfer in your browser and log into your Nightcafe account. If you don’t have an account, click Create an instant temporary account.
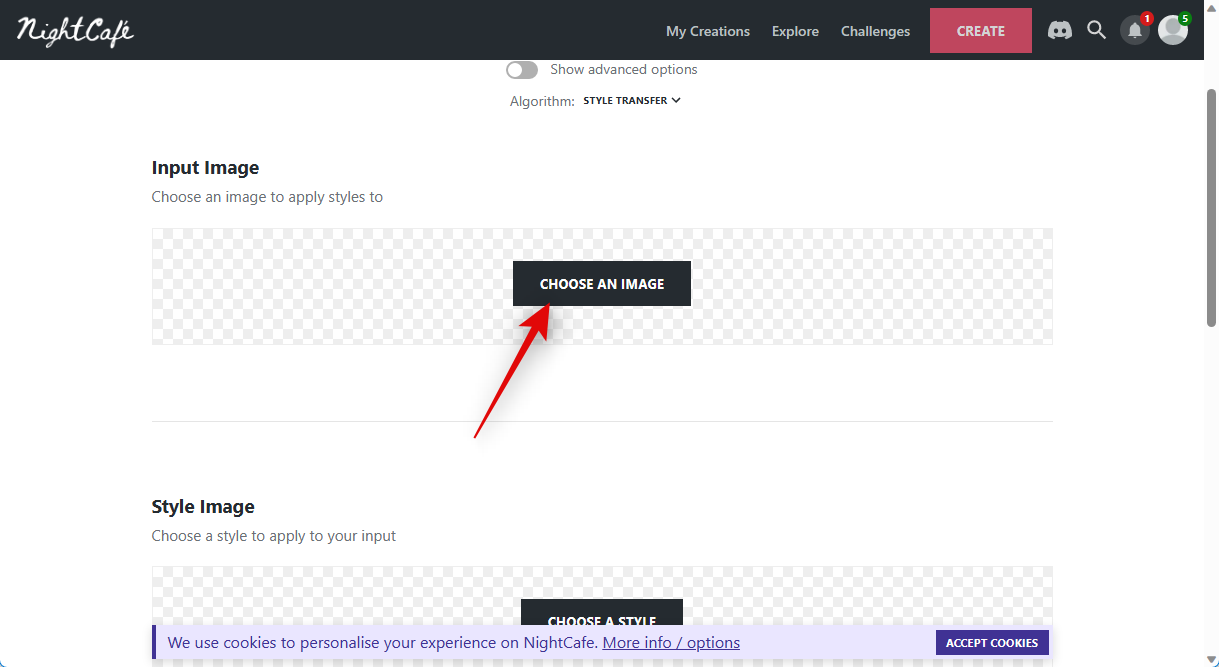
Once your temporary account has been created, click CHOOSE AN IMAGE under Input Image.
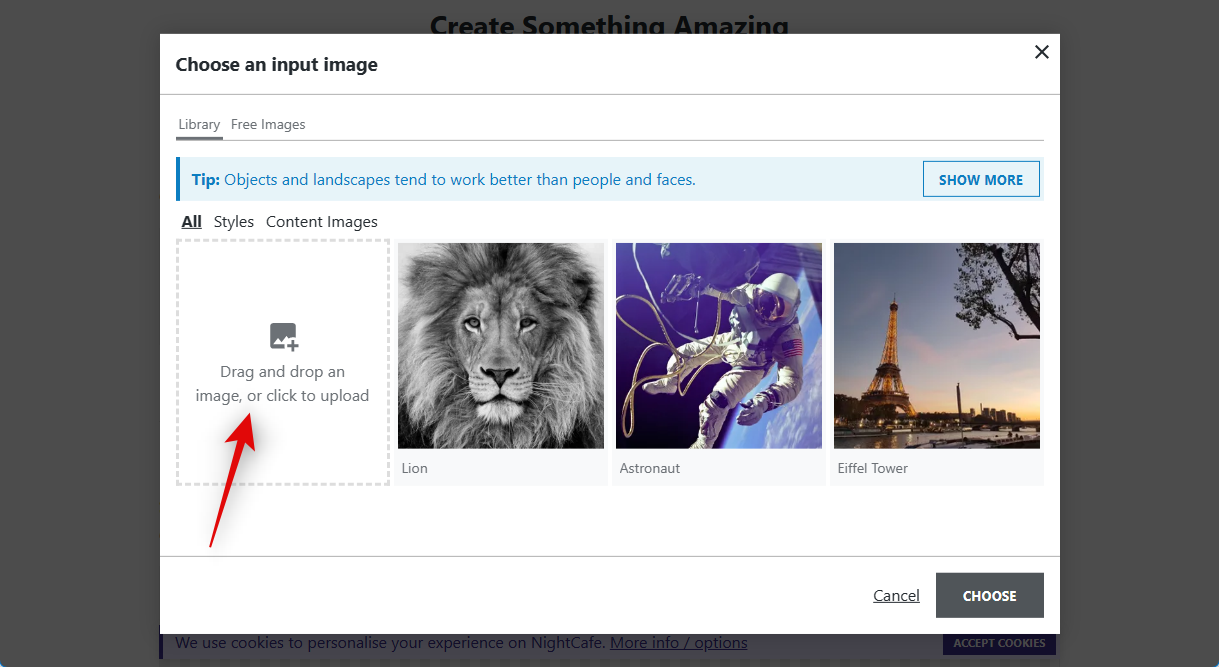
Click on Drag and drop an image, or click to upload.
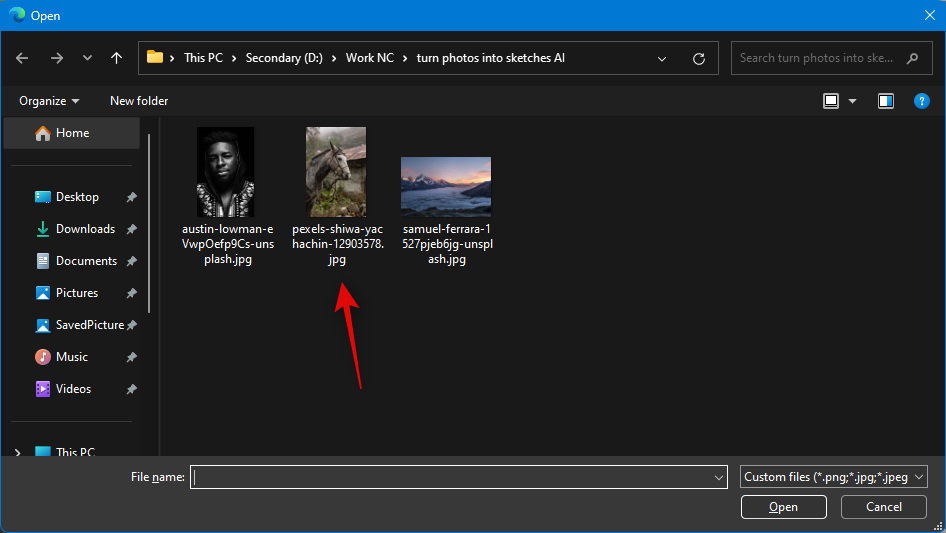
Navigate your local storage and double-click on the image you wish to turn into a sketch.
Once the image has been uploaded, click and select it.
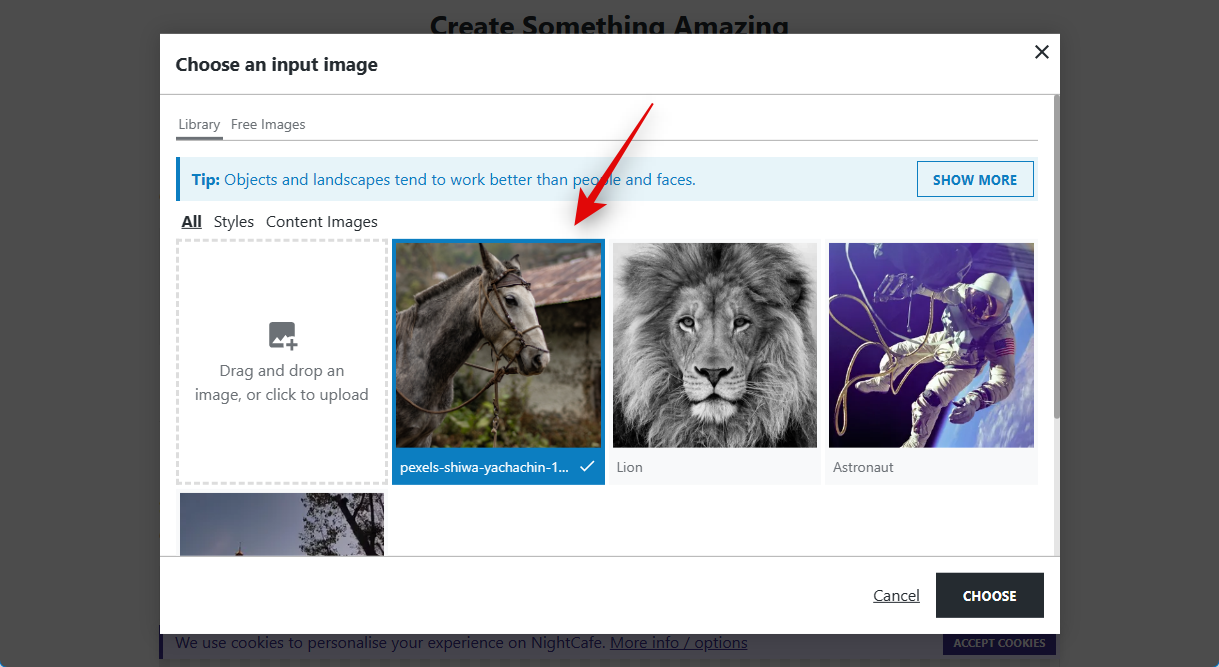
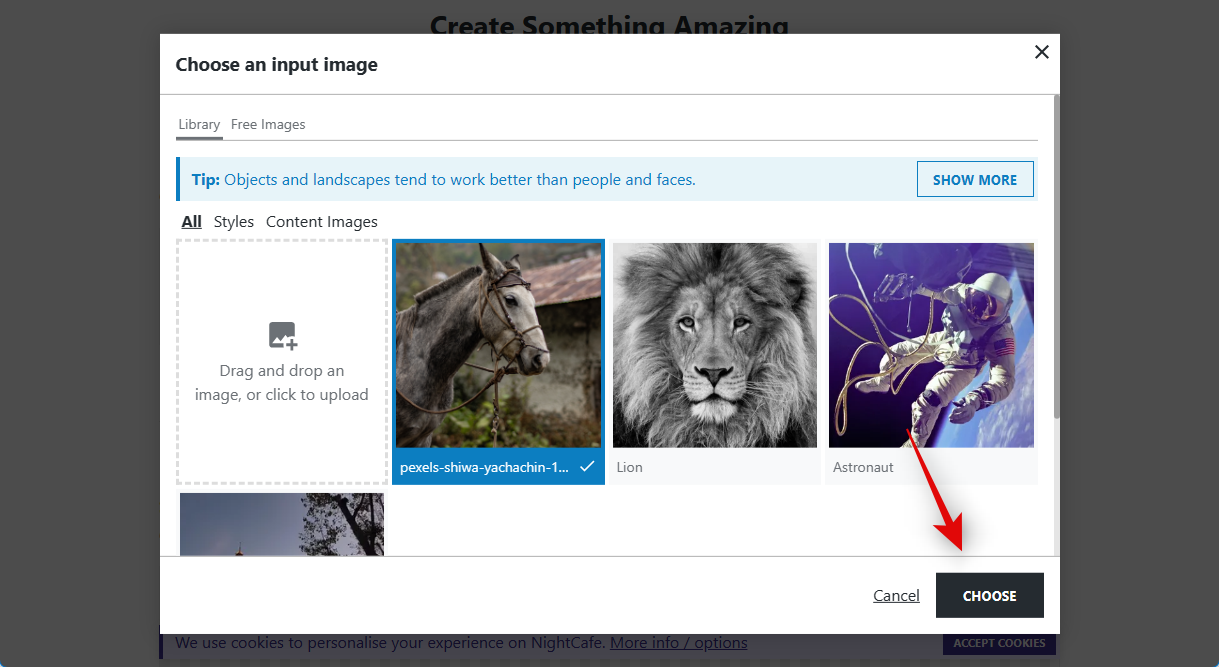
Now click CHOOSE.
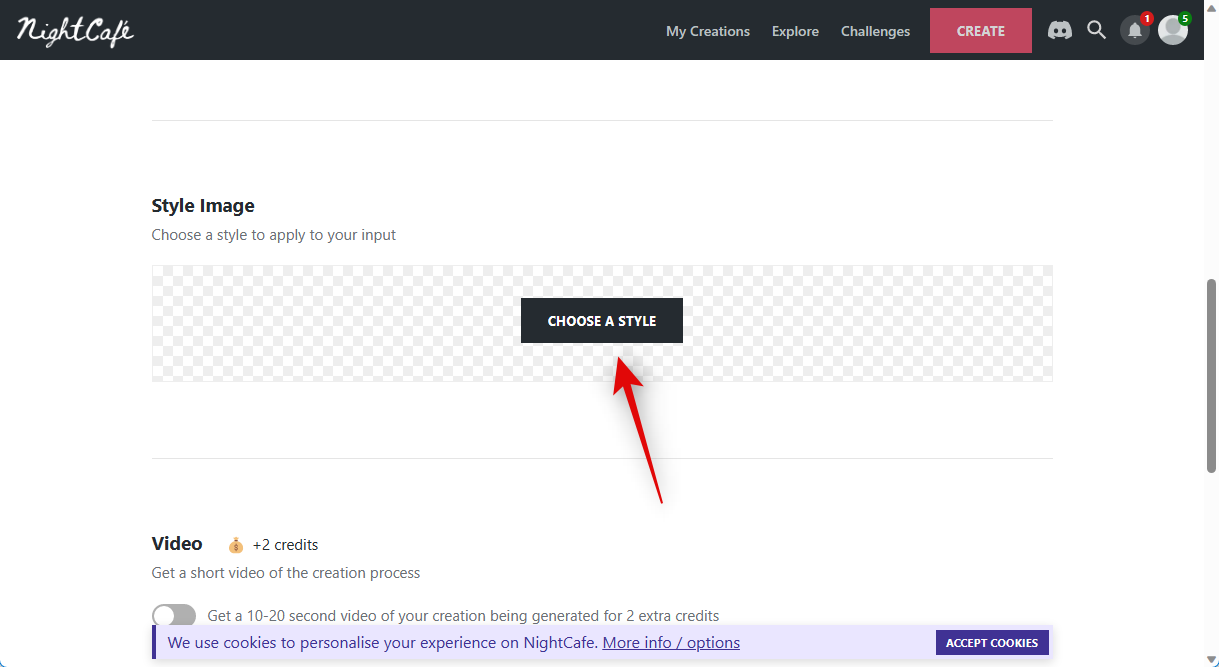
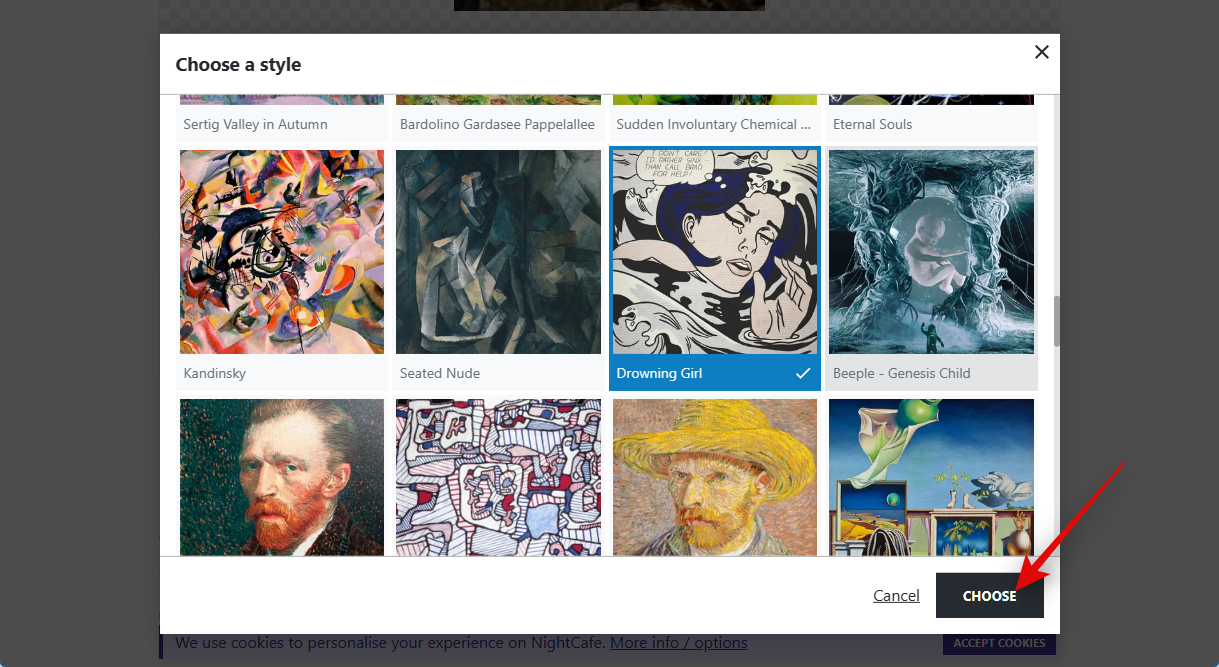
Next, click CHOOSE A STYLE under Style Image.
As we’re looking to generate a sketch, we recommend you select either one of the following styles. Although, if you wish, you can select any other style you like as well.
- Drowning Girl
- Canal du Midi
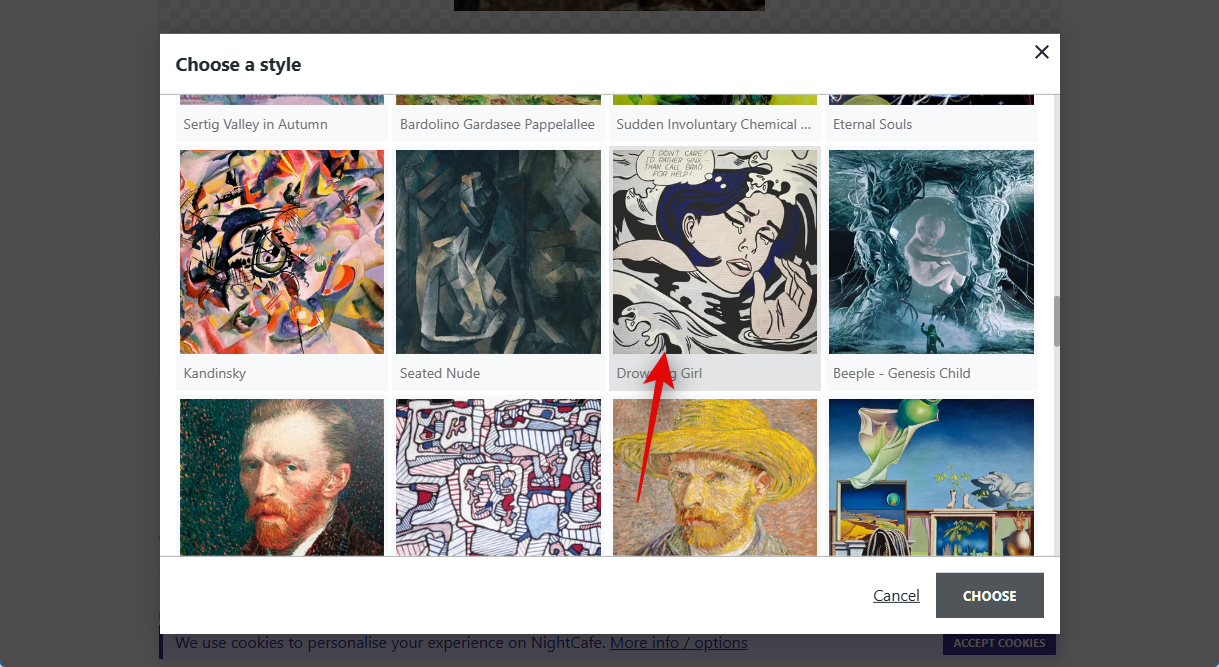
Once selected, click CHOOSE in the bottom right corner of your screen.
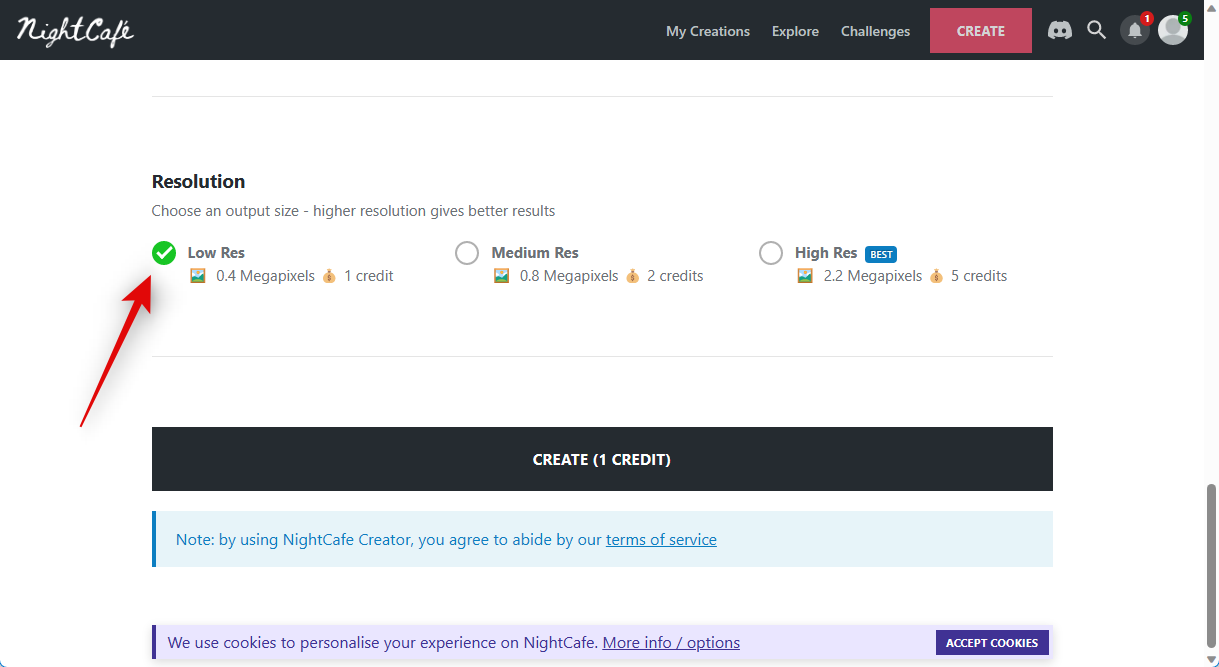
Next, click and choose your preferred resolution for the final image. Nightcafe gives you five free credits right out of the box. The higher the resolution, the more credits are used from your account. We recommend you start with a lower-resolution image and then jump to a higher one if you’re able to generate the desired result.
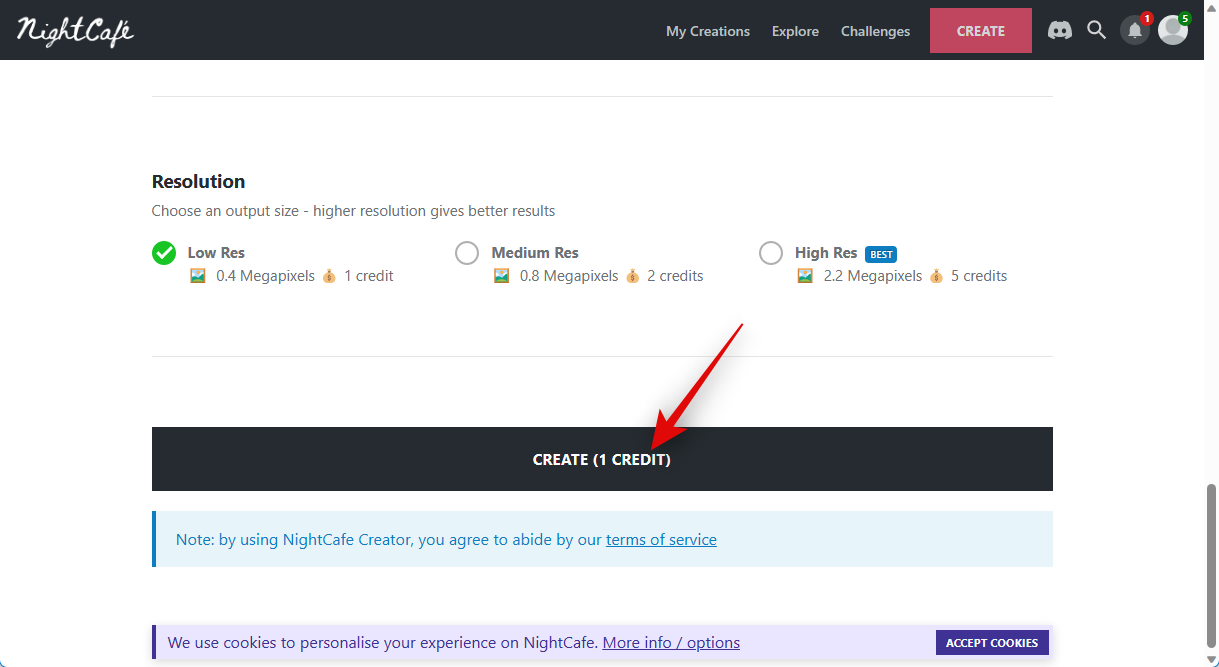
Once you have selected the resolution, click CREATE (n CREDIT), where n is the number of credits you’re being charged for the current job.
Note: In some regions, you might be asked to register for a new account at this point to view your new creation. You can sign up for a new account using one of the options available on your screen. Once you sign up, you can opt-in for Nightcafe marketing emails which will earn you three extra credits in your account. Once signed in, you can view your creation on your profile page. In most cases, the image would still be in the rendering phase and should be available for viewing after a couple of minutes.
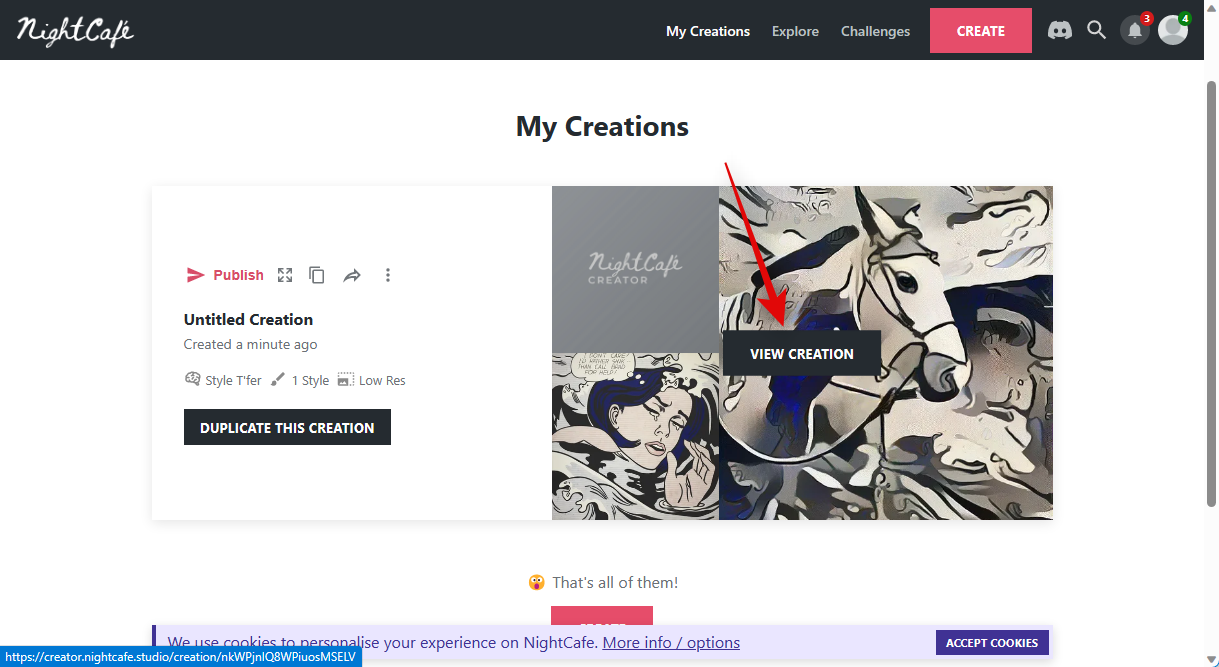
Once rendered, you can click hover over the listing and click VIEW CREATION to view your newly generated image.
Your converted image will now be visible to you. You can download it to your PC using the download icon at the bottom.
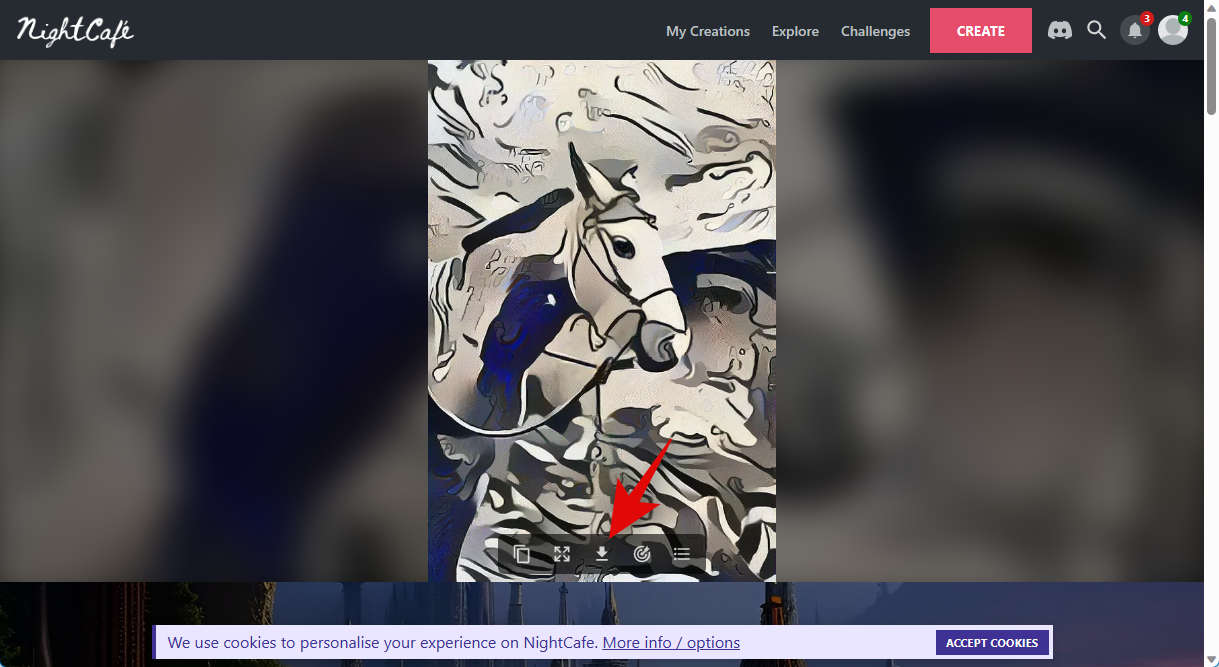
And that’s how you can create a sketch from an existing image using a few simple clicks with Nightcafe.
Method 2: Using Fotor
Fotor has been a popular image editor for years now that offers dedicated apps as well as a web version. Fotor recently incorporated AI tools in its arsenal, and among these is the ability to convert existing images into sketches. You can use this to your advantage to turn your photos into drawings. Follow the steps below to help you along with the process.
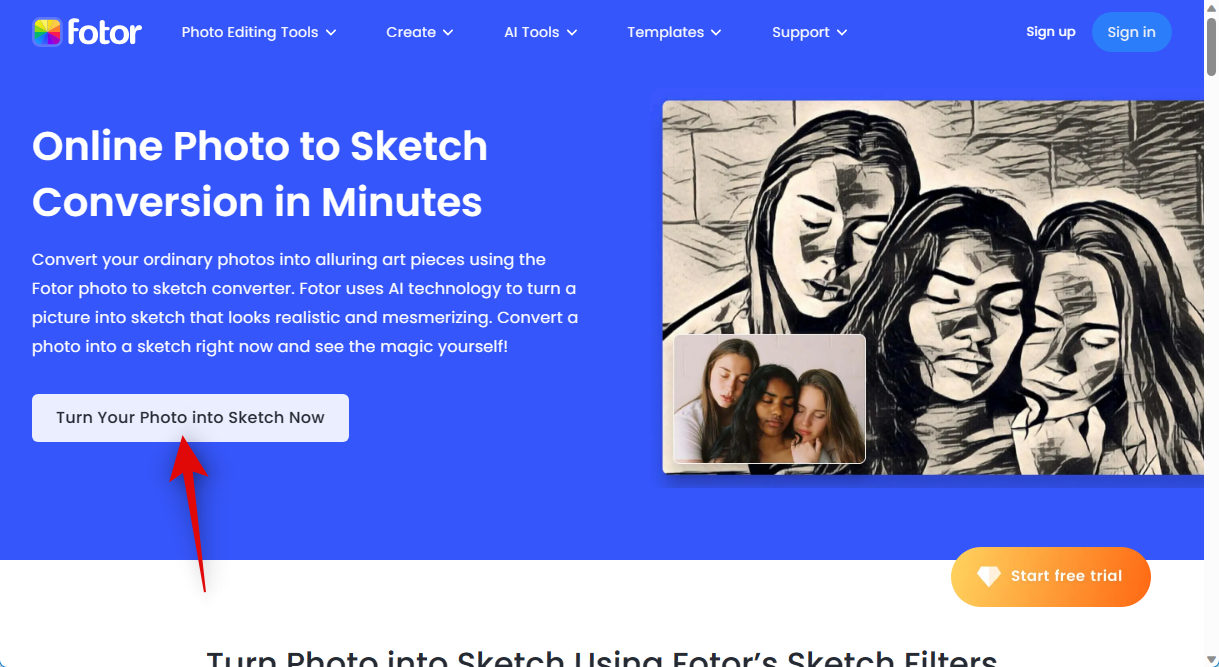
Visit https://www.fotor.com/features/photo-to-sketch/ in your preferred browser and click Turn Your Photo into Sketch Now.
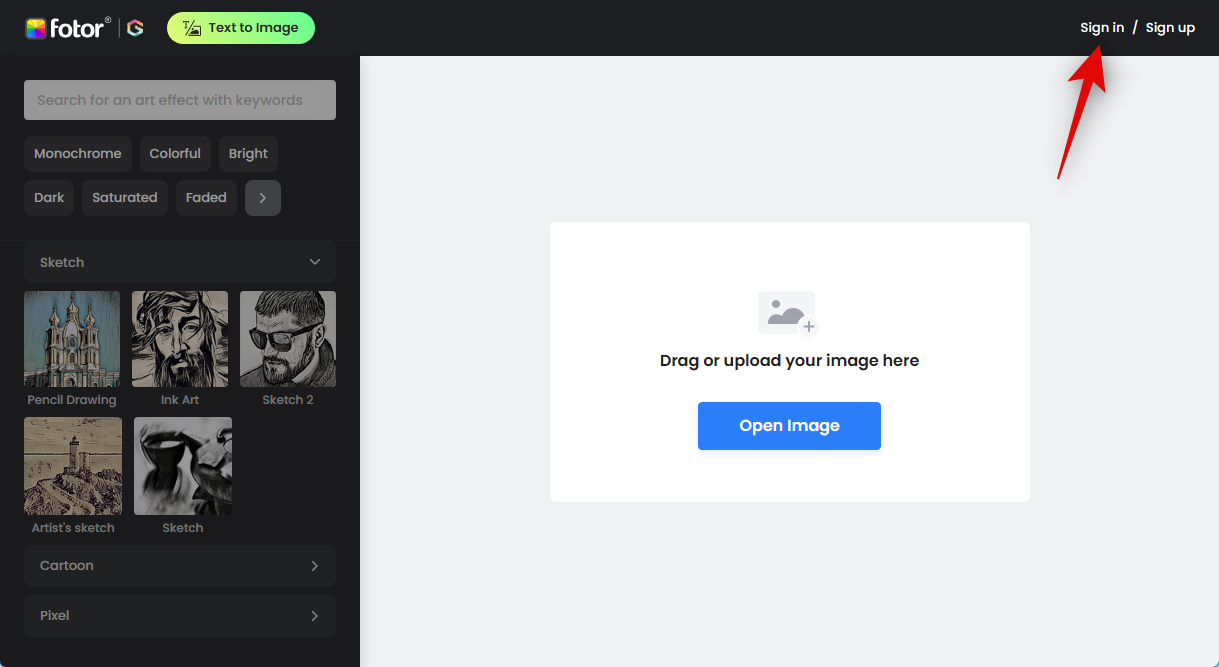
Now click Sign In / Sign Up in the top right corner.
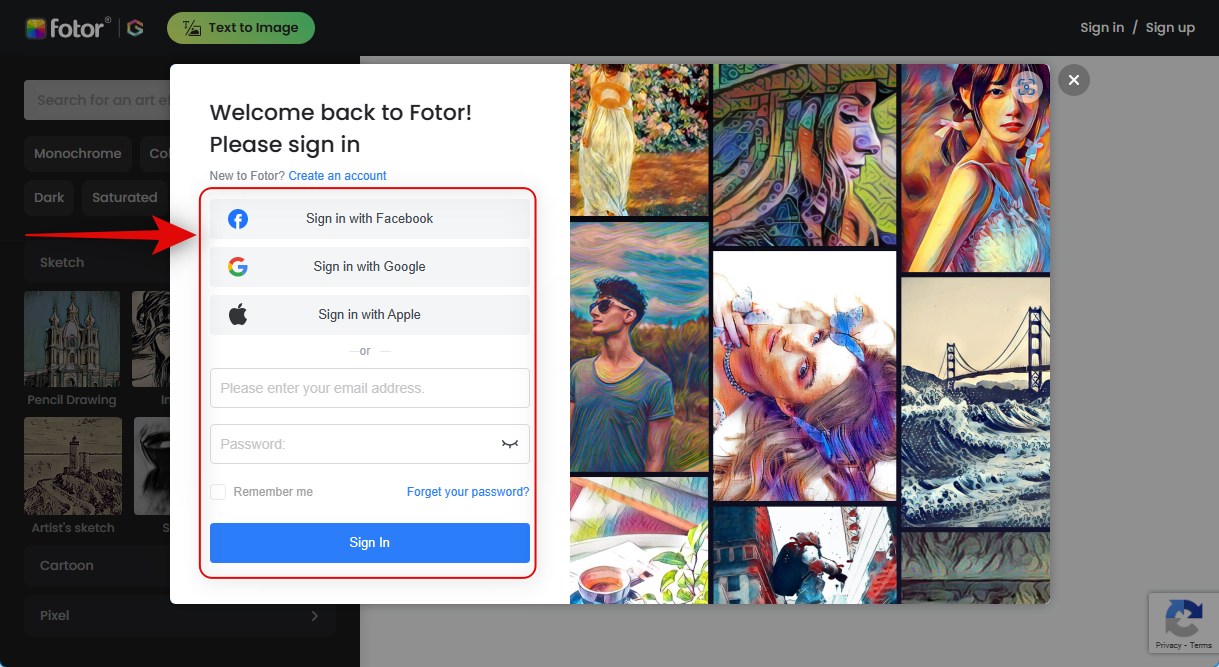
Next, sign up or sign in using your preferred method. This will allow you to download the image once it has been converted into a drawing.
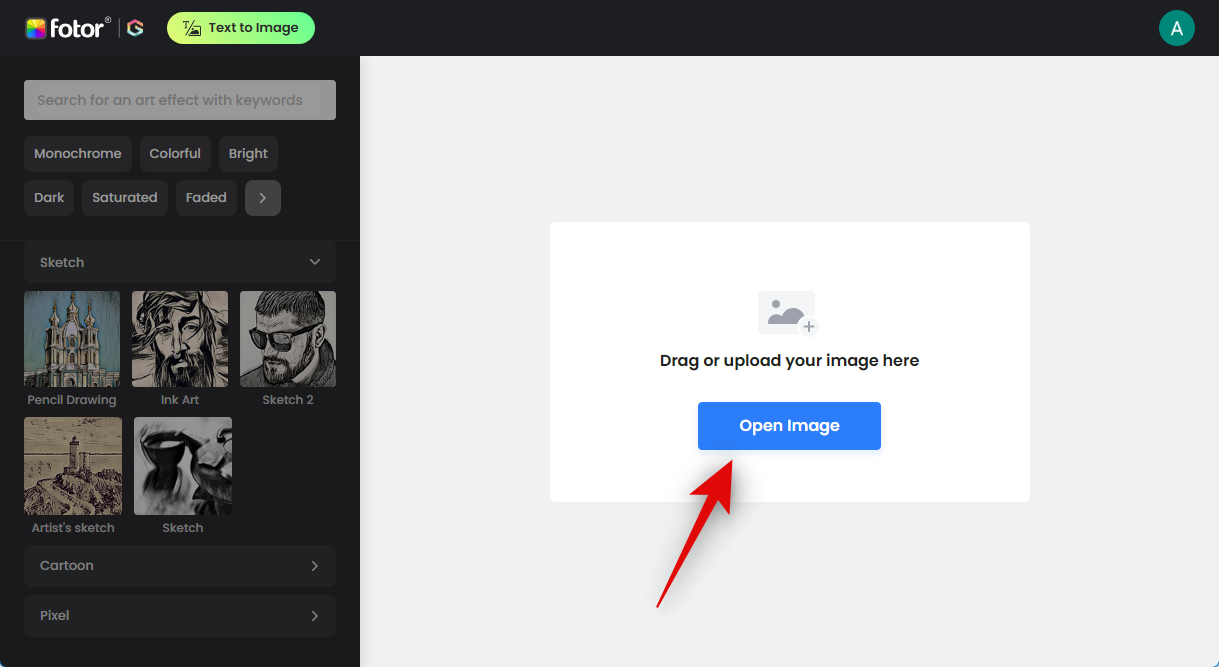
Once you’re signed up or signed in, click Open Image.
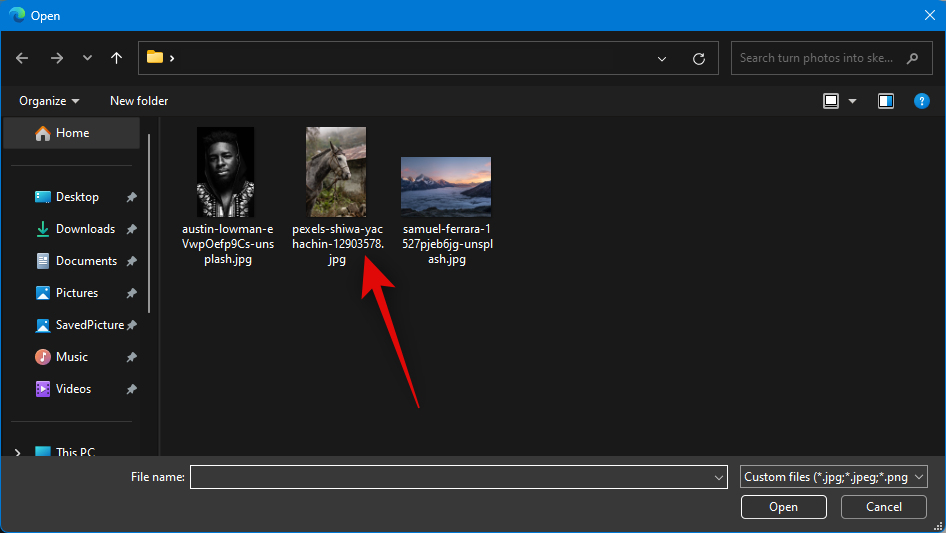
Navigate to the image you wish to convert and double-click on it.
The image will now be uploaded, and the conversion process will now begin.
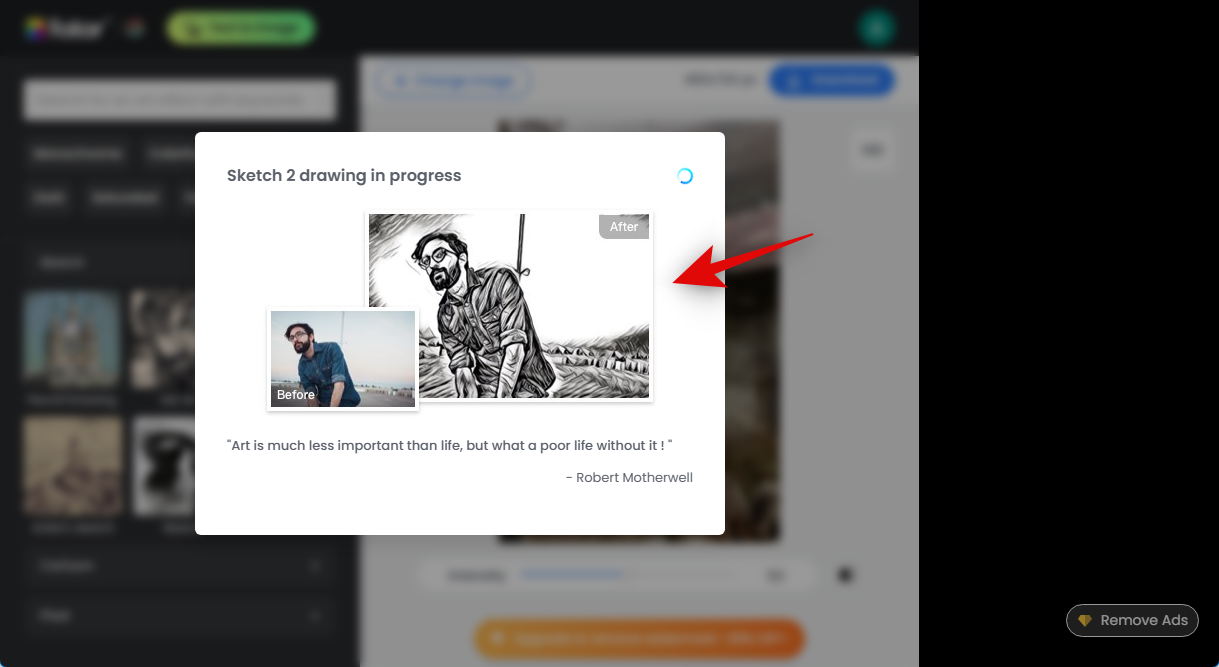
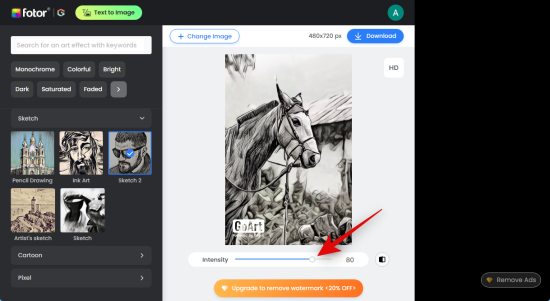
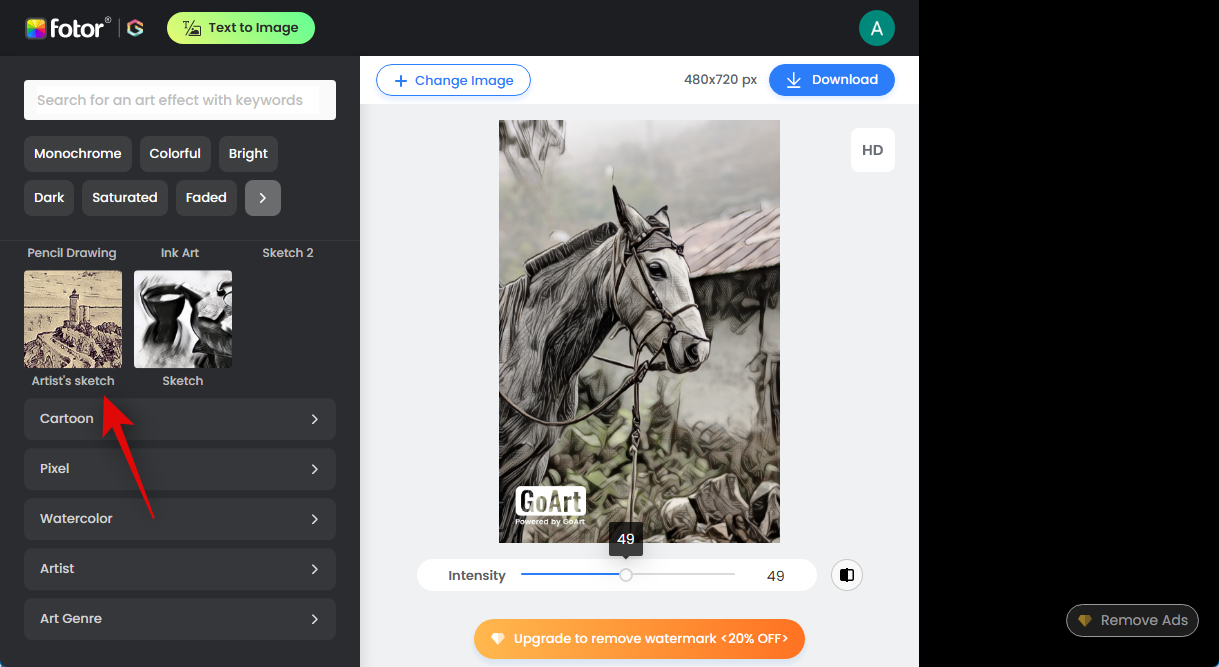
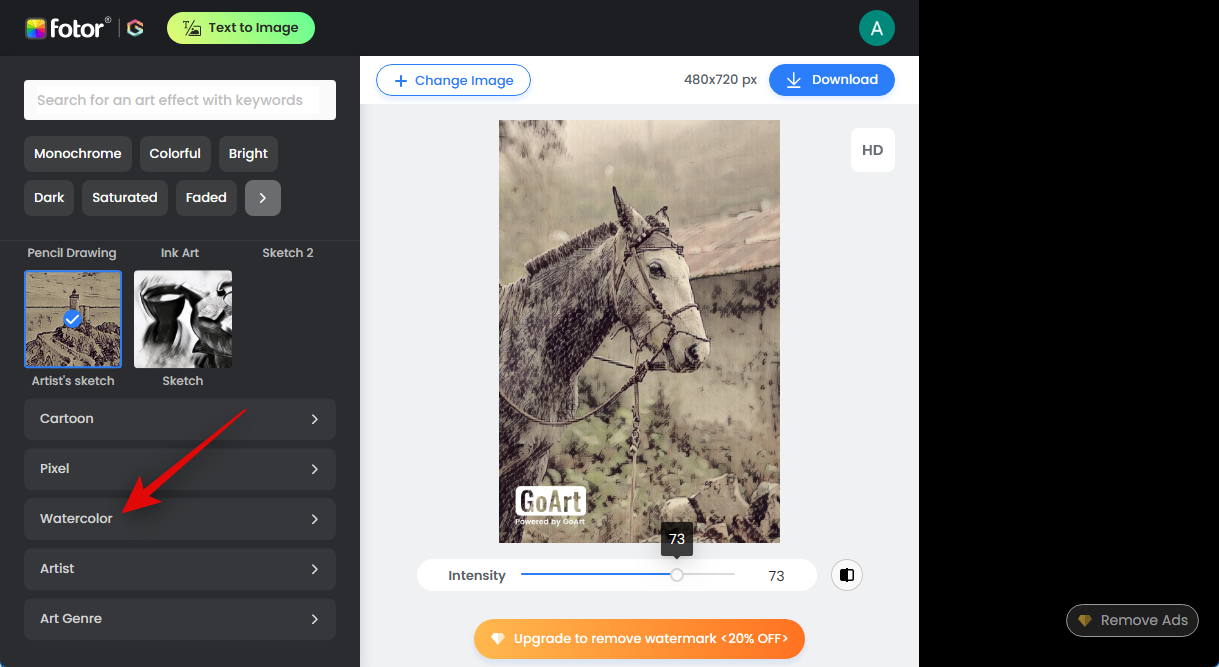
Fotor uses the Sketch 2 style by default. You can control the effect’s intensity using the slider at the bottom and view the changes in real-time.
If you wish to change your style, click and select a preferred style from the left sidebar. Let’s try out Artist’s sketch for this example.
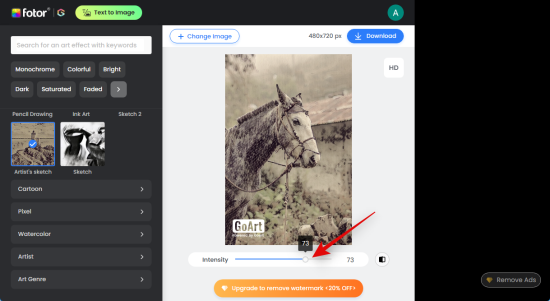
As before, Fotor will now convert your image, which can take a few moments. Once converted, you can use the slider at the bottom to control its intensity.
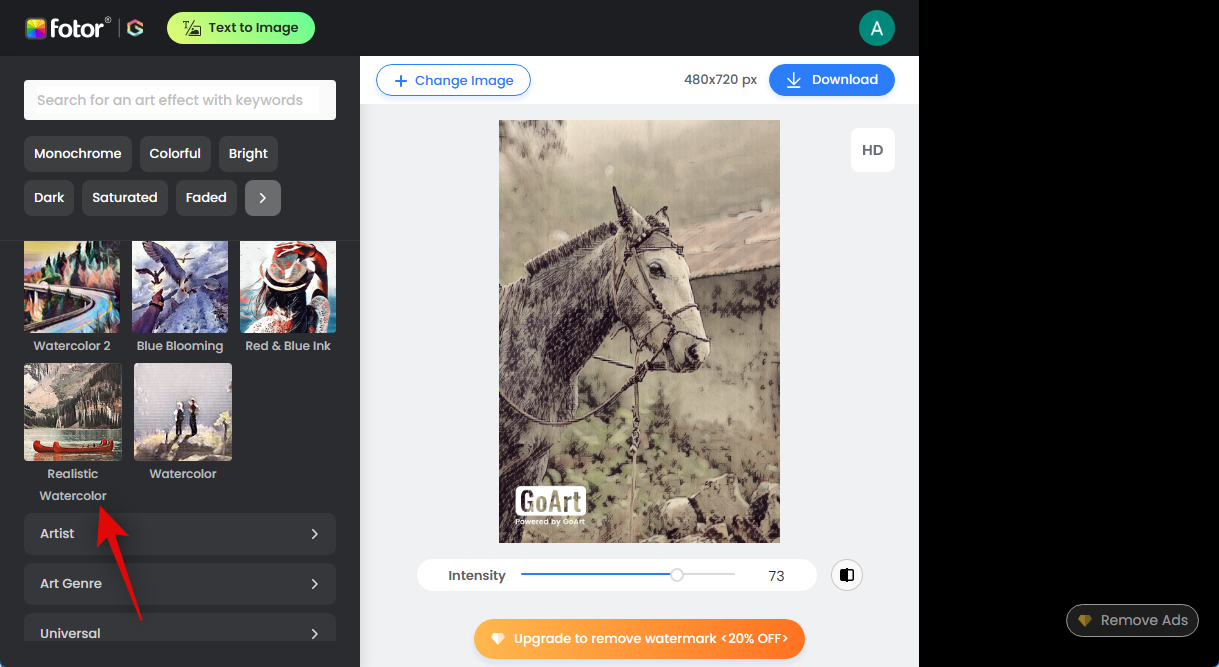
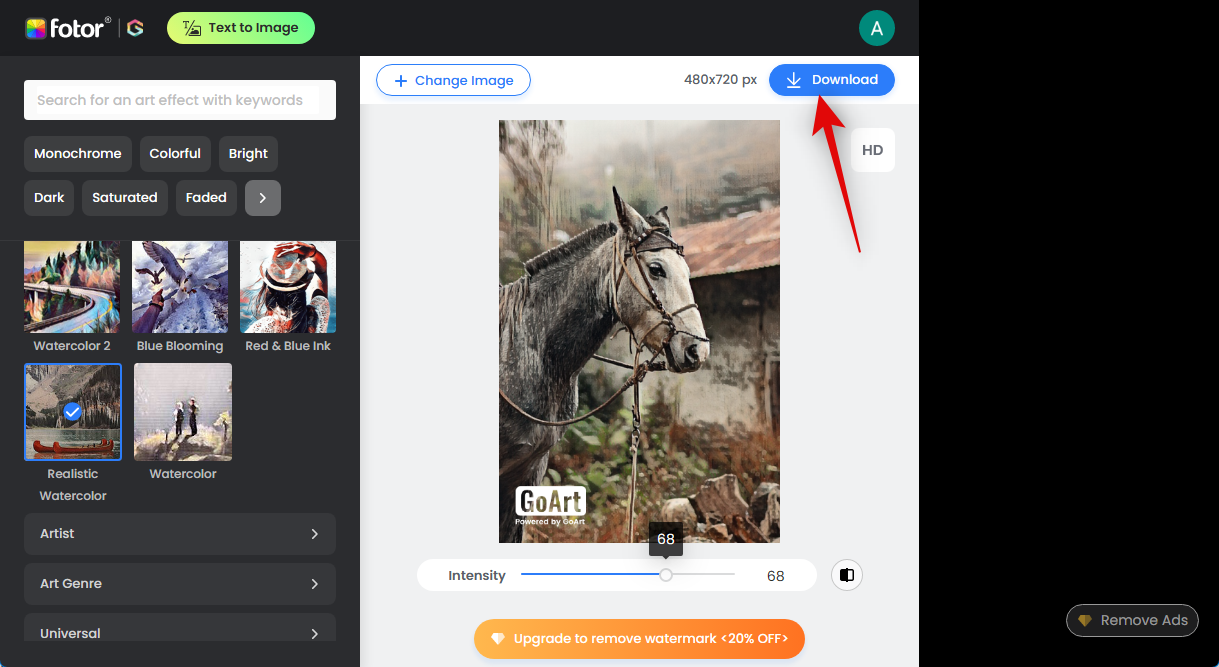
If you aren’t a fan of the traditional sketch styles, then you can select another category from the left sidebar as well. Let’s convert our image into a Watercolor drawing for this example. Click and select Watercolor from the left sidebar.
Now select a style you like. Let’s try out Realistic Watercolor.
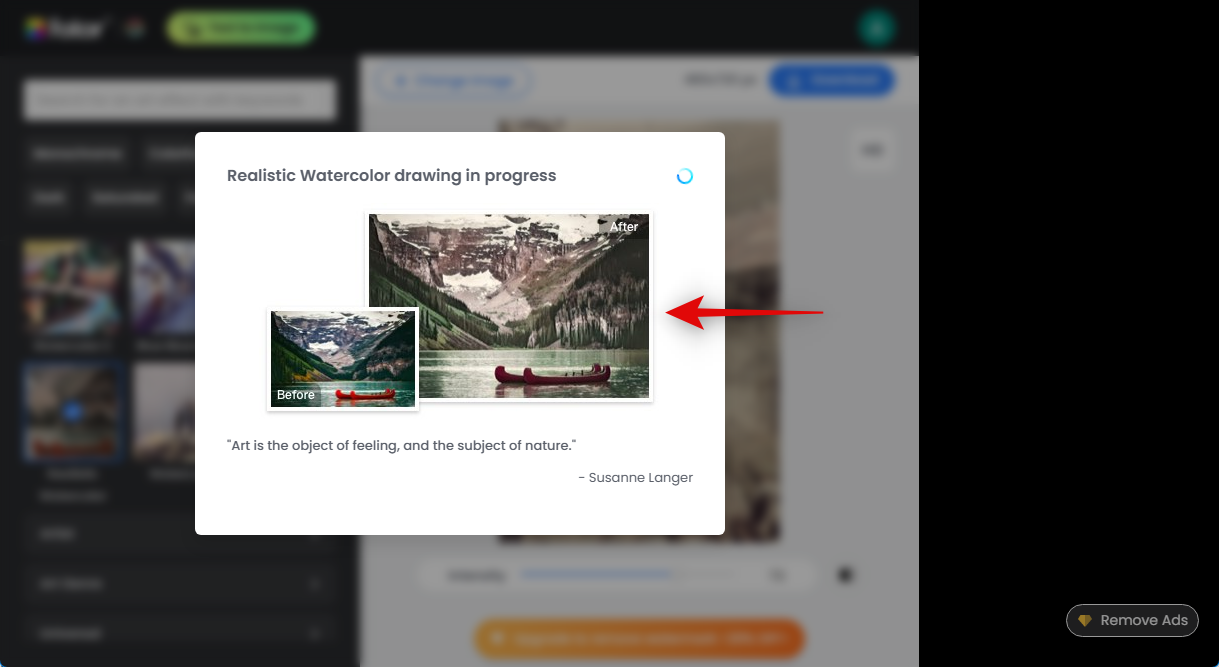
As before, your photo will now be processed and converted to your preferred style.
Once done, use the slider at the bottom to control the intensity of the effect.
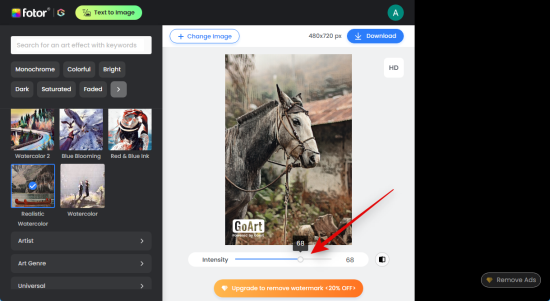
When you have made all your edits and are happy with the final image, click Download in the top right corner. Once the download has been initiated, simply save the photo to a convenient location on your PC.
And that’s how you can use Fotor to convert your images into drawings easily.
Method 3: Using Bluewillow
BlueWillow is a free-to-use AI image generator that can not only help you generate images using text prompts but also manipulate existing images using Img2Img. We can use this to our advantage to turn our existing clicks and photos into sketches with the help of specific text prompts and a few negative prompts. If you haven’t used Bluewillow before, you can use this comprehensive guide from us to sign up for the Bluewilow server and use it to turn your existing images into sketches. Once you’re signed up, follow the steps below to help you turn your images into sketches. Let’s get started.
Note: You will need to be a part of the Bluewillow Discord server in order to use the AI. You can use this guide from us to join the Bluewillow Discord server if you aren’t a part of it yet.
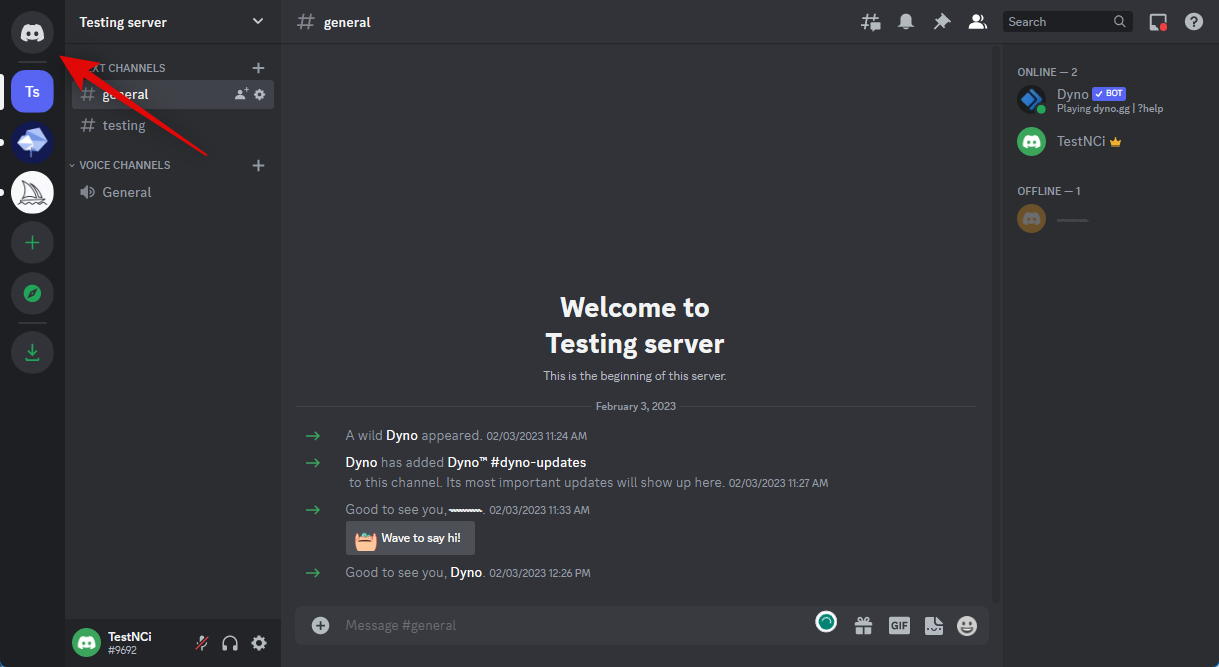
Visit https://discord.com/app in your browser or use the Discord desktop app and log into your account if needed.

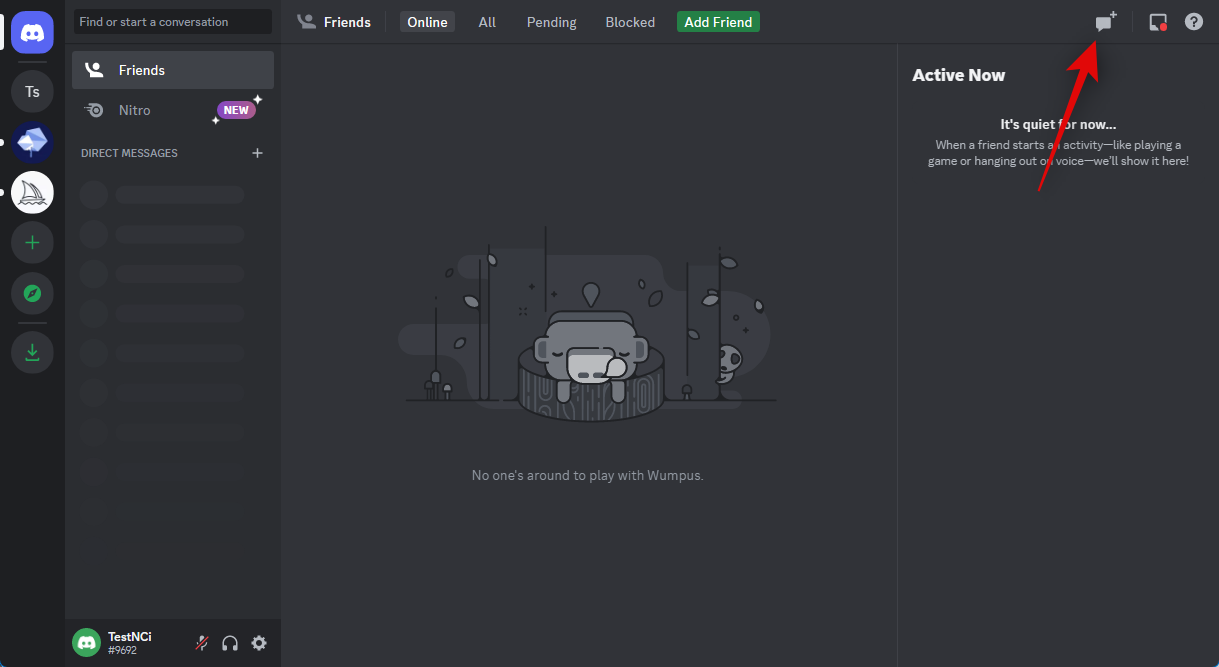
Once logged in, click the direct messages icon in the top left corner.
Now click the New Group DM icon in the top right corner of your screen.
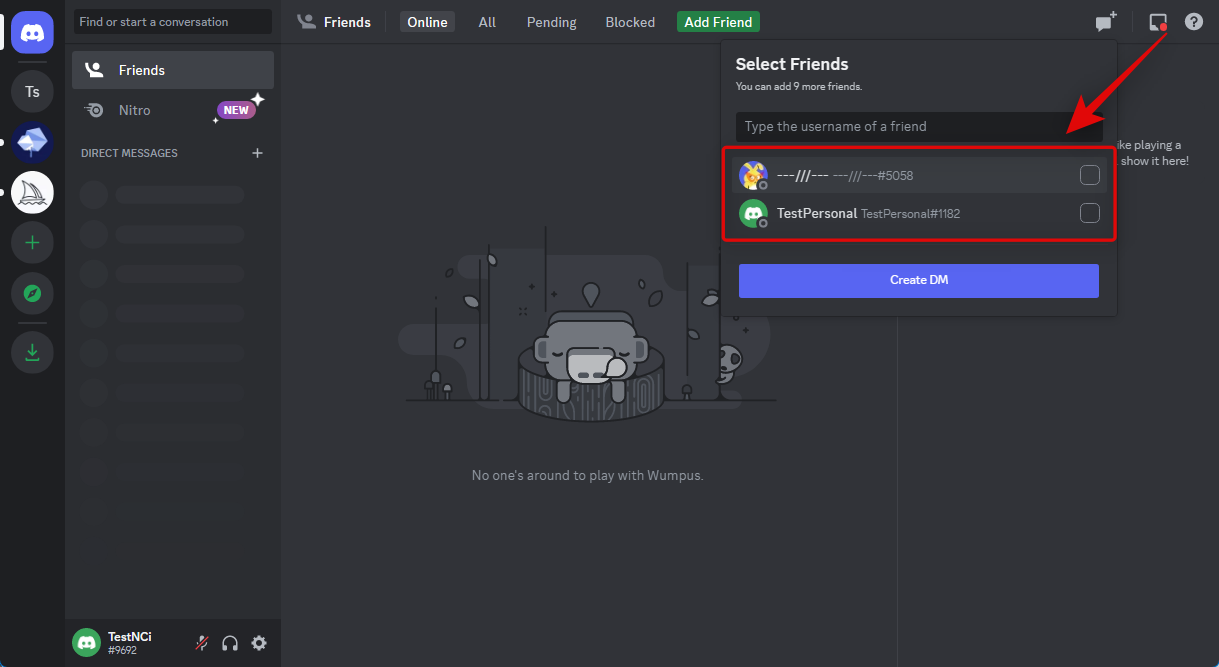
Click and check the box for two of your friends that are offline. We will be removing them from the group later on. We’re just adding them temporarily so we can create a private group where you can upload your images.
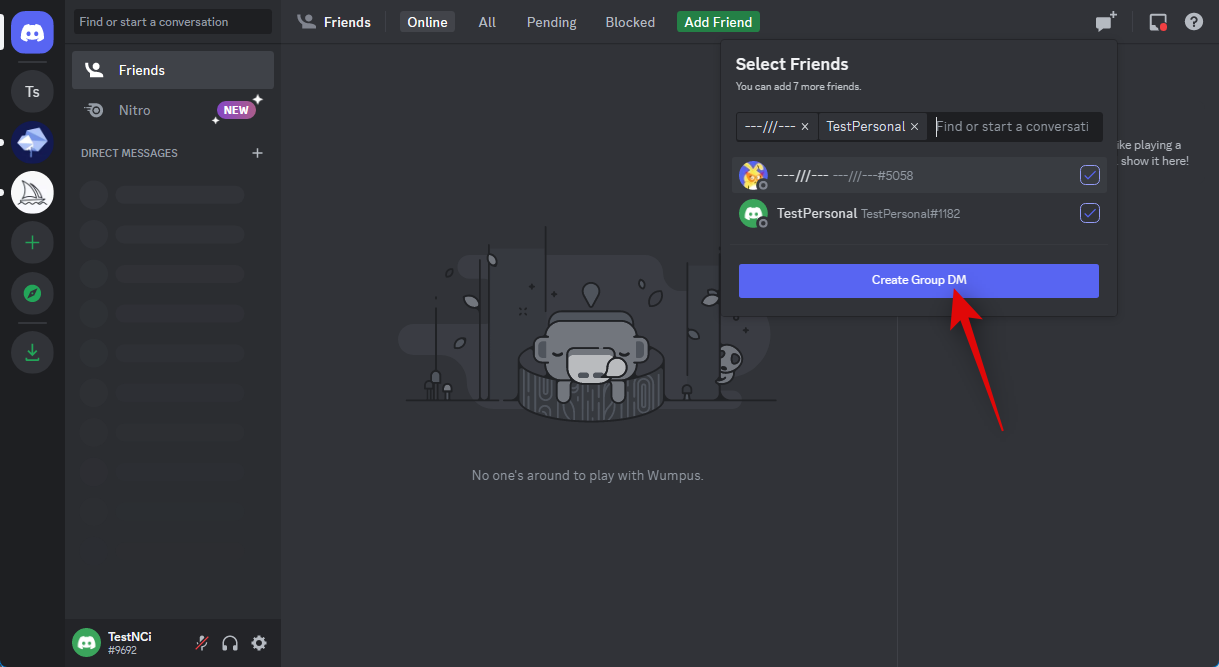
Once selected, click Create Group DM.
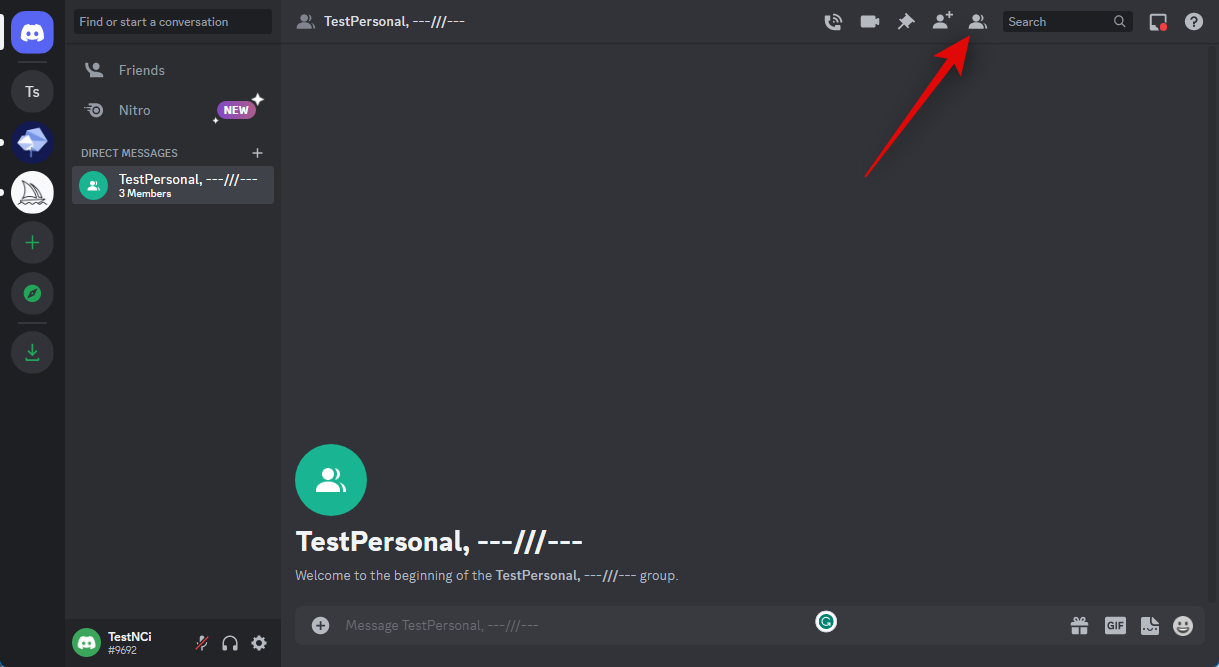
Now that the group has been created click the Show Member List icon in the top right corner.
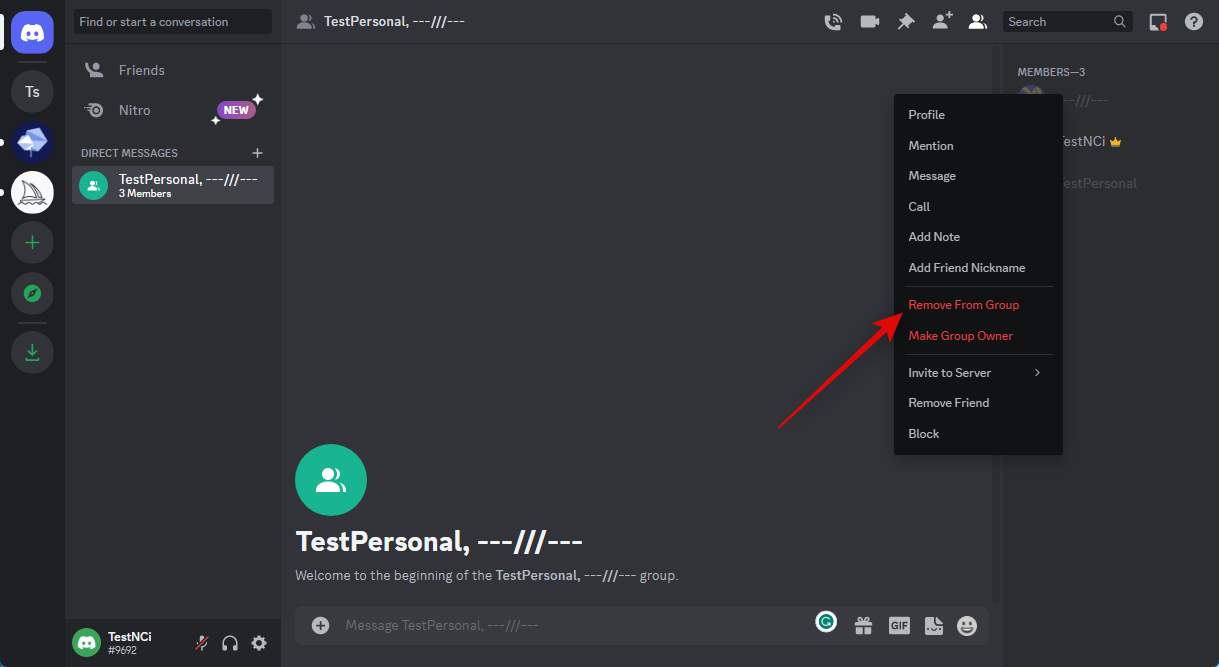
Once the member list is visible to you, right-click a friend we added temporarily.
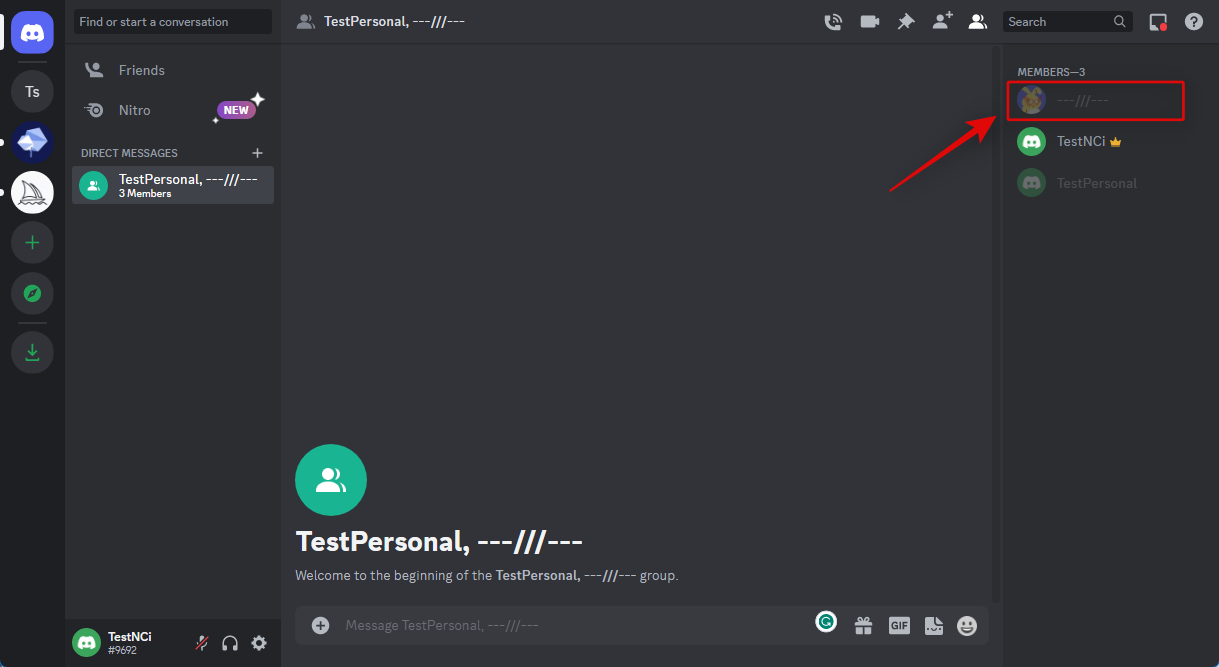
Click and select Remove From Group.
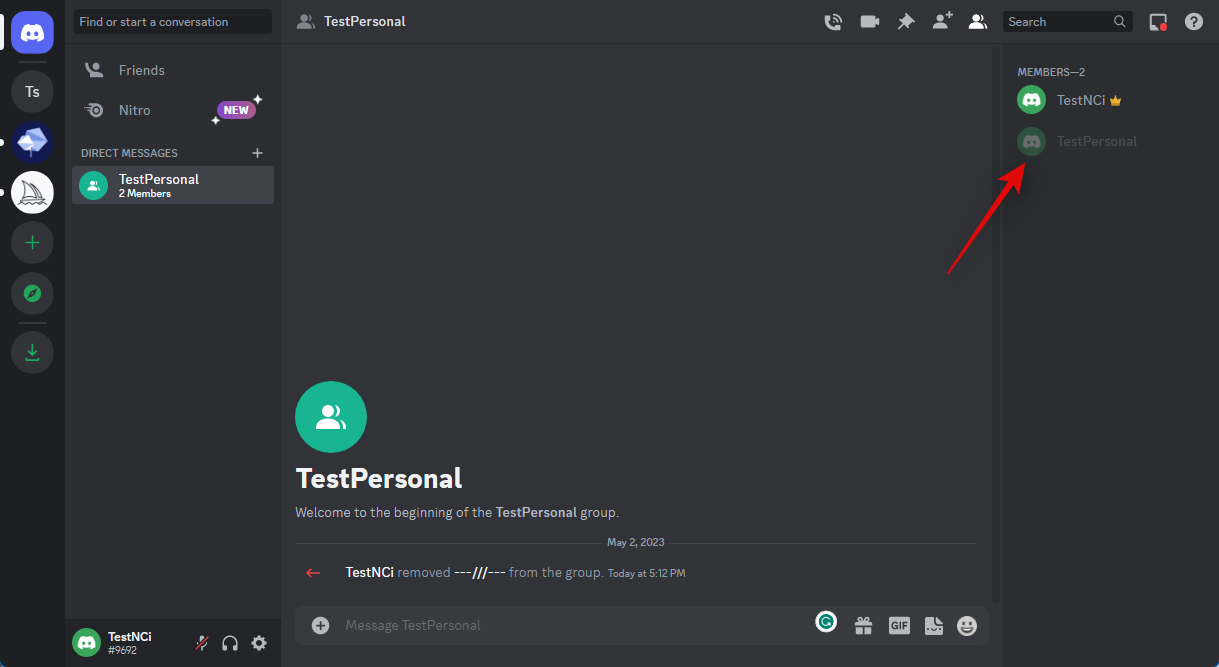
Repeat the step above to remove your second friend as well.
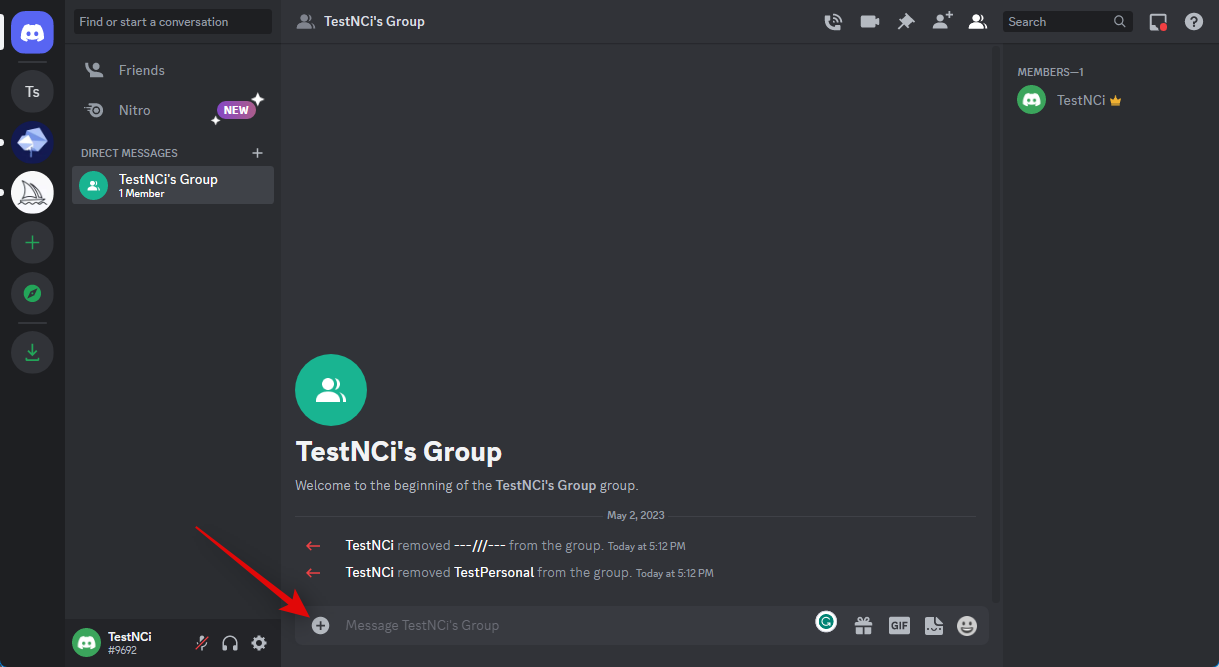
Once your friends have been removed, you will have a group without no members that you can use to upload images. Start by double-clicking the + icon in the text box at the bottom.
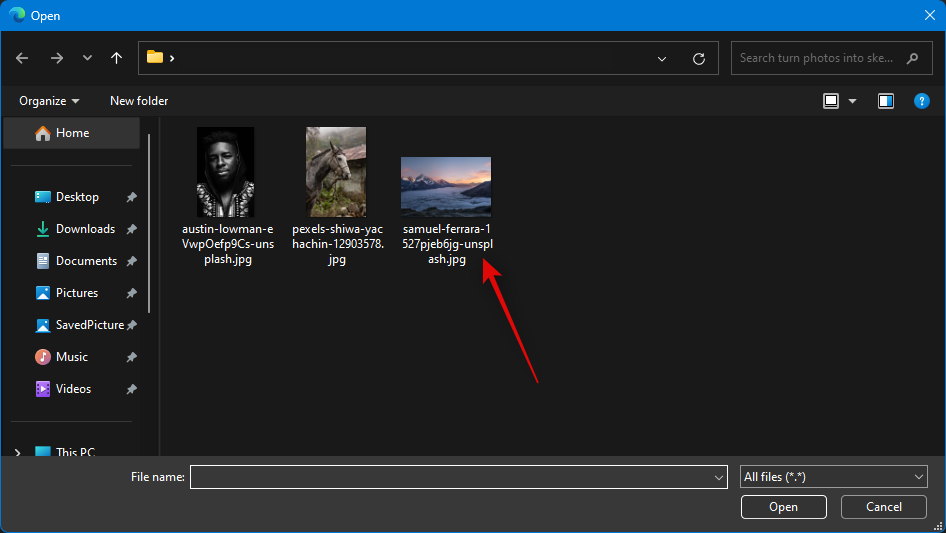
Now navigate to the image you wish to turn into a drawing and double-click on it.
The image will now be added to your message. Press Enter to upload the image.
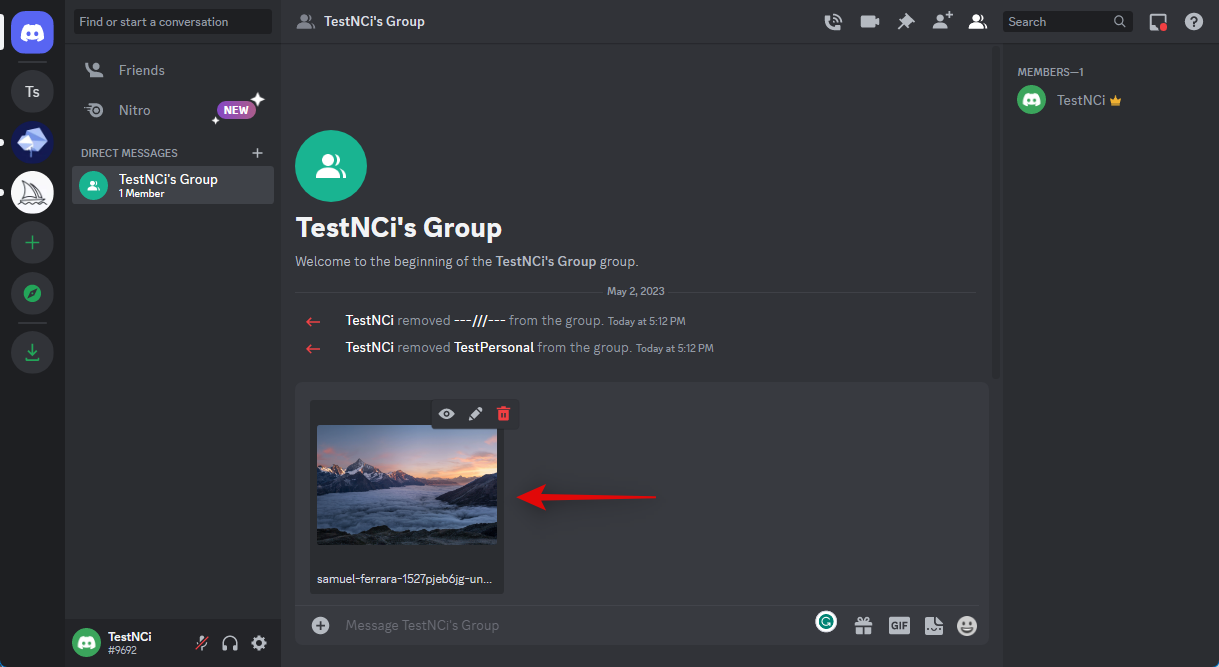
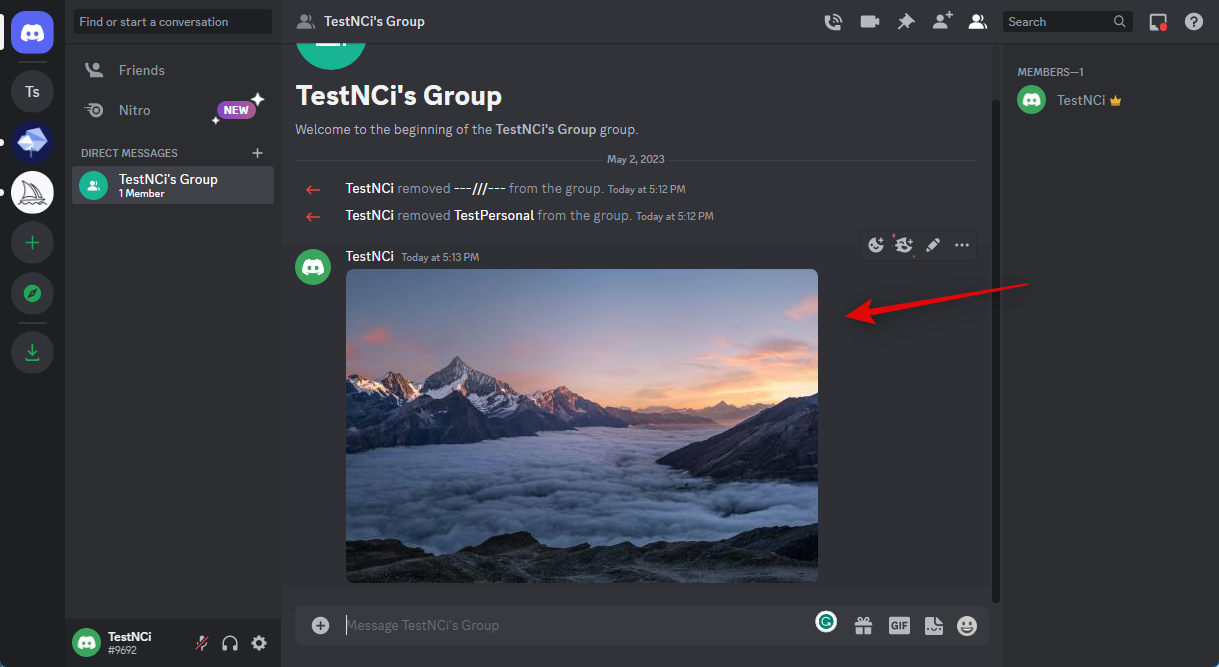
Once the image has been uploaded to the group, click on it.
Now click Open in Browser at the bottom.
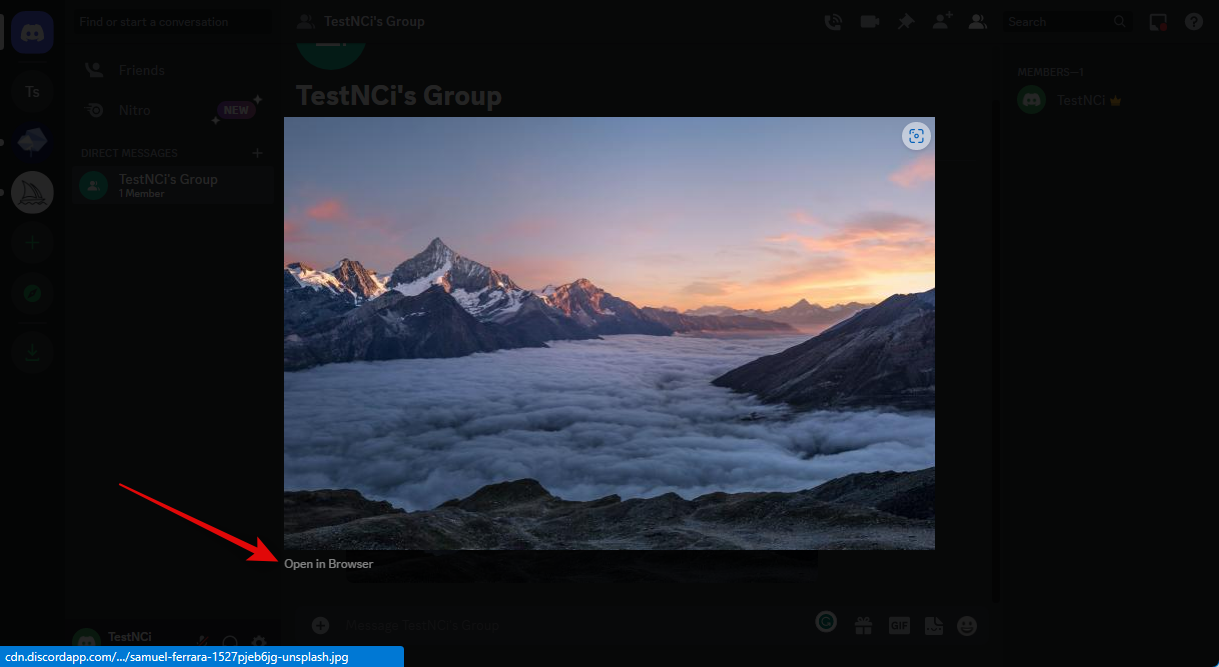
Once the image has been opened in a new tab, click the address bar at the top and copy its URL to your clipboard.

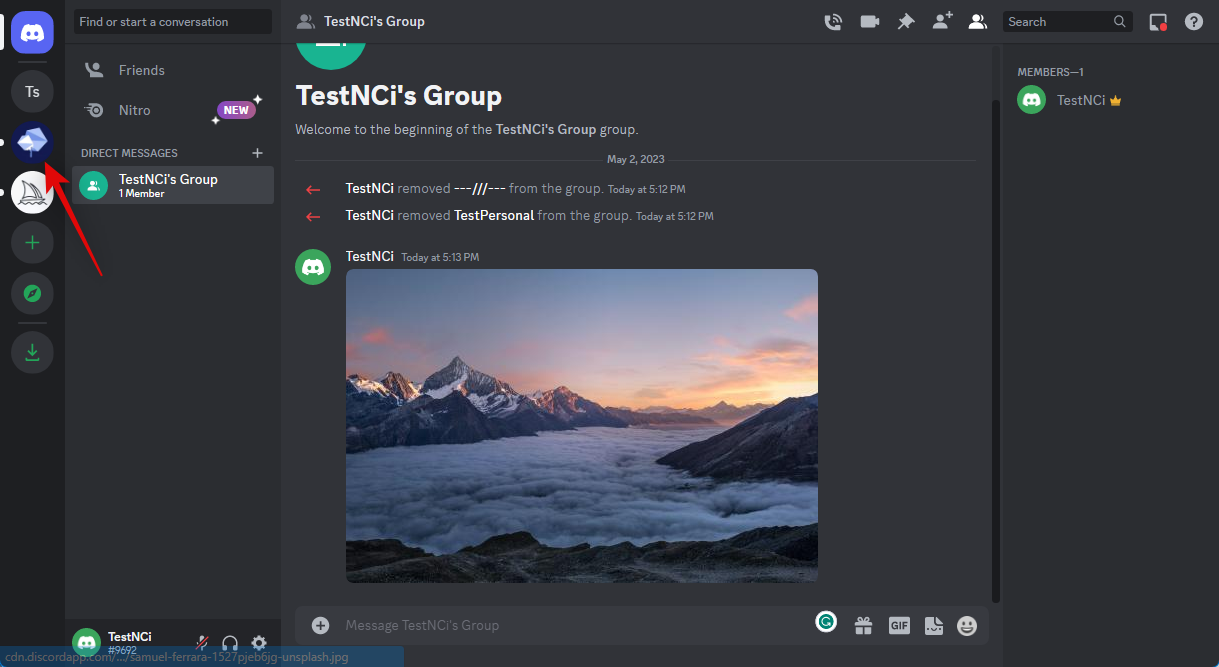
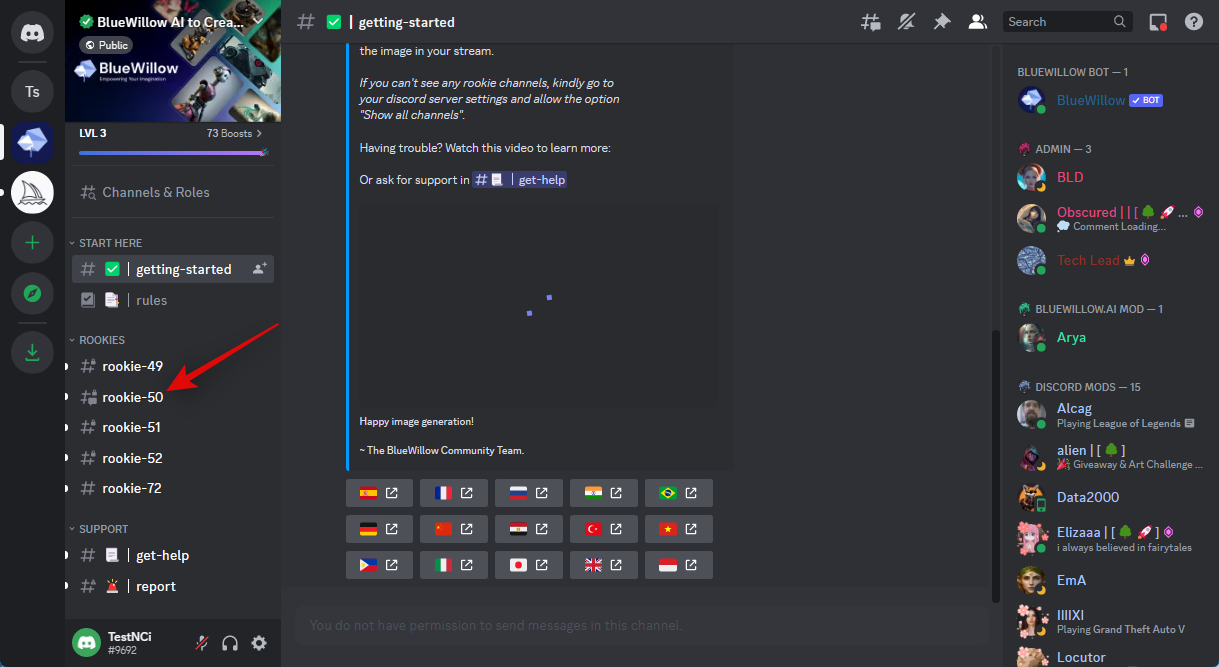
Now switch back to Discord and click on the BlueWillow server in the left sidebar.
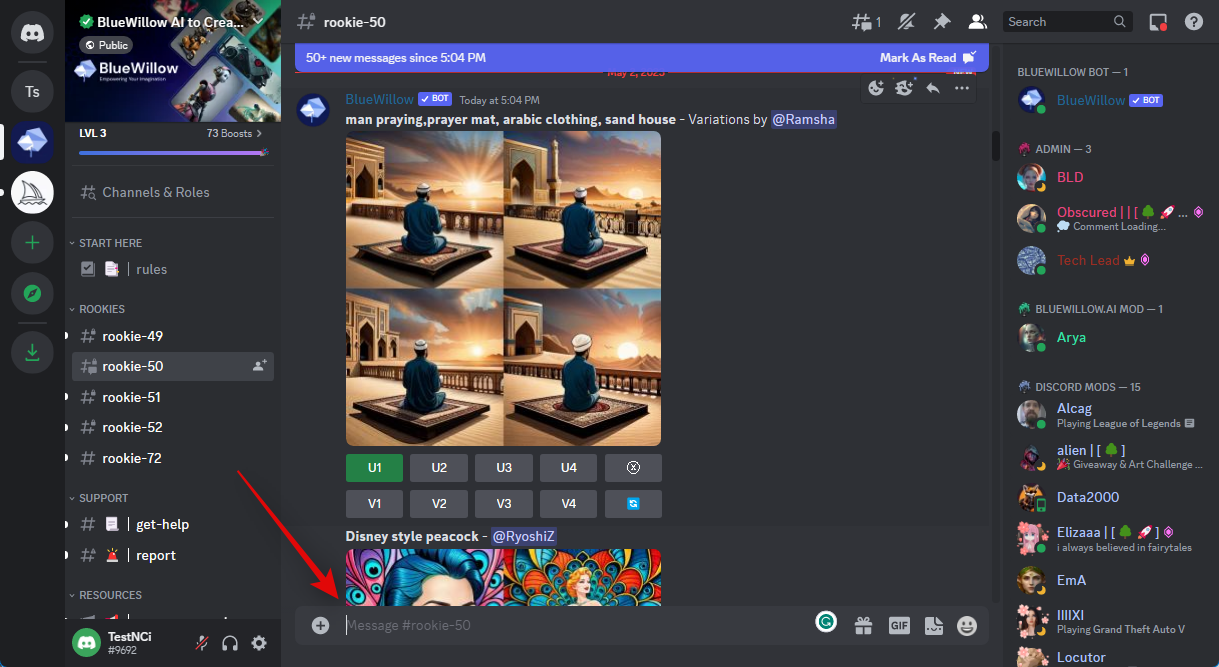
Click and select any rookie channel.
Now click to place the cursor in the text box at the bottom.
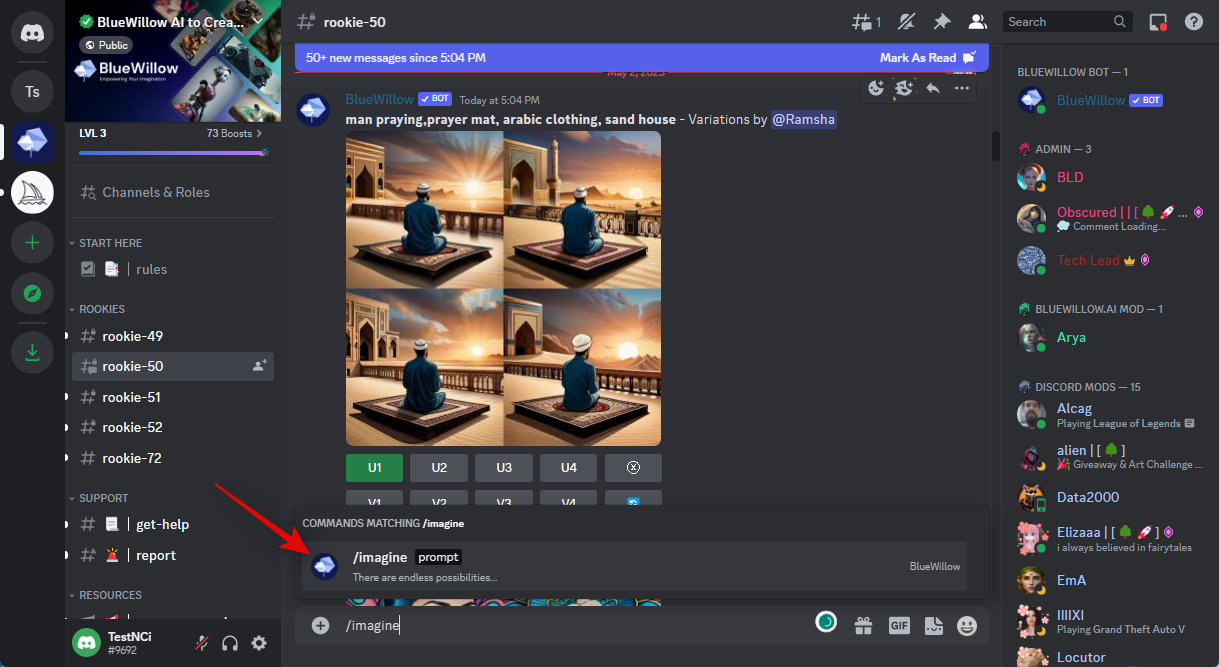
Type /imagine and select the command from the context menu once it shows up.
Now use Ctrl + V to paste the URL of the uploaded image we copied earlier.
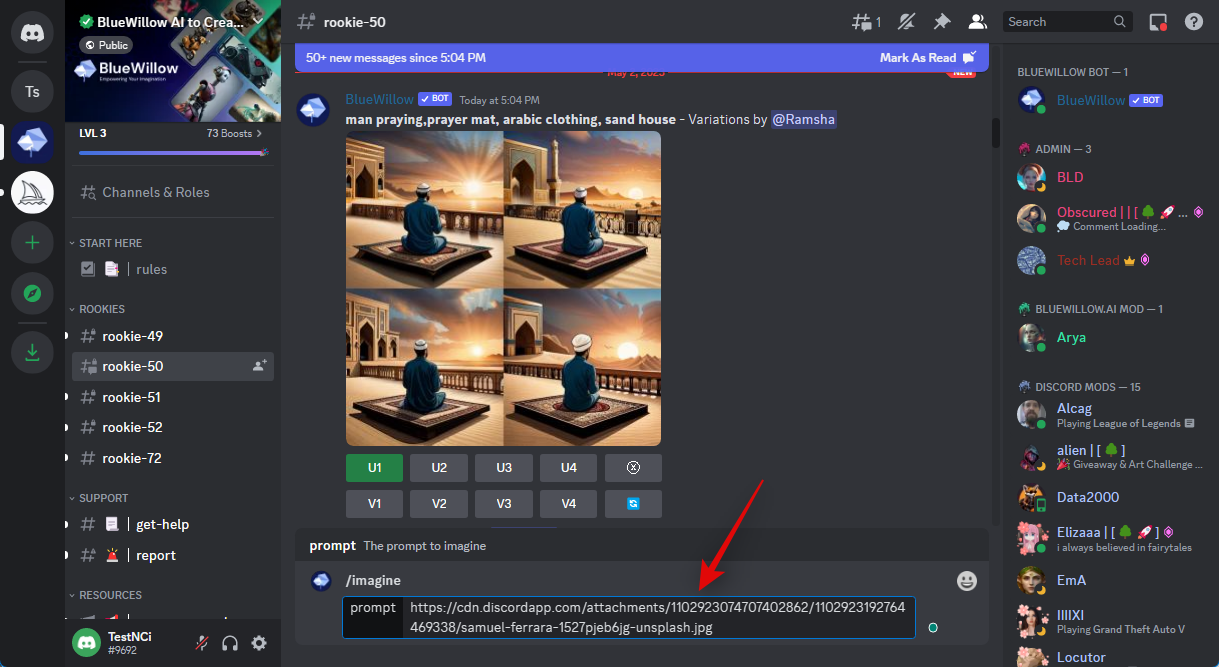
Next, add a comma (,) followed by your prompt. As we want to convert the image into a drawing, we recommend you use the following prompt mentioned below.
, in a pencil drawing style –no change, edit, or manipulation
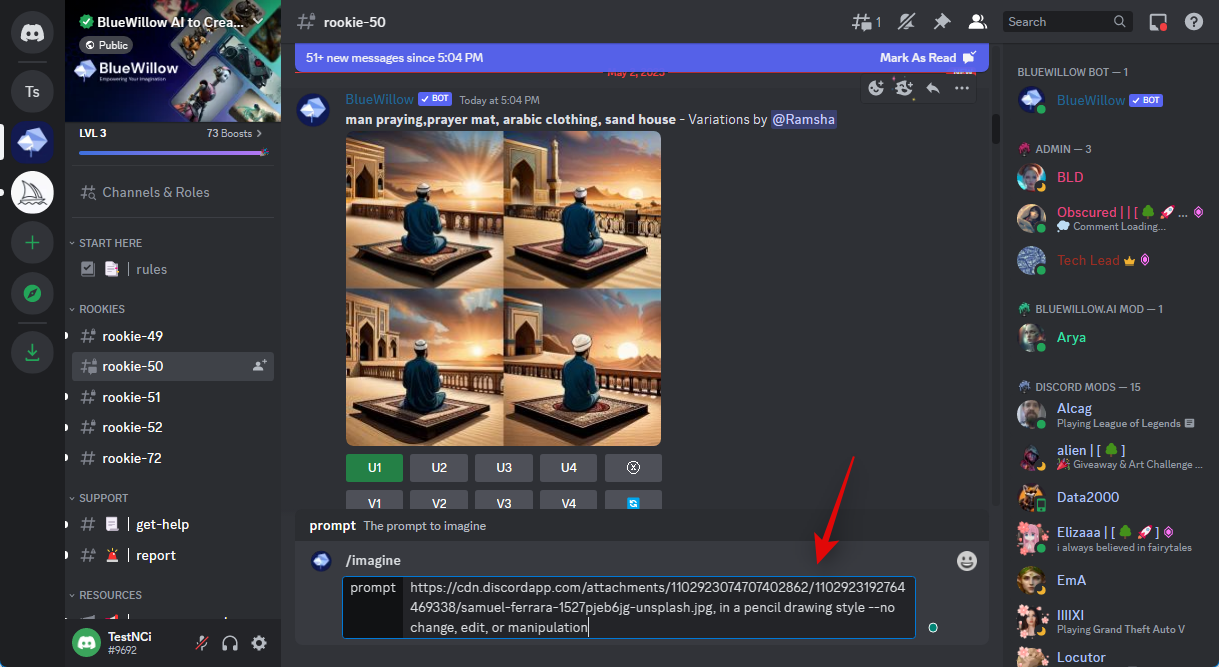
Press Enter once you’re done.
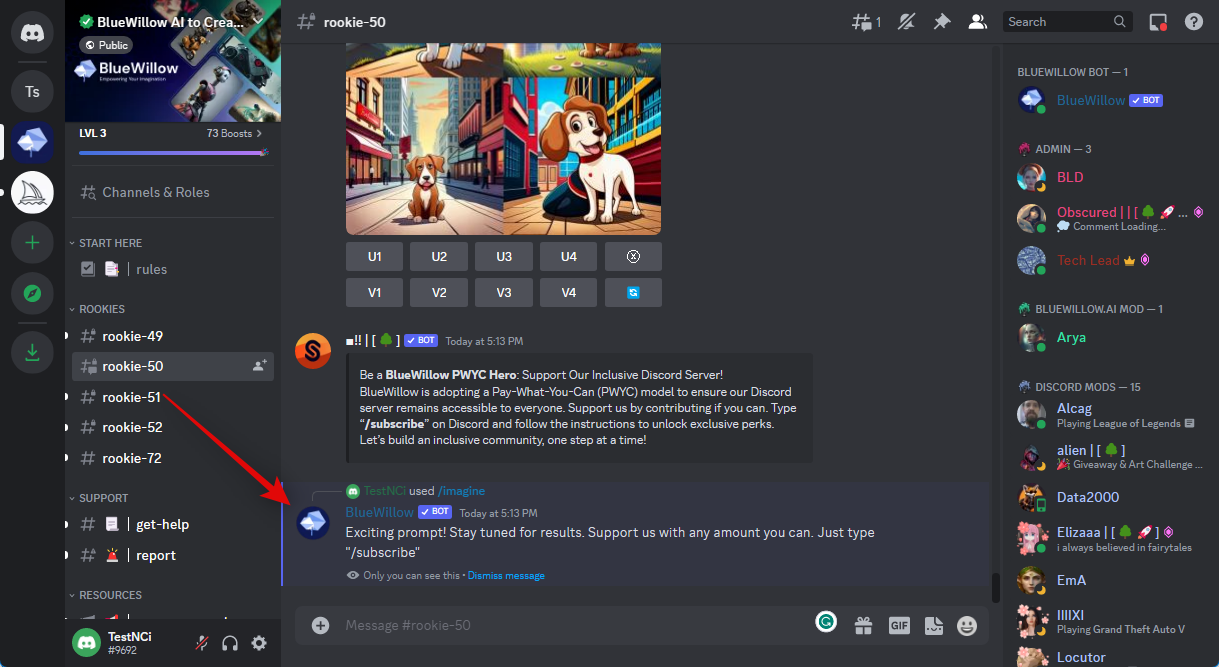
As you can see BlueWillow will present you with four different iterations of the image. You can now upscale and download an image you like. If the generated images aren’t to your liking, you can add more negative prompts to restrict the AI to your image so that it only converts its styles.
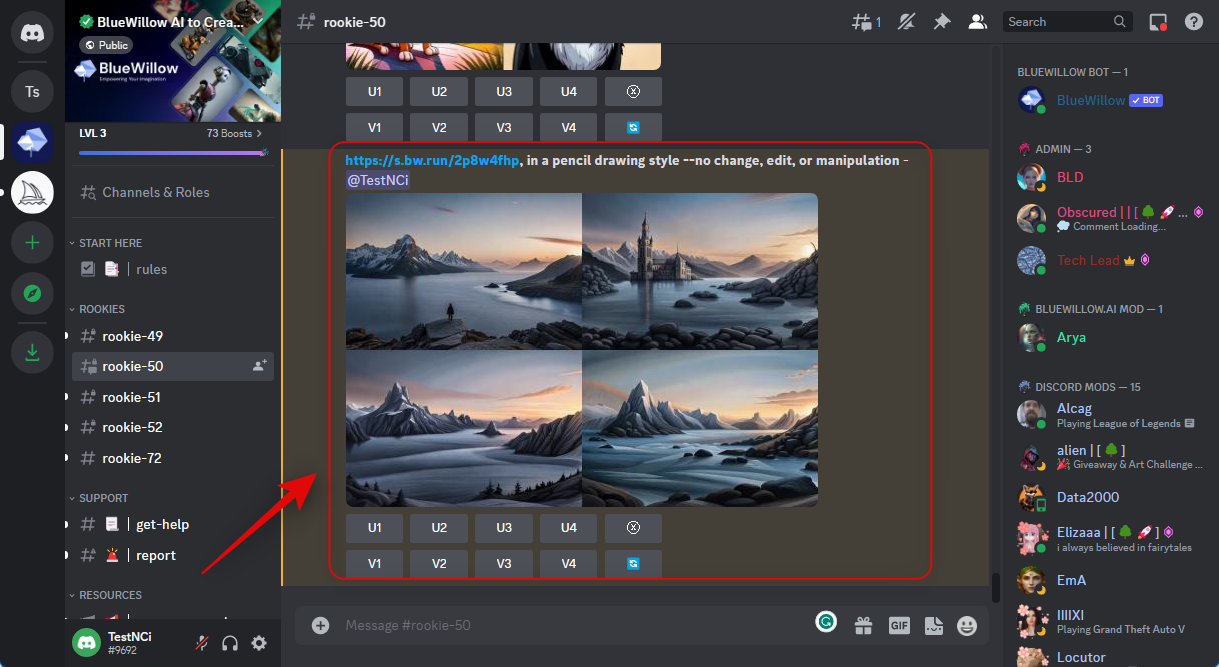
And that’s how you can use BlueWillow to turn a picture into a drawing.
How to upload and use BlueWillow on a mobile device
You can upload images to Discord and use them in the BlueWilow Discord server just like we did above. You can create a temporary group and then remove the participants. Once removed, you can upload the desired image from your mobile device and then use the same command and prompt mentioned above to convert your image into a drawing on your mobile device.
Other AI tools you can use to convert your images to drawings
Apart from the AI tools listed above, there are tons more that you can use to convert images into drawings and more. Some of these tools are aid, others offer a free trial, and some are completely open-source and free to use. If the above-mentioned AI tools did not yield the desired results for you, then give one of the alternatives mentioned below a shot and see which one works the best for you.
- Stable Diffusion | Free and open-source | Installation and usage guide
- Midjourney | Paid, requires a subscription | Set up and usage guide
- Dall-E | Freemium model, 50 free credits on sign-up and 15 credits per month subsequently
- Art Breeder | Freemium model, ten credits a month
We hope this post helped you quickly turn your images into drawings using AI tools. If you have any more questions, feel free to drop them in the comments below.


Discussion