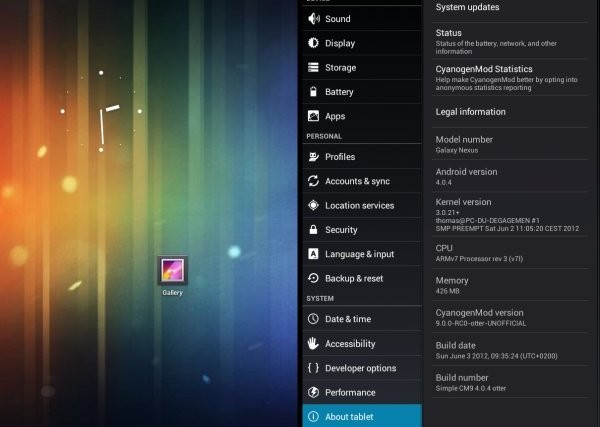
Well, talk about simplicity. Simple CM9 — based on Android 4.0 Ice Cream Sandwich — is a custom ROM for the Amazon Kindle Fire, that keeps it simple by ripping out a lot of major stuff from the ROM and hence lives up to its name. The ROM features smooth performance, great battery life, Beats audio mod, super fast boot and shutdown times, and more according to the developer of the ROM (Hyperrunner).
Take a look at the huge list of things removed from CM9 for Simple CM9 ROM:
- Some useless apps such as Voice apps
- Removed a google search (Dont worry one is still there)
- Removed all Live Wallpapers
- Removed CM Wallpapers
- Removed Androidian Theme
- Removed a lot of ringtones
- Removed Alarm Tones
- Removed Spare Parts
- Removed lots of languages
- Removed Facelock
- Removed Default Android Videos
- Removed Video Editor
- Removed Google Talk
- Removed Voice Search
- Removed Nagging Setup Wizard (You can login to google account by going into the play store)
- Removed News and Weather
- Removed Bug Reporting and Feedback
NOTE: The ROM may have a bugs and issues as the ROM is under development, with the major issue mentioned below:
- Charger doesn’t seem to be working well on AC POWER. Please use PC-USB power to charge your device.
So, now that you’ve done reading the above, let’s see how the ROM can be installed on the Kindle Fire.
Compatibility
This ROM and the guide below are compatible only and only with Amazon Kindle Fire. It’s not compatible with any other device. Check your device’s model number in: Settings » About tablet.
Warning!
The methods and procedures discussed here are considered risky and you should not attempt anything if you don’t know completely what it is. If any damage occurs to your device, we won’t be held liable.
How to Install Simple CM9 ROM on the Kindle Fire
- This procedure will wipe all your apps, data and settings (but it will NOT touch your SD cards, so don’t worry about those). Backup your Apps and important data — bookmarks, contacts, SMS, APNs (internet settings), etc. This Android backup guide would help you.
Important! Don’t forget to at least make a backup of your APN settings, which you can restore later if your data connection does not work after installing the ROM. Use the backup guide to find out how. - Make sure you have a custom recovery like TWRP recovery installed on the device. You can read how to get TWRP recovery → here.
- Download the latest version of the ROM from the official development page.
- Copy the zip file downloaded in step 3 to the SD card on the phone (without extracting the zip file).
- Boot into CWM recovery. To do this, turn off the device. Then, press the Power button to turn it on and when you see the triangle on the screen, press the Power button again to enter TWRP recovery.
- Create a backup of your existing ROM so that you can restore it if this ROM doesn’t work or you don’t like it. Click on Backup to make a backup of the current ROM, then go back to the main menu by clicking on the home icon.
- Tap on Wipe, then select Factory reset to wipe data. This will only wipe your installed apps and data but will leave your SD card files intact.
- Go back to the main recovery menu, then select Install and select the ROM file (copied to SD card in step 4) to start installing the ROM.
- After the installation of the ROM is complete, click on Reboot system (or click Reboot, followed by System) to reboot the device and boot up into Simple CM9 ROM.
- You will not get the initial Setup Wizard after the ROM boots up, so to log in to your Google account, simply open the Play Store or the Gmail app on the phone.
The Simply CM9 ROM is now installed on your Amazon Kindle Fire. Visit the official development page for more info and to get the latest updates on the ROM. Share your thoughts on the ROM in the comments.


