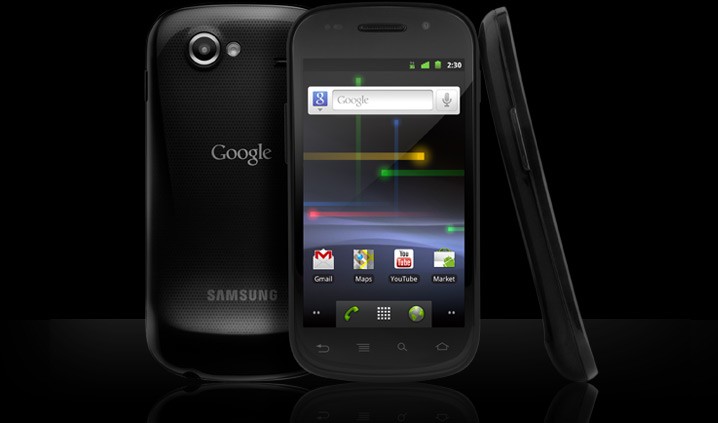
Earlier today, we wrote about the official ClockworkMod Recovery Touch hitting the Galaxy Nexus. Well, it’s predecessor, the Nexus S, not being one to be left behind, continues to get its share of developer love. In his thread, XDA member ale.landra91 has posted about the touch-based recovery for the Nexus S too, thanks to koush, the man who gave us the original CWM.
Unlike the Galaxy Nexus, which had a common custom recovery file released for both the GSM, as well as the CDMA versions, touch-based CWM recovery has currently only been released for the GSM version of the Nexus S. The CDMA version users are going to have to wait a wee bit longer. Let’s move on to see how we can get this interesting must-have tool on your Nexus S.
Warning
The methods and procedures discussed here are considered risky and you should not attempt anything if you don’t know exactly what you are doing. If any damage occurs to you or your device, we won’t be held liable — you only will be responsible, you’ve been forewarned!!!
Compatibility
This custom recovery and the guide below is specifically developed for the Nexus S – GSM versions only . It’s not compatible with any other device and may render the device unusable. Check your device’s model number in: Settings » About phone
Download Links
→ CWM Touch flashable through Fastboot
Filename: touch-crespo.img | Size: 3.3 MB
→ CWM Touch flashable through regular CWM Recovery
Filename: CWM_Recovery_touch.zip | Size: 3.5 MB
Pre-Installation Requirements
- Rooted Nexus S GSM with regular CWM Recovery installed (Required for Method #2)
- Fully charged battery
- ADB set up on your PC, along with the device drivers. You can use this excellent guide to set up ADB and install drivers in one go
How To Install ClockworkMod Recovery Touch on Nexus S
ADB Method
- Download the CWM recovery image file– ‘touch-crespo.img’ from link # 1 provided above.
- Transfer the ‘touch-crespo.img‘ file to the folder where ‘fastboot.exe‘ is located. If you have set up ADB using the link above, fastboot.exe would be located at C:UsersUserNameknives-and-forksbinwindowsandroid . If you’ve set up ADB the traditional way, it would be located either in the /Tools or /Platform-Tools folder in Android SDK installation folder.
- Turn off your phone
- Reboot the device into fastboot mode by holding down the Volume Up and Volume Down keys, then pressing the Power button.
- Open a command prompt on your computer.
- Change directory to the directory where fastboot.exe and recovery.img are located. (Or, from within the fastboot.exe folder, Shift+Right-click and choose “Open command window here” from the popup menu.)
- Flash recovery.img to your phone by issuing this command at the command prompt: “fastboot flash recovery touch-crespo.img” (without the quotes).
- Reboot the device and after it completely reboots, you should have the touch-based version of ClockworkMod Recovery on Nexus S.
CWM Recovery Method
- Download the CWM_Recovery_touch.zip file from Link #2 – provided above
- Transfer it to the root of SD card on your phone, via USB cable
- Disconnect the phone and power it off
- Reboot to ClockworkMod recovery (Hold Volume Up & the Power button until the device boots to the recovery)
- Now scroll down to ‘Install zip from SD card‘ & Select it.
- On the next screen, select ‘Choose zip from SD card’, and navigate to the ‘CWM_Recovery_touch.zip’ file
- Select the ‘CWM_Recovery_touch.zip‘ file, and on the next screen Select ‘Yes-Install CWM_Recovery_touch.zip‘
- This will start flashing the new recovery. Wait for the installation to complete.
- Select Go back & then Reboot System.
- That’s it!! Once you have rebooted, you should have Touch-based CWM on your Nexus S
So try it out, depending upon whichever method you find convenient, and let us know your thoughts in comments below.


