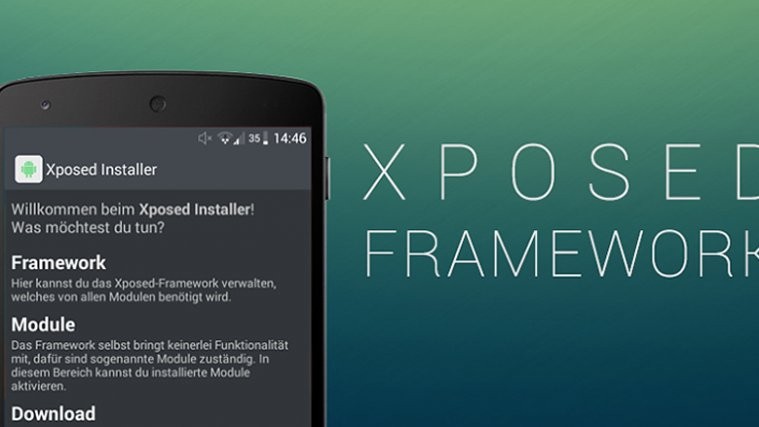
Many of us don’t always want to run a custom ROM, sometimes it’s sufficient to have root and Xposed installed on a stock ROM so it’s possible to enjoy OEM enabled features as well.
However, until now, installing Xposed meant getting blocked out of OTA updates and useful services like Android Pay. But no more! Thanks to developer topjohnwu over at xda who just released a modified version of Xposed Framework that works with systemless root and doesn’t modify any system files upon installation, so that you can install OTA updates even when Xposed is installed.
This systemless Xposed installer is only for the Marshmallow running devices, since systemless root is only available for Marshmallow. Only pre-requisite for installing systemless Xposed is having a device rooted with Chainfire’s Systemless root.
Systemless Xposed has been reported to be working fine for HTC One M8 (arm), HTC 10 (arm64) and Nexus 9 (arm64) by the developer. And users have reported Galaxy S6, S7 and other Samsung to be also working good with systemless Xposed.
Installing systemless xposed is easy — just a simple flash from the TWRP recovery. However, you need to take care that you’re running an unmodified stock firmware on your device which is rooted with systemless root.
[icon name=”download” class=”” unprefixed_class=””] Download Systemless Xposed
[icon name=”download” class=”” unprefixed_class=””] Download Material Design Xposed Installer (.apk)
└ The official version won’t work with systemless Xposed, download this installer version only.
How to Install Systemless Xposed Framework
- Restore your device back to stock firmware.
└ This is necessary since we only want a stock firmware rooted with systemless and no other modifications for the systemless xposed. - Download the appropriate Systemless Xposed Framework for your device from the downloads section above and save/transfer the file to your device’ internal storage.
- Install TWRP recovery on your device.
- Root your device with Systemless SuperSU zip.
- Flash the Systemless Xposed Framework zip file from TWRP recovery.
- Boot into system and download/install the material designed Xposed Installer .apk file from the downloads section above.
That’s all. Enjoy Systemless Xposed on your Android device.
How to Use Android Pay with Systemless Xposed
Even though this Xposed installation is systemless, Android Pay would still not work as long as Xposed is enabled on the device. But you can simply toggle off Xposed from the Xposed app, then reboot device and you’ll have Android Pay working.
- Open Xposed app and disable Xposed from the options.
- Reboot device.
- Use Android Pay, it should work.
To get Xposed back, simply enable it from the Xposed back, do a reboot and you’ll have Xposed running back on your device. Cheers!
How to Uninstall Systemless Xposed
When you need to uninstall systemless Xposed framework, follow this quick guide:
- Restore stock boot image of the firmware you’re running.
- Re-flash SuperSU zip to get root access.
- Disable encryption/verity etc.
- Reboot device.
We hope the guide above helps you install Systemless Xposed Framework on your Systemless rooted device.
Happy Androiding!
via xda


