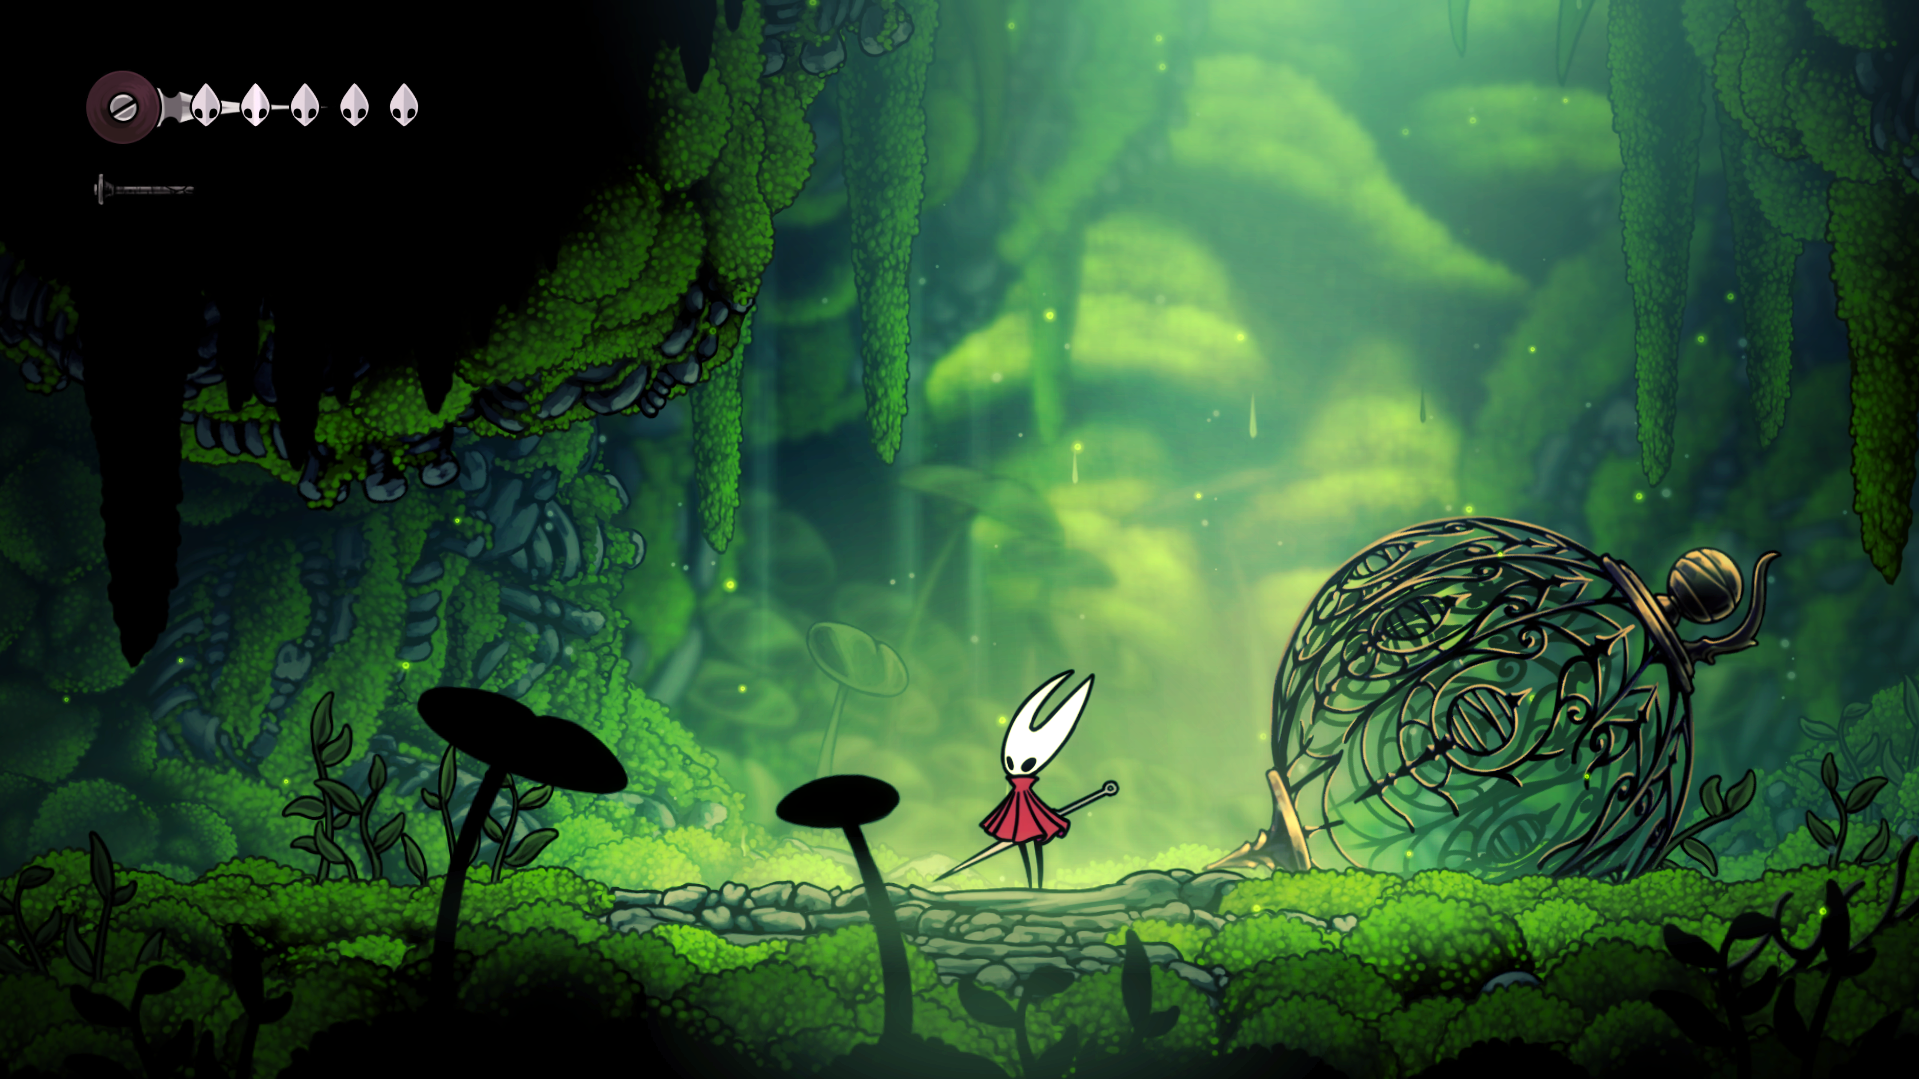
Discover the Sawtooth Circlet in Hollow Knight: Silksong—a defensive powerhouse that spins deadly blades around Hornet to shred nearby foes.
What to know
- Sawtooth Circlet is a Blue Tool in Hollow Knight: Silksong that deals area damage when activating its spinning blades.
- It is purchasable from the Twelfth Architect NPC in the Underworks area for 230 Rosaries and 1 Craftmetal.
- The circlet attaches to Hornet’s cloak hem and damages nearby enemies upon activation, aiding in crowd control.
- Requires unlocking Crest slots with Memory Lockets and proper equipping in the Crest tab of the menu.
One of the exciting Blue Tools you will want to get your hands on early in Silksong is the Sawtooth Circlet. This flexible belt of serrated metal teeth attaches to the cloak and becomes a spinning blade weapon that damages nearby foes, making crowd encounters less daunting. Let’s dive into the specifics of finding, unlocking, and mastering the use of Sawtooth Circlet in the game.
Requirements to get the Sawtooth Circlet
There are a few pre-requisites you need to fulfil before you can get your hands on the Sawtooth Circlet. If you have already acquired these, then skip to the section “Navigating to the Underworks area” or later. If not, follow along…
First, secure the Cling Grip ability
Here’s a quick guide to getting the Cling Grip ability:

- Progress through early areas like Far Fields and Greymoor to reach Shellwood, a lush zone filled with bouncing white flowers and watery chambers. Stay on the lower paths in Shellwood, avoiding the route to Bone Bottom for now. Bounce upward on the flowers to climb higher sections until reaching the top level.
- Unlock the Bellway fast travel point by heading left if it’s not active yet, or proceed right into a chamber brimming with water and more flowers. Navigate rightward, bouncing across to advance. Reach a bench room soon after—rest here to heal and mark the map, but hold off on backtracking since a shortcut opens shortly.
- Ascend from the bench, move right, and locate an elevator leading down if needed. Prepare for combat after resting, then continue right, climbing platforms before veering left to trigger the Sister Splinter boss encounter. Defeat Sister Splinter with precise needle strikes and dodges, focusing on her splintering attacks and patterns.
- Head left post-victory to a nearby chamber, descending slightly before circling westward. Climb to the upper exit, jump the gap, and claim the Cling Grip skill at last. This ability enables wall jumps by leaping to vertical surfaces and pressing jump to ascend further, opening new paths across Pharloom.
Next, unlock the Needolin skill next

Again, Needolin is essential to the circlet, so make sure to get it as well:
- Return to the Shellwood bench with Cling Grip in hand. Ride the elevator upward or wall jump to the room’s top. Move right to a dead end, then ascend platforms and wall jump rightward to press on. Continue right to enter Bellhart, a cursed zone marked by descending paths and bell icons.
- Drop deeper into Bellhart until spotting a room with a prominent bell symbol. Confront Widow here, a formidable boss whose attacks demand agile dodges and silk-based counters—break the Bellhart curse during the fight by targeting weak points to advance smoothly.
- Defeat Widow to acquire the Needolin skill automatically. Activate it by holding the assigned button (like D on PC) to play a silk-consuming tune. This opens circular Weaver gates scattered across the map, summons Bell Beasts at Bellways, and enables unique NPC interactions, paving the way for deeper exploration like accessing Underworks.
Now that you have the two abilities, it’s time to navigate to the Underworks area.
Sawtooth Circlet Location: Where to find the Sawtooth Circlet
To acquire the Sawtooth Circlet, head to the Underworks area, a subterranean section of Pharloom. Here’s how to go about it:
- Advance through mid-game zones after securing Needolin, defeating bosses like Trobbio to unlock connecting tunnels. Head right from Trobbio’s arena, ascend, and activate a switch to open a trapdoor linking vaults. Board the elevator, hit its switch to descend, then move left, trigger another switch, and pass through the opened door.
- Cross platforms leftward to exit back into tunnels feeding the Underworks. Proceed left, activate a bench switch, collect nearby shards, and rest at the bench. Drop down left from there, then right and down again. Note a glowing corpse on the right—bypass it for now by heading left, dropping further, and using a switch to unlock a bottom trapdoor, though it leads nowhere vital.
- Activate a switch above to extend a temporary bridge and dash across. Proceed left, engage a Ventrica tube, hit a floor switch, and drop down. Shift left and chute downward, then left again. Ascend and descend the opposite side, trigger a switch, and enter a gauntlet room. Survive the enemy waves until a fat bug shatters the floor near the end, then move left to grab a Spool Fragment.
- Exit right into the central shaft, extend a bridge via switch, and head right. Descend and veer right along the path back to angular sections, dropping to loot two chests before retracing upward and right. Leap over spikes, drop down while hugging left, clear debris from a door to enter and snag another Spool Fragment.
- Return to the entry elevator, send it upward, and hop off midway. Descend the open space, navigate right past spikes and spider-infested challenges to connect with Whispering Vaults. Ascend chutes timed with steam pauses, hiding in coves as needed, until exiting leftward. Stand on a switch to open a door and retrieve the Sacred Cylinder from an altar.
- Loop back to Underworks’ main bench, rest, and use a ring to access the right platform. Hit the switch, enter the chamber, and locate the Twelfth Architect inside—use Needolin to open any Weaver gate blocking the way if encountered en route.
Purchasing the Sawtooth Circlet

Speak with the Twelfth Architect, a vendor offering crafted gear in this end-game hub. Exchange 230 Rosaries—earned from enemies, chests, and quests—and one Craftmetal, a rare material scavenged from ruins like southeast Bilewater or repaired tools. Complete the transaction to add the Sawtooth Circlet to the inventory.
Unlocking slots in your Crest is essential to equipping the Sawtooth Circlet since it’s a Blue Tool.
Begin by collecting Memory Lockets, which expand your Crest’s capacity to hold various Blue, Red, or Yellow Tools. Access the Crest tab from the menu near a bench to unlock these slots using the Memory Lockets.
When a slot compatible with Blue Tools is unlocked, assign the Sawtooth Circlet to it. Essentially, this step prepares the circlet to be a functional part of your combat toolkit.
How to use Sawtooth Circlet
Once acquired, placement on a blue-slot crest provides a passive effect. Cloak-flaring—whether after a dash, during traversal, or mid-combat—activates a spinning ring of sharp teeth around Hornet, damaging nearby enemies.
It rewards smart movement and spatial awareness, turning downtime or repositioning into an offense opportunity.
Unlike many defensive blue tools (like Magma Bell or Weavelight), this one combines protective layering with active damage. Where earlier tools bolster health, resistance, speed, or binding efficiency, this adds aggression.
Cloak usage becomes tactical: spinning the blades in tight corridors or during escape can deliver clutch hits. That blended role reshapes how crests get built.
Why Sawtooth Circlet is a must-have Blue Tool
The Sawtooth Circlet is a must-have Blue Tool for anyone looking to expand their combat options with efficient crowd control and reactive defense.
Easy to acquire from the Twelfth Architect once currency and materials are ready, it provides immediate benefits upon equipping and unlocking the correct Crest slot.
Blending seamlessly into Silksong’s combat ecosystem, it enhances gameplay with its unique area damage feature and fits perfectly into various playstyles. Giving this tool a try early on sets a strong foundation for facing the diverse challenges of Pharloom.