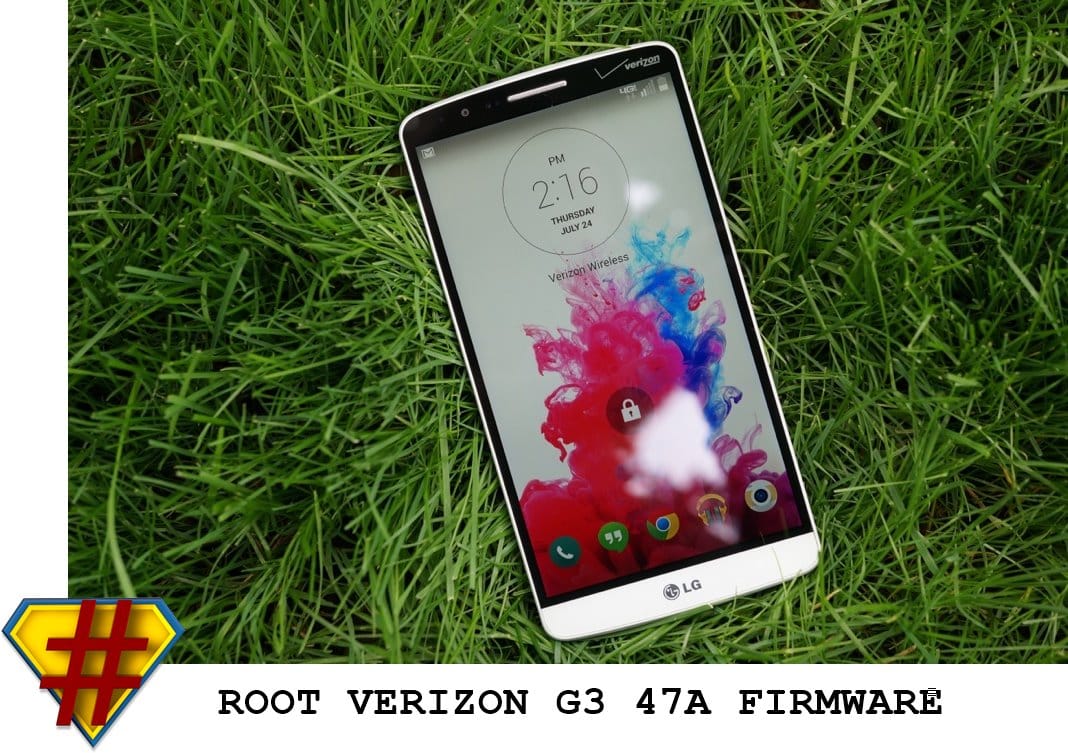
You can have root access on the Verizon G3’s latest update with software version 47a, but the procedure isn’t a pretty one. Rooting 47A firmware requires downgrading back to 10B first, then achieve root using Stump and then install TWRP and flash the bootstack from version 35B, and then finally flash a 47A stock ROM (or any custom 47A ROM) from TWRP.
Confused already? Well, this is how things roll with Verizon devices. Each update the carrier pushes (to any of its Android devices) is destined to mess up with root access on the device.
Anyway, thanks to the folks over at xda, we (at-least) still have a way to root Verizon G3 even on the latest update. Cheers!
Let’s get started..
NOTE: Make sure you backup all your important files including music, photos, videos, downloads, etc. to your PC or somewhere safe. Because following the procedure below might require a complete wipe of your device’ data.
Downloads
- Verizon G3 10B KDZ (1.5GB)
- StumpRoot APK v1.20
- 35B Bootstack zip
- 47A Firmware zip (1.4GB)
How to Root Verizon G3 47A Firmware
- Flash 10B firmware:
- Download the Verizon G3 10B KDZ firmware file to your PC from the downloads section above.
- Flash the 10B firmware KDZ to your Verizon G3. For help, follow our detailed guide → How to Flash KDZ firmware on LG Devices.
- Root 10B firmware using StumpRoot: Once you’re on 10B firmware, do the following:
- Download the StumpRoot apk from the links above and install it on your Verizon G3.
- Open the app and tap the Grind button to execute root exploit.
- Restart your G3 when prompted.
- Install SuperSU and TWRP recovery: Once you’ve successfully rooted your Verizon G3 on 10B firmware, install the SuperSU app from Play Store to manage superuser permission and TWRP Manager app to download/install TWRP recovery.
- Now download/transfer the 35B Bootstack zip file and 47A firmware zip file to your Verizon G3’s internal storage.
- Boot into TWRP recovery and perform a simple factory reset.
- Install/Flash the 35B Bootstack zip file from TWRP recovery.
- Perform a wipe data/cache from within the recovery.
- Install/Flash the 47A firmware zip file from TWRP recovery.
- Reboot device.
└ If TWRP asks to install SuperSU, DENY IT.
That’s all. Your Verizon G3 should be rooted now, running on firmware 47A. Cheers!
Be sure to thank xdabbeb over at xda for the recovery flashable 47A firmware zip file.
Happy Androiding!


Discussion