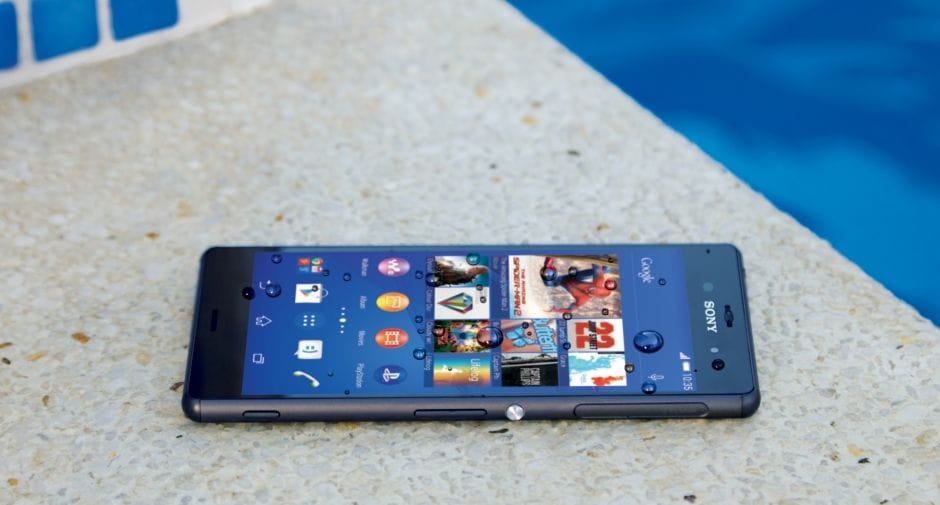
Earlier this month Sony began rolling out the Lollipop update for all of its flagship devices starting with the Sony Xperia Z3 and Z3 compact. The last update on the device has been firmware version 21.1.A.0.726 with Android version 5.0.2.
And while rooting Xperia devices isn’t really a problem since bootloader is easily unlockable, it’s a bit of a hassle as the device doesn’t come with a dedicated recovery partition. So the boot image is modified to fit in a custom recovery, but then boot images are firmware dependent, so there’s never a single solution for recovery on Xperia devices and thus no single solution for root either.
But pre-rooted ROMs with root and a custom recovery pre-installed, eases the hassle. When you flash a pre-rooted firmware it auto injects a new boot image that’s already modified with a custom recovery and has root access installed on the system partition. So if just root and recovery is all you wish, then a pre-rooted firmware is your best bet to get things done quick and easy.
Below is the download link for pre-rooted firmware (version 21.1.A.0.726) for your Xperia Z3. This for the Xperia Z3 model number D6603 and is for UK region, but you shouldn’t be having any issue flashing this on a phone being used in a different region as long as the Model number D6603 matches up.
Download Pre-Rooted Xperia Z3 firmware 21.1.A.0.726
INSTALLATION INSTRUCTIONS
Warning: Warranty may be void of your device if you follow the procedures given on this page. You only are responsible for your device. We won’t be liable if any damage occurs to your device and/or its components.
Important Note: Backup important files stored on your device before proceeding with the steps below, so that in case something goes wrong you’ll have backup of all your important files.
- Make sure your device model number is D6603.
- Unlock bootloader of your device if you haven’t already. Get help from here.
- You need TWRP recovery for this. Get it from here. There’s good instructions set there, too. For more help, Google is your friend.
- Transfer the ROM file you downloaded above to your device’s internal storage and remember the location where you save it.
- Boot into Recovery mode.
- Make a backup. Once in TWRP recovery, take a backup of your current ROM. Select Backup, then do a “Swipe to Back Up” on the bottom of the screen. Wait for the backup to finish, it’s a time consuming process.
- Wipe your device. Once the backup is finished, do this: tap on Wipe, then Advanced wipe, and then select Cache, Dalvik/ART cache and Data. Then do the “Swipe to wipe” at bottom to ready the device for ROM flashing by erasing the cache, dalvik cache and data in one shot.
- Install ROM now. Go back to the main menu of TWRP recovery and select Install. Navigate to the file where you saved your ROM’s zip file, select it and “Swipe to Confirm Flash” on the bottom of the screen. Now wait until the flashing process finishes.
- Go to back to recovery’s Main menu, select Reboot » select System.
That’s all!


Discussion