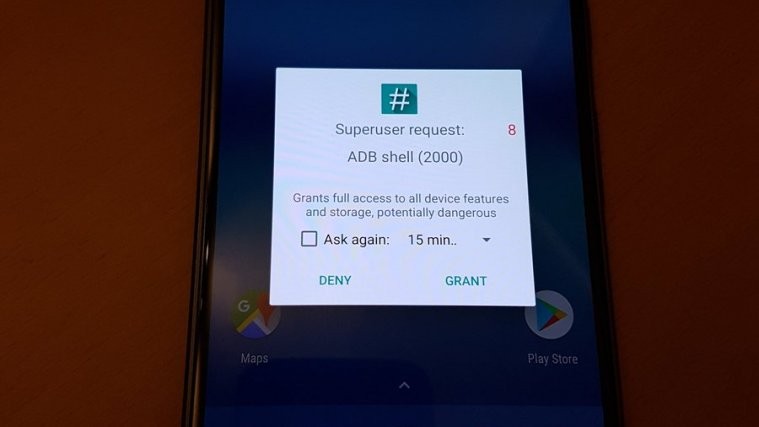
Google’s Pixel and Pixel XL had been out for a while, but it took some time for even a renowned developer like Chainfire to get around the phones system partition to gain root access. Why? Because the Pixel phones are built differently.
Rooting Pixel and Pixel XL didn’t turn out to be as simple as we initially thought. And that’s mostly because of the weird and never-seen-before partition structure on the Pixel phones. These phones feature two system, two boot, two vendor, zero recovery, and zero cache partitions. So naturally, any existing rooting tool would have required a bit of re-engineering.
The newly released SuperSU systemless root for Pixel and Pixel XL are not be flashed with the work-in-progress TWRP builds for the devices, because that will simply not work. Chainfire has provided CF Auto Root packages for both and Pixel and Pixel XL with a modified boot that you do not have to flash, but BOOT via fastboot boot command from the command line.
Also, since the process includes rooting Pixel phones using fastboot commands, you need to unlock bootloader on your Pixel phones first to be able to use fastboot commands. If you’re on a non-verizon Pixel phone, unlocking the bootloader is done the traditional way. However, if you’ve a Verizon Pixel, you’ll need to use the dePixel8 tool to unlock the bootloader.
Let’s get started..
Download SuperSU v2.78 SR2 for Pixel and Pixel XL
How to Root Pixel and Pixel XL with SuperSU systemless root
- Setup ADB and Fastboot on your PC.
- Unlock Bootloader: Since unlocking the bootloader on Pixel is done differently international and Verizon variants, we’ve separate guides for both:
- How to Unlock Bootloader on Pixel and Pixel XL (International variants)
- How to Unlock Bootloader on Verizon Pixel and Pixel XL using dePixel8 (works for EE too)
- Enable Developer options and USB debugging on your Pixel phone.
- On your PC, download the SuperSU 2.78 SR2 root file for your Pixel phone and unzip the files to a separate folder.
- Connect your Pixel to the PC.
- Now open a command window inside the folder where you extracted the files in Step 4 above. To do that, “Shift + right click” on any empty white space inside the folder and select Open command window here from the context menu.
- Once command window is opened, issue the following command to boot the phone into bootloader mode:
adb reboot bootloader
- Once in bootloader mode, issue the following command to boot the phone with a modified boot image and start the rooting process:
fastboot boot boot-to-root.img
- Wait for a few minutes. Your device will reboot at-least twice during the process.
- Once completely booted, your Pixel or Pixel XL should be rooted.
Important Note about SuperSU 2.78 SR2 for Pixel and Pixel XL
Chainfire’s systemless root for Pixel and Pixel XL is different because of the odd partition layout on the device. So don’t be surprised if certain or all your root apps don’t work at the moment on your rooted Pixel because the new SuperSU root mounts root at /system_root instead of /system as previous SuperSU root builds did.
What this means is that app developers will need to update their apps going forward to be compatible with the new systemless root method. And until the apps are updated, you won’t be able to use them on your rooted Pixel phones.
We’d recommend you to read this Google+ post by Chainfire to get more detailed info on this new root.
Happy Androiding!


