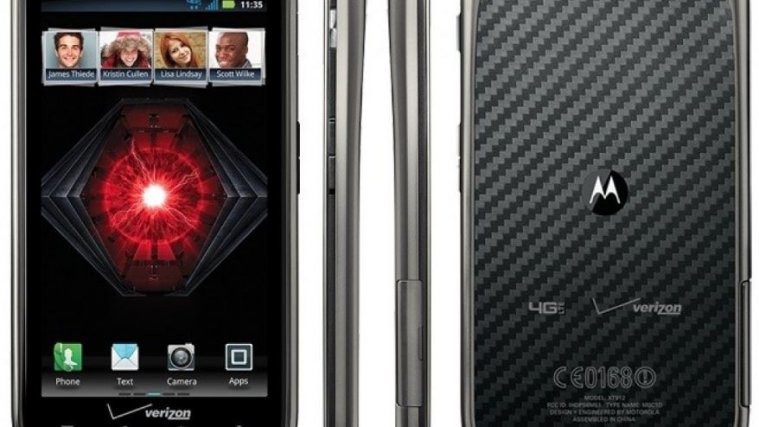
Back on Christmas eve, someone at Verizon politely pressed the “start update” button by mistake (or intentionally for all we care) for the official Android 4.1.2 update for the Motorola Droid RAZR and RAZR MAXX, and quite a few users were able to get the update before Verizon stepped in and stopped its rollout.
Of course, the update was later made available by the community for everyone, and we also wrote a step-by-step guide on how you could manually update to Android 4.1.2 on your Droid RAZR/RAZR MAXX. Those that updated and lost root access and would like to get it back, well, the day has come when they can finally do that as a root exploit for the Jelly Bean update has been released, by Dan Rosenberg (@djrbliss) of the Droid RAZR Forums.
The rooting procedure is quite simple, and involves using an automated toolkit that roots the devices via a few simple steps. For those new to all this, we’ve listed instructions with the proper steps you need to follow to root your Droid RAZR/RAZR MAXX on the official Android 4.1.2 ROM.
So without further ado, let’s get started.
Compatibility
This guide is applicable only for the Verizon Droid RAZR/RAZR MAXX. It will not work with other Motorola or Verizon devices.
How to Root Android 4.1.2 Update on Droid RAZR/RAZR MAXX
- Download and install the drivers for the phone on your computer, though you can skip this step if drivers are already installed.
Download Drivers - Download the rooting files.
Download Root Files | Filename: razr_blade.zip - Extract the razr_blade.zip file to a convenient location on your computer to obtain a folder named razr_blade.
- On the phone, enable USB Debugging from the Settings » Developer options menu. Note that you might need to toggle the button on top before you are able to enable USB Debugging.
- Also ensure that the SmartActions app is installed on your phone and isn’t disabled or modified in any way. If it’s not installed, you can install it from the Google Play Store.
- Connect the phone to the computer and wait for Windows to finish installing the drivers (driver installation will take place only the first time you connect the phone).
- Then, open the razr_blade folder that you obtained in step 3, and double-click on the file named run to open the rooting program.
- Now, ensure that you followed the above steps, then press any key to start the rooting procedure. Follow the onscreen instructions in the rooting program to complete the process.
- After rooting is complete, the phone should automatically reboot, after which it will be rooted and ready to be used. You can now disconnect the phone from the computer.
- To confirm that rooting was successful, check if an app named Superuser is installed on your phone. If yes, then rooting succeeded; but if not, then you should retry the whole procedure.
Your Motorola Droid RAZR/RAZR MAXX running the official Android 4.1.2 update is now rooted. Don’t forget to let us know if you run into any problems.
Via: Droid RAZR Forums


