Moto X is one tough shell to crack and the most of the common rooting procedures failed on the Android 4.4.2 upgrade. There are a few rooting techniques where the device should be downgraded to 4.2.2 before performing the rooting process, and then you have to go through a series of tools like SlapMyMoto, Cydia Impactor and Telnet along with a plethora of commands followed by the 4.4 OTA update. This surely will make your rooting experience hectic, especially for those who are new to Android development.
Thanks to JCase, a renowned and recognized developer from XDA community who has finally came up with a solution to root the Moto X on 4.4.2 KitKat without complex operations. The root package is called Pie, and is not an ideal solution to the rooting problem on Moto X on Android 4.4.2 as the root access obtained by the Pie is neither a permanent root nor has complete functionality.
The rooting method used by the Pie root is a tethered root (tethered jailbreak), which means the root permissions will last as long as you don’t reboot your device. So you have to run it each time you reboot in order to have root access. Adding to the miseries, you do not get system write access so no more editing the build.prop or writing files to /system partition. The only thing that works correct are the root and busybox.
The Pie is not ideal, but this is the only root method available for the Moto X on locked carrier devices and can come handy for some operations like backup/restore app data using Titanium Backup and granting permissions to some of the apps which don’t need write permissions to System partition. The rooting procedure is quite simple, all you need is the root package and ADB installed on your PC with proper driver installation.
Downloads
Download the ADB files and root package from the download link provided below.
ADB+Fastboot file → download link.
Pie Root Package → download link.
Installation Instructions
- Connect your device to the PC through a USB cable.
- Make sure the PC recognize your device by checking for the device in device manager.
- Extract the ADB+Fastboot files to a folder on your computer (avoid extracting to your desktop, there might be problem when you have a user name which has space in between like xxx yyy ) and install the USB drivers in case you are on Windows PC.
- Extract the contents of the root package to the same folder where you have extracted the ADB files.
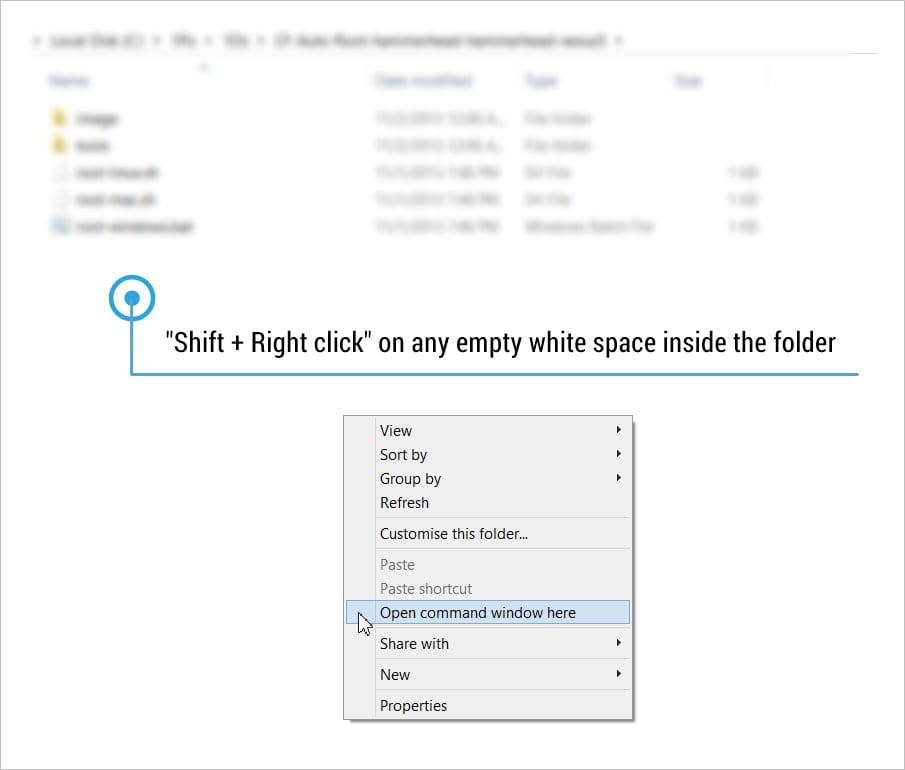
- Now hold SHIFT key on your keyboard and RIGHT CLICK and select “Open command window here” (as shown in the below image).

- Now type or copy/paste the following commands in the command prompt one by one to root your device.
adb push pie.jar /data/local/atvc
adb push root.sh /data/local/atvc
adb shell chmod 755 /data/local/atvc/root.sh
adb shell /data/local/atvc/root.sh
- The expected output on the command prompt is:
Retina:package jcase$ adb push pie.jar /data/local/atvc
5288 KB/s (1538203 bytes in 0.284s)
Retina:package jcase$ adb push root.sh /data/local/atvc
81 KB/s (137 bytes in 0.001s)
Retina:package jcase$ adb shell chmod 755 /data/local/atvc/root.sh
Retina:package jcase$ adb shell /data/local/atvc/root.sh
pie by jcase
want to buy me pie? paypal-> jcase@cunninglogic.com
Retina:package jcase$ adb shell
shell@ghost:/ $ su
root@ghost:/ # id
uid=0(root) gid=0(root) context=u:r:kernel:s0
That’s it, with these four commands your Moto X should be rooted on the Android 4.4.2. But bear in mind that the root is lost when the device is rebooted, so avoid rebooting your device frequently.
Via XDA


Discussion