

Apple’s native Clock app on iOS lets you set instant alarms, choose different times and days of the week, attach labels to your alarms, and customize them with various alarm sounds. If you don’t use alarms on your iPhone but want to learn how to set new ones or customize them in your way, the following post should you do that conveniently.
How to create a new alarm on an iPhone
Apple allows you to create any number of alarms throughout the day using the built-in Clock app on the iPhone.
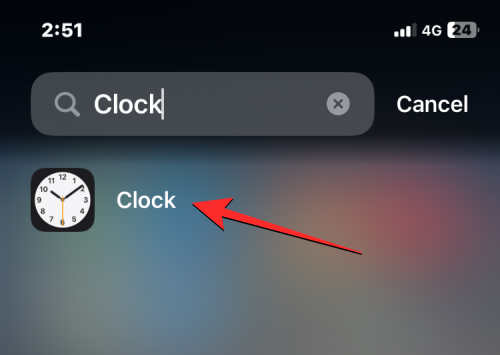
- If you wish to create a custom alarm from scratch, open the Clock app on your iPhone.
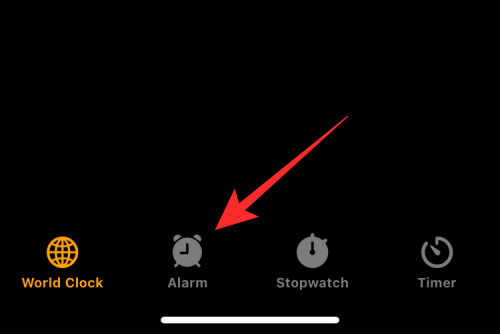
- Inside Clock, tap on the Alarm tab from the bottom.
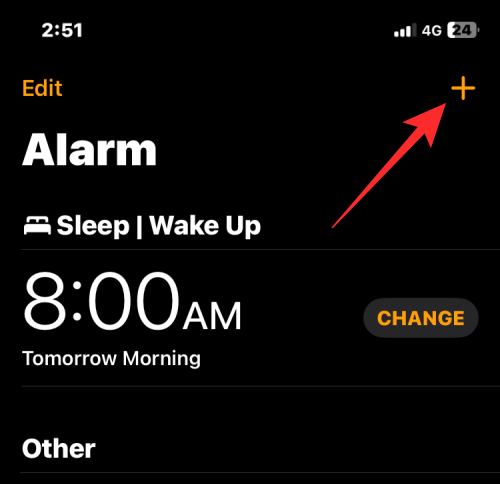
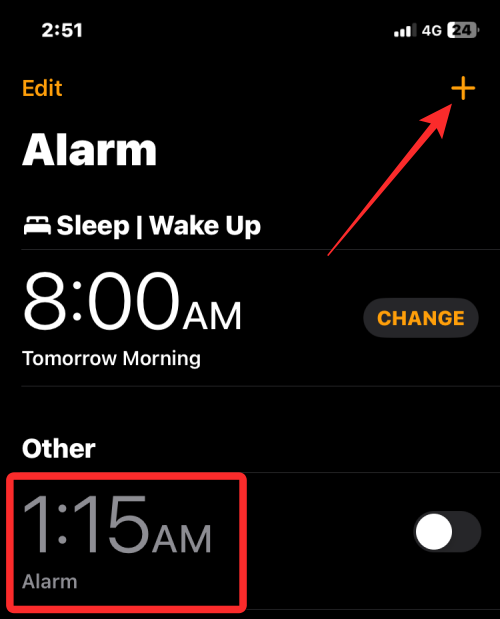
- On the next screen, you should see a list of all the existing alarms configured on your iPhone. To create a new alarm, tap on the + icon at the top right corner.
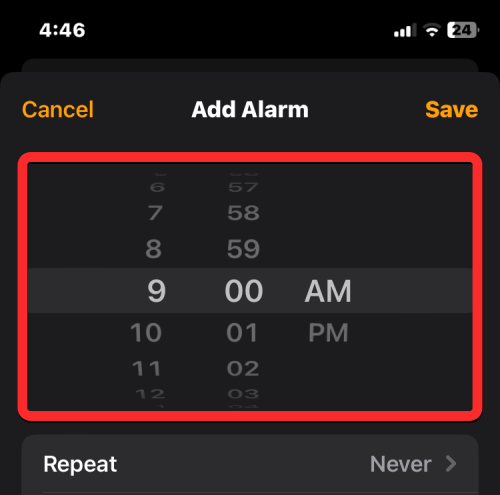
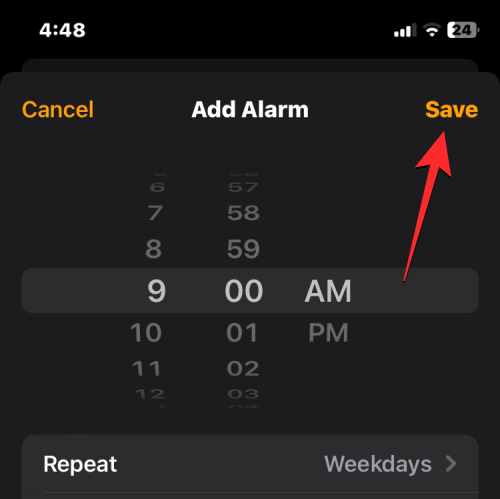
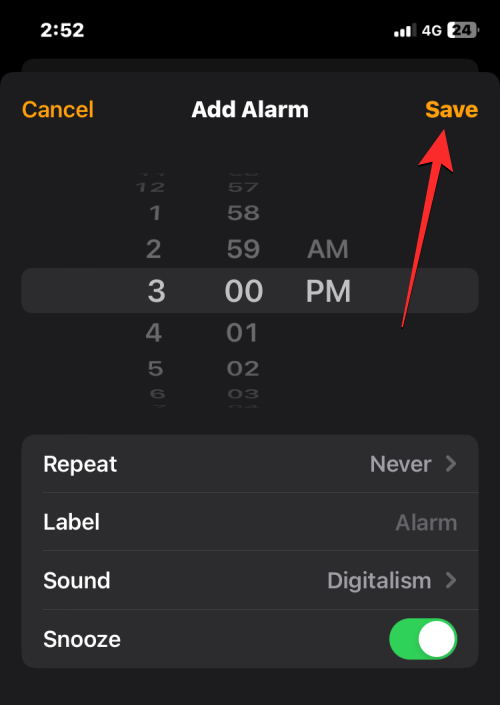
- You should now see the Add Alarm screen with options to customize your new alarm. On this screen, use the hour and minute dials to the alarm time for the custom alarm. If you’ve got a 12-hour clock enabled, you will also have to choose between AM or PM depending on the time you’re about to set.
- Once you’ve set the time, you can make other modifications to the alarm from these options:
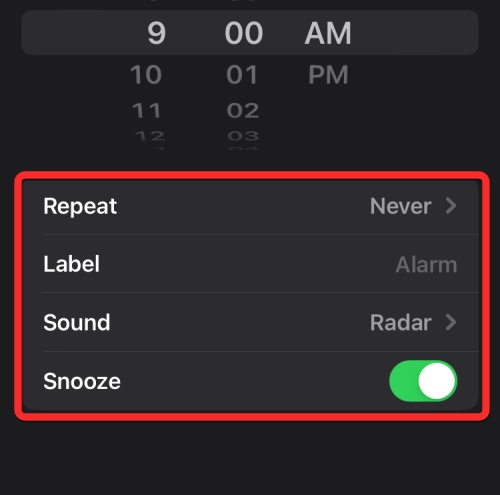
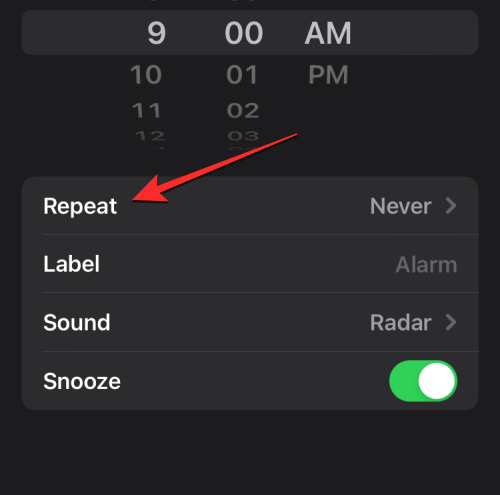
- Repeat: If you wish for this new alarm to repeatedly ring at the set time on specific days, you can tap on Repeat inside the Add Alarm screen.
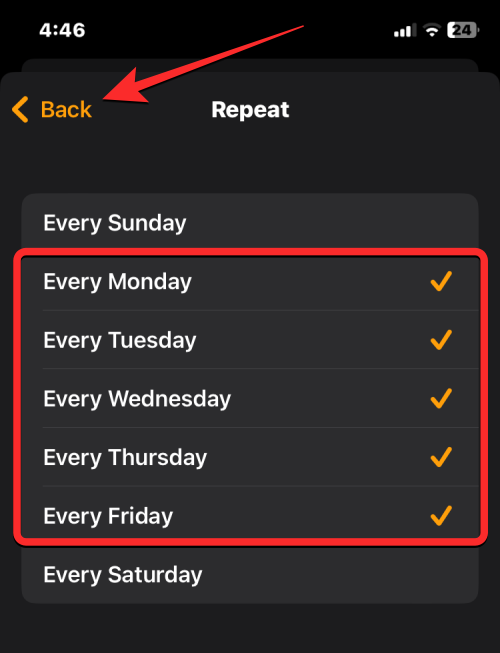
- On the next screen, you’ll be able to choose the days you want this alarm to repeat by tapping on it. You can select multiple days within a week so that the alarm rings at the set time on chosen days. When you select the preferred days from this screen, they’ll be marked with a tick icon on the right-hand side. When you’re done choosing the repeat days, tap on Back at the top left corner to return to the Add Alarm screen.
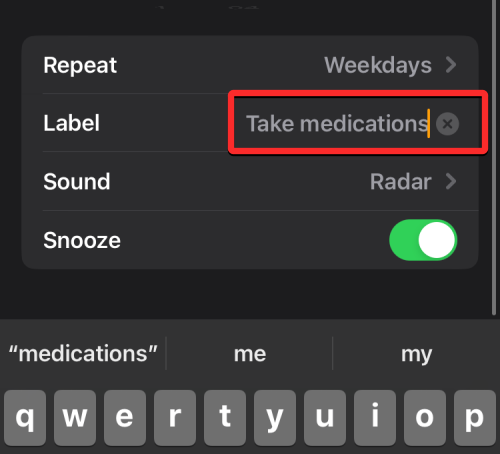
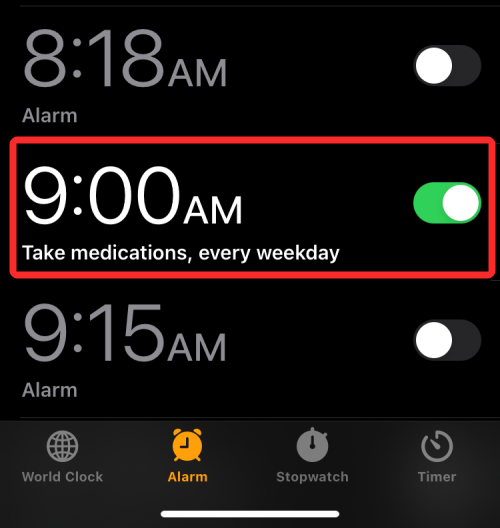
- Label: You can create a name for a specific alarm with a custom name/message as a reminder to get tasks done. Instead of naming it as “Alarm”, you can add labels like “Take medicine” to set repetitive alarms for when you have to take a medication.
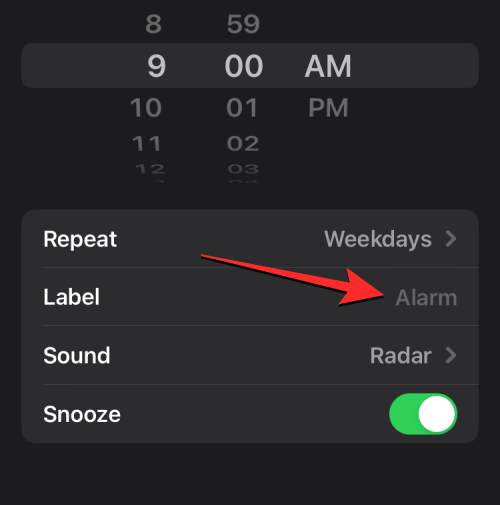
- To label an alarm, tap on the text box on the right-hand side of the Label section inside the Add Alarm screen and enter a name for the alarm.
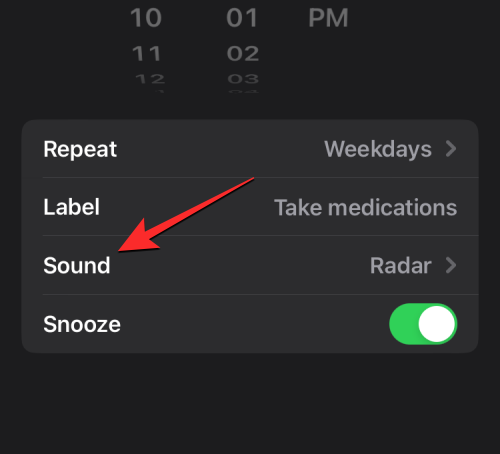
- Sound: By default, all alarms you set on your iPhone ring with the “Radar” tone but Apple lets you change this tone to something else when you create or edit an alarm. To change your alarm tone, tap on Sound.
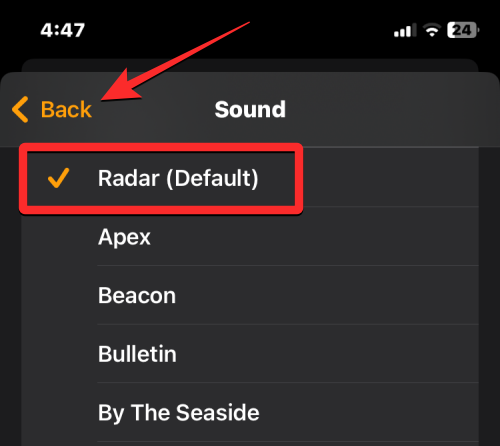
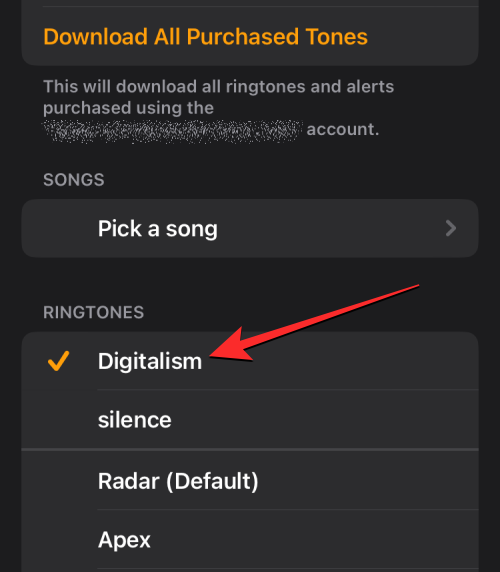
- From the next screen, choose a tone you’d like to set for your alarm from the “Ringtones” section. when you select an alarm, a tick mark should appear on its left. Once set, you can return to the Add Alarm screen by tapping on Back at the top left corner.
- Snooze: If you want to see a Snooze option every time the alarm you’re about to create rings, you can turn on the Snooze toggle inside the Add Alarm screen. This way, you’ll be able to delay an alarm by 9 minutes every time this alarm rings.

- Once you’ve configured the alarm as per your requirement, you can enable it by tapping on Save at the top right corner.
- Any alarm you create will be turned on by default inside the Alarm screen and can be disabled by turning off the toggle on its right-hand side.
How to make a custom alarm tone
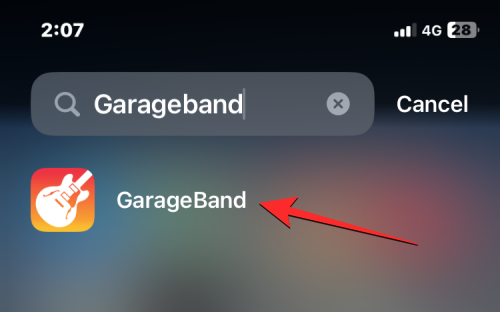
iOS doesn’t allow you to set music files or recordings as a ringtone natively. If you wish to use a custom alarm tone, you’ll have to use Apple’s GarageBand app to make things work. The app comes pre-installed on all iPhones but if you have deleted it in the past, you can download it again from the App Store.
You can use GarageBand to import audio files in any of these formats – MP3, WAV, AAC, AIFF, CAF, or Apple Lossless. If you have a voice recording saved inside the Voice Memos app on iOS, you will have to convert the M4A file into a supported format like MP3 to create a ringtone from it using GarageBand. It’s important to note that, you can only create a 30-second ringtone with GarageBand; there’s no way to extend it to something longer.
Step 1: Create a custom alarm tone from an audio file
- To get started, open the GarageBand app on your iPhone.
- Inside GarageBand, select any instrument from the screen by swiping left or right and then tapping on its box. It doesn’t matter which instrument you choose as we’ll be importing an audio file of our own to set as our custom alarm tone.
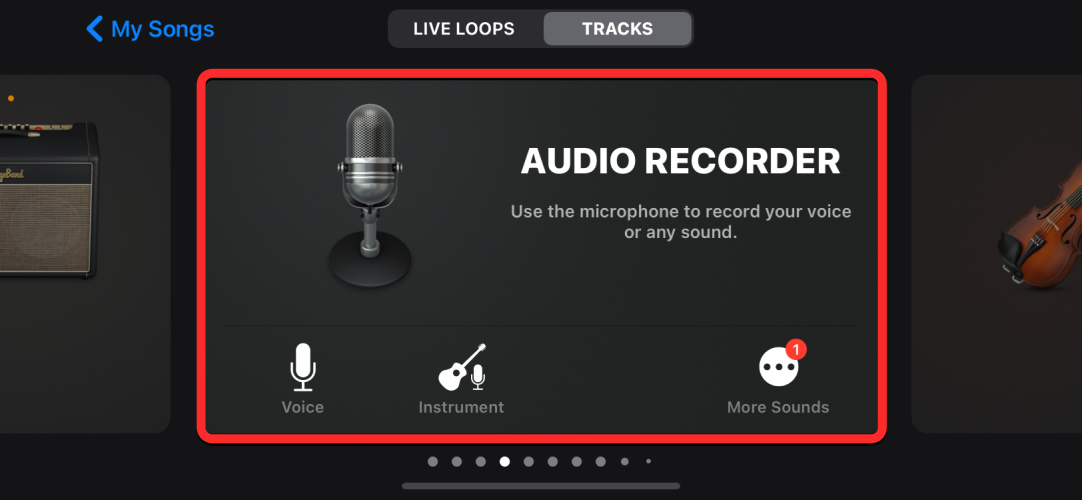
- In case you’ve used the app previously to create projects, you will see a different screen showing your old GarageBand projects. Here, tap on the + icon at the top and then select an instrument as shown in the previous step.

- When the selected instrument loads up, tap on the Project icon from the top left corner.
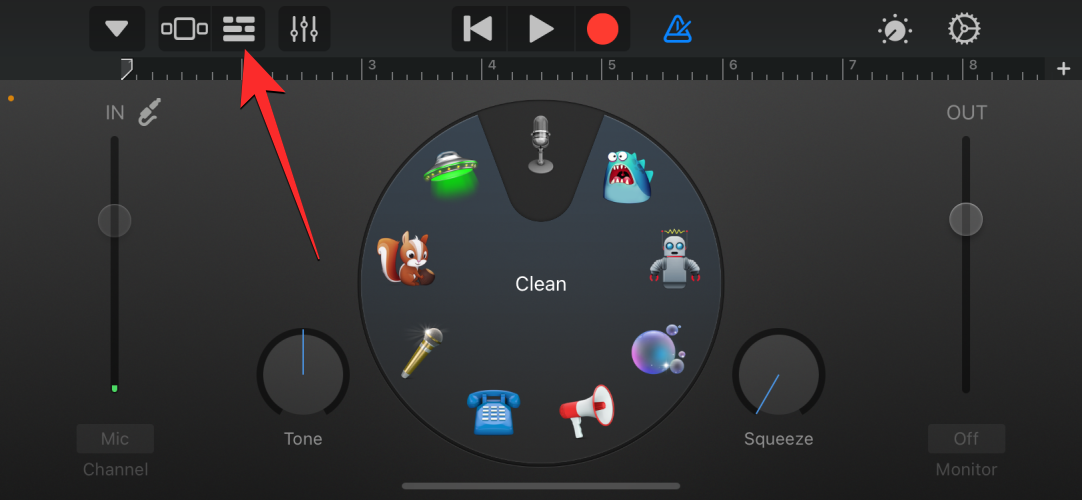
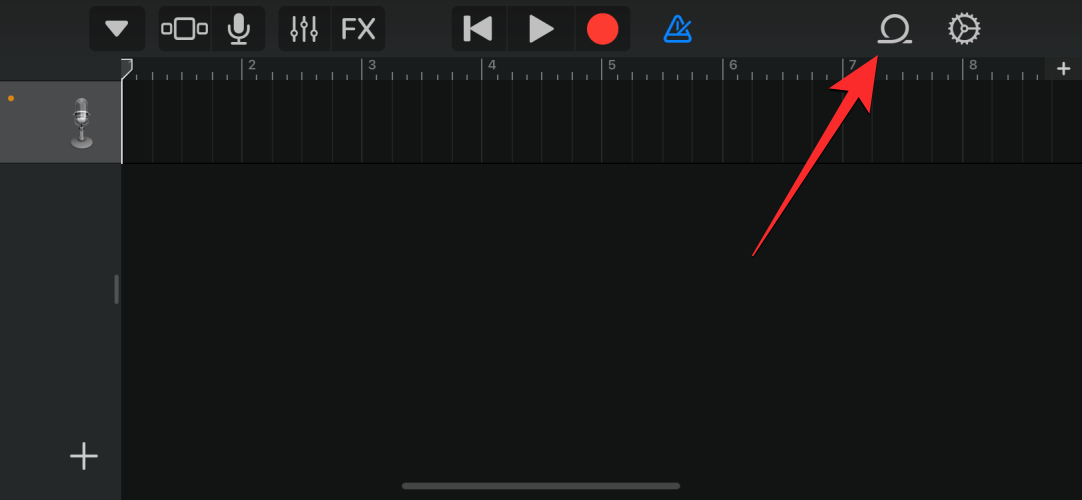
- This will open the Tracks view inside GarageBand. On this screen, tap on the Loop icon at the top right corner.
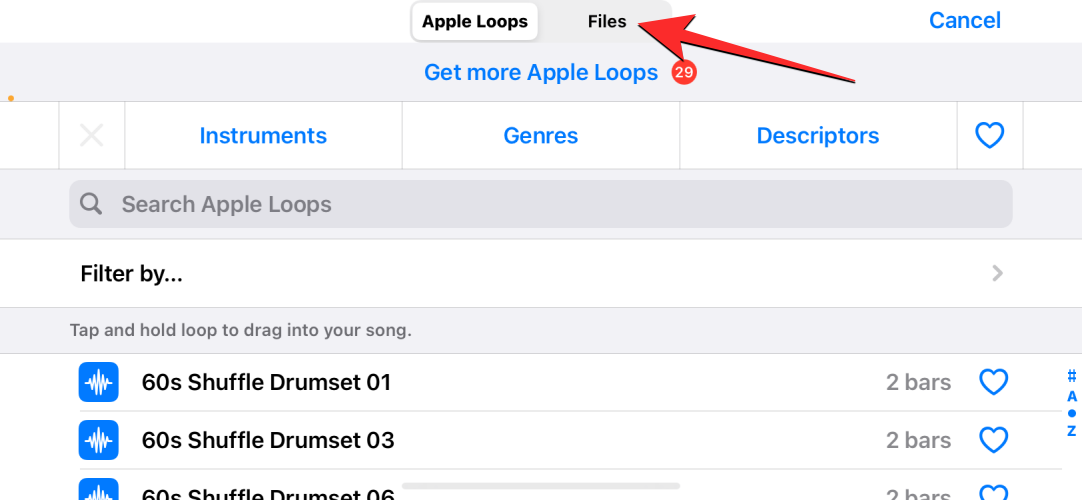
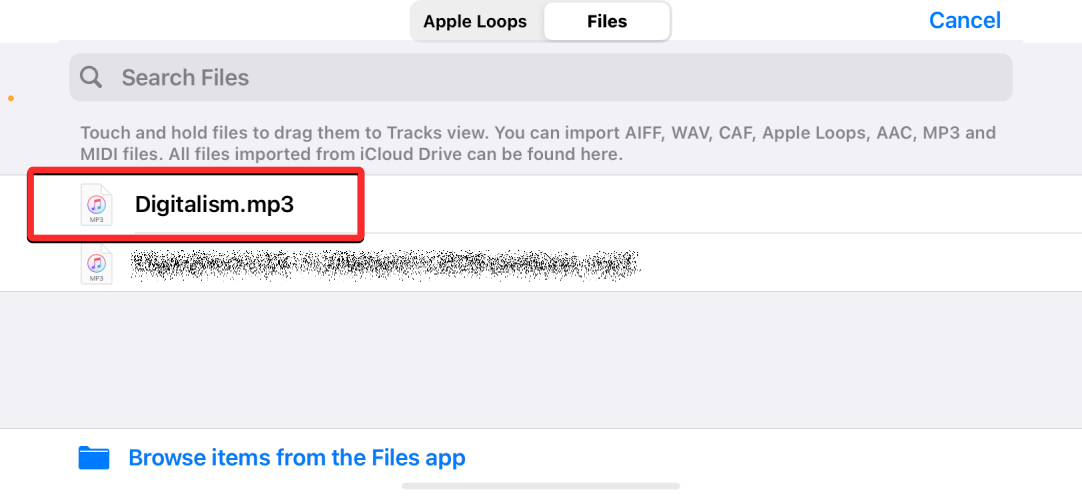
- Now, select the Files tab from the top of the screen.
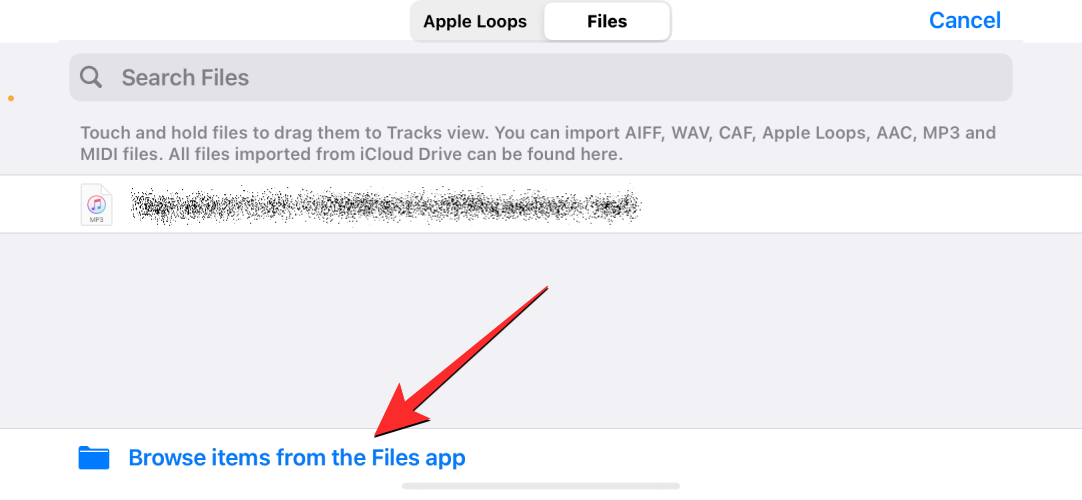
- On this screen, tap on Browse items from the Files app.
- You should see the Files app open on the next screen. Here, navigate to the folder where you’ve saved the audio file that you want to use as the alarm tone, and then tap on the file you want to load into the GarageBand app.
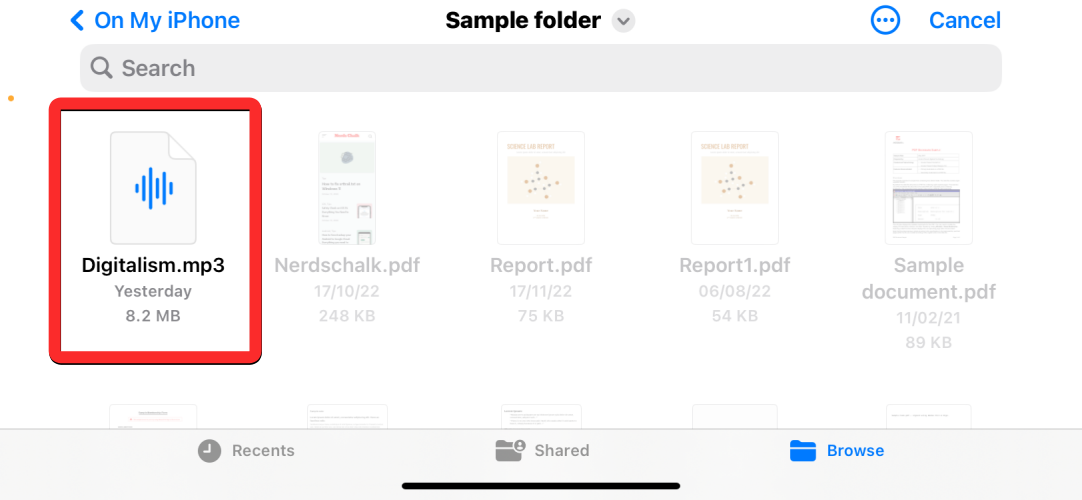
- When you select the desired audio file, it should appear inside the Files screen inside the GarageBand app.
- To add this file as a track inside your GarageBand project, long-press on the audio file you just added and start dragging it.
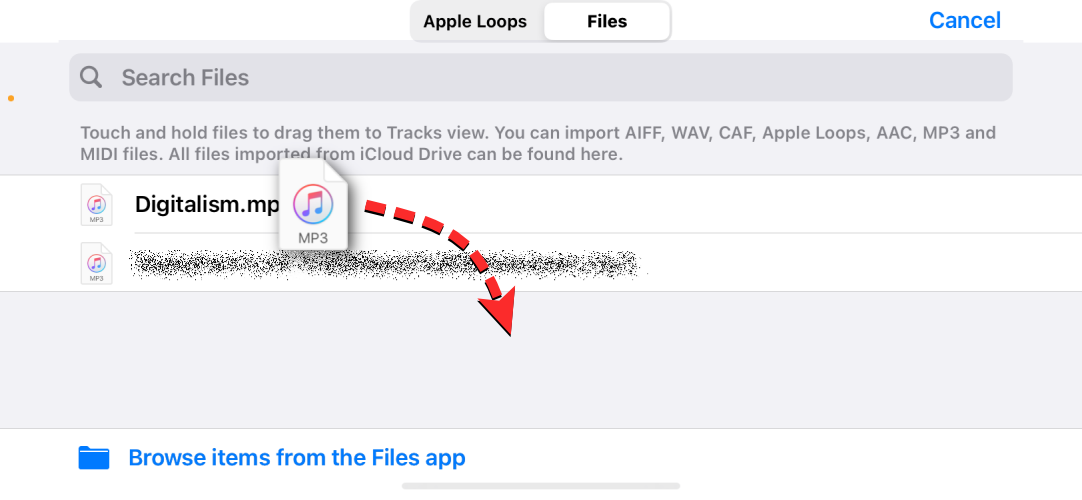
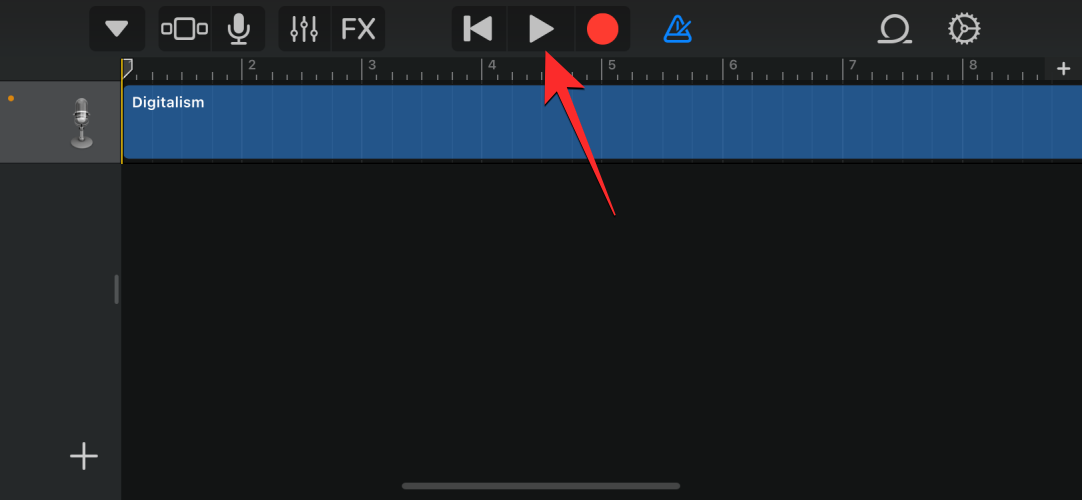
- When you start dragging, the Tracks view should show up where can drag the audio to the top left portion of your tracks. With the audio now added to your project, you can play it inside the app by tapping on the Play icon.
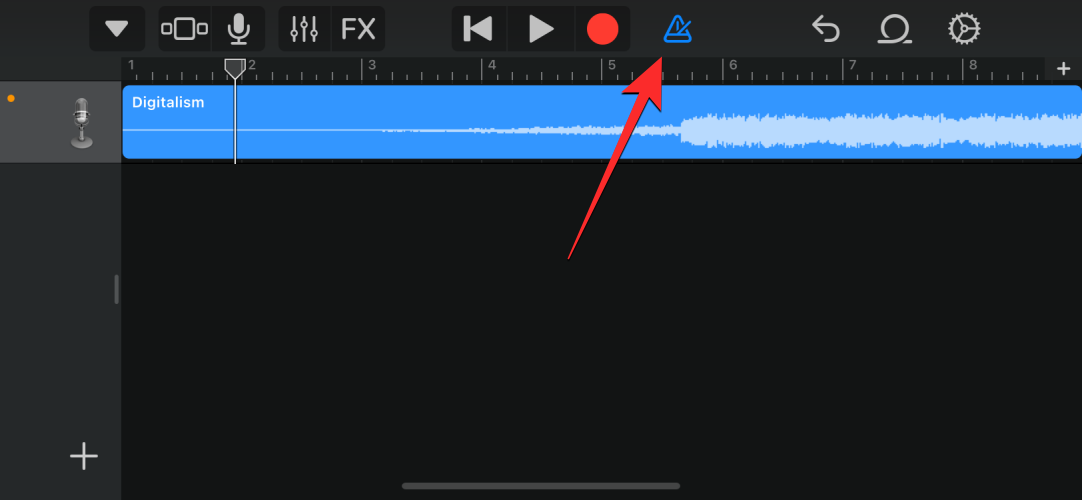
- By default, the app would also play the metronome which can be annoying while testing out the audio. You can disable the metronome by tapping on the Metronome icon at the top (the one highlighted in blue on the right side of the record icon).
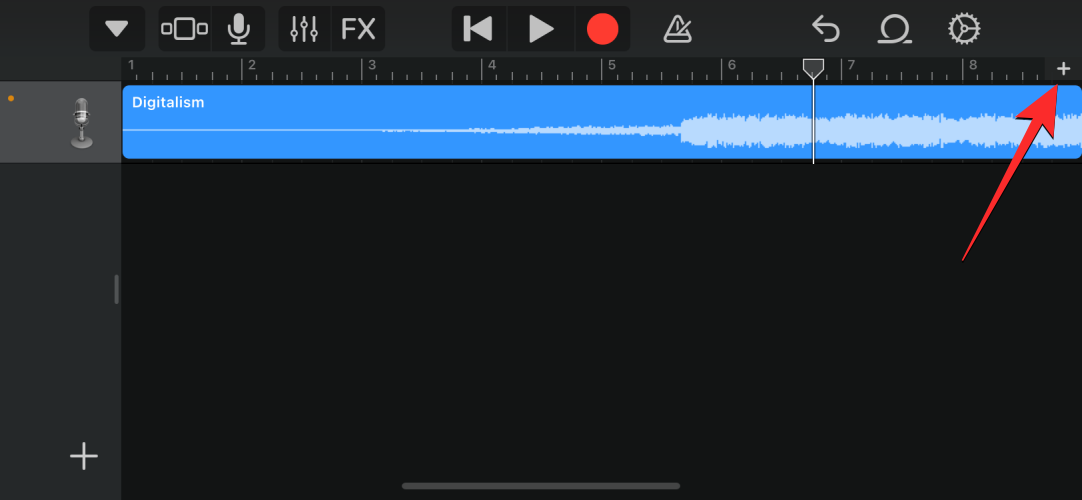
- When you add an audio file inside GarageBand, it won’t be able to host the entire track but only some portion of it. You can change the length of the track by increasing the section bars accordingly. If the alarm tone you want to set is longer than a few seconds, you can increase the section length by tapping on the + icon at the top right corner.
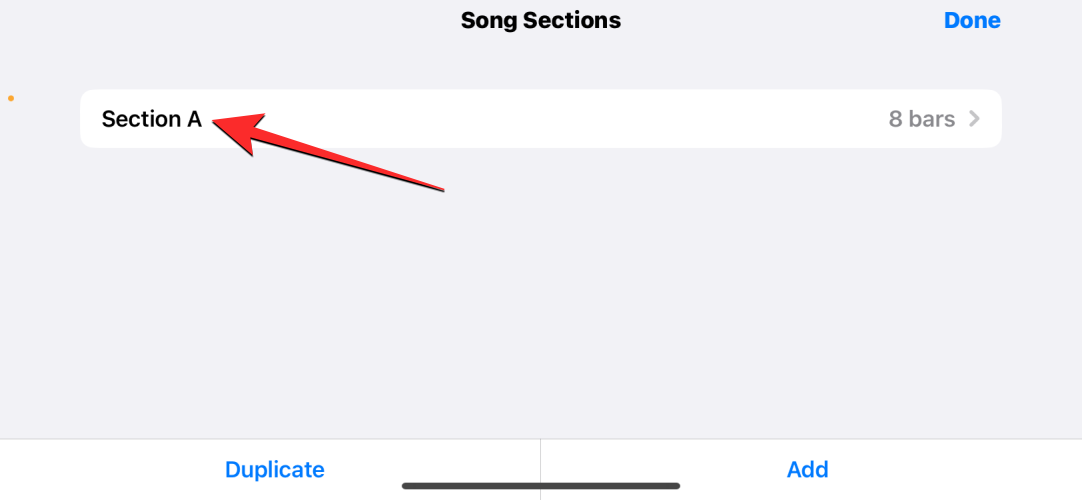
- In the Song Sections screen that shows up, tap on Section A.
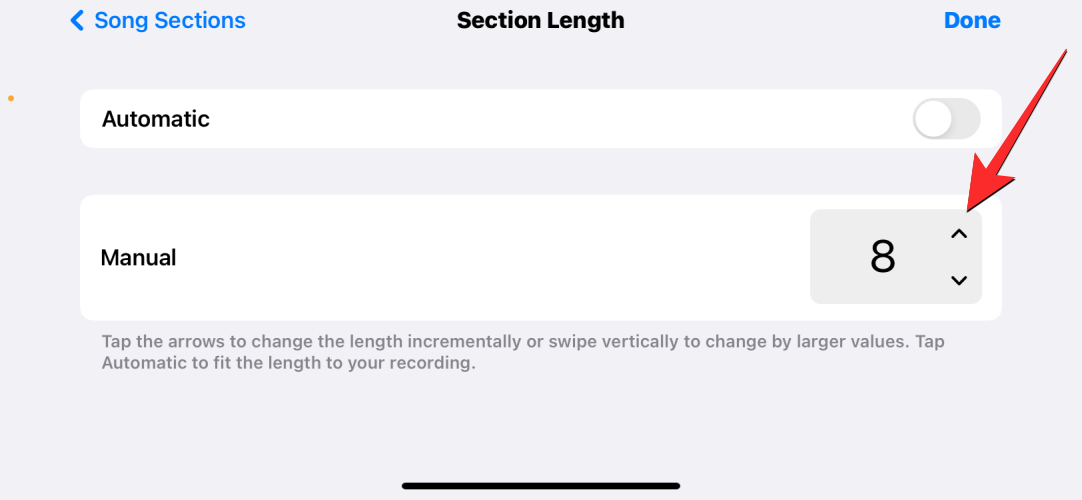
- You can now increase section length by tapping on the up arrow inside the value box under “Manual”.
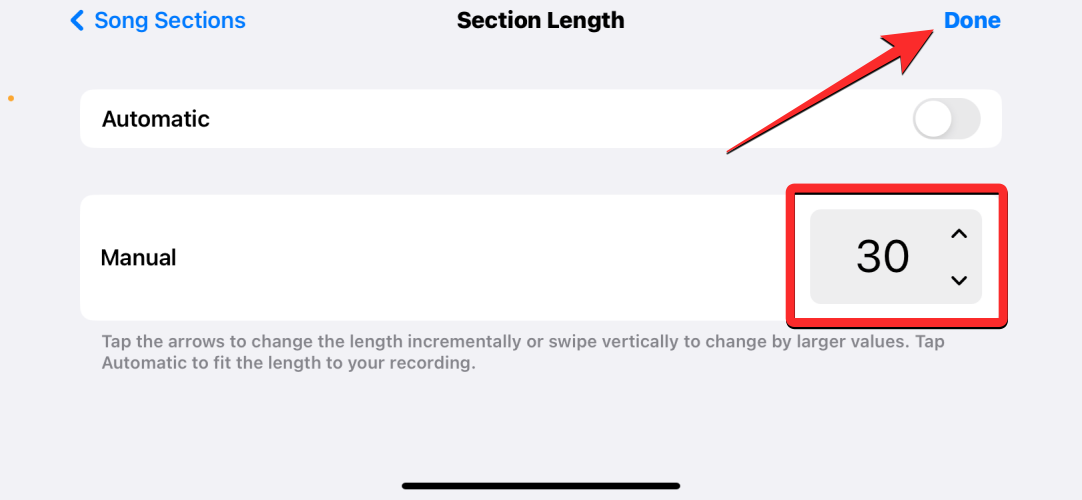
- In this instance, we modified the section length from 8 bars to 30 bars. When you’re done adjusting this value, tap on Done at the top right corner.
- The Track view will now have more space for your audio file. Now, you can trim the audio to your desired length by tapping on it.
- This will highlight the track with two yellow bars on either side. You can drag the left and right bars to include the audio you want for your alarm tone.
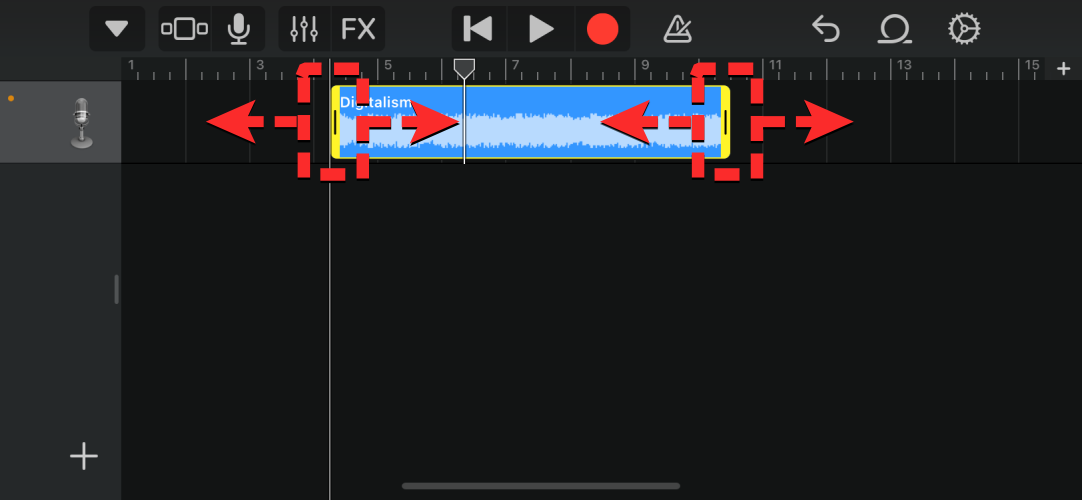
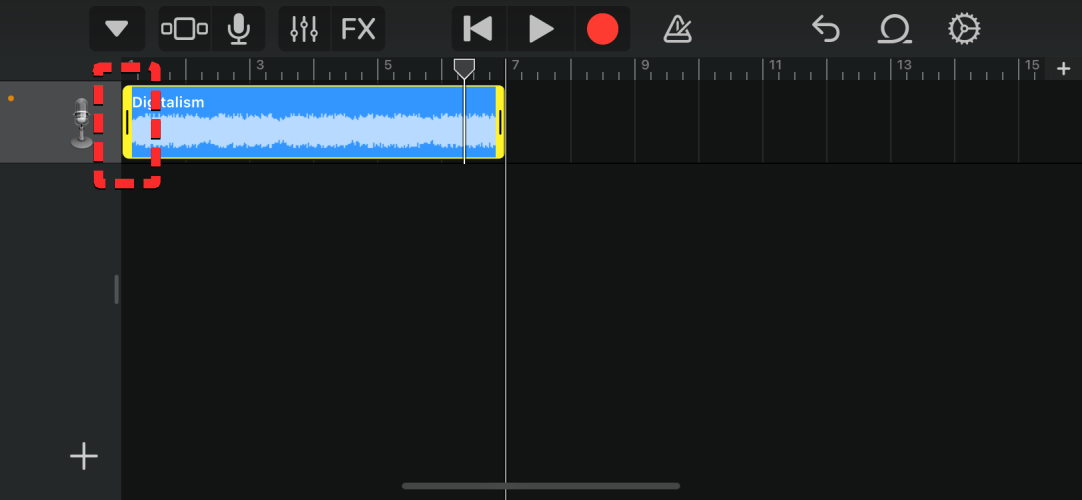
- If you trimmed the left portion of the track, make sure you drag the audio clip towards the start of the track to prevent silence at the beginning of the track.
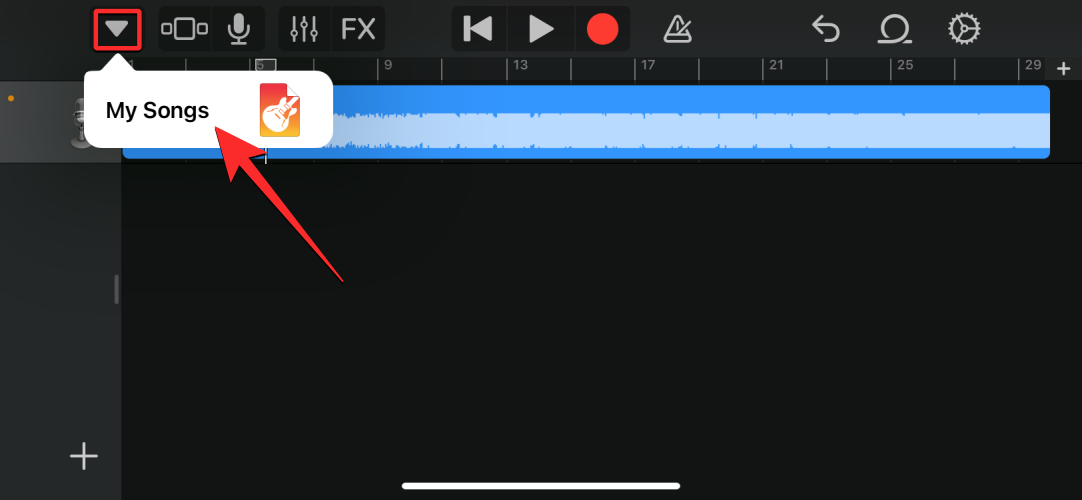
- Once you’re done making changes to this audio clip, you can save this project on GarageBand by tapping on the Down arrow icon at the top left corner and then selecting My Songs.
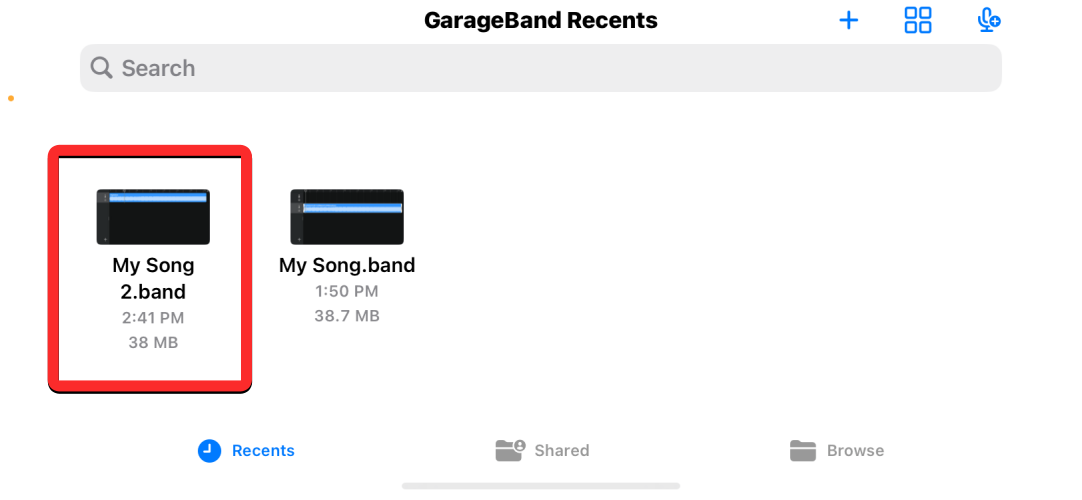
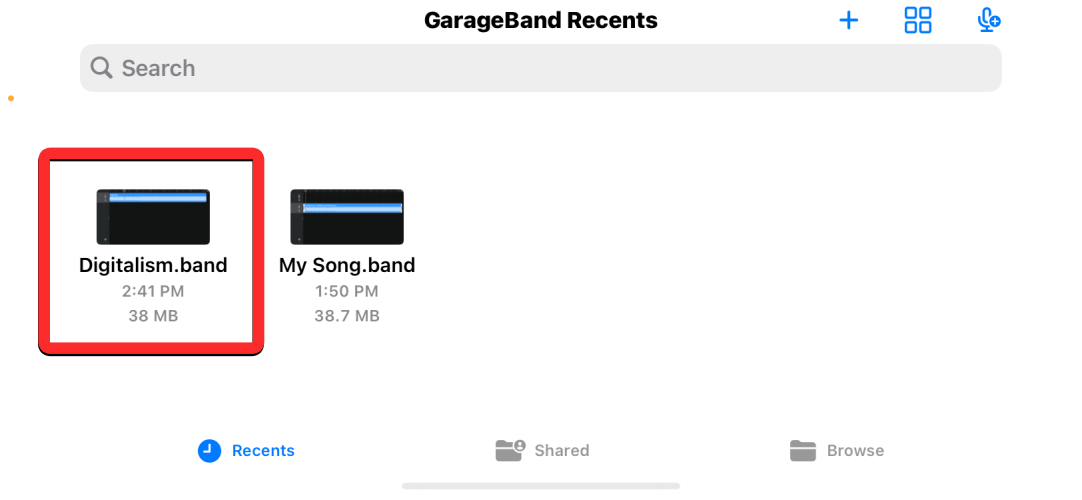
- The project will now be saved inside your GarageBand library with “My Song” in the title and .band as the file format. To change the name of the project, long-press on it from the GarageBand Recents screen.
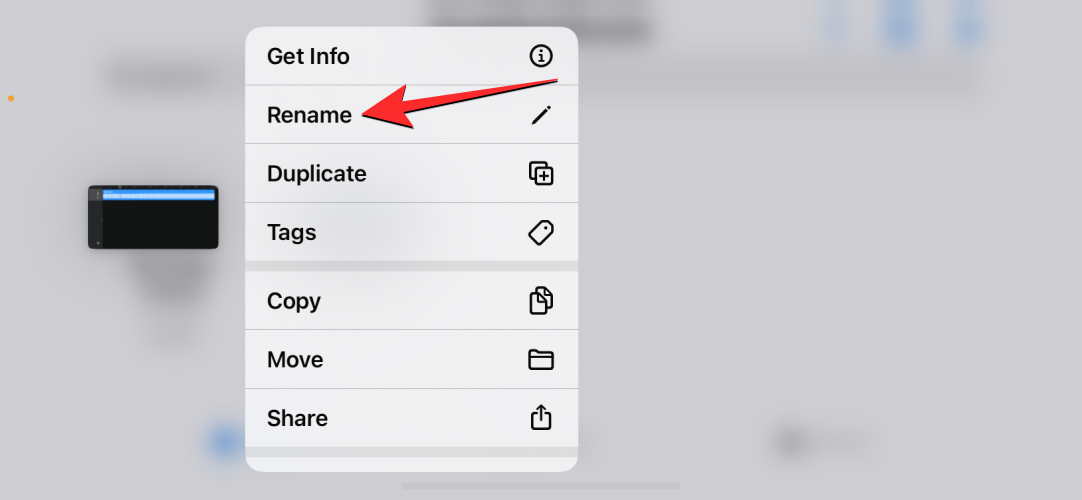
- In the overflow menu that appears, tap on Rename.
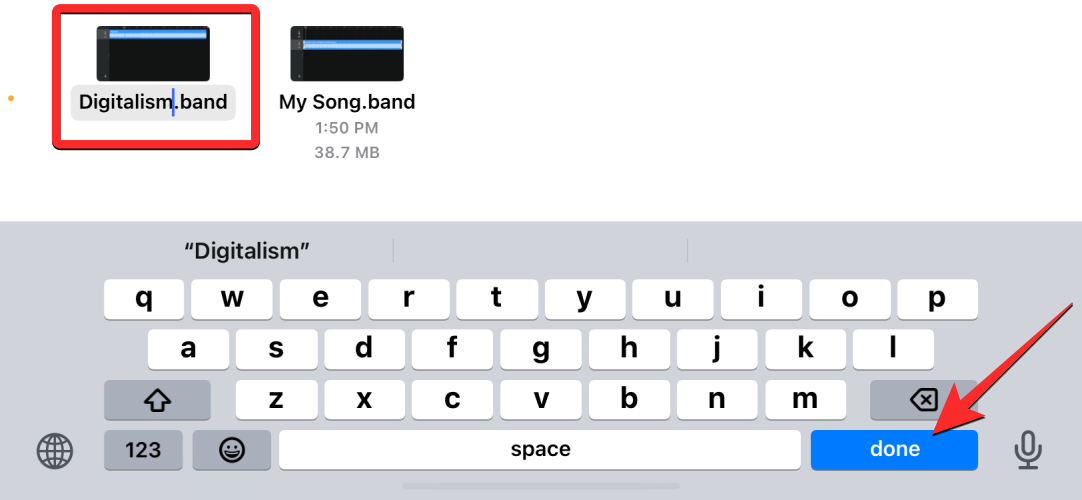
- Now, type a new name for this project using the on-screen keyboard and tap on Done.
- Once you’ve given a name for your project, it’s time to save this project as a ringtone inside your iPhone. To do that, long-press on the project from the GarageBand Recents screen.
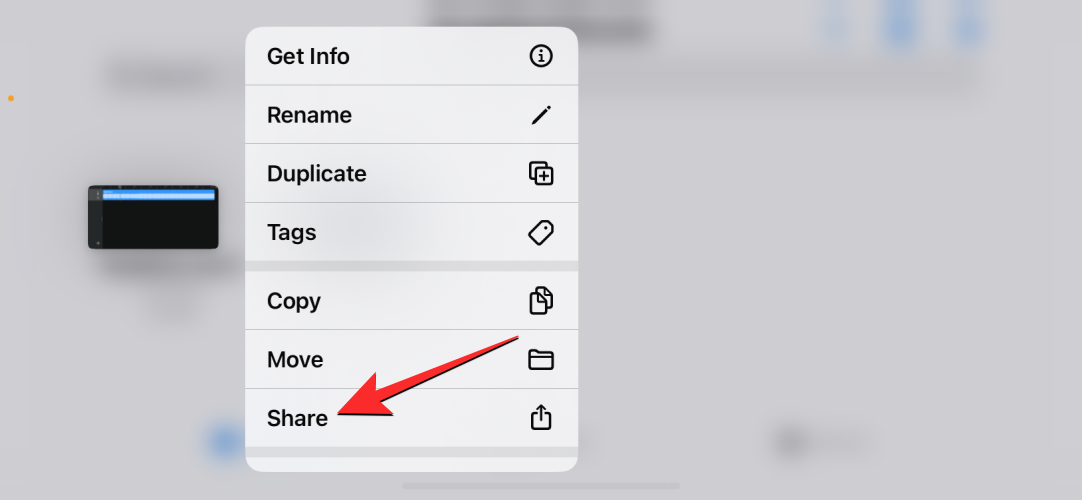
- From the overflow menu, select Share.
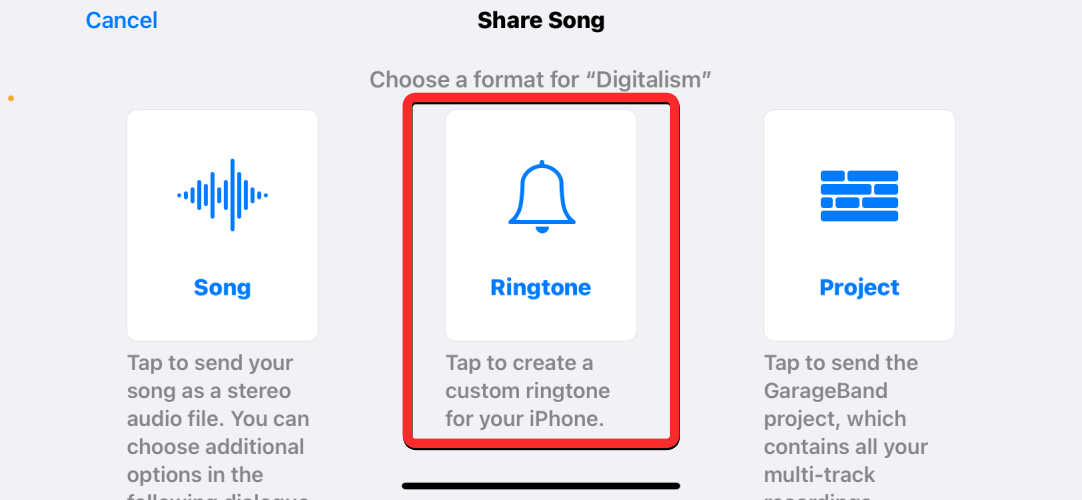
- In the Share Song screen that appears, select Ringtone.
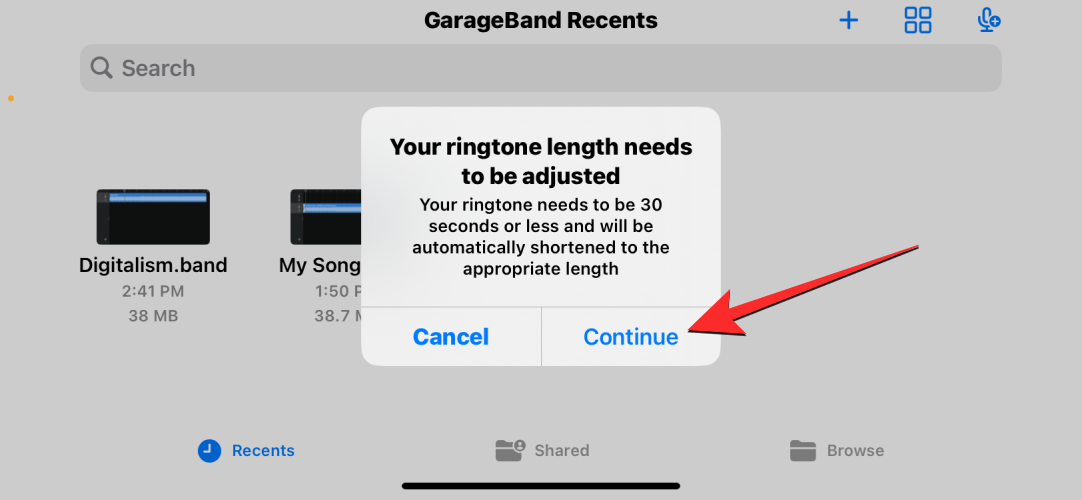
- If you’re met with the “Your ringtone length needs to be adjusted” prompt, tap on Continue.
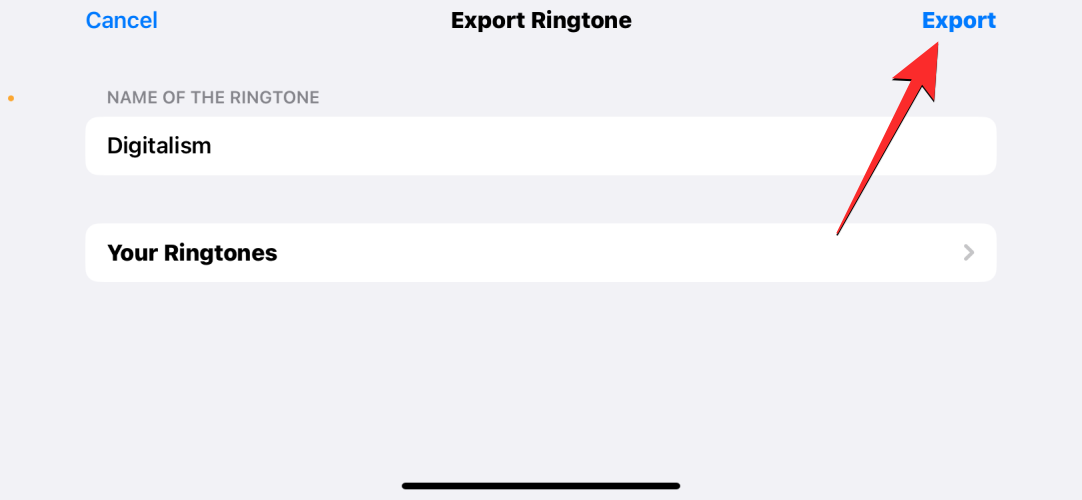
- On the Export Ringtone screen, tap on Export at the top right corner.
- GarageBand will now save the project as a ringtone on your iPhone. When you see the Ringtone Export Successful prompt, tap on OK.
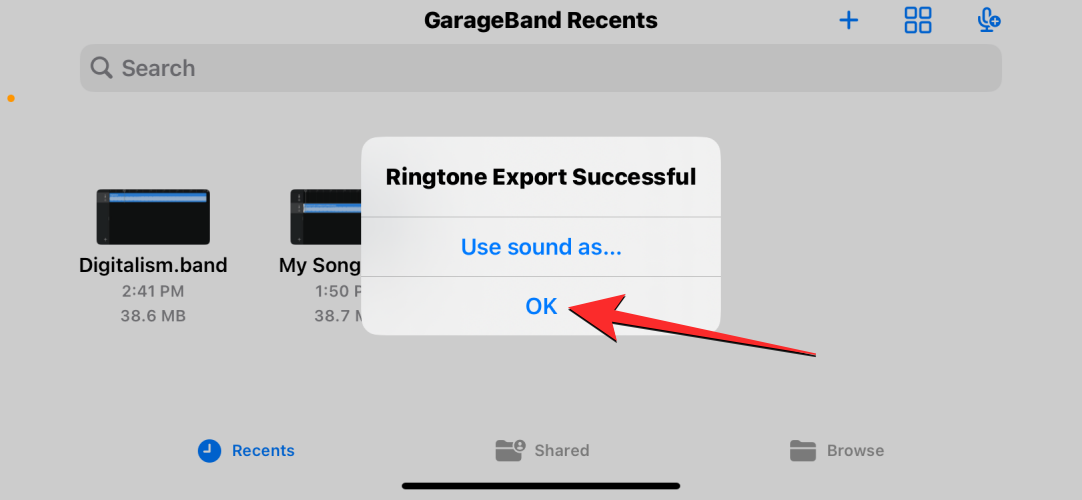
You have now created a custom ringtone for your alarm.
Step 2: Set an alarm with the custom tone
- To set the custom tone you created as an alarm, open the Clock app on your iPhone.
- Inside Clock, tap on the Alarms tab at the bottom.
- On this screen, you can either create a new alarm by tapping on the + icon at the top right corner or select an existing alarm that you want to edit.
- Inside the Sound screen that appears, scroll down the Ringtones section. You should now see the ringtone you created using GarageBand inside this section. To set it as your alarm tone, tap on the new ringtone and you should see a tick mark appear on its left.
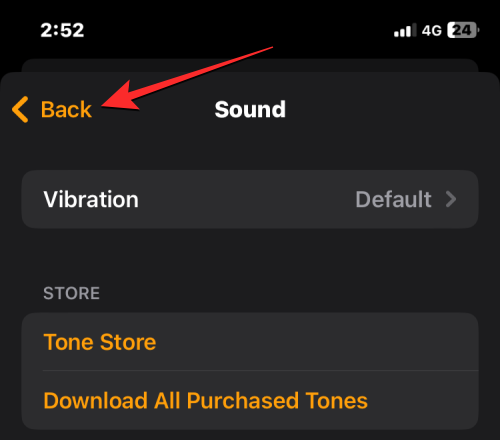
- Once you’ve chosen the ringtone, tap on Back at the top left corner.
- On the next screen, tap on Save at the top right corner to activate the alarm.
The selected alarm will now play the custom ringtone you created on GarageBand.
How to set an Apple Music song as your iPhone alarm
Apple offers a bunch of ringtones that you can choose as the default tone for your alarm. Besides the native options, you can set a song from your Apple Music library as the alarm tone. This option only works if you have previously purchased a song from the iTunes Store or have an active Apple Music subscription on your Apple ID.
- To set a song from Apple Music as your alarm tone, open the Clock app on your iPhone.
- Inside Clock, tap on the Alarm tab from the bottom.
- You can now set a new alarm with a song by tapping on the + icon at the top right corner. If you wish to edit an existing alarm with a new alarm tone, simply tap on it to go to the next screen.
- Now, tap on Sound inside the Add Alarm or Edit Alarm screen.
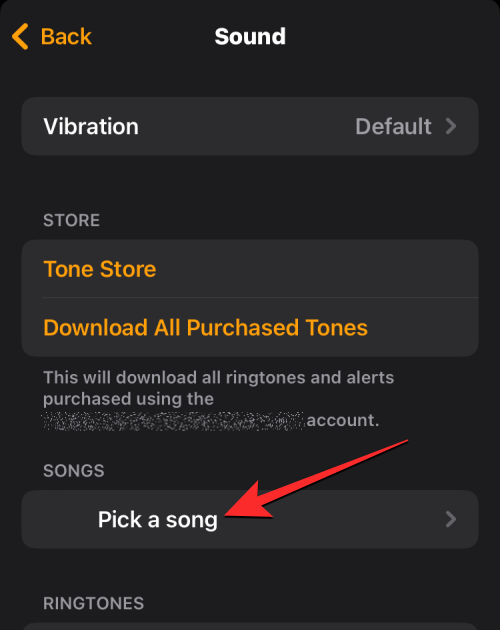
- On the Sound screen, tap on Pick a song under “Songs”.
- You should now see the Library screen from where you can choose the category (Playlists, Artists, Albums, Songs, Genres, etc.) from where you wish to select the song you want to apply as an alarm.
- When the selected category opens, locate or search for the song you want to set as the alarm.
Note: Songs you select inside the iTunes store should be loaded as a ringtone automatically. When you want to set a song from Apple Music as your alarm tone, you are required to download it first before applying it as your ringtone. To download a song from Apple Music, navigate to the song, tap on the 3-dots icon on its right-hand side, and select Download. - Once the song you want to apply as an alarm is selected, it should appear under “Songs” inside the Sound screen and it will be highlighted with a tick sign on its left-hand side.
The selected alarm should now ring with the chosen song from now onwards.
How to make a custom alarm to stop playing music/video
The iOS Clock app allows you to set a timer in such a way that it stops any media from playing after the countdown hits zero. Although this isn’t an alarm technically, it works like one but instead of ringing with a tone, this timer will stop your iPhone from playing the media that you started playing when you set it. For instance, if you have songs playing before bedtime, you can use this custom alarm to stop playing music after a few minutes or an hour so that you don’t have to wake up and manually stop the media.
- Open the Clock app on your iPhone.
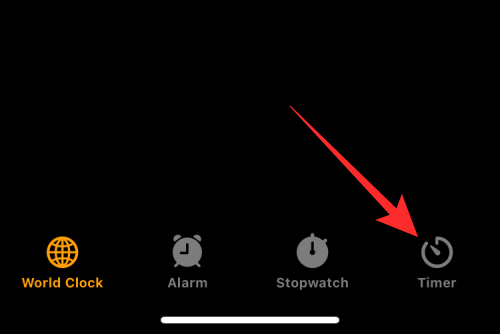
- Inside Clock, tap on the Timer tab from the bottom right corner.
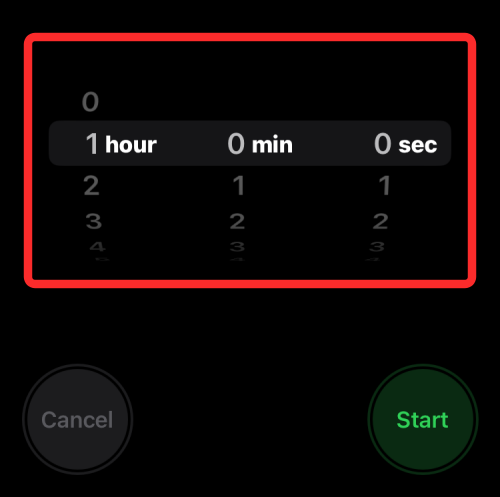
- When the Timer screen shows up, use the dials at the top to set the desired hours, minutes, and seconds after which you want the timer to go off.
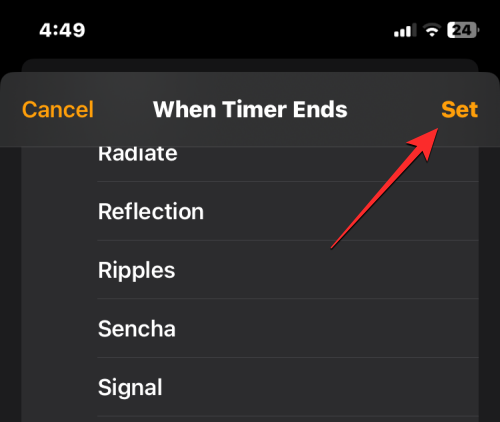
- Once you’ve set the timer duration, tap on When Timer Ends.

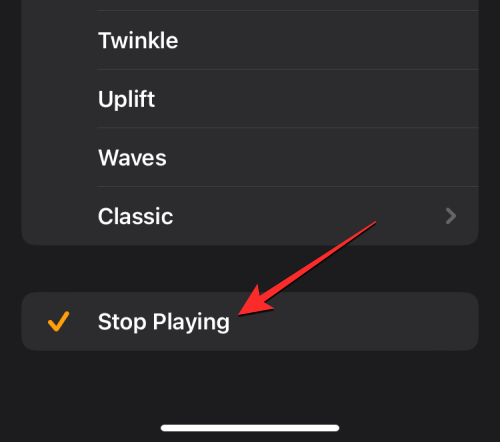
- On the next screen, scroll down to the bottom and select Stop Playing. This will replace the timer tone with the ability to stop playing your current media on the iPhone.
- Now, tap on Set at the top right corner.
- You’ll now return to the Timer screen. To activate this timer, tap on Start.

- When this timer reaches the duration you set for it, it will automatically stop playing music or the media that’s playing at the time. You can use this timer for stopping media anytime in the future but if you wish to use it for other purposes where you want it to alert you, you will have to switch it to a ringtone.
That’s all you need to know about making custom alarms on your iPhone.


Discussion