[icon name=”download” class=”” unprefixed_class=””] Download HTC 10 Nougat SuperSU Root tool
How to Root HTC 10 Nougat Firmware with SuperSU without TWRP
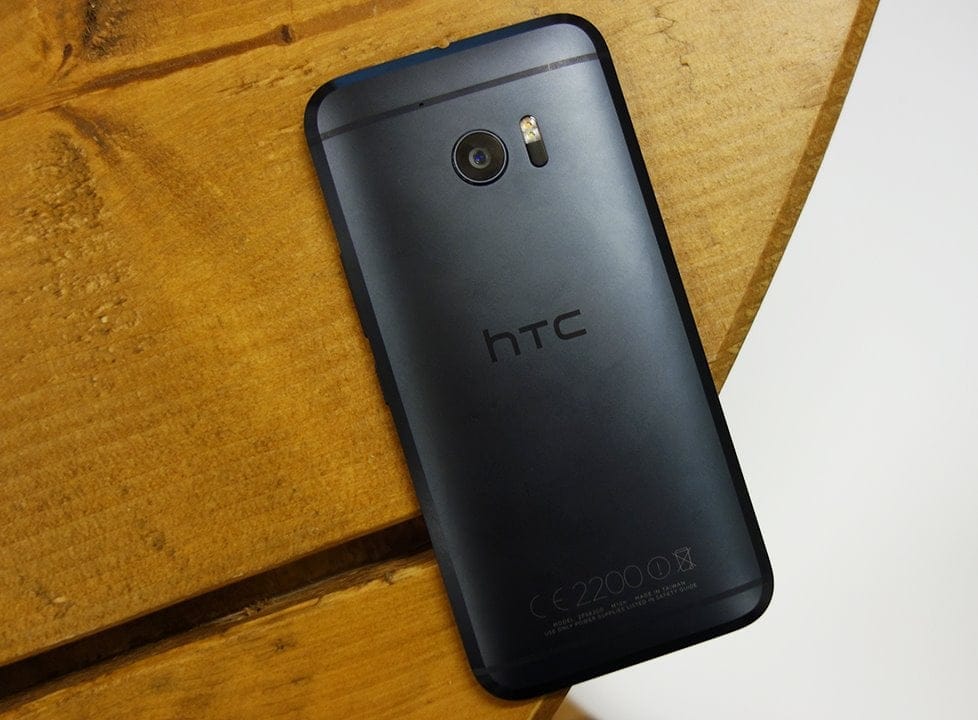
As standard rooting procedures go you must have an unlocked bootloader on your HTC 10.
- Make sure you have an unlocked bootloader on your HTC 10.
- Setup ADB and Fastboot on your PC.
- Download the root-htc10-nougat-v278sr5.zip file from the download link and unzip the file to a separate folder on your PC.
- On your HTC 10, enable USB debugging and then connect phone to the PC.
- Open the folder where you unzipped files in Step 3 above.
- Now open a command window inside that folder. To do that, “Shift + Right click” on any empty white space inside the folder and then select “Open command window here” from the context menu.
- Connect your device to the PC. And type the following into the command window we opened in Step 6 above to boot your device into bootloader/fastboot mode:
adb reboot download
└ If you get a permission dialogue on your device to “Allow USB debugging”, tap OK.
- Once your device boots into bootloader mode, issue the following command to flash the recovery-root image file:
fastboot flash recovery recovery_root.img
- Once the recovery_root.img file is flashed to the phone successfully. Disconnect the phone from PC and boot into Recovery mode from the Download mode menu using hardware keys.
- Once you boot into recovery mode, the SuperSU root script will kick-in start the rooting process. It might take a few reboots (3-4, maybe) before booting into system.
- Once the phone boots into system, connect it to PC again. and issue the following command into the command window on PC.
adb reboot download
- Once in bootloader mode, flash the stock recovery image back to the device with following command:
fastboot flash recovery recovery_stock.img
- Once stock recovery is flashed. Boot into system by issuing the following command:
fastboot reboot
That’s it. Your HTC 10 is rooted now with SuperSU running on Nougat. To verify root access, download/install any root checker app from the Play Store.
The much awaited Android 7.0 Nougat update is now finally rolling out for the HTC 10. Starting with developer edition of the device, the update comes with software version 2.28.617.8.
Earlier today we posted a new build of a popular custom ROM for HTC 10 — Viper10 4.0.0 — which was rebased to a leaked Nougat firmware with software version 2.28.401.6.
And while HTC 10 was successful to root on Nougat (with a pre-rooted ROM), TWRP recovery isn’t compatible with the new Nougat firmware firmware.
So if you’re installing the official HTC 10 Nougat OTA update, know that TWRP recovery isn’t compatible with HTC’s Android 7.0 firmware base currently. And so you won’t be able to root HTC 10 on Nougat unless TWRP recovery is fixed.
We’ve good faith that it won’t take the knowledgeable folks over at xda and other Android communities much time to fix the TWRP and get HTC 10 rooted on nougat.
Anyway, if root access is very important for your everyday usage, we recommend waiting a few days/weeks before installing Nougat update on your HTC phone.
We’ll be sure to update this post as and when a working TWRP build is released for the device, complete with installation and rooting instructions.
Happy Androiding!


Discussion