If you ever felt the need of grabbing an screenshot of your Android phone directly to PC, there’s a good solution available now for that thanks to CarlivScreenshot tool. It uses ADB — must be working! — to snap up the shot of your Android device’s screen and saves the image directly on PC. CarlivScreenshot is available both for Linux and Windows OS. What’s more, you can even snap up your recovery’s screen, whether it’s TWRP, CWM or any other recovery.
Of course, taking screenshots is nothing new on Android, nor is it as poor as it was in Android 2.x era. You can easily grab a screenshot on your Android device using a combination of Power + Volume Down on most phones, or Home + Volume Down on Samsung Galaxy phones. But these screenshots are saved on phone, and if take lots of them, then you’ve got to be someone who uses them for work, and surely needs them copy pasted to your PC. Well, CarlivScreenshot does exactly that, you don’t even need to pick up your phone to take a screenshot, it will do so with a click of a button on PC, and save directly on PC. Outright cool, right?
Moreover, in custom recovery like TWRP and Philz, there is a by default way to grab the screenshot without any mods required that saves the screenshot in particular folder on phone. On TWRP, you just need to press Power + Volume Down to take screenshot, while there is an easy method available on Philz recovery too, which is really an advanced CWM recovery. But once again, the CarlivScreenshot tool lets you save screenshots directly on while making it hell easier to grab one with a click of a button on the tool.
What you need?
- Of course, an Android phone or tablet, whose screen you’re looking to snap up
- ADB working alright
- adb_insecure.apk for some phones that restrict ADB’s access to screencap utility. This maybe the case with some Samsung phones, so you’d need root access on such devices, and then install the adb_insecure APK and provide it root access.
How to take screenshot to PC from Android and TWRP/CWM recovery
Step 1: Enabled USB debugging on your Android device.
- Go to Settings, then About phone
- Tap build no. 7 times to enable developer options in Settings
- Go back to settings, and find the developer options, tap on it
- Find and select the USB debugging option, tap OK on the Pop-up to confirm
Step 2: Install ADB drivers
ADB is a connection basically tat allows your PC with ADB tool of Android SDK to talk to phone and perform variety of necessary functions, one of them taking screenshot and transferring that to PC.
Check out our ADB installation guide for help. It has everything you need, and it does all all the installation automatically.
Test ADB now.
Connect phone to PC with USB debugging on. Open a command prompt window on your windows PC and type the command adb devices and then hit enter key. You should get a serial no. with device written after it. See the screenshot above. If you get that, it means ADB is working fine on your PC. If not, you got to solve this problem first to be able to use CarlivScreenshot tool.
Step 3: Set up CarlivScreenshot tool

Download the CarlivScreenshot tool for your Windows or Linux PC first.
Next, extract the CarlivScreenshot tool on your PC. You can install a solid free software like 7-zip for this. To extract, right click on tool’s downloaded file, and then select Extract here from 7-zip set of options.
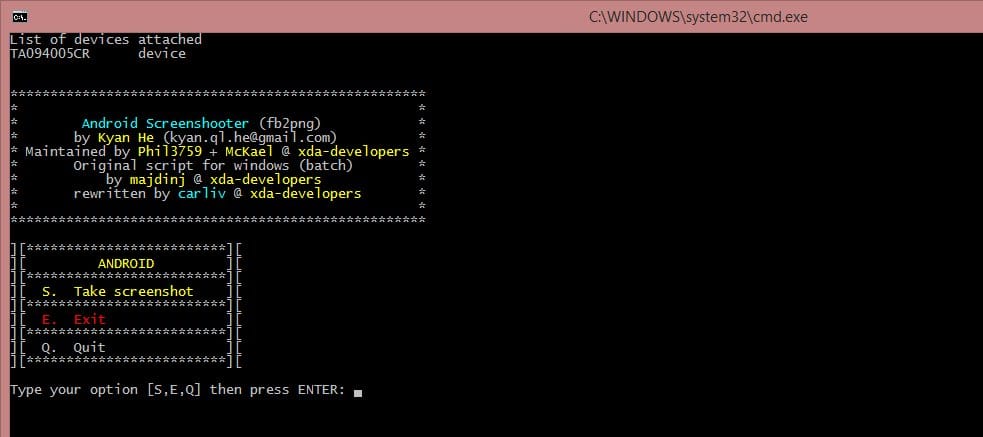
The above screenshots shows how it will look like. Btw, we’re sharing screenshots of our Windows PC for this guide. A simple way, double clicking the screenshots.bat is what you the user has to interact with to launch the tool. It really can’t get easier than this, kudos to developer for this.
Step 4: Using the CarlivScreenshot to take screenshot on PC from Android or TWRP/CWM recovery
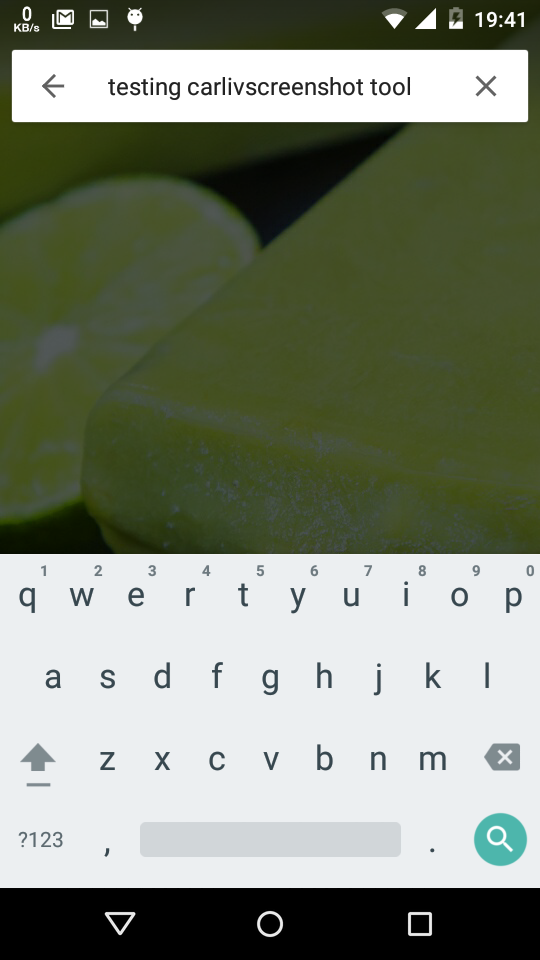
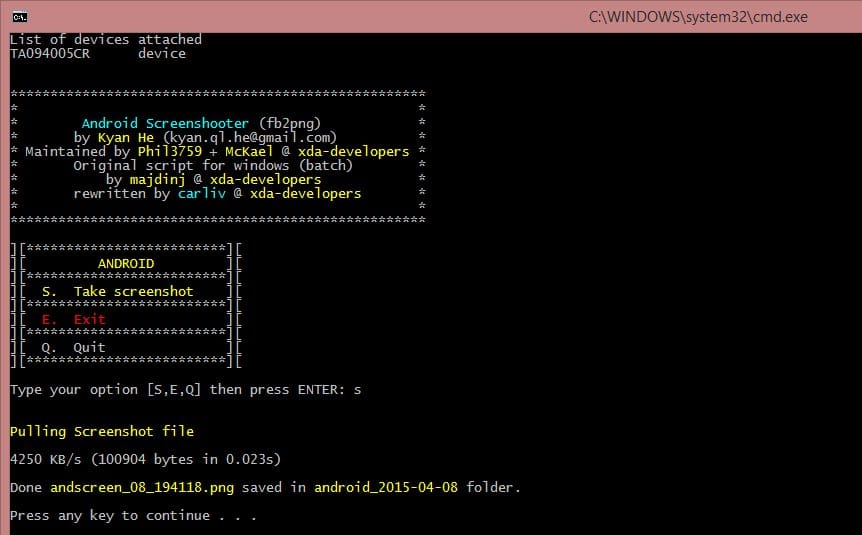
The screenshot you see above is taken from CarlivScreenshot tool. A simple ‘s’ button click on keyboard is all it took me to grab my Moto E’s screen to an image file, saved directly on PC. Let’s see how it did this.
To start the tool simply double-click the screenshots.bat file.
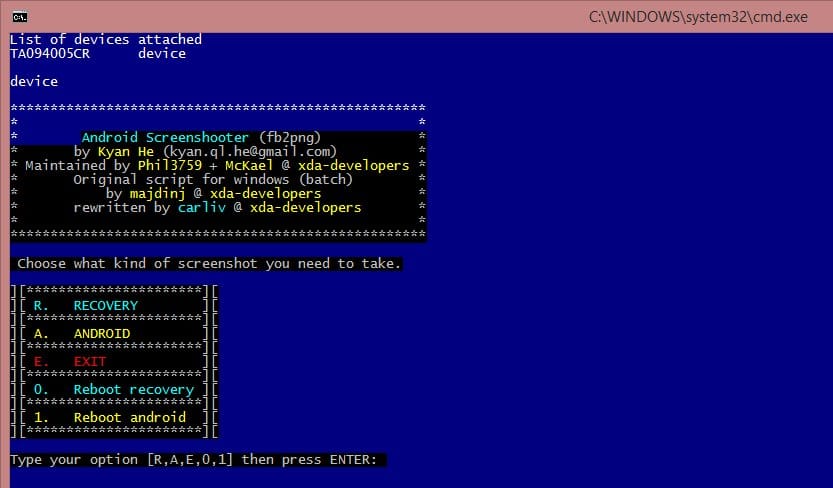
Option 1: Using CarlivScreenshot in Recovery mode
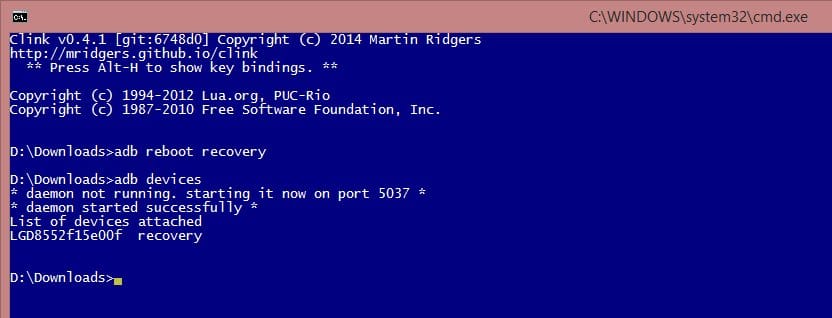
If your Android device is in recovery mode, whether it’s TWRP, CWM or any other custom recovery, select recovery’s options by hitting the ‘R’ key, following by enter key. Remember, ADB must be working in recovery mode too. You can test this by booting the phone into recovery mode and then running the adb devices command to get serial no. with device written after it. Example image below, that confirms ADB is working in recovery mode.
Once you select recovery in the tool, you’ll get this:
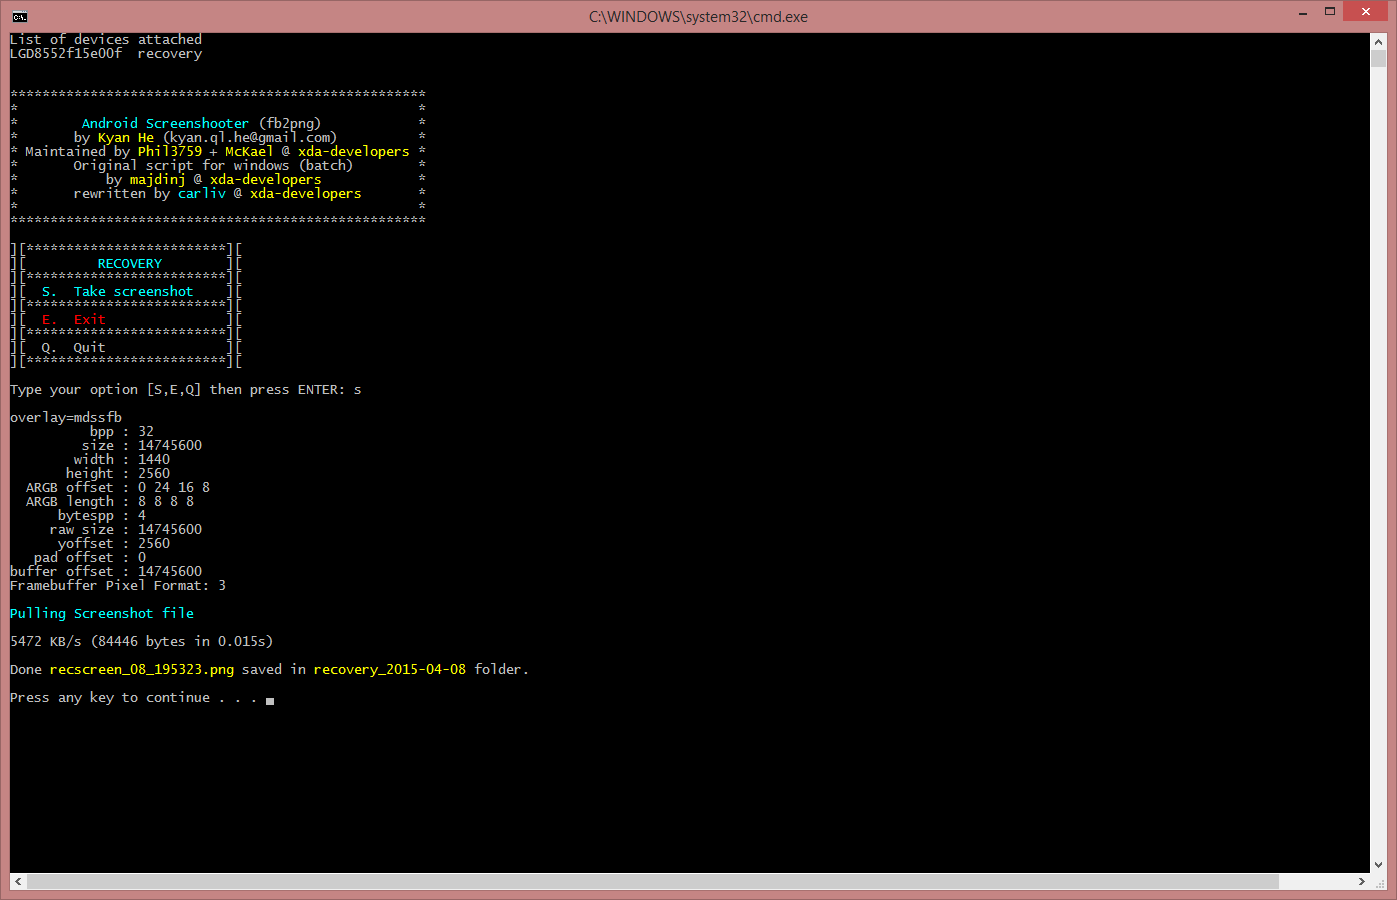
Now, simply hit the ‘S’ key to grab a screenshot, which will produce screen like this one.
Hit any key to continue and get the tool ready for another screenshot. Easy, right?
Option 2: Using CarlivScreenshot in normal Android mode, that is, when device is powered on
However, if your Android device is in, well, Android mode, powered on normally that is, hit the ‘A’ button followed by enter key to bring up Android’s option set in the tool. New options set will look like this.
Next, hit the ‘S’ key to take screenshot of the current screen on your Android device, for directly saving on PC. When you do so, a folder for Android screenshots will be created inside the CarlivScreenshot’s folder , inside which you’ll find the screenshots. Tool’s screen will look like this.
That’s it.
So, we’ve seen how to grab a screenshot from a TWRP recovery or the normal Android powered on state. Here’s how the CarlivScreenshot folder looks like on my windows PC.
Note that android screenshots go into android_<date> folder, while those from recovery go into recovery_<date> folder.
Credits:
- majdinj for the initial script.
- Kyan.ql, Phil3759 and McKael for the fb2png source and hints (found on their posts).
We hope you like the screenshot tool very much, and in case you care to donate to the developers who made it possible, find the developer Carliv’s page here, where you can donate to him. Here’s a link to development page of the tool, where you can keep track of latest developments of the tool, including updates, bugs if any along with the fixes available.









Discussion