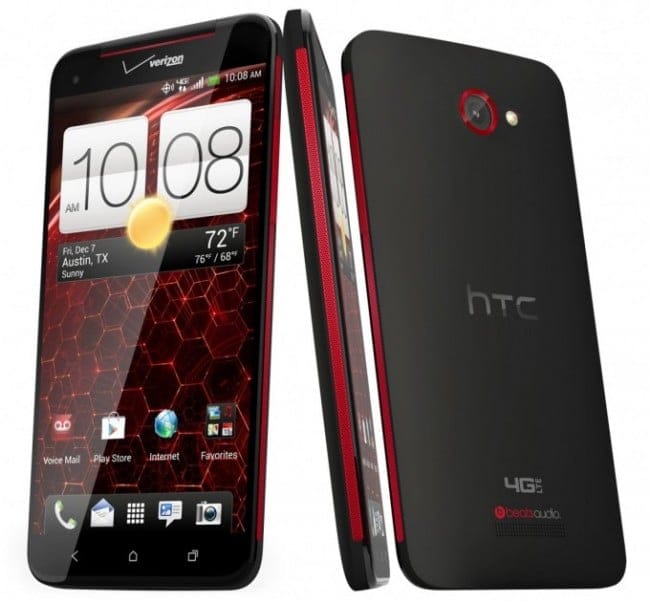
If you’ve recently acquired that shiny new beast from Verizon with the smashing 1080p display — the HTC Droid DNA, and couldn’t resist giving in to the usual pangs of root and flashing that all geeks do when they get hold of a new Android device, then here’s something nice for you which can come in handy if something gets messed up.
XDA member MyComputerDoctor has put together an RUU package which can be executed from a Windows machine which will restore your Droid DNA back to its original factory state — just the way it was when you first took it out of that box from Verizon.
Of course, if you are feeling the need for using a restoration tool, you have most probably already unlocked your bootloader and rooted the device. Before using this tool though, you would need to relock the bootoader, so that the tool is able to do its bit right.
Here’s a handy little guide we have put together, which will help you use the Return to Stock 1.15.605.4 RUU for the Verizon Droid DNA.
Compatibility
The procedure described below is only for the Verizon Droid DNA. Do not try it on any other device.
Warning!
The methods and procedures discussed here are considered risky, so try them out at your own risk, and make sure to read each step carefully before attempting anything. We will not be held responsible if anything goes wrong.
How to Restore HTC Droid DNA to Stock
- Download the Restore to Stock RUU from the source page | Download Restore to Stock RUU
- The procedure requires that you first relock your bootloader before using the restore tool. To do so, first nake sure that Fastboot is installed on your Windows PC. Download Fastboot
- Extract the Fastboot.zip file you just downloaded to a convenient location on the computer to obtain a folder named Fastboot which will have four files inside it. To keep things easy, extract the Fastboot folder to drive C
- Next turn off your Droid DNA. Then, turn on the phone again, while holding down the Volume Down button till a menu shows up. Here, highlight the FASTBOOT option using the volume keys to scroll, then select it using the Power button to enter fastboot mode. Your phone’s screen should now say FASTBOOT USB
- Then, connect your Droid DNA to the computer with your USB cable, then wait for Windows to finish installing the drivers (drivers will be installed only the first time). For reliability, ensure that you use a USB port at the back if you are using a desktop computer, as the front panel ports can be loose and cause problems.
- Click on Start menu » All Programs » Accessories, right-click on Command Prompt and click on Run as administrator. If you are using Windows 8, this can be done by right-clicking on the extreme bottom left corner of the taskbar, then selecting “Command Prompt (admin)”.
- Now launch a command prompt, and change the path to the Fastboot folder. Since we extracted the Fastboot folder to the C drive in Step 3, type in cd C:Fastboot in command prompt to change the path to “C:Fastboot>”
- Now type the following command carefully into the command prompt
fastboot oem lock - Once the bootloader has been successfully relocked, boot back into the bootloader, as you did in Step 4.
- With the phone now in bootloader mode, and connected to the PC, launch the RUU restore executable package we downloaded in Step 1. This executable needs to be run as an administrator, and you can do that by simply right clicking on the file, and then selecting Run as administrator.
- Just follow the on screen prompts in the RUU tool, and you should notice that your device will reboot several times during the process. Do not panic, this is normal.
- One the tool has done its job, your Droid DNA will be back to Stock Android 4.1, just the way it was on Day 1.


Discussion