What to know
- Open Registry Editor and go to
HKEY_LOCAL_MACHINE\SOFTWARE\Policies\Microsoft\Windows. - Under Windows, create a new key called Personalization.
- Under Personalization, create a DWORD (32-bit) Value called NoLockScreen and change its data value to 1.
Every time you lock Windows or turn on your PC, you are presented with the lock screen. The lock screen on Windows 11 includes the date and time and lately a bunch of widgets (though you can turn these off). It’s not until you click or press a key that you’re presented with the login screen.
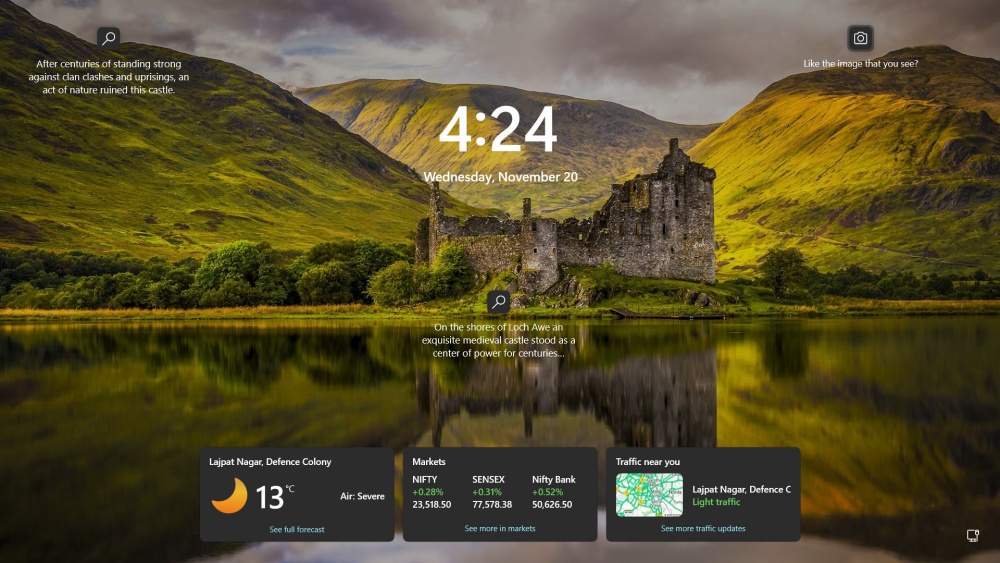
If you like, you can disable the lock screen entirely so that you can get straight to the login page without having to input any key strokes or clicks. It’s a simpler, faster way to get to the login screen and into your PC. Here’s how to go about removing the lock screen.
How to remove Windows lock screen and see the login prompt every time
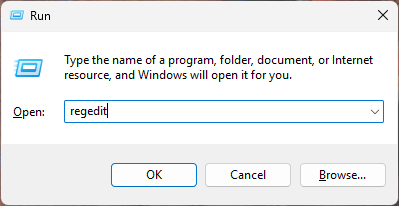
Step 1: Open the Registry Editor. You can do so from the Start menu or with the regedit command in the RUN dialog box (Win+R).
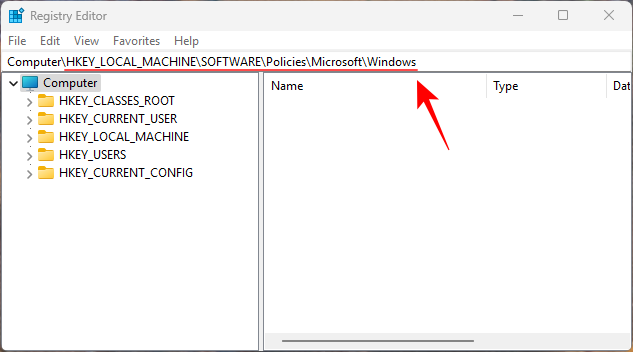
Step 2: Navigate to the following address: HKEY_LOCAL_MACHINE\SOFTWARE\Policies\Microsoft\Windows
Step 3: Right-click on the Windows key on the left. Select New and create a new Key.
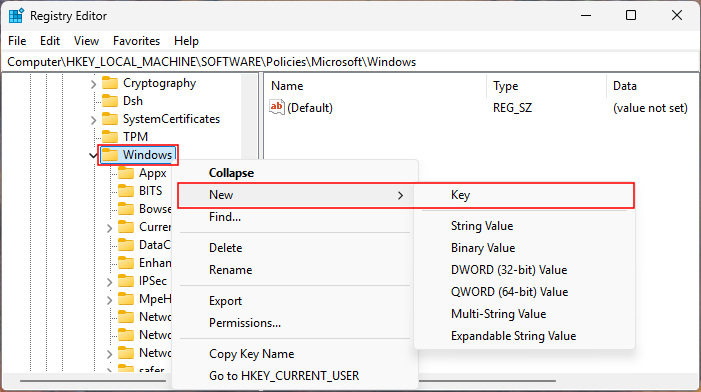
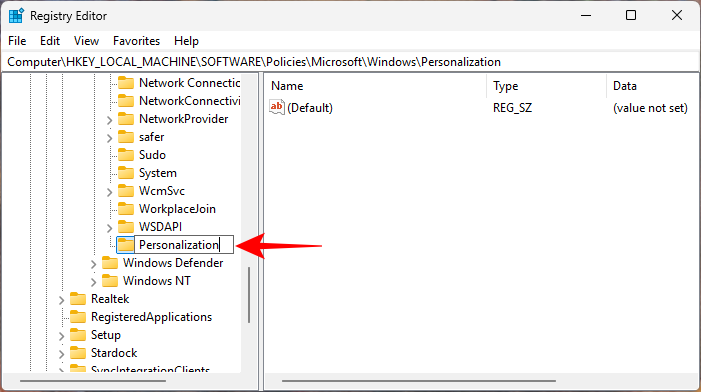
Step 4: Name this newly created key Personalization.
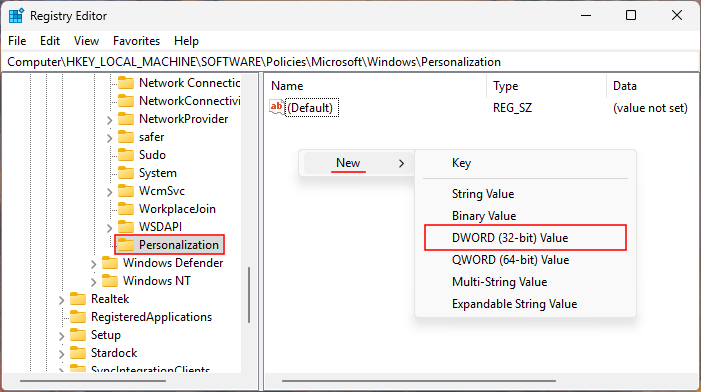
Step 5: Select this key. Then right-click on the empty space on the right, and select New and DWORD (32-bit) Value.
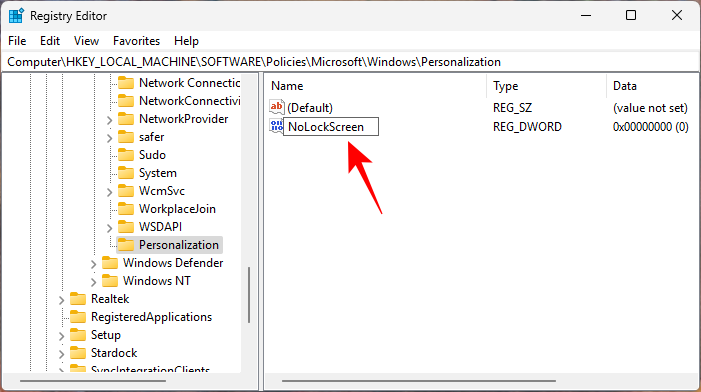
Step 6: Name this key NoLockScreen.
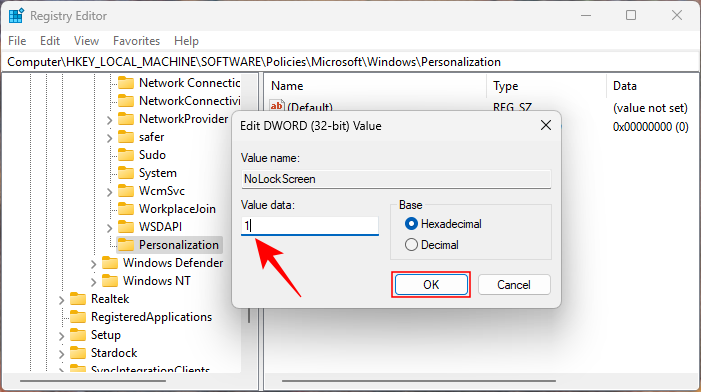
Step 7: Double-click on this key and change the value data to 1. Click OK to confirm.
And that’s it! Now every time you lock your PC or turn it on, you’ll skip past the lock screen and go straight to sign-in.

Not only does removing the lock screen make the login process faster but also skips past the badly handled widget cards which you’d otherwise have to disable entirely. This way, you can at least keep widgets inside Windows (if you need them).


