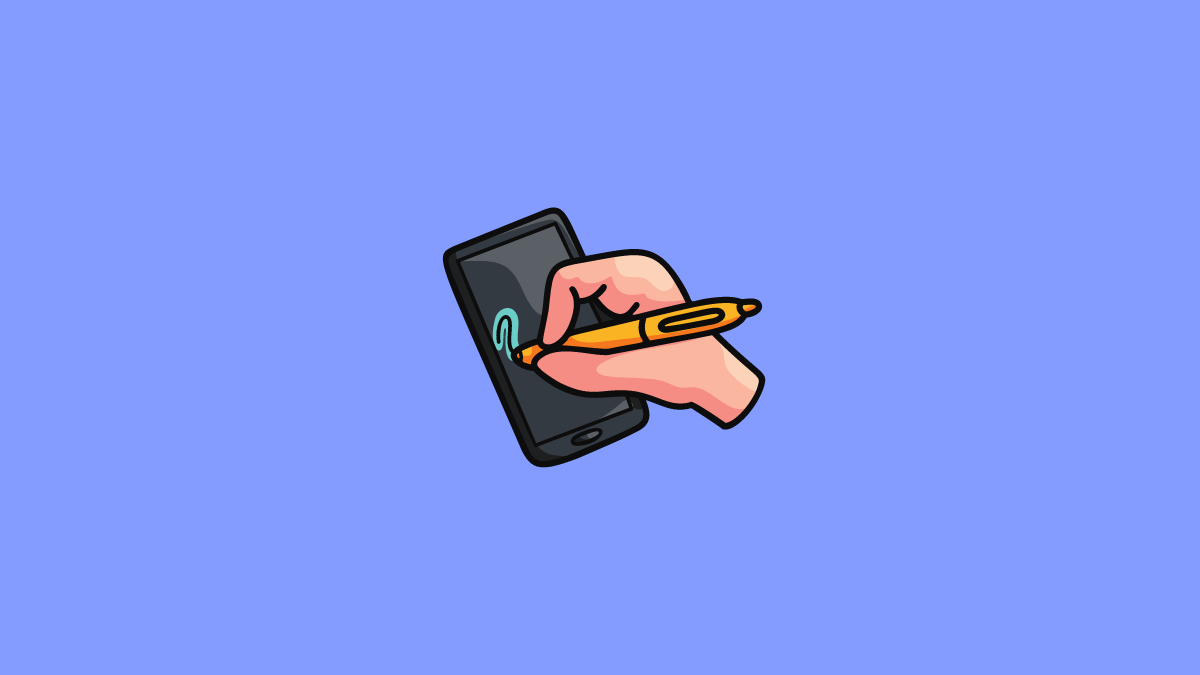
Whether you are a beginner artist In the midst of grinding out the fundamentals or a long-time professional, knowing how to hold your stylus correctly is of paramount importance to avoid the scourge of artists everywhere, carpal tunnel syndrome and the numerous other repetitive strain injuries that threaten to separate you from your work.
While the vast majority of us begin our training traditionally with pen, paper and pencil, how you hold your drawing implement can vary from person to person. Formally-educated artists working traditionally will hold their pencil on its side, allowing for a smoother, less destructive stroke and a wider range of line weight, while many more of us have grown all-too-accustomed to the tripod/writer’s grip we grew up with.
Unfortunately, neither of these is the correct grip for holding a stylus when using a graphic tablet (the kind without a screen). Down below, We will go over what the correct grip is to not only keep you healthy and pain-free but also to improve your artwork and endurance.
How to Hold a Stylus Correctly
Because many of us, upon purchasing our first graphic tablet, are eager to jump right into the wonderful world of unrestrained digital art, we do not consider the true nature of the drawing implement in our hand. It looks like a pen. It sort of feels like a pen. But it is neither a pen nor a pencil.
Aside from its most basic silhouette, a stylus is almost nothing like the tools we tend to think of it as. A pen is a slender, cylindrical chamber for ink that comes with a variety of dispensing mechanisms; a pencil is, generally speaking, a length of graphite or charcoal protected by a wooden sheath. Both make marks.
A stylus is an electronic device that transmits very specific information to your computer, allowing you to replicate the experience of mark-making in specialized programs. The stylus will, in most cases, tell your computer only three things: the corresponding location of the nib, the pressure being exerted on the nib, and perhaps the angle of the stylus relative to the tablet surface.
This may sound all-encompassing but, as we’ll get into, the design of most styluses misaligns with our natural instincts, honed by a foundation in traditional media.
1. Hold Your Pen Vertically

Fans of Peter Han may already be accustomed to drawing, even traditionally, this way — but when it comes to using a tablet, holding your stylus vertically is of the utmost importance. This is because of the way a stylus pen gauges pressure sensitivity; the nib chamber is a one-way street, reporting pressure sensitivity to the tablet according to the nib’s depth within the chamber.
When holding a stylus pen in a tripod/writer’s grip, the implement is generally held at a 30° – 60° angle to the tablet itself — forcing you to press harder than you would otherwise need to report the same level of pressure sensitivity. Holding your stylus vertically allows you to maintain a looser grip, which we’ll get into more in #3, but also allows you to use the weight of your hand to determine pressure and not your muscles.
Holding your stylus vertically may seem awkward at first – and it will be – but not nearly as awkward as one might expect. When working with pen and paper or a screened tablet, this grip doesn’t work well because, by holding the stylus vertically, the artist inadvertently obstructs their view of the work.
This, coupled with the shape of a pencil’s tip, is part of the reason our instincts tell us to keep the stylus at an angle. But, because of the disconnected nature of a graphic tablet, this ceases to be a concern. Your view of your work is unimpeded by holding your stylus this way, allowing artists to hold their implement in a healthier, more ergonomic manner. So even if it feels awkward at first, push through like it’s a perspective boot camp and reap the benefits that await on the other side.
2. Draw from the Shoulder

Trained artists will certainly be well aware of this next point, but it’s worth going over nonetheless. Many artists, especially those at the very beginning of their journey, will gravitate towards using their wrist as a pivot point because of the way many of us learned to write as children. To the beginner artist, drawing from your wrist not only feels more natural, it produces a sense of increased stability when it comes to line work — it’s easier to draw a clean line from the wrist. That is, until you require a line longer than an inch or two.
Drawing from the wrist places immense stress on what is otherwise a relatively vulnerable joint. Think about what our bodies evolved for: a variety of different tasks throughout the day, be it hunting, foraging, climbing trees or cooking food. When our physiology was being forged in the fires of mother nature, optimizing for the ability to sit for hours on end, stock-still and hunched-over with every inch of our body frozen in place except for our wrist wasn’t a priority. Despite what Noccolaides says, drawing is unnatural.

Overusing the wrist leads to inflammation in the tendons that run through the narrow pathway through the joint known as the carpal tunnel. These tendons, when inflamed, place pressure on the Median Nerve that runs from your neck, over your clavicle, down your humerus, along the ulna and radius and into the first three fingers of your hand. This pressure chokes the electrical impulses that run through the nerve like a bent garden hose, causing the muscle fibers it supplies with information to misfire.
This is why Carpal Tunnel Syndrome causes twitching and tingling in the affected area. Drawing from your shoulder, a stronger and less restricted joint, takes this pressure away from your wrist and greatly decreases the odds of overuse instantly.
But drawing from the shoulder isn’t just an ergonomic consideration, it is also one of the most important mechanical aspects of good drawing. As a pivot point, the range of your wrist is limited to but a few inches, while your shoulder and elbow have a range of several feet.
This allows you to deliver smoother, more gestural strokes in singular movements than is possible with the wrist. This is especially important, as the name suggests, in specific domains like gesture drawing, where the nature of flow, force, and energy are your primary subjects. If you’re new to drawing from the shoulder, you might be sore after a day’s work — but get used to it!
3. Keep Your Grip As Light As Possible

This ties into point #1 where we explained why the mechanics of the stylus are best suited for a vertical grip. Even while drawing from the shoulder, many artists Can continue to place excessive strain on their hand and wrist by applying too much force to the grip. We’ve all been guilty of hyper-focusing on our work, leaning in a little too close, and sometimes gripping our pen harder than we should.
But white-knuckling your narrow drawing implement for hours on end is beyond the physical capacity of anyone on earth. It doesn’t matter who you are, The muscles of your palm are minuscule and unlikely to maintain the contraction for hours and hours without sustaining damage. This might be okay if you want to draw once a week and your hand has time to recover, but most students and professionals would rather walk through fire than go a week without drawing.
So, even when drawing from the shoulder and holding your pen vertically, make sure to keep your grip as light as humanly possible. Seriously, just tight enough. A good test for this is to hold it in such a way that it could be plucked from your hand effortlessly. Or seeing just how lightly you can hold the stylus before it slips through your fingers.
Additional Tips
Below are a couple extra tips to keep in mind while working that can help keep you healthy and safe for the long run.
Maintain Posture
It might sound corny, but maintaining a good posture is the best way to protect your body against the onslaught of gravity and the host of bodily afflictions that come with it. Sitting hunched over places immense stress on your shoulders, upper back and neck. This leads to increased muscle tension, constricted circulation and inhibited breathing.
For artists, this both increases the likelihood of injury and reduces alertness and focus, increasing the rate at which you fatigue in longer sessions. It takes some getting used to, but once you’re accustomed to proper posture, it quickly becomes clear, experientially, that hunching over is actually incredibly arduous on the body.
Take Breaks
Another important practice for artists is to make use of frequent breaks while drawing/painting. Giving your puny hand muscles and their tendons a chance to regularly relax will do wonders for their ability to perform and endure. Keep in mind that smaller, more frequent breaks are more effective than longer ones — your muscles need a chance to catch their breath during a session.
Imagine doing chin-ups for thirty minutes straight but resting for a minute between each set. Your arms are going to be toast by the end of it, certainly, but then imagine being forced to hold the chin up at the midpoint for the whole half-hour — you’re probably taking a trip to the hospital. A 5-minute break every 25 minutes is considered a good rule of thumb for artists looking to preserve both their hand health and their concentration on longer projects.
Related: Best Pomodoro apps to help you focus better on work
Invest in a good chair
This is another commonly underrated point. A good chair significantly reduces strain on your spine. Considering most of us, artists or not, spend a preposterous proportion of our lives seated, it’s unbelievable how little attention is paid to our choice of chair. Investing in a good chair that leaves your elbow at a 90° angle relative to your drawing surface with your feet firmly planted on the floor can save you a trip to the physical therapist every year.
Look for a chair that provides both lumbar support and conforms to the natural curvature of the spine.
Related: How to fight Zoom Fatigue
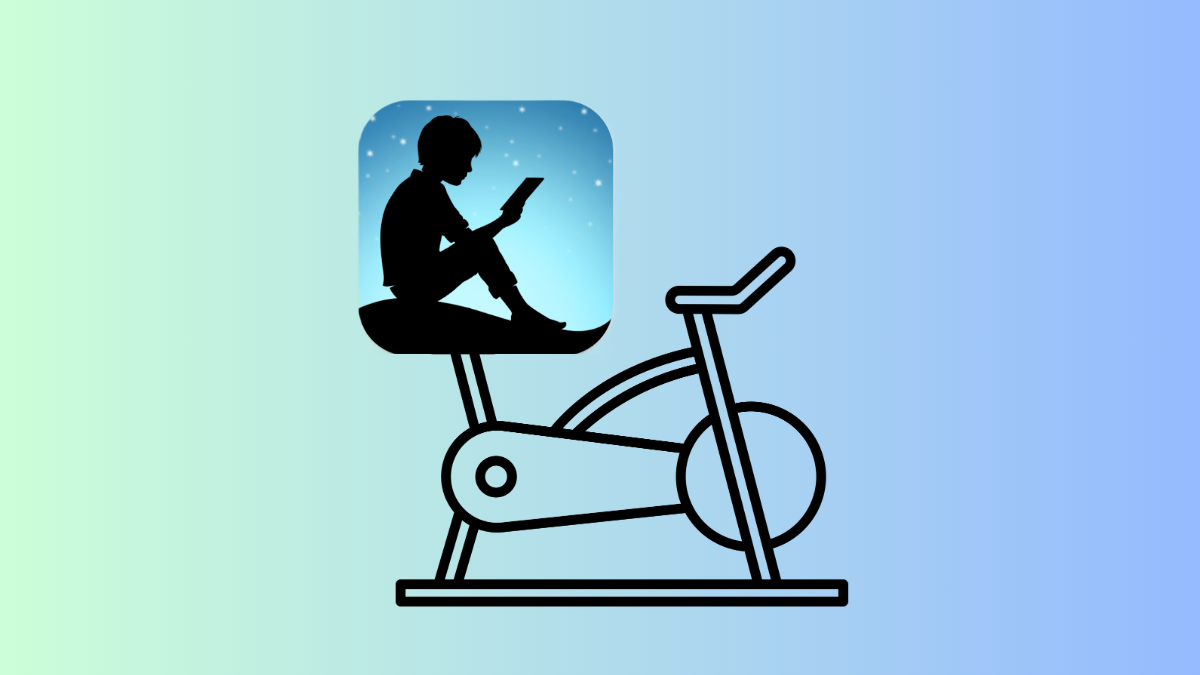
Exercise

This last point should be obvious, but is, again, a criminally under-utilized deterrent against the RSI demon. While many could be forgiven for thinking of drawing as one of the least-intensive physical endeavors, the reality is that drawing is immensely taxing on the body.
It’s essentially an extreme endurance sport focused on fine motor skills, and training should be considered as important to the artist as it is the athlete. You don’t have to count calories or go for record-breaking PRs in the gym, but doing even the bare minimum of regular exercise can reinforce your body’s resilience to injury. Having a strong core will also help maintain good posture, which is one of the first lines of defense against RSIs, and making sure your upper back and elbow are strong can make drawing from the shoulder easier.
Going through any difficulties with your own stylus/drawing setup? Please let us know, we’re here to help. Drop us a comment and we’ll get back to you as soon as we can.