
When talking about video editors, the likes of Adobe Premiere Pro, Final Cut Pro, and Pinnacle Studio are the first off the tongue. But these professional video editing tools are also paid apps which is why many of us resort to free alternatives such as Clipchamp and Blender.
One such free video editing software is Kdenlive. If you’re looking to install Kdenlive on Windows, then you’re in the right place. In this guide, we show you two ways to get Kdenlive up and running on your PC and, if Kdenlive catches your fancy, how to make it the default video editor on Windows 11.
What is Kdenlive?
Kdenlive stands for KDE Non-Linear Video Editor. As the name suggests, it is developed by the KDE community and is fairly easy to use if you’ve ever worked with video editors before. Kdenlive is also an open-source cross-platform software, which means it is completely free and can be used on multiple platforms, such as Windows, Linux, and macOS.
The reason why Kdenlive is a name to contend with is that it has a number of tools and features at its disposal that can give many other proprietary programs a run for their money. However, if there’s one aspect where it seems to lack a little, it is the installation process. But worry not, we’ve got that covered below.
How to download and install Kdenlive on Windows 11
Here are a couple of methods to install Kdenlive on Windows 11.
Method 1: Download and install Kdenlive from kdenlive.org
First things first, you will need to access the Kdenlive installer from its website.
Kdenlive | Download link
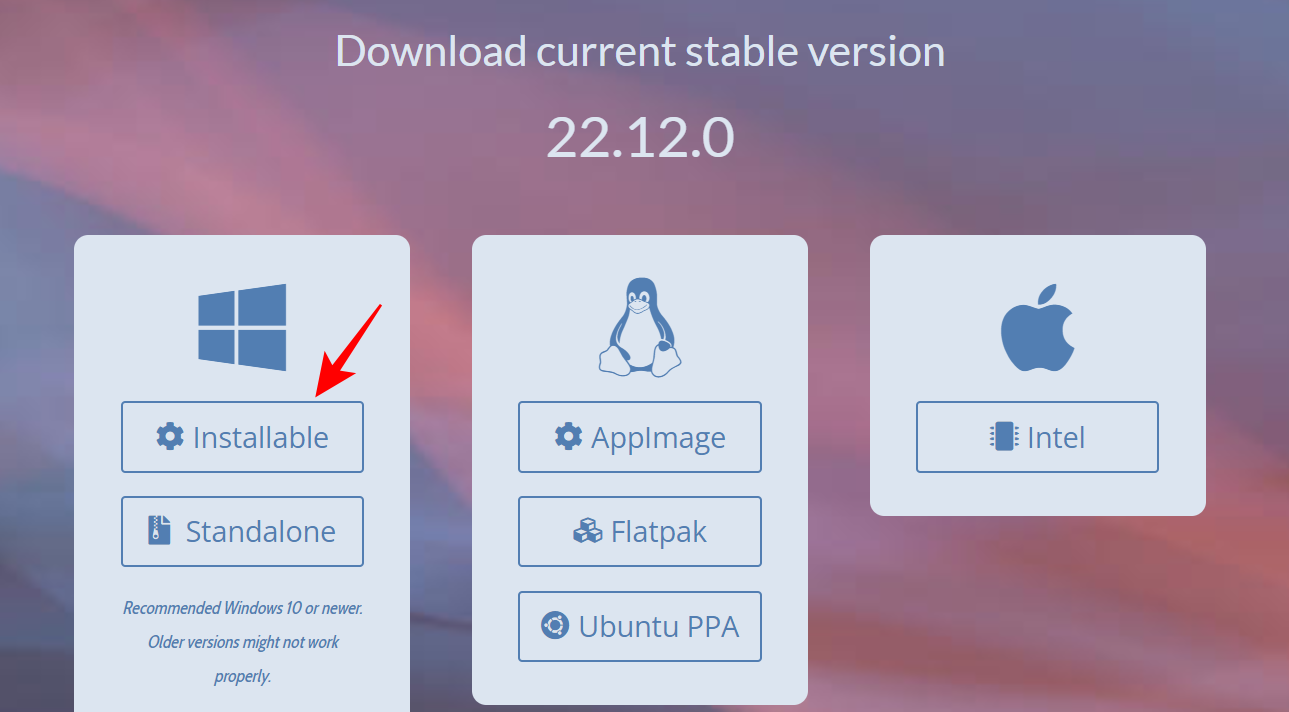
Go to the link given above and then select Installable under Windows.
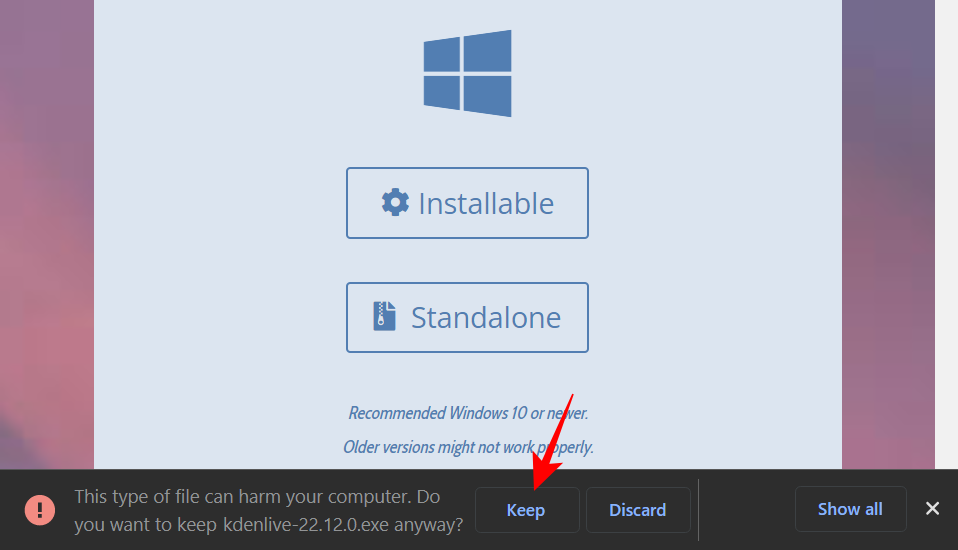
Click on Keep to start the download.
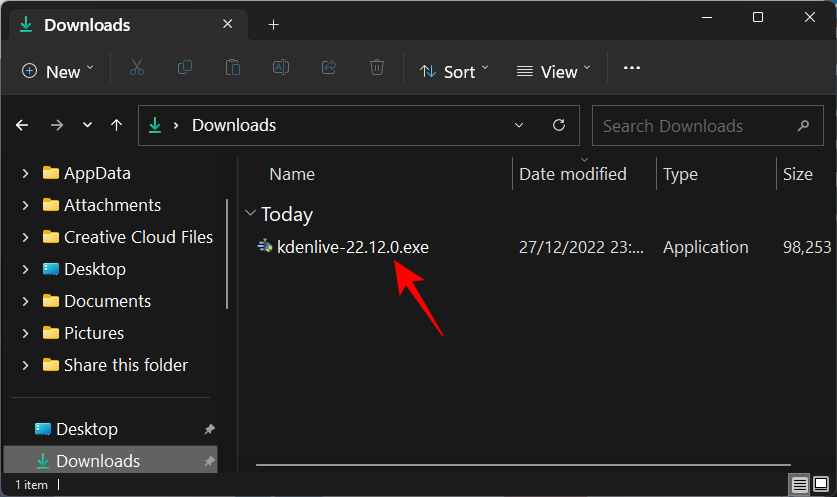
Once downloaded, run this executable file.
Click Next.

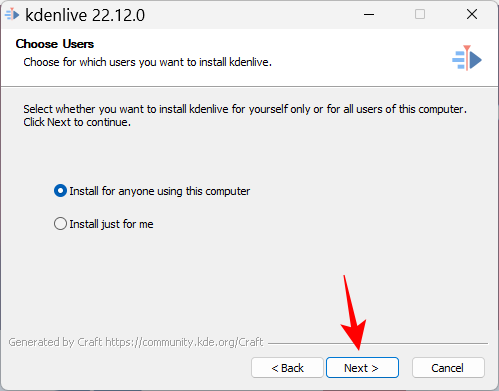
Select whether you want to install it for everyone or just yourself. Then click Next.
Click Next to continue installing it in the default location.
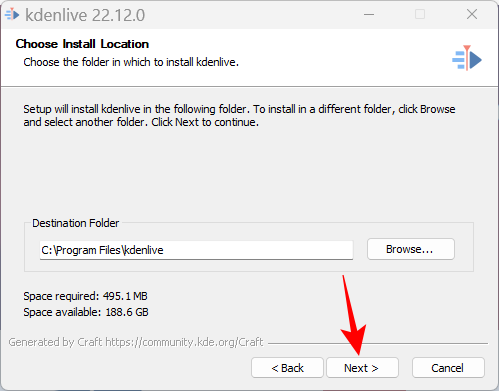
Click on Install.
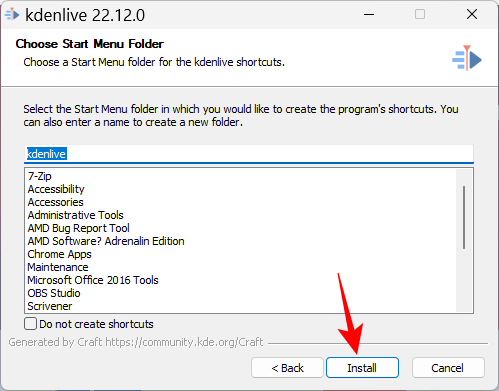
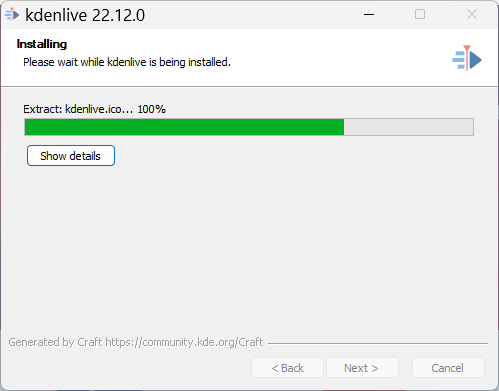
Wait for the installation to finish.
Once done, click on Finish.

And that’s it! Kdenlive is ready to be used.
Method 2: Using the winget command tool
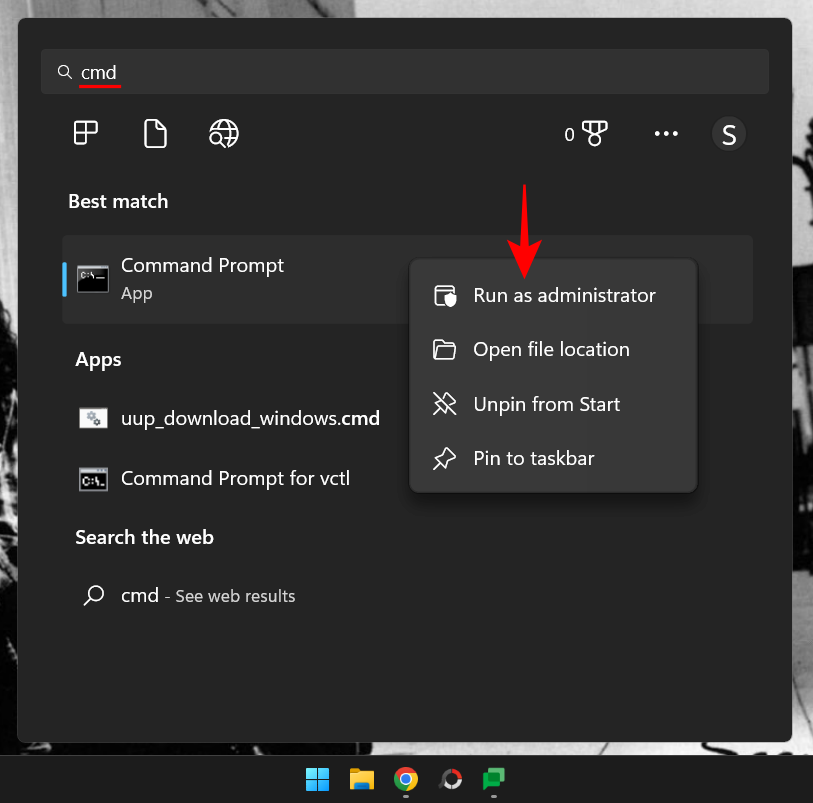
The Winget command tool provides yet another way to download and install Kdenlive. To run this command, we’ll be using the Command Prompt. Follow along to install Kdenlive using the winget command tool.
Press Start, type cmd, then right-click on Command Prompt and select Run as administrator.
Now type the following command:
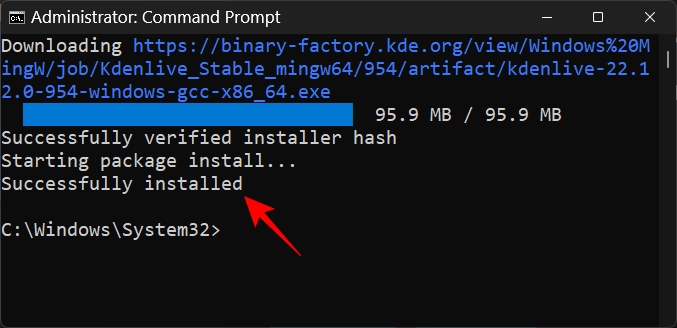
winget install -e --id KDE.Kdenlive
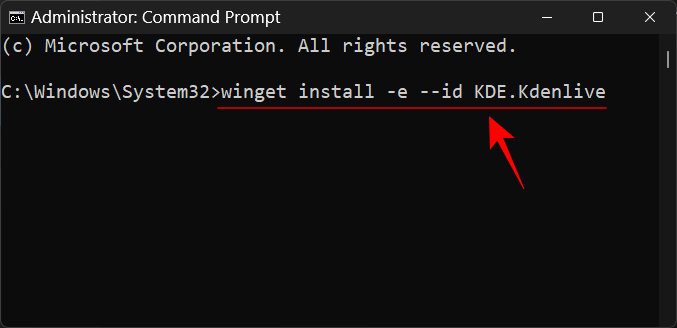
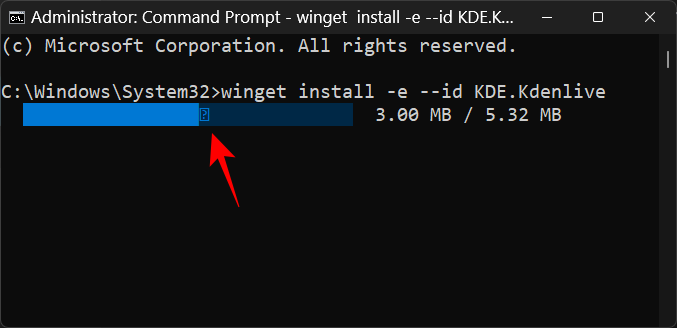
Hit Enter. This will begin the initializing process.
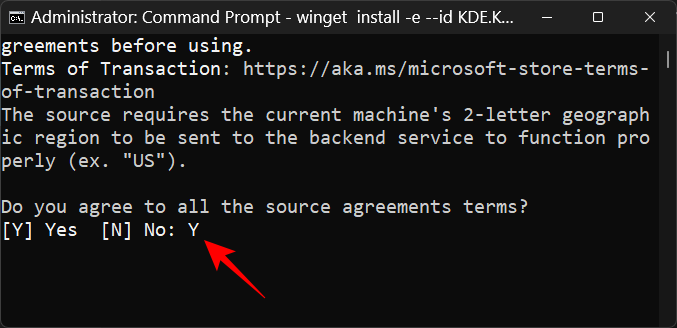
You will be asked to agree to the agreement terms. To do so, type Y and hit Enter.
This will start downloading the Kdenlive.exe package.
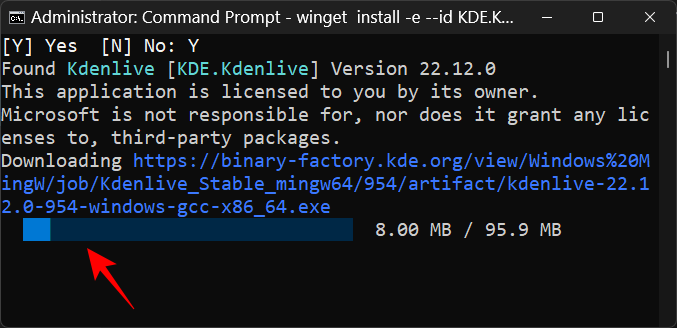
Once it is installed, you will see the “Successfully installed” message.
How to make Kdenlive the default video editor app on Windows 11
To make Kdenlive the default video editor app on Windows 11, follow the steps given below:
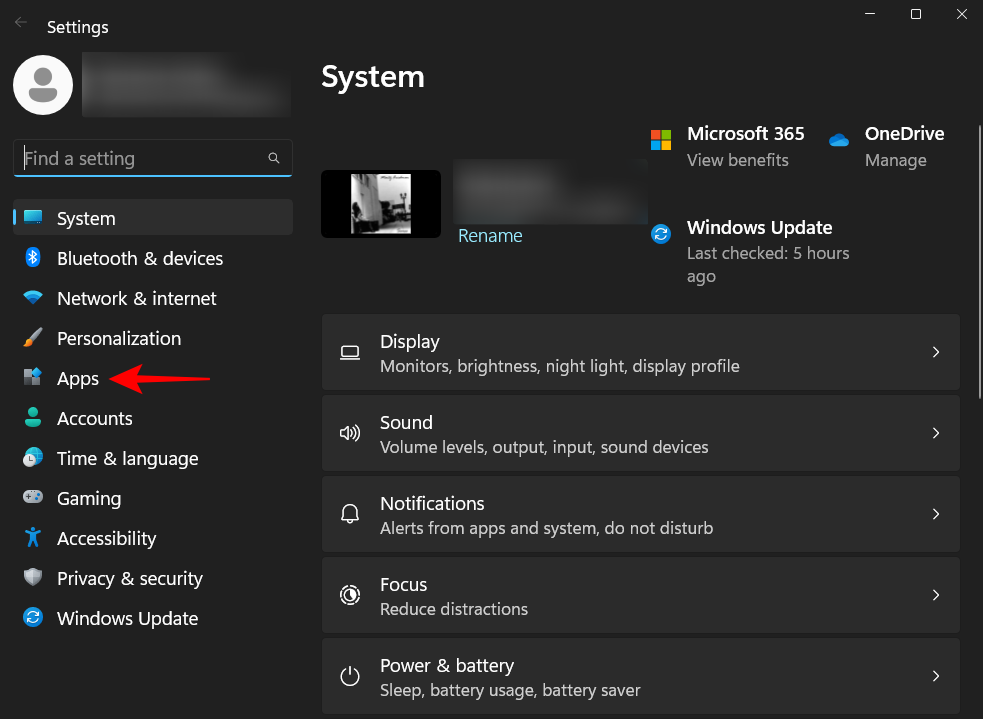
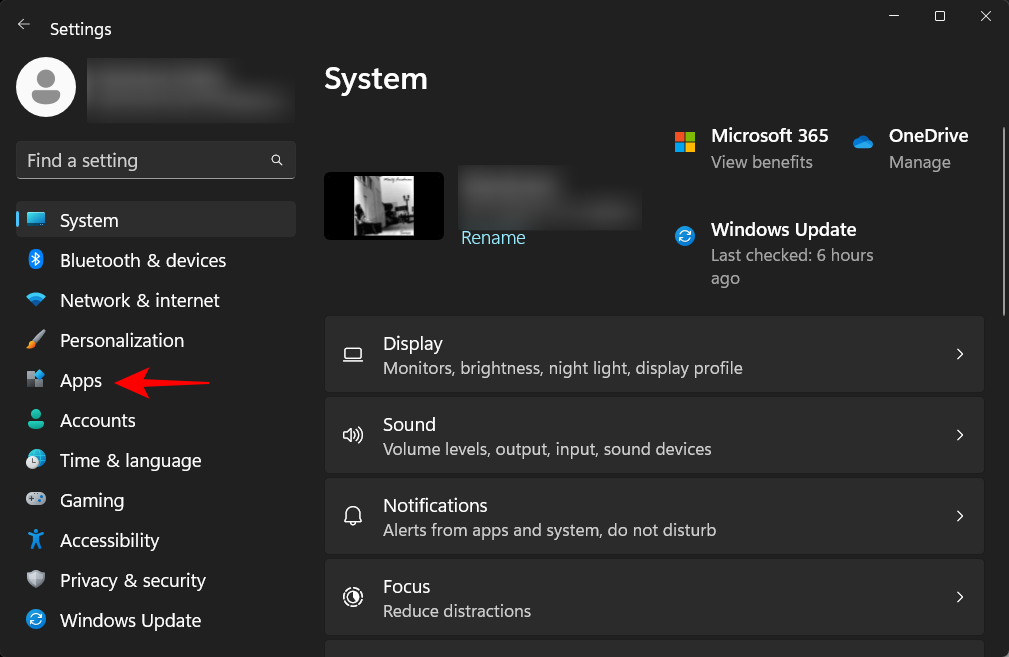
Press Win+I to open the Settings app. Then click on Apps in the left pane.
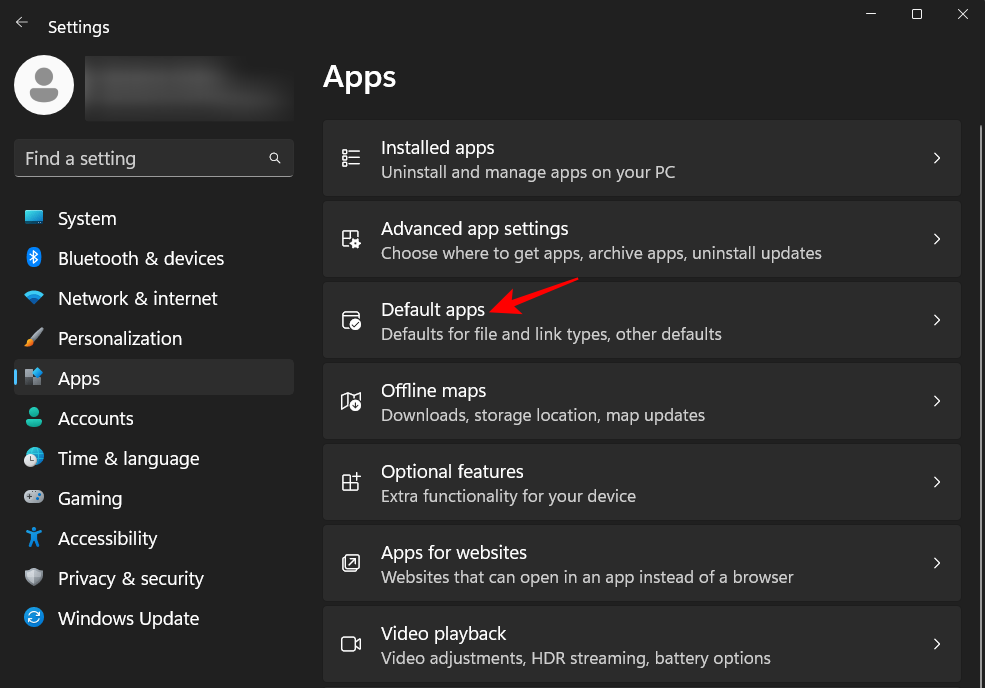
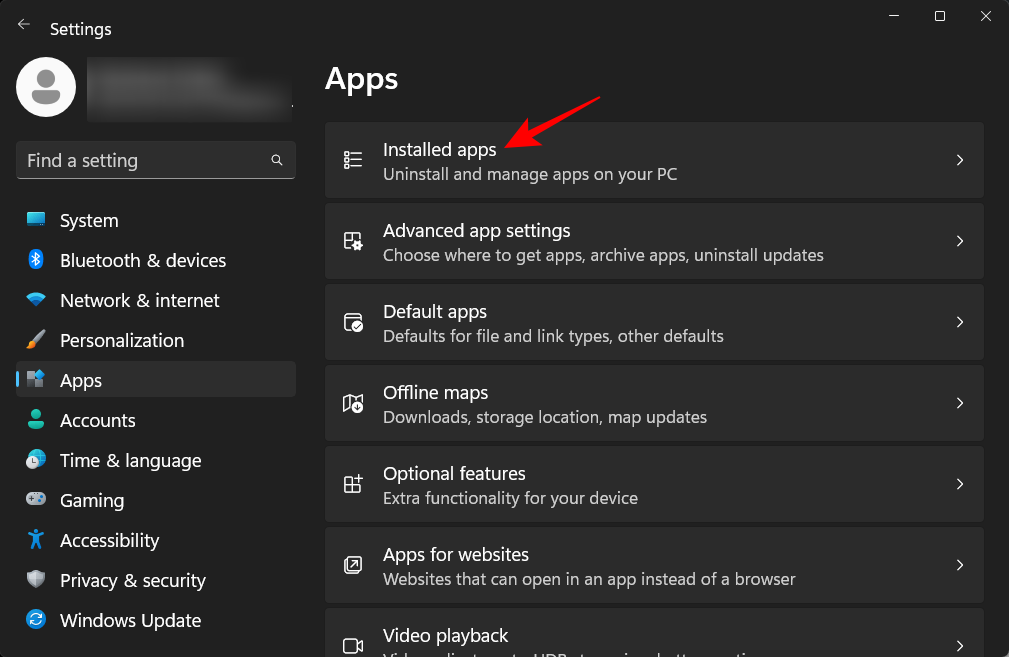
Click on Default apps.
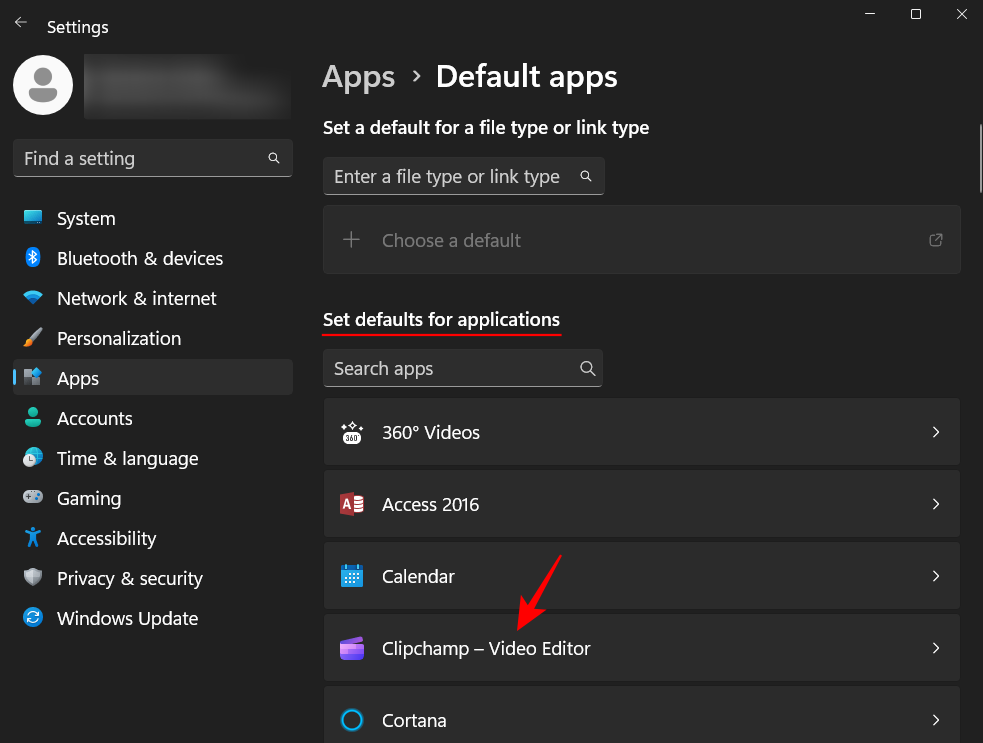
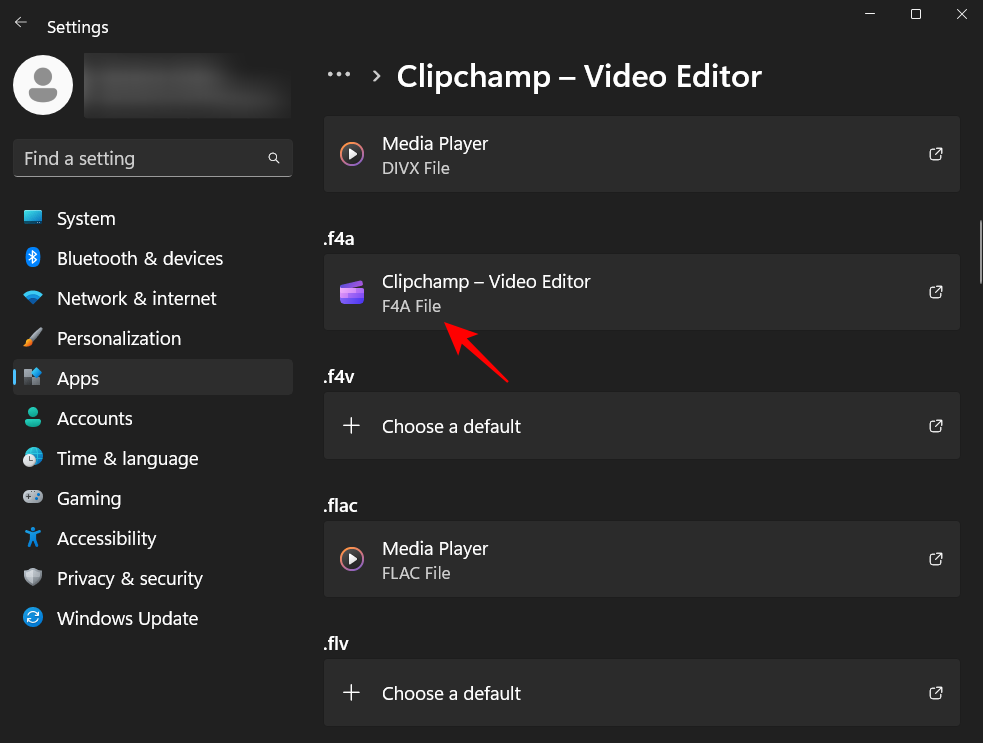
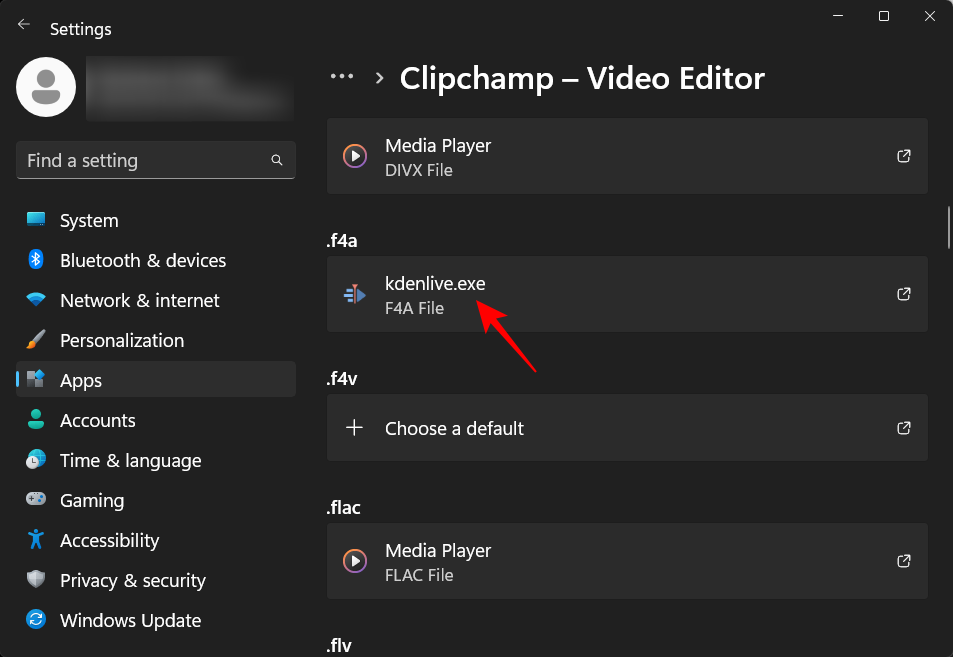
Under “Set defaults for applications”, scroll down and select the app that is currently your default video editor. In our case it is Clipchamp.
Here, you will find a bunch of files that are set to run with your current default video editor app. Click on one to change its default app.
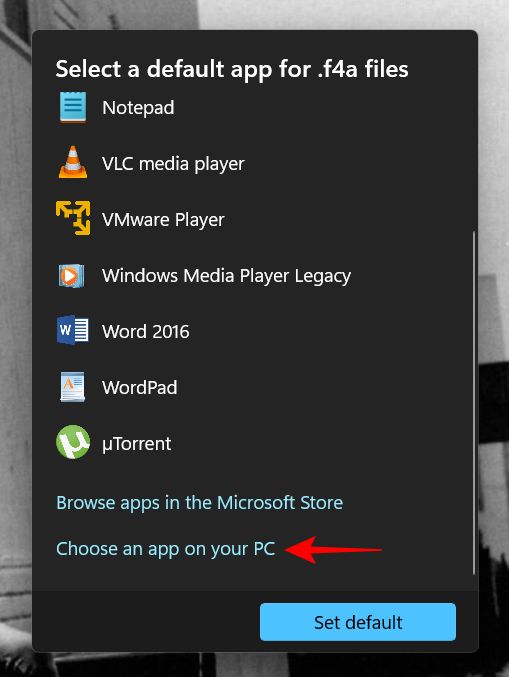
Then scroll down and select Choose an app on your PC.
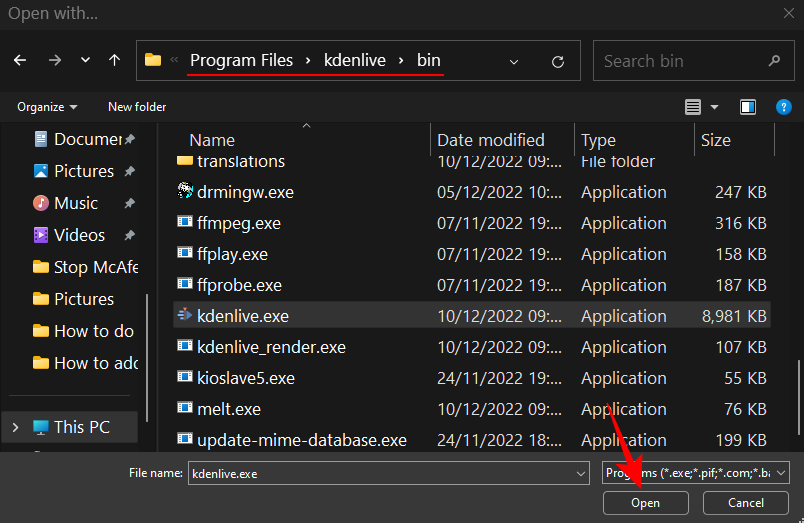
Now navigate to the folder where Kdenlive is installed. By default its executable file will be found at the following address:
C:\Program Files\kdenlive\bin
Select kdenlive.exe and click on Open.
Then click on Set default.
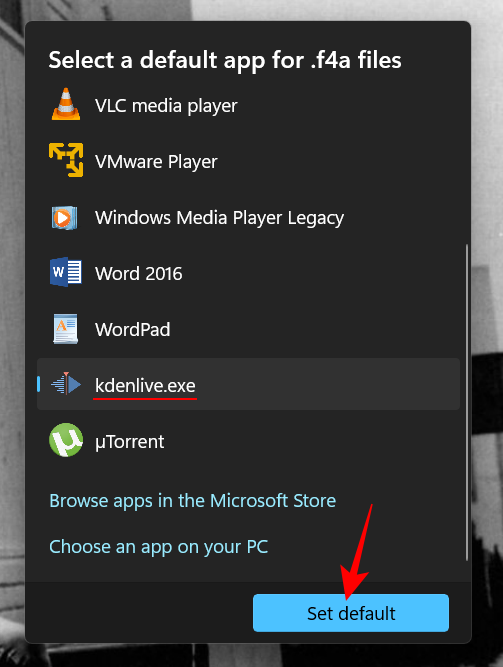
This will make Kdenlive the default app for the chosen file format.
Now do the same for all such formats that are associated with your video editor app and change it to Kdenlive.exe. Once done, Kdenlive would become your default app for video editing purposes.
How to uninstall Kdenlive on Windows 11?
Uninstalling Kdenlive is as simple as uninstalling any other app on Windows 11. Here’s how to do so:
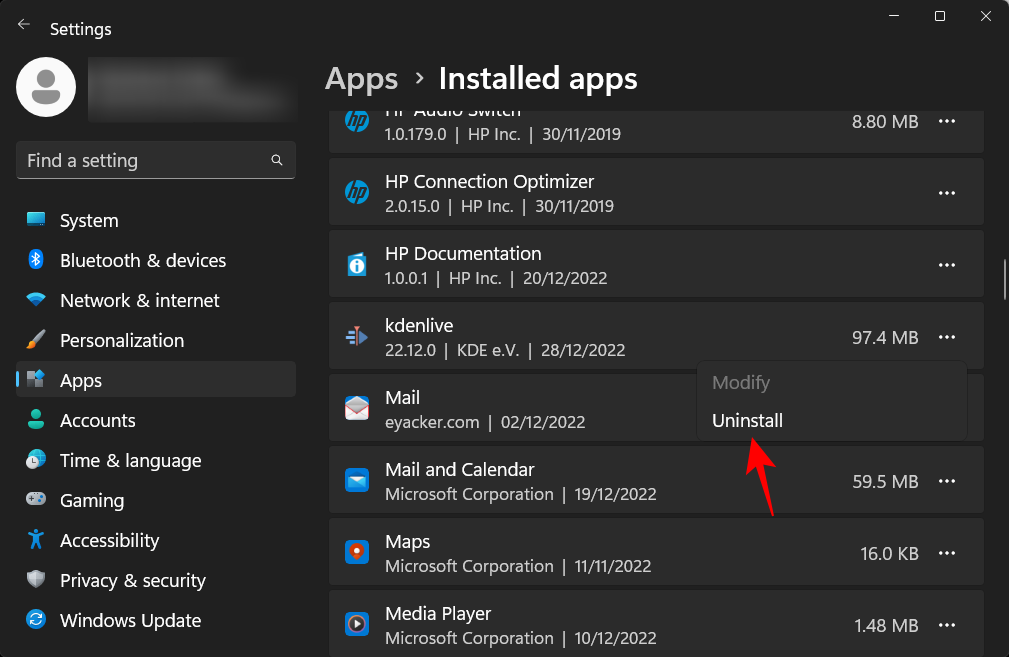
Press Win+I to open the Settings app. Then click on Apps in the left pane.
Now select Installed app.
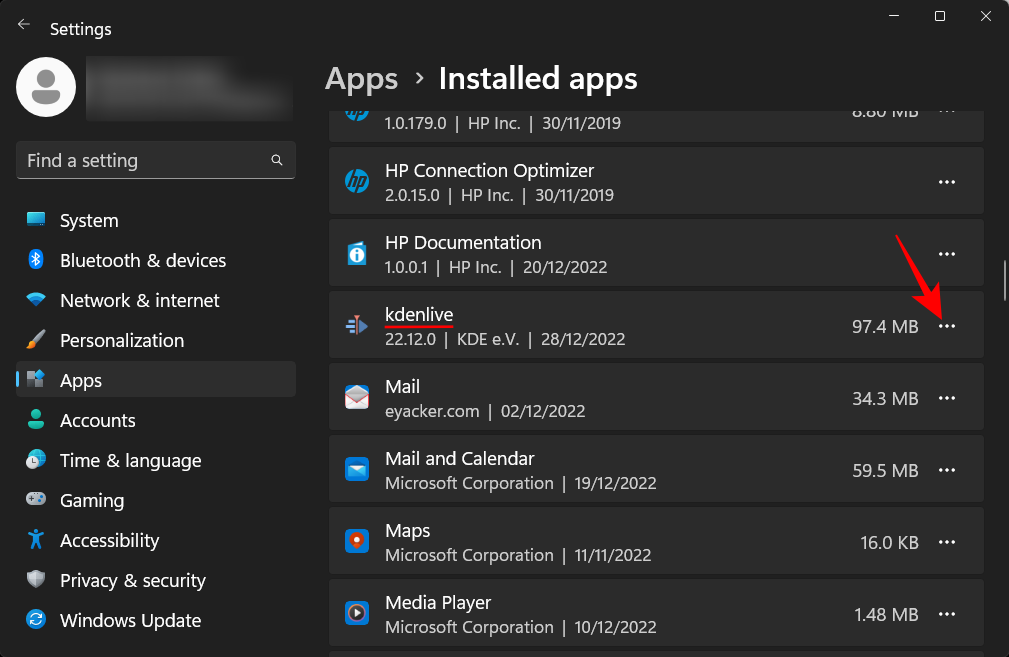
Scroll down your list of apps and click on the three-dot icon next to kdenlive.
Select Uninstall.
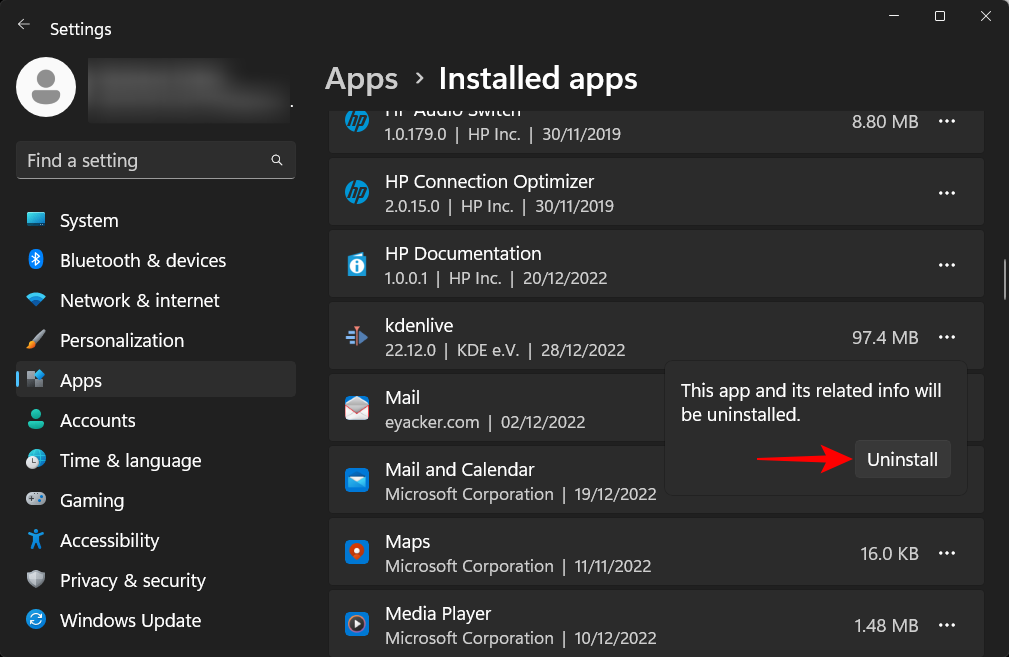
Then click on Uninstall again.
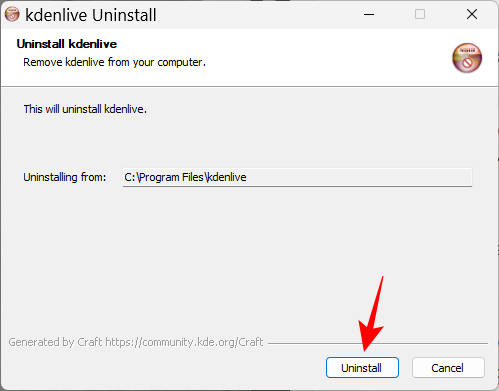
This will open up the kdenlive uninstaller. Click on Uninstall to continue with the uninstallation.
Once done, click on Close.
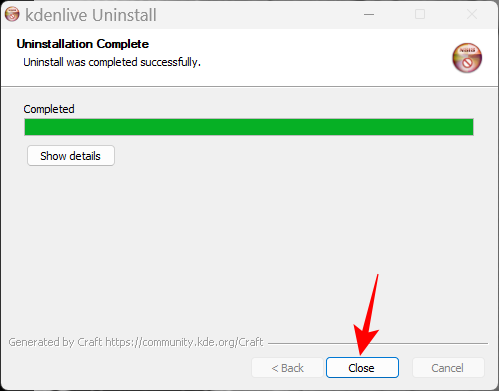
And just like that, you have uninstalled Kdenlive from Windows 11.
FAQs
In this section, we take a look at a few commonly asked queries about kdenlive and answer the same.
Why can’t I install kdenlive from Microsoft Store?
Kdenlive is not available for installation from the Microsoft Store.
Does Kdenlive work on Windows?
Yes, Kdenlive works perfectly on Windows. Once you have it downloaded and installed, you can use it like any other video editing app.
Is Kdenlive good for low end PC?
Kdenlive will work fairly well on a low-end PC. However, because video editing tools tend to require a lot of RAM and video memory, we recommend closing other heavy apps when you’re working with Kdenlive. This will ensure that you have a smooth video editing experience with Kdenlive.
We hope you found this guide useful in installing Kdenlive on your Windows 11 PC and making it the default video editing app. Happy editing!


Discussion