
What to know
- The Windows.old folder in the C: system drive stores old system files from previous Windows versions.
- Delete the windows.old folder from Settings > System > Storage > Temporary files > Previous Windows Installation > Remove files.
- Alternatively, use the Disk Cleanup tool to remove Previous Windows Installation files.
- In an elevated instance of the command prompt, use the command
takeown /F C:\Windows.old /R /Ato take ownership of the folder first. Then use the commandcacls C:\Windows.old\*.* /T /grant administrators:Fto delete it. Finally, use the commandrmdir /S /Q C:\Windows.old\.
Windows 11 is a storage hog. The operating system in itself takes up 64GB of space, give or take. With the addition of a few big apps, personal files, and OS updates, you’ll sooner find yourself running out of space than you’d know what to do about it.
If you’ve been hunting down files and folders to delete on your system drive, you may have come across an innocuous seeming windows.old folder. Unfortunately, it’s not possible to delete it by simply hitting the Delete key. But what’s so special about this folder? Why does it take up so much space? And how can you delete it and recover some precious storage space? Read on to know more.
What is windows.old?
The windows.old folder is created whenever you upgrade Windows to a new version. This becomes the home for the old version that includes temporary files, system files, and a few personal files. This is so you can revert to the previous version of Windows if necessary. But if everything’s working well and you don’t plan on going back to the older version, it’s better to get rid of this folder and regain some space.
Although Windows does automatically remove the windows.old folder 30 days after it is created, if you need that space now, the following methods will help you get rid of it completely.
3 Ways to Delete windows.old in Windows 11
All the methods given below are fairly simple to execute. Use any of them to delete the windows.old folder in Windows 11.
Method 1: Using Storage Sense
- Open the Settings app (press
Win+I) and select System on the left. - On the right, select Storage.
- Wait for the disk space to be analyzed. Once done, click on Temporary files.
- You’ll be shown a list of items that are not needed any longer and can be deleted without an issue. Here, select Previous Windows Installation.
- Click Remove files at the top.
Here’s a video guide for easy reference.
Method 2: Using Disk Cleanup
Disk Cleanup is another tool that you can use to remove the windows.old folder as well as other extraneous files hanging around. It’s been on Windows longer than the relatively recent Storage sense option, but works just as well.
- Press Start, type Disk Cleanup and launch the system tool.
- Alternatively, press Win+ R to open the RUN box, type cleanmgr and hit Enter.
- Select the system drive.
- Click on Clean system files.
- Here, find and select Previous Windows Installation option to delete. You can also select other temporary files Windows recommends you delete.
- Click OK.
- Click on Delete Files to confirm.
- Wait for the files to delete. Your windows.old folder should now have disappeared.
Here’s a video guide for easy reference.
Method 3: Using the Command Prompt
For power users, terminal apps work to get rid of the windows.old folder as well. Here’s how:
- Open an elevated instance of the command prompt (Run as administrator).
- Type and enter the following command:
takeown /F C:\Windows.old /R /A

- When prompted, type
Y. - This will let you take ownership of the windows.old folder so it can be deleted easily.
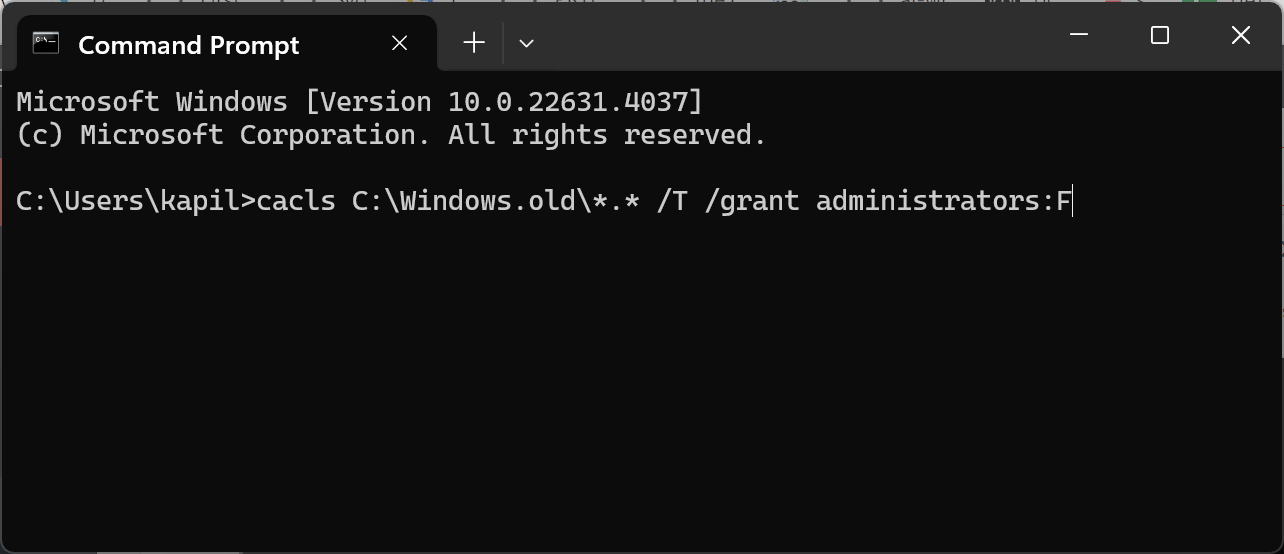
- Now enter this command:
cacls C:\Windows.old\*.* /T /grant administrators:F
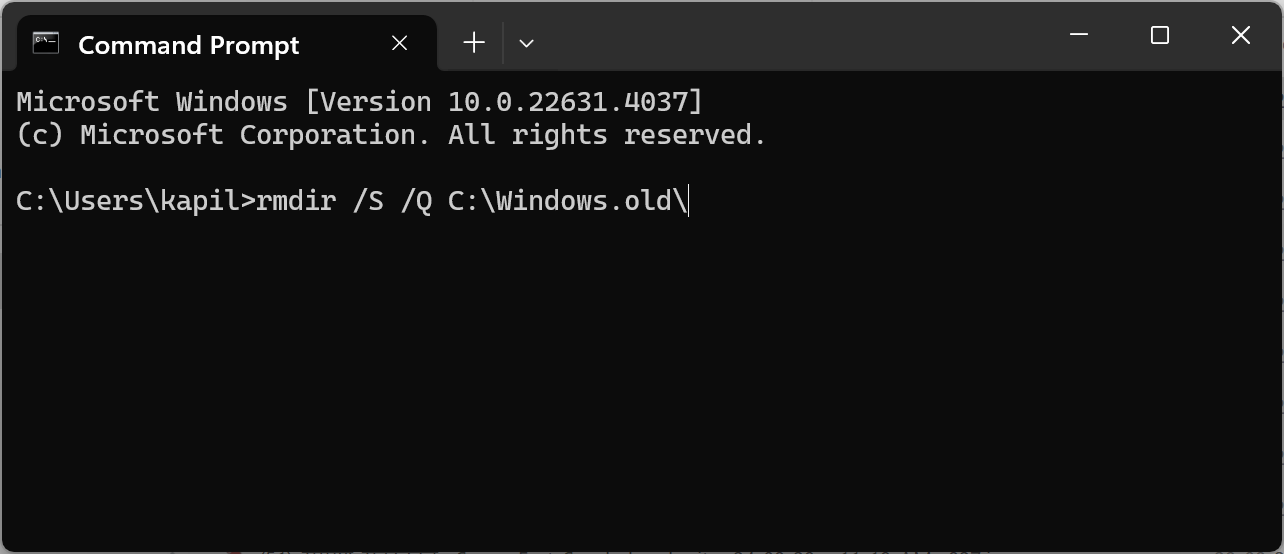
- Finally enter the following command:
rmdir /S /Q C:\Windows.old\
And just like that, you would have removed the windows.old folder on your PC. We hope you were able to recover precious storage space by deleting the windows.old folder as well as other temporary files that Windows doesn’t require anymore. Until next time.